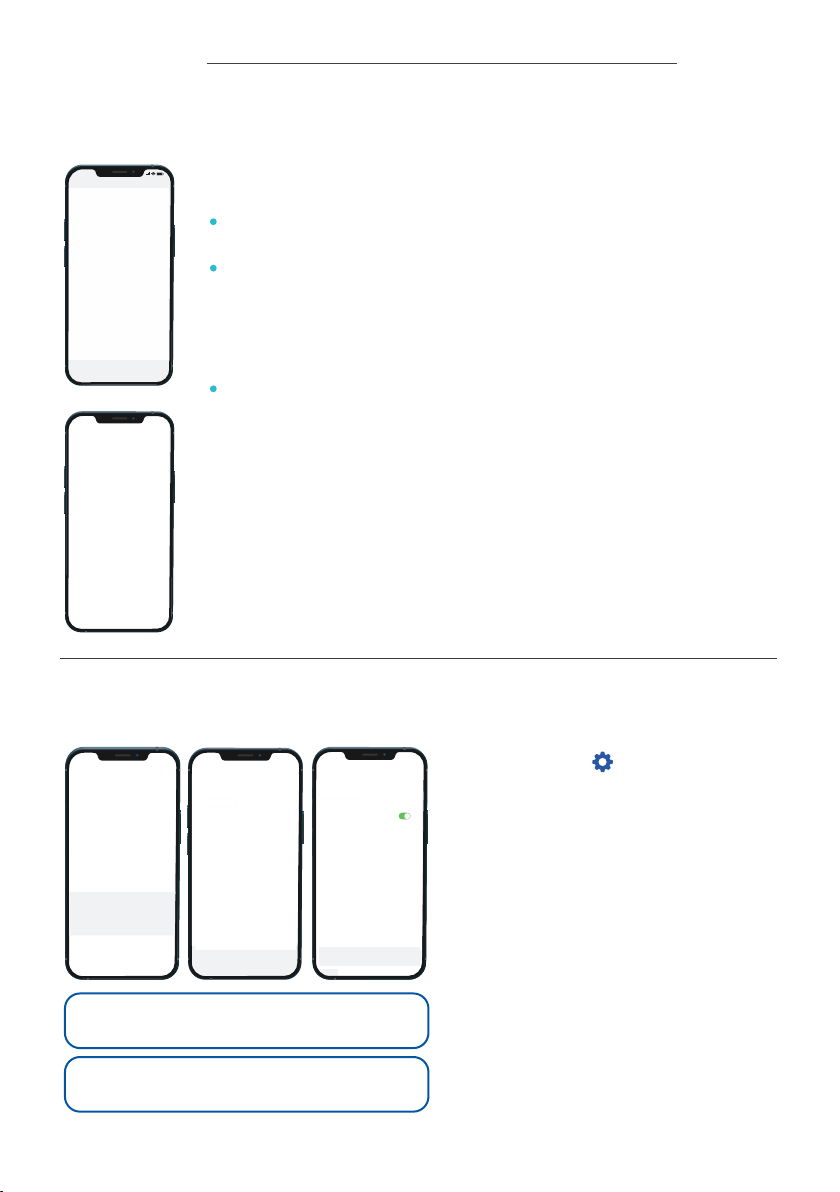
When the TeltoCharge device is configured, your app screen should
feature the following information:
Charger type: the image of your TeltoCharge device should be
displayed.
Connection status: the status “Available” should indicate that the
TeltoCharge device is connected to your smart device through a
Bluetooth connection. The status "Not Available", should indicate that
the charger is out of Bluetooth range or there is another issue (see
“Troubleshooting”).
Charger name: by default, the charger’s name is "TeltoCharge".
However, you can edit.
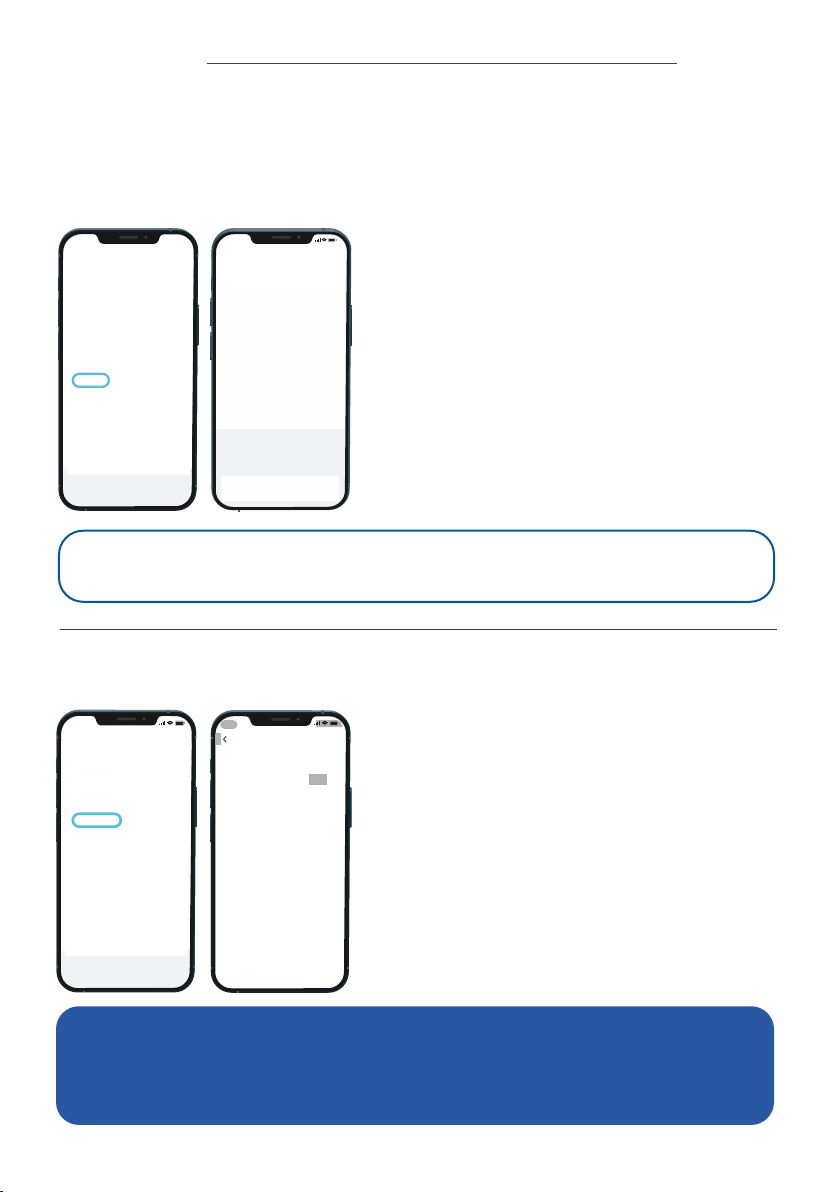
In case you have more than one device, swipe right to add a new one.
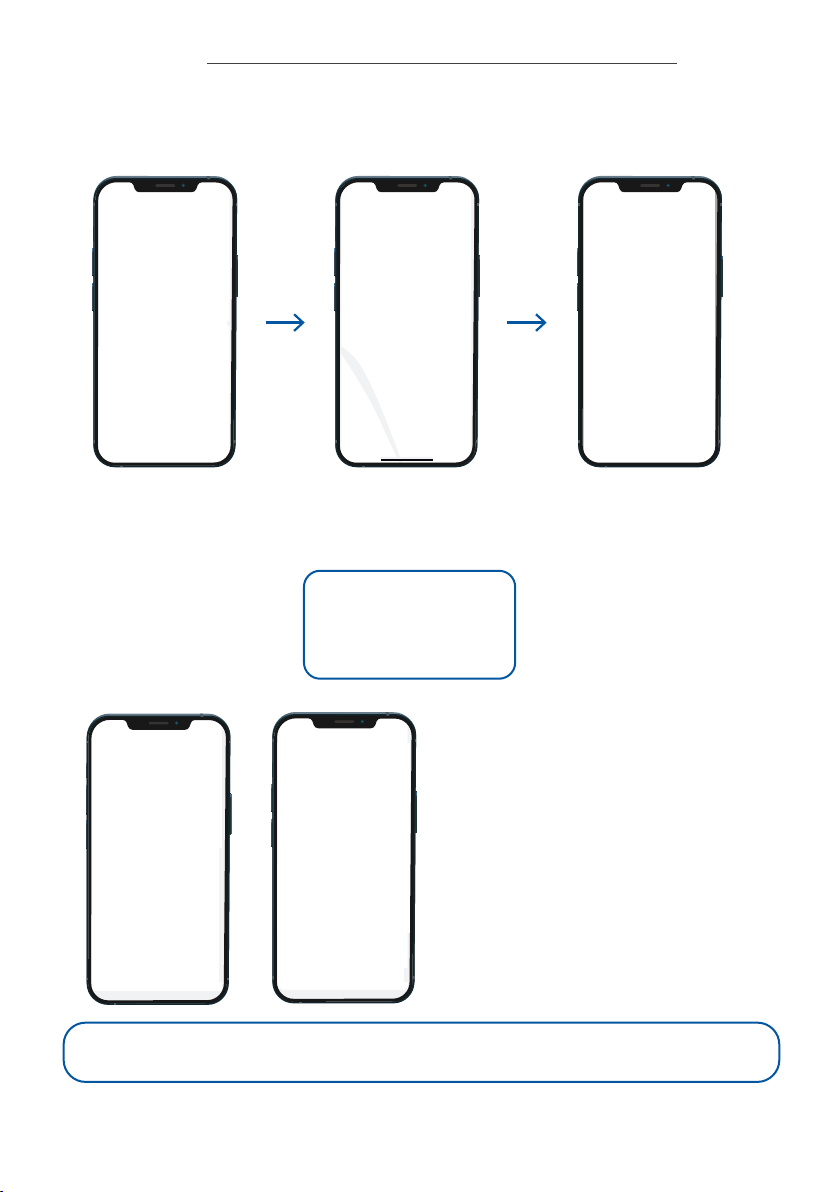
Note: To connect TeltoCharge to your WiFi network
you must first connect your charger to Bluetooth.
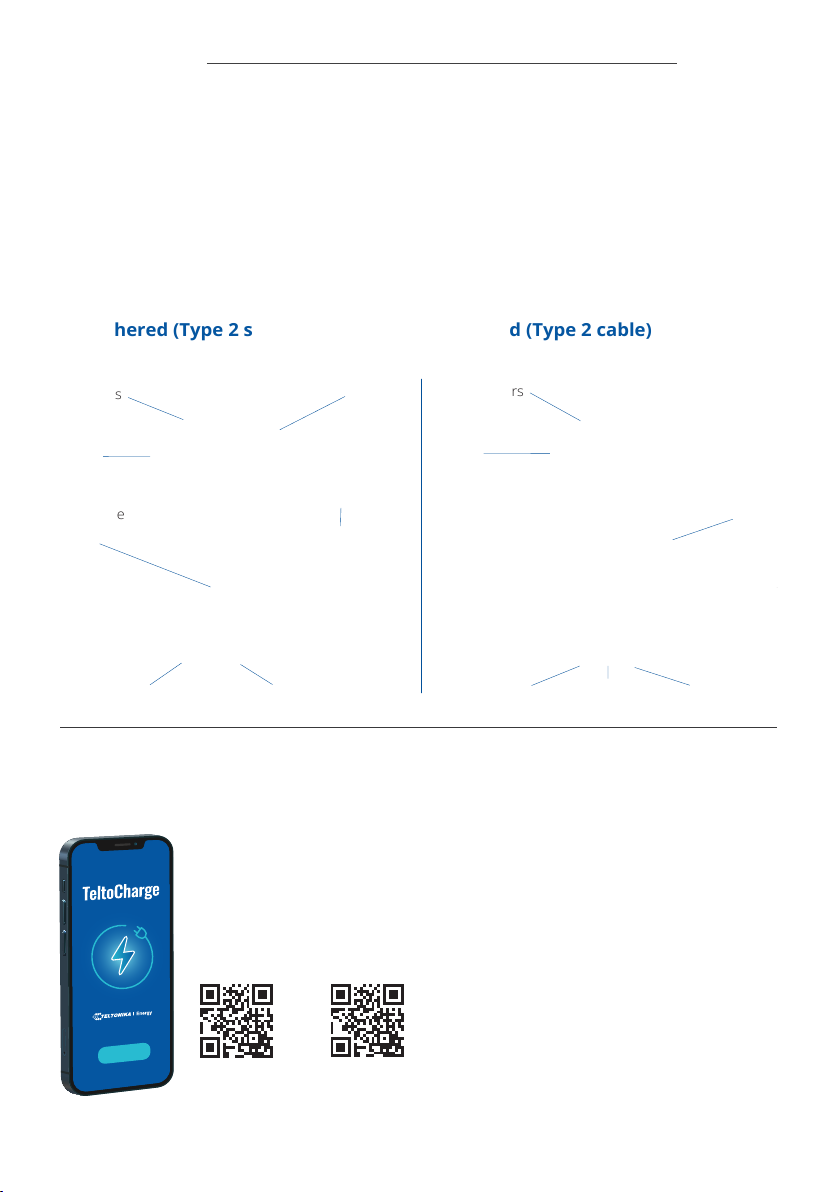
Quick User Guide TeltoCharge
6
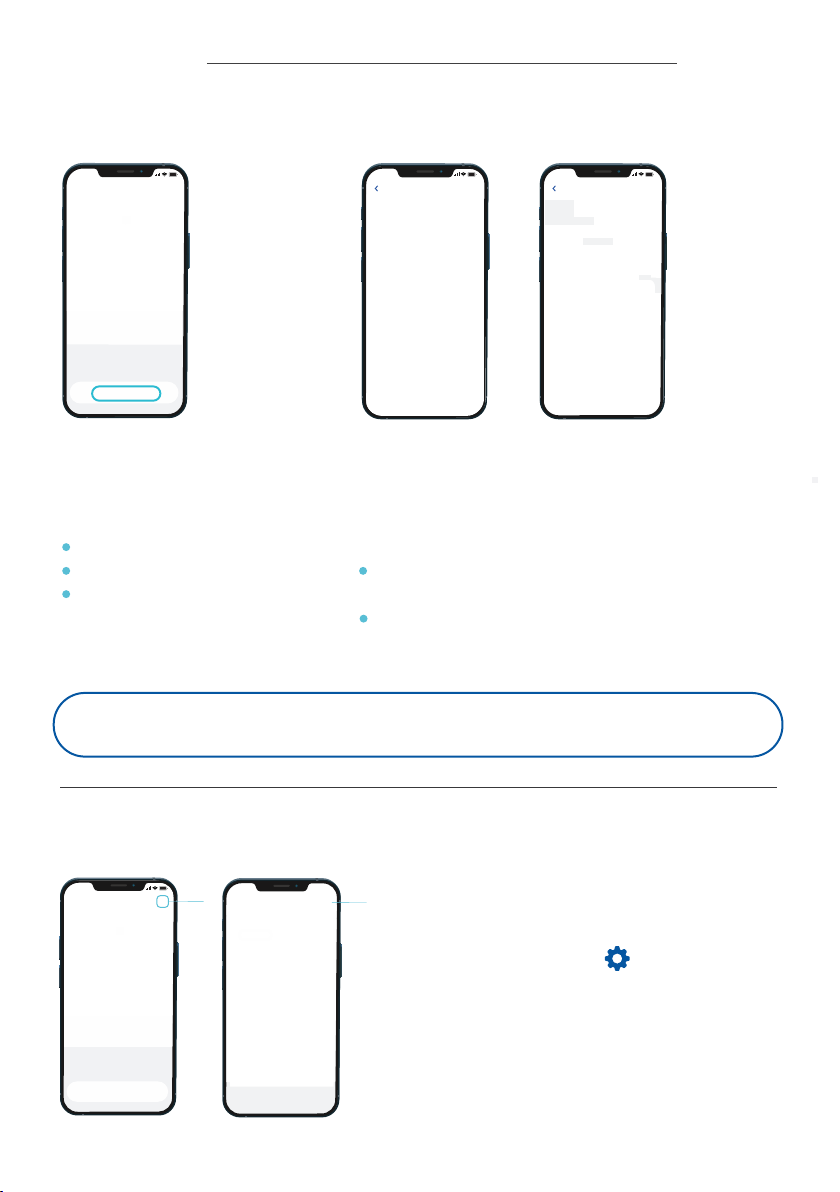
5. My TeltoCharge device
6. Connect TeltoCharge to a WiFi network
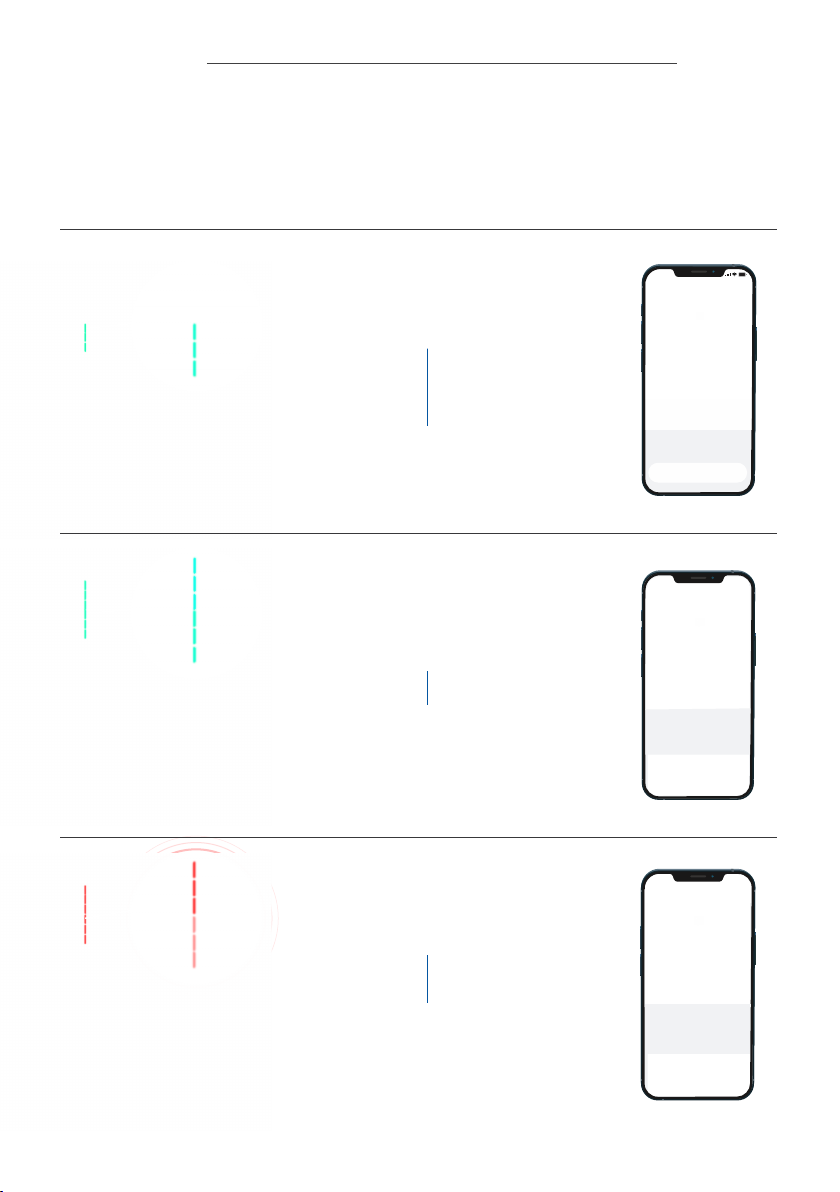
1. Tap the gear in the top right
corner to go to the Settings menu.
2. Select “Connectivity” and then
select “WiFi”.
3. Enable the WiFi toggle to activate the
WiFi connection. Wait several seconds
until the network list appears.
4. From the network list, tap on your
network and enter your network
password when prompted. It can take
some time to establish a WiFi
connection.
5. After the WiFi connection is
established, you will see the network
you have connected to.
Note: To connect to WiFi please enter the password
of your home WiFi.
9:41