manuals.online logo
Brands
  1. Home
  2. •
  3. Brands
  4. •
  5. TEMPUR
  6. •
  7. Indoor Furnishing
  8. •
  9. TEMPUR Ardennes User manual

TEMPUR Ardennes User manual

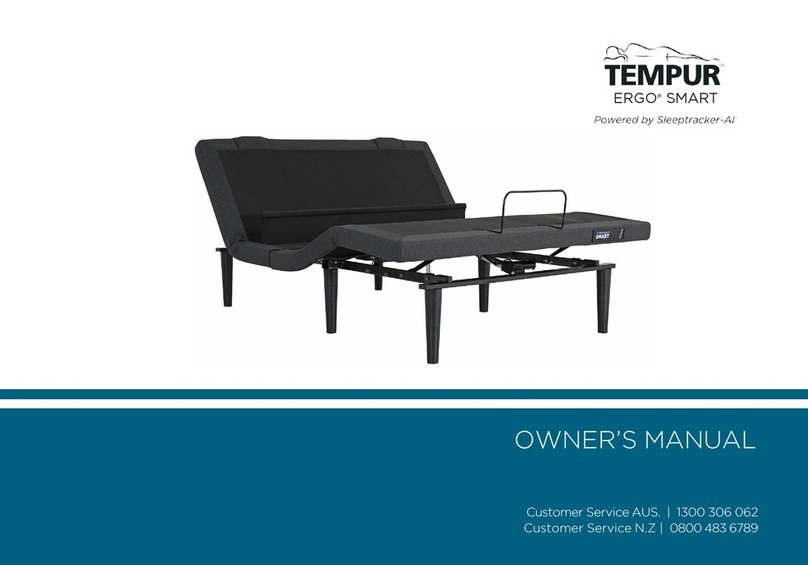
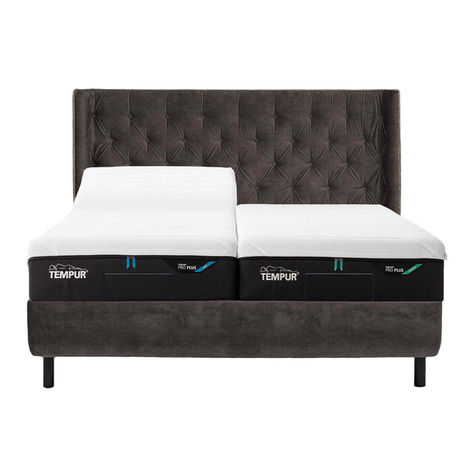
ADJUSTABLE BED WITH MASSAGE UNIT USER MANUAL
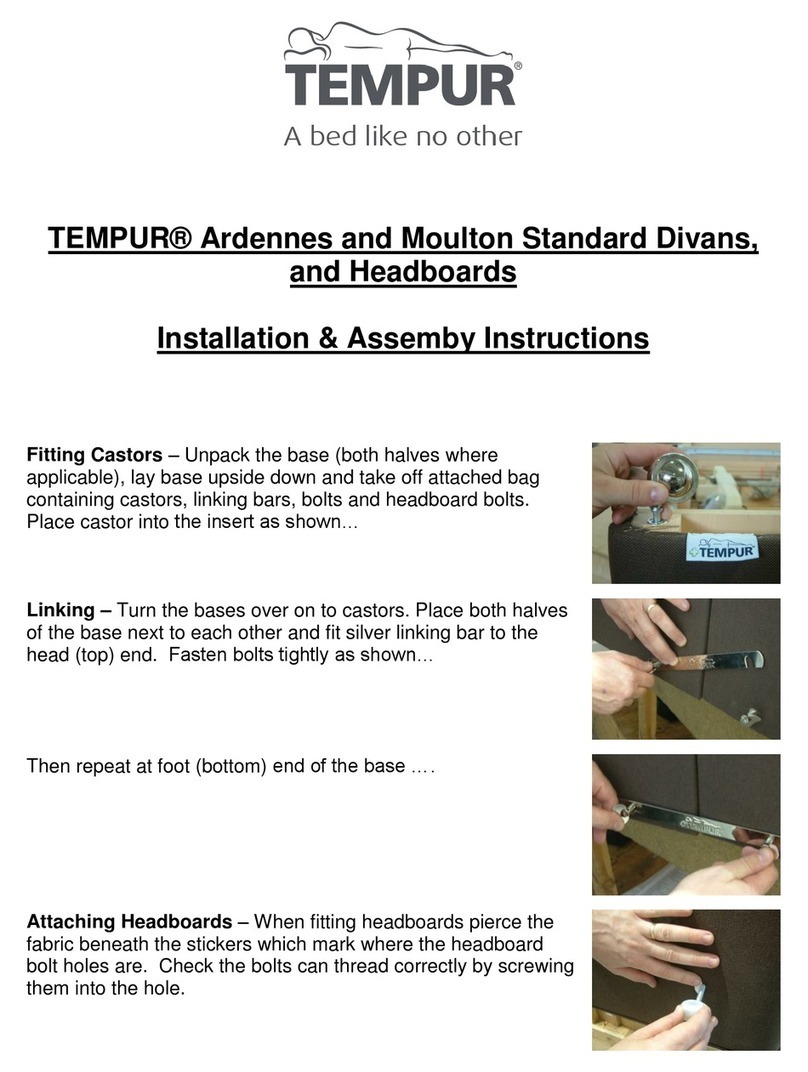
1. Unwrap from packaging / bag and remove fabric straps
used to secure drawers.
2. Remove the orange straps used to secure the slatted frame
during transit.
3. Insert each of the supplied castors into the holes of the
underside of your adjustable base(s). Tap in gently with a
rubber mallet if required.
4. Attach headboard (if ordered) using the supplied
headboard bolts. Find the feral by running your hand
over the head end, which is under the material. Using the
headboard bolt gently pierce the fabric and make a few
turns into the feral then remove. Place the headboard in
place and then screw in the headboard bolts tightly enough
to hold the headboard securely in place.
5. Attach the mattress support bar to the foot-end of the bed by
sliding onto the final slat nearest to the foot-end (see image
above).
6. If you have purchased a double, king or super king, affix
the linking bars to each of the bed bases using the supplied
butterfly bolts (2 x bolts per linking bar) to ensure that your
bases do not separate. Please note that you may need to
pierce the fabric of the bed base once you have determined
the fixing points for the butterfly bolts.
1. People with heart pacemakers must not use the massage unit, as the unit may possibly affect the
pacemaker.
2. Never open the housing of the controls and motors - doing so will void your warranty.
3. Check that the cables and housings are not damaged, if this is the case do not use the adjustable unit and
contact your dealer.
4. Any repairs must be approved prior to works being undertaken otherwise you could void your warranty.
5. When the mechanism are in use please do not sit directly on or apply pressure to any raised section of
the bed base. Your adjustable bed base must always be returned to the horizontal position before getting
into or out of the bed.
6. Do not allow liquids to get into controls or motors.
7. Do not look directly into the torch and the LED light.
8. The massage unit is designed for use in enclosed dry living areas.
9. Please ensure that children do not play with the remote control - keep the remote control out of reach of
children.
SAFETY INSTRUCTIONS
Metal chrome castor Linking BarButter y BoltsHeadboard bolt Mattress support bar
REMOVING PACKAGING / FITTING THE FINISHINGS
Pack contents (Single Base):
· 6 x castors
· 4 x headboard bolts (if ordered)
· 1 x mattress support bar
Pack contents (Two Bases):
· 12 x castors
· 4 x headboard bolts (if ordered)
· 2 x Linking Bar
· 4 x Butterfly bolts
· 1 x mattress support bar
With the remote control, you can easily operate the following functions:
Before you can use the bed the handset must be paired to the control unit on the bed. This
only needs to be performed once.
1. Remove the battery cover on the handset and insert the batteries, making sure they
are inserted the correct way. Do not replace the battery cover yet.
2. Plug the mains plug into a socket and switch on, wait for the light on the control box
to go out.
3. Press the pairing button (a) on the control box twice, this button will illuminate.
4. Within 10 seconds off the LED illuminating press and hold the pairing button inside the battery
compartment of the handset (P), you will need a paper clip or tip of a pen to reach this button. The
pairing button on the control box will ash blue, when it stops ashing the pairing is complete.
5. Replace the battery cover.
PLEASE NOTE: Only commission one system at a time. Never attempt to congure multiple systems
simultaneously. Do not touch the buttons of the handset while the unit is being commissioned.
1. Set the required massage strength.
2. Start one of the three different wave massage programmes.
3. Set the intensity of the wave massage programmes.
4. Operate the bed adjustment motor.
5. Switch on and off the infra red receiver’s night light.
6. Switch on and off the torch LED of the remote control.
INITIAL SET UP
BUTTON FUNCTION
1 Memory Position 1
2 Memory Position 2
3 Memory Position 3
4 Save Memory Position
5 Back Adjustment Up
8 Back Adjustment Down
9 Foot Adjustment Up
12 Foot Adjustment Down
13 Back and Foot Adjustment Up
16 Back and Foot Adjustment Down
17 Massage Mode 1
20 Massage Mode 2
21 Massage Mode 3
24 Massage Off
25 Torch On/Off
26 Floor Lighting On/Off
27 Battery Indicator
28 No function
29 No function
32 Child Lock Mechanism On/Off
With the remote control, you can easily operate the following
functions:
It is possible to store up to three of your favourite positions, for
example for reading, watching TV and sleeping.
To start the massage, select one of the massage programs. • The massage modes always start at level 1.
• Level 1 is the lowest level.
• Level 4 is the highest level.
• Level 0 means the massage is deactivated. The button is not
illuminated.
• The activated button will be lit blue. The button lights up blue
for the levels 1-2-3-4-3-2-1.
• Each time the “Massage mode” button is pressed, the
intensity increases or decreases according to the next level.
• When level 4 has been reached, a press of the button will
cause the backlit illumination to blink “white” once.
• The levels are in the following sequence: 0-1-2-3-4-3-2-1-0.
The sequence repeats after level 0.
• When switching massage modes or after the “Massage
mode off” button has been pressed, the activated massage
mode ends and the corresponding blue illumination switches
off.
• The massage mode will end after about 15 minutes. The
blue button illumination goes out when you press any button.
• If the intensity is changed in this time, the massage duration
(about 15 minutes) does not change.
• If the massage mode is changed in this time, the massage
duration (about 15 minutes) starts over.
• An activated massage mode is not interrupted when the
drives are moved
BASIC FUNCTIONS MEMORY FUNCTIONS
MASSAGE FUNCTIONS
Drive(s) up: The drive(s) move and the button is lit
blue as long as this button is pressed.
Drive(s) down: The drive(s) move and the button is
lit blue as long as this button is pressed.
Turn the ashlight on/o: The torch is on and the
button is lit blue while this button is pressed.
Battery indicator: This button will light red
whenever the remote control is enabled and the battery
voltage drops below 3.5V. The batteries must then be
replaced.
Floor lighting on/o: Switch the oor lighting
on/off. The button is lit blue when the oor lighting is
on. The oor lighting turns off automatically after 30
minutes.
Child Lock mechanism on/o: While the child
lock is activated the bed adjustment will not function.
Activating/Deactivating the child lock: To toggle
the child lock feature on and off, press this button for
about 5 seconds, the back light on the handset blinks
twice. The control box will make an audible signal
and the light ashes. When child lock is activated the
button is lit blue and the control box will ash when an
adjustment key is pressed. The ‘deactivate child lock’
feature does not inuence the functionality of the torch,
oor lighting, mssage modes 1-2-3 or mssage off.
Save Memory Position: Adjust the bed to the
position you wish to save. Press the Save Memory
Position button, the “Memory Position 1-2-3” buttons
light up. Then press the desired position button within
two seconds. The control box will ash and make an
audible signal. The position is saved in memory.
Memory Position 1: The bed will adjust to the
stored memory position and the button is lit blue while
this button is pressed.
Memory Position 2: The bed will adjust to the
stored memory position and the button is lit blue while
this button is pressed.
Memory Position 3: The bed will adjust to the
stored memory position and the button is lit blue while
this button is pressed.
Massage mode 1: Stationary intensity; the massage
motors run at continual speed.
Massage mode 2: Pulsing massage; the mssage
motors change their speed at the same time.
Massage mode 3: Wave massage; the massage
motors change their speed at offset times.
Massage mode o: This button is lit blue as long as
the button is pressed. The “Massage mode off” button
also functions while the child lock is enabled.
USING A SMARTPHONE OR TABLET
It is possible to operate the adjustment, memory and massage functions of the bed using an Andriod or iOS device (Apple iPhone or iPad)
with the Okin App available from Google Play Store or Apple App store.
1. Search for and install “OKIN smart remote” in the Play Store
or AppStore
2. Make sure Bluetooth is enabled on your device and open
the “OKIN smart remote” app
3. When the app has opened and adjustment icons are
displayed swipe the screen from right to left and enter the
settings menu by pressing the cog symbol.
4. Select “Select Device”, then select one of the devices, usually
listed as “OKIN-Receiver”. You will then return to the screen
with the adjustment icons.
5. Again, swipe from right to left and enter the settings menu
by pressing the cog symbol.
6. Select “General Settings”, then “select interface by item
number”, enter the code “83126” and press “OK”. Exit the
menu by pressing the back arrow at the top of the screen.
SUGGESTION: In the settings menu under “Device Settings and
Information” it is possible to change the device name, by selecting
“Rename Device”, from “OKIN-Receiver” to something that is
distinguishable, e.g. “MyTempurBed”. This is especially useful if
you have a king size or a super king size bed where both sides of
the bed can be adjusted independently.
There are two screens, to switch between them swipe left/right.
The bed adjustment buttons will only work while they are pressed,
once released the adjustment will stop.
To store a memory position, press the “save memory position”
button and within two seconds select the “memory positions” button
you wish to store it as. To recall a memory position press and hold
the “memory position” button, the adjustment will stop once the
position is reached.
SET UP APP FUNCTIONS - BED ADJUSTMENT
APP FUNCTIONS - MASSAGE
Back adjustment
up
Foot adjustment
up
Head and foot
adjustment up
Back adjustment
down
Foot adjustment
down
Head and foot
adjustment down
Memory positions
Save memory
position
Memory positions
Massage modes
Massage
speed/intensity
indicator
Settings menu
Child lock on/off
Floor lighting
on/off
Head end
massage
intensity +/-
Foot end
massage
intensity +/-
Massage off
Wave massage
mode
Massage on/off
Pressing and holding the memory position buttons will adjust the
bed to the stored positions. The adjustment will stop once the
position is reached or the button is released.
Massage modes 1, 2, 3 work in the same way as the on the
handset. The massage speed/intensity indicator will show which
intensity and speed the system is at.
Press the “massage on/off” button to start both head and foot
end massage motors. They will remain at a constant intensity. It
is possible to increase and decrease the intensity of the massage
motors independently by using the head and foot end massage
intensity +/- buttons. Pressing the “massage on/off” button again
will stop the massage.
By pressing the “Wave massage mode” button the wave program
will start on the slowest setting, pressing the “Wave massage
mode” button again will increase the speed (but not the intensity)
up to three times before returning to the slowest speed. The intensity
is controlled by the head and foot end massage intensity buttons.
The oor lighting button and the child lock on/off work in the same
way as on the handset.

This manual suits for next models

1

Other TEMPUR Indoor Furnishing manuals

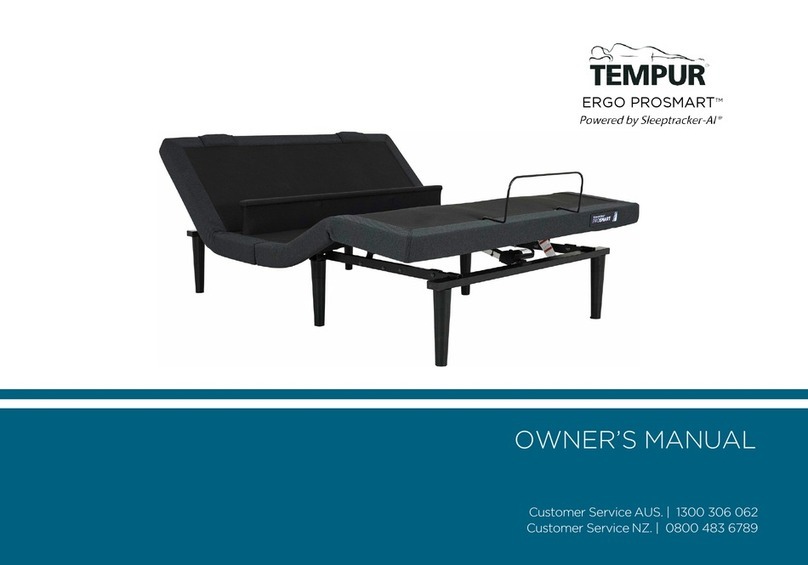
TEMPUR ERGO PROSMART User manual

TEMPUR

TEMPUR ERGO PROSMART User manual

TEMPUR North Installation and operation manual

TEMPUR

TEMPUR North Installation and operation manual

TEMPUR HORTON OTTOMAN BED User manual

TEMPUR

TEMPUR HORTON OTTOMAN BED User manual

TEMPUR BOXSPRING User manual

TEMPUR

TEMPUR BOXSPRING User manual

TEMPUR Premium Flex Assembly instructions

TEMPUR

TEMPUR Premium Flex Assembly instructions

TEMPUR Zero G Series User manual

TEMPUR

TEMPUR Zero G Series User manual

TEMPUR ERGO 2.0 User manual

TEMPUR

TEMPUR ERGO 2.0 User manual

TEMPUR ERGO SMART User manual

TEMPUR

TEMPUR ERGO SMART User manual

TEMPUR ARC Static User manual

TEMPUR

TEMPUR ARC Static User manual

TEMPUR Highgate Ottoman Assembly instructions

TEMPUR

TEMPUR Highgate Ottoman Assembly instructions

TEMPUR ACTIVEbreeze User manual

TEMPUR

TEMPUR ACTIVEbreeze User manual

TEMPUR Aspire Elite 2.0 User manual

TEMPUR

TEMPUR Aspire Elite 2.0 User manual

TEMPUR Hybrid Flex Assembly instructions

TEMPUR

TEMPUR Hybrid Flex Assembly instructions

TEMPUR FORM User manual

TEMPUR

TEMPUR FORM User manual

TEMPUR Zero-G Luxury Adapt User manual

TEMPUR

TEMPUR Zero-G Luxury Adapt User manual

TEMPUR HORTON User manual

TEMPUR

TEMPUR HORTON User manual

TEMPUR HOLCOT User manual

TEMPUR

TEMPUR HOLCOT User manual

TEMPUR P0147104 User manual

TEMPUR

TEMPUR P0147104 User manual

TEMPUR North User manual

TEMPUR

TEMPUR North User manual

TEMPUR Ardennes Headboard User manual

TEMPUR

TEMPUR Ardennes Headboard User manual

Popular Indoor Furnishing manuals by other brands

GLD Products RENO 7 manual

GLD Products

GLD Products RENO 7 manual

ZEN fitFORM manual

ZEN

ZEN fitFORM manual

Init 09-0025 Assembly instructions

Init

Init 09-0025 Assembly instructions

Crosley CF100160 Assembly instructions

Crosley

Crosley CF100160 Assembly instructions

Honey Can Do SHF-02099 quick start guide

Honey Can Do

Honey Can Do SHF-02099 quick start guide

Costway HW63960 user manual

Costway

Costway HW63960 user manual

Whalen WSLW30IFV Quikstart guide

Whalen

Whalen WSLW30IFV Quikstart guide

Cattelan Italia PLANER KER-WOOD Assembling instructions

Cattelan Italia

Cattelan Italia PLANER KER-WOOD Assembling instructions

Alera Maxxis ALE-MS4419 Assembly instructions

Alera

Alera Maxxis ALE-MS4419 Assembly instructions

Bradley Lenox installation manual

Bradley

Bradley Lenox installation manual

DOM FAMILY FULL BED Assembly instructions

DOM FAMILY

DOM FAMILY FULL BED Assembly instructions

pols potten 300-030-071 instruction manual

pols potten

pols potten 300-030-071 instruction manual

Jacuzzi PD50000 manual

Jacuzzi

Jacuzzi PD50000 manual

CALICO DESIGNS 51211 Assembly instructions

CALICO DESIGNS

CALICO DESIGNS 51211 Assembly instructions

Okamura Lives Assembly guide

Okamura

Okamura Lives Assembly guide

Coaster 300170KE Assembly instructions

Coaster

Coaster 300170KE Assembly instructions

C-Hopetree Bookshelf 3 Tier Slim manual

C-Hopetree

C-Hopetree Bookshelf 3 Tier Slim manual

Marco Kyndall Laine 5FS55-G Assembly instructions

Marco

Marco Kyndall Laine 5FS55-G Assembly instructions

manuals.online logo
manuals.online logoBrands
  • About & Mission
  • Contact us
  • Privacy Policy
  • Terms and Conditions

Copyright 2025 Manuals.Online. All Rights Reserved.