manuals.online logo
Brands
  1. Home
  2. •
  3. Brands
  4. •
  5. Tennsco
  6. •
  7. Indoor Furnishing
  8. •
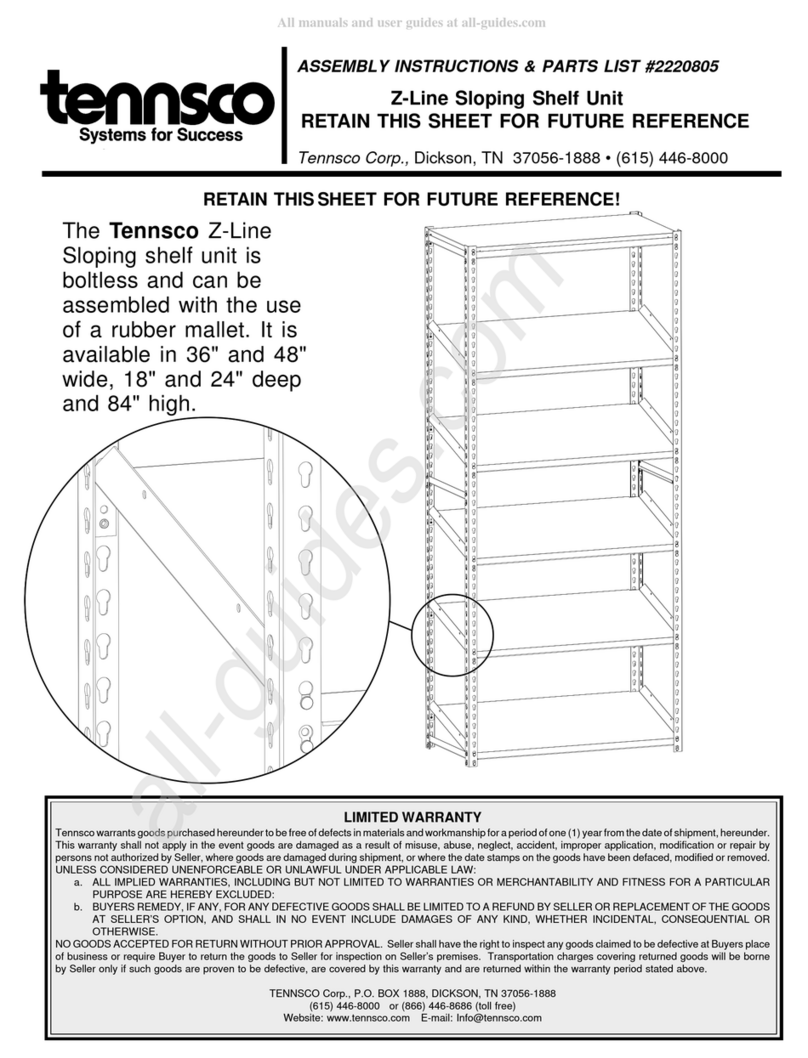
  9. Tennsco 2476 Series Instruction Manual

Tennsco 2476 Series Instruction Manual

Tennsco LLC., Dickson, TN 37056-1888 • (866) 446-8686
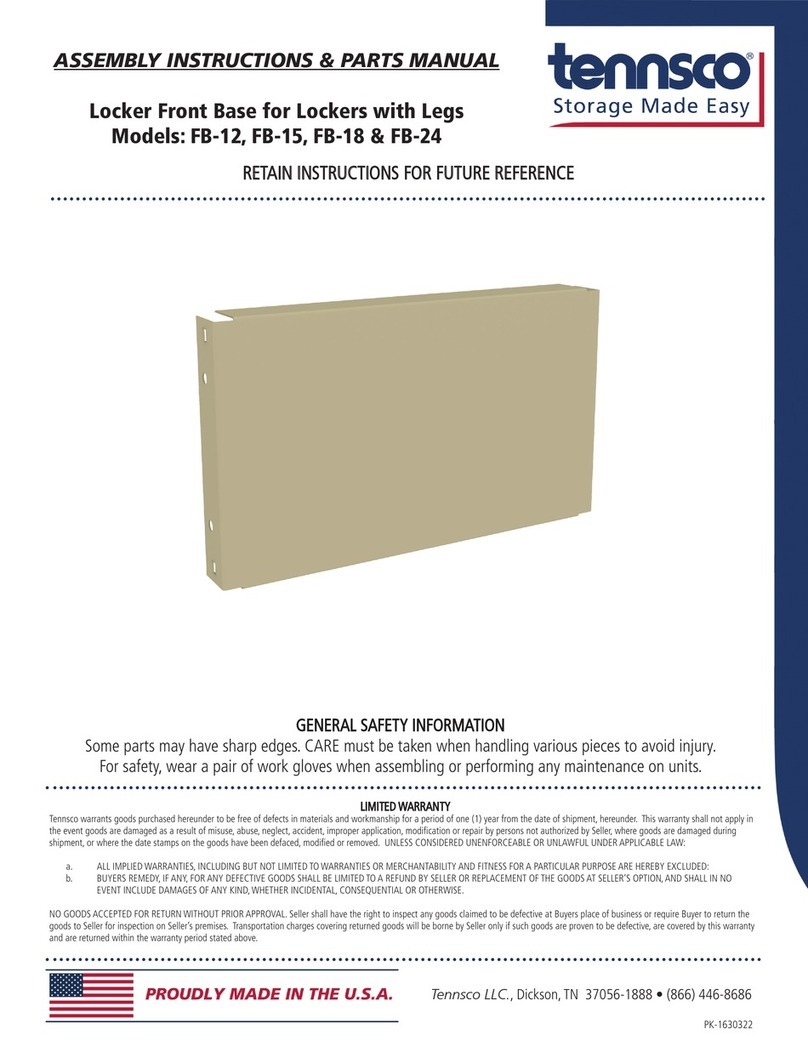
ASSEMBLY INSTRUCTIONS & PARTS MANUAL
RETAIN INSTRUCTIONS FOR FUTURE REFERENCE
GENERAL SAFETY INFORMATION
Some parts may have sharp edges. CARE must be taken when handling various pieces to avoid injury.
For safety, wear a pair of work gloves when assembling or performing any maintenance on the units.
LIMITED WARRANTY
Tennsco warrants goods purchased hereunder to be free of defects in materials and workmanship for a period of one (1) year from the date of shipment, hereunder. This warranty shall not apply in
the event goods are damaged as a result of misuse, abuse, neglect, accident, improper application, modication or repair by persons not authorized by Seller, where goods are damaged during
shipment, or where the date stamps on the goods have been defaced, modied or removed. UNLESS CONSIDERED UNENFORCEABLE OR UNLAWFUL UNDER APPLICABLE LAW:
a. ALL IMPLIED WARRANTIES, INCLUDING BUT NOT LIMITED TO WARRANTIES OR MERCHANTABILITY AND FITNESS FOR A PARTICULAR PURPOSE ARE HEREBY EXCLUDED:
b. BUYERS REMEDY, IF ANY, FOR ANY DEFECTIVE GOODS SHALL BE LIMITED TO A REFUND BY SELLER OR REPLACEMENT OF THE GOODS AT SELLER’S OPTION, AND SHALL IN NO
EVENT INCLUDE DAMAGES OF ANY KIND, WHETHER INCIDENTAL, CONSEQUENTIAL OR OTHERWISE.
NO GOODS ACCEPTED FOR RETURN WITHOUT PRIOR APPROVAL. Seller shall have the right to inspect any goods claimed to be defective at Buyers place of business or require Buyer to return the
goods to Seller for inspection on Seller’s premises. Transportation charges covering returned goods will be borne by Seller only if such goods are proven to be defective, are covered by this warranty
and are returned within the warranty period stated above.
PK-2160419
36” or 48” Wide Double Entry Letter or
Legal Size Imperial Shelving System
Model Series: 2476, 2488, 247848, 248848, 3076 & 3088
Starter Unit Add-On Unit
ASSEMBLY OF IMPERIAL DOUBLE ENTRY UNIT
Two people are recommended for assembly. Approximate assembly time: 30-40 minutes.
The reference numbers used throughout this sheet refer to the illustration on the back cover.
This is to help you to identify the various parts as they are mentioned.
1. Determine whether you will be assembling a single unit, or multiple
units joined together. For a single unit, use two “L” uprights (Ref.
No. 1). For multiple units, use one “L” upright and one “T” upright
(Ref. No. 2).
NOTE: Supports are not fully seated unless you can see
an open space through the hole in the shelf support as
shown above.
Tool Required: Rubber Mallet
2. Examine the slots on the two uprights you have
selected. When an upright is standing up on end,
the narrow part of the keyhole slots should be
toward the oor, while the wide part should be
toward the top.
3. After determining which end of the upright is the bottom, attach a
plastic foot (Ref. No. 11 or 12) to the bottom of each upright by
pressing it into place. Note the differences at right between a foot
for an “L” upright and a foot for a “T” upright.
4. Lean one “L” upright against
a wall, and temporarily place
one shelf support (Ref. No. 3)
at approximately eye
level to properly space the
uprights. Make sure both
rivets on the shelf support are
fully inserted into the keyhole
slots, and are rmly seated
at the bottom of the keyhole
as shown in step 5.
5. To rmly seat shelf supports and backstops, make sure both
rivets are fully inserted in the keyhole slots, and rmly seated in
the bottom of the slot. A rubber mallet can be helpful in
accomplishing this.
6. Hold a second “L” upright
(or a “T” upright if you
are assembling multiple
units) approximately 36”
away. Pull the rst
upright away from the
wall using the shelf support
you attached in step 4, and
insert the other end of the
shelf support into the
second upright.
NOTE: Take care not to
let the uprights fall,
as they are not
stable until this step
is completed.
7. Place a shelf support at the rear of the unit in the bottom keyhole
slots, in the same way you placed the shelf support in steps 4
through 6. Then, place a second shelf support at bottom front of
unit.
Closed “L” Upright Closed “T” Upright
12
Up
Down
“L” Upright “T” Upright


Properly Seated Not Seated
8. Place a shelf reinforcement (Ref. No. 8) across the two shelf supports.
The slot in each end of the shelf reinforcement should t over the
ridge of the shelf support.
9. Attach one center stop (Ref. No. 4) to one of the slotted shelves (Ref.
No. 5) by aligning the three holes in the center stop
ange with the holes in the center of
the shelf. Attach with three
10-24 x ” bolts
and nuts
(Ref. Nos. 9 & 10).
13. Insert shelf dividers (Ref. No. 7) by placing dividers into slots on
shelf and then hooking into the slot in the back stop. You have
been provided with enough dividers for ten per shelf level (ve
on each side of the shelf), but these can be placed in whatever
position most suits your needs.
14. If you are assembling only a single unit, assembly is now complete
(shown below left). If you are assembling multiple units joined
together, your starter unit should have been assembled with a “T”
upright (shown below right), as described in step 1. Continue with
step 15.
15. Repeat steps 4 through 13, adding the shelf supports to the “T”
upright already in place on the unit.
NOTE: The plain shelf
(without slots) is for the
unit top.
10. Place the shelf, with the
center stop attached,
onto the unit by lowering it
over the top of the shelf
supports. The edges
of the shelf should t over
the top of the shelf
supports, hiding them
from view.
11. Continue the assembly
by placing supports, shelves,
reinforcements and center
stops as described in steps
7 through 10. The
recommended spacing
between shelves is twelve
inches, which equals six open
keyhole slots between
supports. If necessary, move
the temporarily places
reinforcement from step 6.
12. The top shelf supports and top shelf (Ref. No. 6) should be installed
ush with the upright top. Note that the top shelf has no divider slots.
No shelf reinforcements are needed under top shelf.


Completed Single Unit Completed Unit Ready for Add-on
NOTE: 48” wide
units will use two
shelf reinforcements
per shelf level,
equally spaced.


REPLACEMENT PARTS
Tennsco makes every effort to ensure that all units ship complete with all parts and arrive undamaged.
However, should your unit contain missing or damaged parts, please contact your purchase location.
DESCRIPTION
36W x 24D x 76H
PART NO.
6 Openings
QUANTITY
1
2
3
4
5
6
7
8
9
10
11
12
49B216
48W x 24D x 88H
7 Openings
QUANTITY
Starter Add-On Starter Add-On
2476PC 2476AC 248848PC 248848AC
Closed “L” Upright OR
Closed “L” Upright
Closed “T” Upright OR
Closed “T” Upright
Shelf Support OR
Shelf Support
Center Stop OR
Center Stop
Slotted Shelf OR
Slotted Shelf OR
Slotted Shelf OR
Slotted Shelf
Plain Shelf OR
Plain Shelf OR
Plain Shelf OR
Plain Shelf
Divider
Shelf Reinforcement
Shelf Reinforcement OR
10-24 x ½” Bolt w
10-24 x ½” Hex Nut w
Plastic Foot for “L” Upright
Plastic Foot for “T” Upright
2476LC
2488LC
3076LC
3088LC
2476TC
2488TC
3076TC
3088TC
TS-3614
TS-4811
CS-36
CS-48
TQD2-3624
TQD2-4824
TQD2-3630
TQD2-4830
T2-3624
T2-4824
T2-3630
T2-4830
FD-1108
TR-24
TR-30
**
**
LTNF-L
LTNF-T
2
--
--
--
--
--
--
--
14
--
6
--
6
--
--
--
1
--
--
--
60
6
18
18
4
--
--
2
--
--
--
--
--
--
16
--
7
--
7
--
--
--
1
--
--
--
70
7
21
21
4
--
2
--
--
--
--
--
--
--
--
14
--
6
--
6
--
--
--
1
--
--
60
12
18
18
4
--
--
--
--
--
1
--
--
--
--
14
--
6
--
6
--
--
--
1
--
--
60
12
18
18
--
2
Plain Shelf
(Ref No. 6)
Shelf Support
(Ref No. 3)
Shelf Reinforcement
(Ref No. 8)

Center Stop
(Ref No. 4)
Plastic Foot
for “L” Upright
(Ref No. 11)
Plastic Foot
for “T” Upright
(Ref No. 12)
Slotted Shelf
(Ref No. 5)

Closed “T”
Upright
(Ref No. 2)
Closed “L”
Upright
(Ref No. 1)
Divider
(Ref No. 7)
REF.
NO.
48W x 24D x 76H
6 Openings
QUANTITY
Starter Add-On
247648PC 247648AC
36W x 24D x 88H
7 Openings
QUANTITY
Starter Add-On
2488PC 2488AC
--
--
--
--
1
--
--
--
14
--
6
--
6
--
--
--
1
--
--
--
60
6
18
18
--
2
--
--
--
--
--
1
--
--
16
--
7
--
7
--
--
--
1
--
--
--
70
7
21
21
--
2
--
2
--
--
--
--
--
--
--
16
--
7
--
7
--
--
--
1
--
--
70
14
21
21
4
--
--
--
--
--
--
1
--
--
--
16
--
7
--
7
--
--
--
1
--
--
70
14
21
21
--
2
**Available Locally


w Not Shown
36W x 30D x 76H
6 Openings
QUANTITY
Starter Add-On
3076PC 3076AC
36W x 30D x 88H
7 Openings
QUANTITY
Starter Add-On
3088PC 3088AC
--
--
2
--
--
--
--
--
14
--
6
--
--
--
6
--
--
--
1
--
60
--
6
18
18
4
--
--
--
--
--
--
--
1
--
14
--
6
--
--
--
6
--
--
--
1
--
60
--
6
18
18
--
2
--
--
--
2
--
--
--
--
16
--
7
--
--
--
7
--
--
--
1
--
70
--
7
21
21
4
--
--
--
--
--
--
--
--
1
16
--
7
--
--
--
7
--
--
--
1
--
70
--
7
21
21
--
2

This manual suits for next models

17

Other Tennsco Indoor Furnishing manuals
Tennsco ZL7 Series Instruction Manual

Tennsco

Tennsco ZL7 Series Instruction Manual

Tennsco 1870 Instruction Manual

Tennsco

Tennsco 1870 Instruction Manual

Tennsco Open Foreman's Desk Instruction Manual

Tennsco

Tennsco Open Foreman's Desk Instruction Manual

Tennsco 1472 Instruction Manual

Tennsco

Tennsco 1472 Instruction Manual

Tennsco 1436 Instruction Manual

Tennsco

Tennsco 1436 Instruction Manual

Tennsco 3018 Instruction Manual

Tennsco

Tennsco 3018 Instruction Manual

Tennsco BK6-121512-3 Instruction Manual

Tennsco

Tennsco BK6-121512-3 Instruction Manual

Tennsco Standard Combination Cabinet 7220 Instruction Manual
Tennsco

Tennsco Standard Combination Cabinet 7220 Instruction Manual

Tennsco 1870RH Instruction Manual

Tennsco

Tennsco 1870RH Instruction Manual

Tennsco WBHC-1516-MGY Instruction Manual

Tennsco

Tennsco WBHC-1516-MGY Instruction Manual

Tennsco B-8400 Instruction Manual

Tennsco

Tennsco B-8400 Instruction Manual

Tennsco 7218 Instruction Manual

Tennsco

Tennsco 7218 Instruction Manual

Tennsco ZA7-4824S-4D Instruction Manual

Tennsco

Tennsco ZA7-4824S-4D Instruction Manual

Tennsco Imperial Shelving 3630 Instruction Manual

Tennsco

Tennsco Imperial Shelving 3630 Instruction Manual

Tennsco EB-12 Instruction Manual

Tennsco

Tennsco EB-12 Instruction Manual

Tennsco ESP-1236 Instruction Manual

Tennsco

Tennsco ESP-1236 Instruction Manual

Tennsco J1842A-N Instruction Manual

Tennsco

Tennsco J1842A-N Instruction Manual

Tennsco FB-12 Instruction Manual

Tennsco

Tennsco FB-12 Instruction Manual
Tennsco SRS-601878 Series Instruction Manual

Tennsco

Tennsco SRS-601878 Series Instruction Manual

Tennsco 1870 User manual

Tennsco

Tennsco 1870 User manual

Tennsco 1470RH Instruction Manual

Tennsco

Tennsco 1470RH Instruction Manual

Tennsco MB-2-2542 Instruction Manual

Tennsco

Tennsco MB-2-2542 Instruction Manual

Tennsco CC-30 Instruction Manual

Tennsco

Tennsco CC-30 Instruction Manual

Tennsco LSS-361872 Instruction Manual

Tennsco

Tennsco LSS-361872 Instruction Manual

Popular Indoor Furnishing manuals by other brands

LDI Safco Resi 1718 instructions

LDI

LDI Safco Resi 1718 instructions

Safavieh Furniture MED9613 manual

Safavieh Furniture

Safavieh Furniture MED9613 manual

Discovery World Furniture 2135 instructions

Discovery World Furniture

Discovery World Furniture 2135 instructions

Balt Modesty Assembly instructions

Balt

Balt Modesty Assembly instructions

CABINETS TO GO Findley & Myers SB24 Assembly instructions

CABINETS TO GO

CABINETS TO GO Findley & Myers SB24 Assembly instructions

Coaster 2408 Assembly instructions

Coaster

Coaster 2408 Assembly instructions

Crate&Barrel Cameo manual

Crate&Barrel

Crate&Barrel Cameo manual

expand furniture PRATICO END LIFT UP QUEEN BED Assembly instruction

expand furniture

expand furniture PRATICO END LIFT UP QUEEN BED Assembly instruction

fantastic furniture Pod Lowboy 3 Drw manual

fantastic furniture

fantastic furniture Pod Lowboy 3 Drw manual

Shockwave S2 Operation & service manual

Shockwave

Shockwave S2 Operation & service manual

Baxton Studio LCF20202 Assembly instructions

Baxton Studio

Baxton Studio LCF20202 Assembly instructions

EAST COAST Alby Assembly and care instructions

EAST COAST

EAST COAST Alby Assembly and care instructions

John Louis Home JLH732 Assembly instructions

John Louis Home

John Louis Home JLH732 Assembly instructions

Intellinet 714143 instructions

Intellinet

Intellinet 714143 instructions

Fienza INVISICAB IN3030 Installation guidelines

Fienza

Fienza INVISICAB IN3030 Installation guidelines

GMP CUB24PWHT Assembly instructions

GMP

GMP CUB24PWHT Assembly instructions

SIGE 006G Assembly instruction

SIGE

SIGE 006G Assembly instruction

all33 BackStrong C1 Assembly instructions

all33

all33 BackStrong C1 Assembly instructions

manuals.online logo
manuals.online logoBrands
  • About & Mission
  • Contact us
  • Privacy Policy
  • Terms and Conditions

Copyright 2025 Manuals.Online. All Rights Reserved.