manuals.online logo
Brands
  1. Home
  2. •
  3. Brands
  4. •
  5. Theben
  6. •
  7. Security Sensor
  8. •
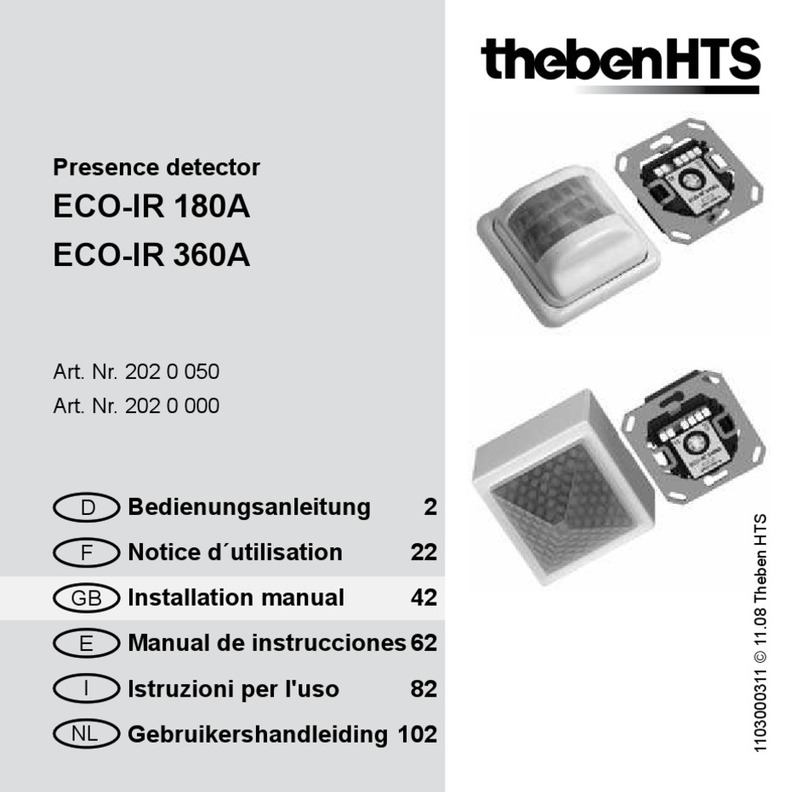
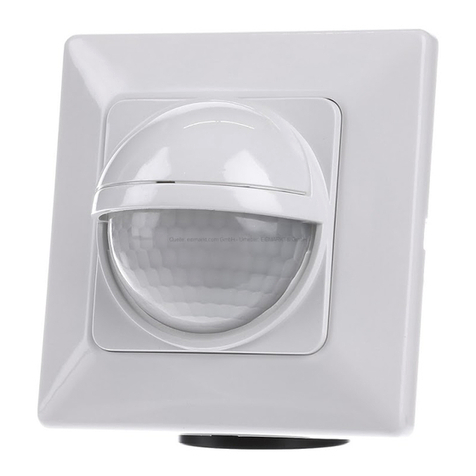
  9. Theben LUXA 103-100 AP WH User manual

Theben LUXA 103-100 AP WH User manual

1
LUXA 103-100 AP WH
1030022
LUXA 103-101 AP WH
1030023
307344
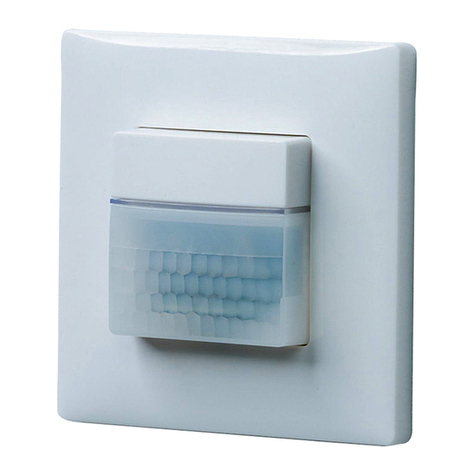
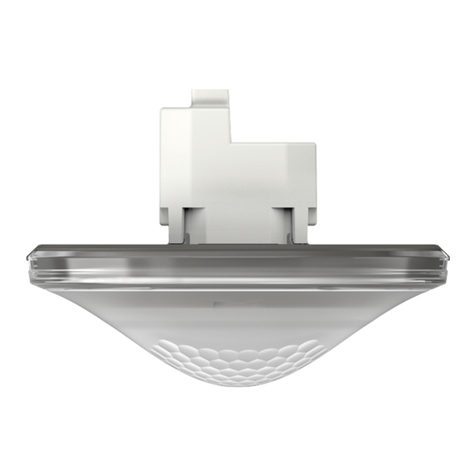
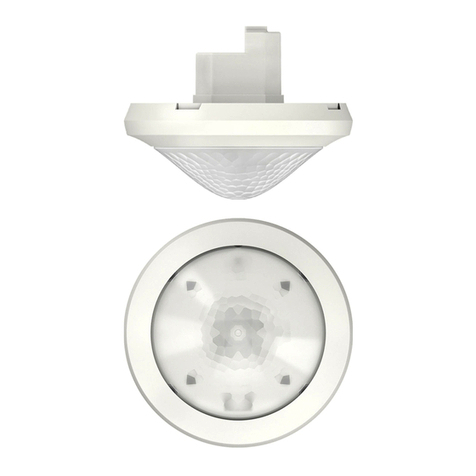
Motion detector
EN
1. Basic safety information
Danger of death through electric shock or fire!
 Installation should only be carried out by a
qualied electrician!
WARNING
•The device conforms with EN 60669-2-1 if installed
correctly
2. Proper use
•Motion detector for automatic lighting control dependent
on presence and brightness (LUXA 103-100 AP); LUXA
103-101 AP: suitable for automatic lighting and HVAC
control (HVAC switches on regardless of brightness)
•Suitable for ceiling installation indoors with back boxes
•Suitable for toilets, small rooms, workplaces, ofces, etc.
Disposal
Dispose of the device in an environmentally sound manner
(electronic waste)
3. Device description
3 potentiometers for setting
time delay (TIME), bright-
ness value (LUX) and detec-
tion area (METRES) (under
the cover);
additional setting of HVAC
time (TIME 2) in the case of
LUXA 103-101 AP
red LED
4. Installation and connection
!Secure device with an upstream type C circuit breaker (EN
60898-1) with a maximum of 10 A (channel 1)
!Secure device with an upstream type C circuit breaker (EN
60898-1) with a maximum of 6 A (HVAC channel 2)
Installing the motion detector
LInstallation height: 2 – 3 m
LMotion detector requires clear line of sight to people
Disconnect power source
0FF
230V
Carefully lift the outer cover with a screwdriver and
unscrew the upper housing part
2
Observe the break-outs for ush-mounting socket
B
5 6
6 0
7 0
8 0
8 4
A
8 0
8 4
7 0
6 0
5 6
Strip cable to 6 – 8 mm
6
30 - 35mm
- 8 m m
56
60
70
80
84
N L L D1 D2
56
60
70
80
84
Make marks for the holes and drill the holes
60
56
60
Fix the base to the ceiling, connect the individual wires to
the appropriate terminal and tighten the screws
Screw on the housing
60
56
60
Make settings at the potentiometers
Put on the cover and close catch mechanism
Connect motion detector to power supply
2
The device need
60 seconds to warm up.
Connecting the motion detector
Danger of death through electric shock or fire!
 Installation should only be carried out by a
qualied electrician!
WARNING
Disconnect power source
Ensure device cannot be switched on
Check absence of voltage
Earth and bypass
Cover or shield any adjacent live components
The warm-up phase takes approx. 60 s. The LED is perma-
nently red.
N
PE L L
N
L
PE
N
L
D1 D2
NL L
LUXA 103-100 AP LUXA 103-101 AP
Installation instructions and detection area
As the detector reacts to variations in temperature, avoid the
following situations:
Do not direct motion detectors at objects with highly-
reective surfaces such as mirrors, etc.
Do not install the motion detector near heat sources, such
as heating outlets, air conditioning systems, lamps, etc.
Do not direct the motion detector at objects that move in
the wind, such as curtains, large plants, etc.
Pay attention to the direction of motion during the test run.
3,5 m
4 m
7 m
2 m
Lrecommended installation height: 2.5 m
5. Walking test
The walking test is used to test the detection area.
Set the time delay potentiometer (TIME 1) to Test. The
motion detector only reacts to movements, brightness
measurement is switched off.
Walk through the detection area. Every detected movement
is indicated by the LED, and the light switch contact closes
for 2 s.
2 sec
Test

6. Setting
The motion detector LUXA 103-100 AP has 3 potentiometers
for setting the time delay (TIME 1), brightness (LUX) and sen-
sitivity (METRES); in the case of LUXA 103-101 AP the HVAC
time (TIME 2) can also be set.
LUXA 103-101




Setting the brightness (LUX)
You can set different brightness values with the brightness
potentiometer (LUX).
If you want to change the preset brightness
Set the potentiometer to the desired brightness
(10 – 2000 lux = )
3
If you want a specic brightness value to be learned using the
teach-in function
At the desired brightness, set the potentiometer to . The
LED ashes for 25 s, afterwards the measured brightness
value is accepted.
Leave the potentiometer at position .
Setting the time delay (TIME 1)
If the motion detector detects no further movement, it swit-
ches off after the set time delay.
If you want to change the preset time
Set the potentiometer to the desired time (5 s - 30 min).
If you want to use the pulse function (e.g. for a staircase light
timer switch)
Set the potentiometer to . The presence detector for
"staircase light timer switch" operation is on for 1 s and off
for
9 s.
Setting the HVAC time (TIME 2) (only LUXA 103-101 AP)
Set the potentiometer to the desired time (10 s - 60 min.).
HVAC switches on regardless of brightness
Setting the sensitivity (METRES)
You can reduce the sensitivity in order to avoid switching
errors.
Set potentiometer METRES to the desired
sensitivity.
Manual operation
The lighting can be manually switched on/off via a button.
N
PE LL‘
N
L
When the light is off
Briey press button once
▻The light is on for the time set on the potentiometer;
then the detector goes into automatic mode
Limiting the detection area
Use the supplied cover clips to adjust the motion detector
to the desired detection area.
Remove the required section of the cover clip by using
pliers or similar.
Then place it on the lens.
A
B
7. Technical data
Operating voltage 230 V AC ±10% - 15%
Frequency 50 Hz/60 Hz
Upstream protection device 10 A
Standby output 0.5 W
Switching capacity min. 10 mA
Protection rating IP 44 in accordance with EN 60529
Protection class II
Operating temperature 0 °C … +45 °C
Brightness setting range 10 – 2000 lx/∞
Duty cycle range LUXA 103-100 AP: 5 s – 30 min for
lighting
LUXA 103-101 AP: 5 s – 30 min for
lighting
10 s – 60 min for HVAC
Detection angle 360°
Detection area lateral/frontal: 7 m/4 m
Installation height 2 – 3 m (2.5 m recommended)
Light switch output µ contact 230 V AC zero-cross
switching
Switch output HVAC (D1/D2) LUXA 103-101 AP: 5 A (at 250 V AC,
cos ϕ= 1)
Incandescent lamp load max. 2000 W
Halogen lamp load max. 2000 W
Low-voltage halogen lamps
(transformer)
max. 1000 VA
Fluorescent lamps (LLB low-loss
ballasts):
parallel compensated
max. 900 VA (100 µF)
Fluorescent lamps (EB – electronic
ballasts)
600 W
Compact uorescent lamps (EB) 400 W
LED lamps (< 2 W) 35 W
LED lamps (> 2 W) 400 W
4
8. Contact
Theben AG
Hohenbergstr. 32
72401 Haigerloch
GERMANY
Tel. +49 7474 692-0
Fax +49 7474 692-150
Hotline
Tel. +49 7474 692-369
[email protected]
Addresses, telephone numbers etc.
www.theben.de

This manual suits for next models

2

Other Theben Security Sensor manuals

Theben Luxa 103-200 User manual

Theben

Theben Luxa 103-200 User manual

Theben ECO-IR DUAL-C NT User manual

Theben

Theben ECO-IR DUAL-C NT User manual

Theben PlanoCentro A-KNX Instructions for use

Theben

Theben PlanoCentro A-KNX Instructions for use

Theben thePixa P360 KNX UP WH User manual

Theben

Theben thePixa P360 KNX UP WH User manual

Theben thePixa P360 KNX UP WH User manual

Theben

Theben thePixa P360 KNX UP WH User manual

Theben 201 9 290 User manual

Theben

Theben 201 9 290 User manual

Theben theLeda D S AL User manual

Theben

Theben theLeda D S AL User manual

Theben PlanoCentro 000-E Series User manual

Theben

Theben PlanoCentro 000-E Series User manual

Theben LUXA 104 S360-200-24 DE-UP WH User manual

Theben

Theben LUXA 104 S360-200-24 DE-UP WH User manual

Theben ECO-IR 180A User manual

Theben

Theben ECO-IR 180A User manual

Theben theMura S180-100 UP WH User manual

Theben

Theben theMura S180-100 UP WH User manual

Theben thePrema S360-100 E UP WH User manual

Theben

Theben thePrema S360-100 E UP WH User manual

Theben theMova S360-101 DE WH User manual

Theben

Theben theMova S360-101 DE WH User manual

Theben Timeguard PDSM361AB Manual

Theben

Theben Timeguard PDSM361AB Manual

Theben TIMEGUARD PDFM361AB Manual

Theben

Theben TIMEGUARD PDFM361AB Manual

Theben thePixa P360 KNX UP WH User manual

Theben

Theben thePixa P360 KNX UP WH User manual

Theben SPHINX 104-360/2 DIMplus User manual

Theben

Theben SPHINX 104-360/2 DIMplus User manual

Theben ECO-IR 180EIB-AC User manual

Theben

Theben ECO-IR 180EIB-AC User manual

Theben thePixa P360 24V KNX UP WH User manual

Theben

Theben thePixa P360 24V KNX UP WH User manual

Theben compact office 24V User manual

Theben

Theben compact office 24V User manual

Theben theLuxa S150 WH User manual

Theben

Theben theLuxa S150 WH User manual

Theben theRonda P360-330 DALI UP WH User manual

Theben

Theben theRonda P360-330 DALI UP WH User manual

Theben thePrema P360-101 E UP WH User manual

Theben

Theben thePrema P360-101 E UP WH User manual

Theben TA 4 S DALI-2 User manual

Theben

Theben TA 4 S DALI-2 User manual

Popular Security Sensor manuals by other brands

DELTA DORE DMB TYXAL+ installation guide

DELTA DORE

DELTA DORE DMB TYXAL+ installation guide

Rohm BH1730FVC-TR Technical notes

Rohm

Rohm BH1730FVC-TR Technical notes

METER SDI-12 manual

METER

METER SDI-12 manual

Buckingham 60007 instructions

Buckingham

Buckingham 60007 instructions

B.E.G. LUXOMAT Indoor 180-R Operating and mounting instruction

B.E.G.

B.E.G. LUXOMAT Indoor 180-R Operating and mounting instruction

INTERSPIRO Respire N user manual

INTERSPIRO

INTERSPIRO Respire N user manual

Axis T8331-E installation guide

Axis

Axis T8331-E installation guide

DAITEM SH195AX installation manual

DAITEM

DAITEM SH195AX installation manual

Autronica AutroFlame X33AF instructions

Autronica

Autronica AutroFlame X33AF instructions

Olympia SECURE Series quick start guide

Olympia

Olympia SECURE Series quick start guide

AVS Electronics SPECTRUM PA WALL manual

AVS Electronics

AVS Electronics SPECTRUM PA WALL manual

PCB Piezotronics 4115K-10A Installation and operating manual

PCB Piezotronics

PCB Piezotronics 4115K-10A Installation and operating manual

RKI Instruments 35-3010RK-06-02 manual

RKI Instruments

RKI Instruments 35-3010RK-06-02 manual

DBI SALA EZ Stop User instruction manual

DBI SALA

DBI SALA EZ Stop User instruction manual

3M MACURCO GD-2 User instructions

3M

3M MACURCO GD-2 User instructions

Minelab MDS-10 Operation manual

Minelab

Minelab MDS-10 Operation manual

Indexa HA06 Operation and safety notes

Indexa

Indexa HA06 Operation and safety notes

HOGERT HT8G413 user manual

HOGERT

HOGERT HT8G413 user manual

manuals.online logo
manuals.online logoBrands
  • About & Mission
  • Contact us
  • Privacy Policy
  • Terms and Conditions

Copyright 2025 Manuals.Online. All Rights Reserved.