manuals.online logo
Brands
  1. Home
  2. •
  3. Brands
  4. •
  5. Toa
  6. •
  7. Control Unit
  8. •
  9. Toa ZM-9001 User manual

Toa ZM-9001 User manual

ZONE MANAGERS
OPERATING INSTRUCTIONS
ZM-9001, ZM-9002
Thank you for purchasing TOA's Zone Manager.
Please carefully follow the instructions in this manual to ensure long, trouble-free use of your equipment.
1. GENERAL DESCRIPTION
The ZM-9001 is a remote control switch panel used with the 9000 Series amplifiers.
It adds 6 control inputs and can be mounted in a 1-gang electrical box (American type).
The ZM-9002 is a remote control switch/volume panel used with the 9000 Series amplifiers.
It adds 4 control inputs and 1 volume control, and can be mounted in a 1-gang electrical box
(American type).
2. NOMENCLATURE AND FUNCTIONS
2.1. ZM-9001
[Front] [Rear]
1
3
5
2
4
6
E OUT
1
2
1. Control buttons [1 – 6]
Activate the function assigned to them when
pressed.
2. Control output terminal [E, OUT]
Connect this terminal to the 9000 Series
amplifier's REMT VOL terminal.
Use a shielded cable with 50 Ωor less line
resistance (per line) for this connection.
Avoid installation of this cable and power cables
in the same conduit. Separate piping.
2.2. ZM-9002
[Front] [Rear]
1
3
2
4
0
E OUT
3
4
5
3. Control buttons [1 – 4]
Activate the function assigned to them when
pressed.
4. Volume control
Adjusts the volume on the assigned input or
output channel.
5. Control output terminal [E, OUT]
Connect this terminal to the 9000 Series
amplifier's REMT VOL terminal.
Use a shielded cable with 50 Ωor less line
resistance (per line) for this connection.
Avoid installation of this cable and power cables
in the same conduit. Separate piping.
3. CONNECTIONS
Connecting the ZM-9001 Zone Manager to the 9000 Series amplifier adds 6 control inputs and
allows the equipped 6 control buttons to perform the functions assigned for input's or output's
channel volume up/down, or other functions.
Connecting the ZM-9002 Zone Manager to the 9000 Series amplifier adds 1 volume control and 4
control inputs. Volume of the input or output channels can be remotely adjusted with the volume
control, and the 4 control buttons can be assigned the same functions as those of the ZM-9001.
Function assignment to the control buttons or volume control is performed at the 9000 Series
amplifier. For the method, refer to the instruction manual supplied with the 9000 Series amplifier.
E
E
4
4
3
3
1
2
2
1
VOL2
REMT
VOL1
REMT
OUT
IN
I/O
CTRL
E
IN
E
IN
REMT VOL1
(Remote volume 1)
REMT VOL2
(Remote volume 2)
IN
E
IN
E
OUT
ZM-9001
E
1
2
3
4
5
6
1
2
3
4
Volume control
ZM-9002
OUT
E
REMT VOL terminal
9000 Series amplifier
Note
One ZM-9001 or one ZM-9002 can be
connected to each of the REMT VOL1 and
2 terminals.
5. SPECIFICATIONS4. DIMENSIONAL DIAGRAMS
5.1. ZM-9001
5.2. ZM-9002
Single conductor shielded cable
50 Ωor less (per line)
M3 screw terminal, distance between barriers: 7.62 mm
–10 to +40°C
Surface-treated steel plate, white, paint
72 (w) x 127 (h) x 45 (d) mm
170 g
Applicable Cable
Line Resistance
Terminal
Operating Temperature
Finish
Dimensions
Weight
Note: The design and specifications are subject to change without notice for improvement.
• Accessories
Machine screw (for box mounting)
No.6-32UNC x 30 .................................................................................. 2
M4 x 30 .................................................................................................. 2
Machine screw (for panel mounting) No.6-32UNC x 6 ............................... 2
Single conductor shielded cable
50 Ωor less (per line)
M3 screw terminal, distance between barriers: 7.62 mm
–10 to +40°C
Surface-treated steel plate, white, paint
72 (w) x 127 (h) x 56 (d) mm
170 g
Applicable Cable
Line Resistance
Terminal
Operating Temperature
Finish
Dimensions
Weight
Note: The design and specifications are subject to change without notice for improvement.
• Accessories
Machine screw (for box mounting)
No.6-32UNC x 30 .................................................................................. 2
M4 x 30 .................................................................................................. 2
Machine screw (for panel mounting) No.6-32UNC x 6 ............................... 2
[Front] [Front View without panel][Side]
[Figure when mounted] [Dimensions of mounting opening][Bottom]
1-gang electrical box (American type, not supplied)
[Figure when mounted] [Dimensions of mounting opening][Bottom]
[Front] [Front View without panel][Side]
Unit: mm
Unit: mm
72
33
45
37
66.4
97
70
66
83.5
97
104
127
6
32.6
38
42
83.5
90 – 98
46 – 50
46 – 50
83.5
90 – 98
38
42
66
83.5
97
104
32.6
70
56
637
72
33
66.4
97
127
4.2. ZM-9002
4.1. ZM-9001
133-05-401-5D
URL: http://www.toa.jp/
Traceability Information for Europe (EMC directive 2004/108/EC)
Manufacturer:
TOA Corporation
7-2-1, Minatojima Nakamachi, Chuo-ku, Kobe, Hyogo,
Japan
Authorized representative:
TOA Electronics Europe GmbH
Suederstrasse 282, 20537 Hamburg,
Germany

This manual suits for next models

1

Other Toa Control Unit manuals

Toa WTU-M9800 User manual

Toa

Toa WTU-M9800 User manual

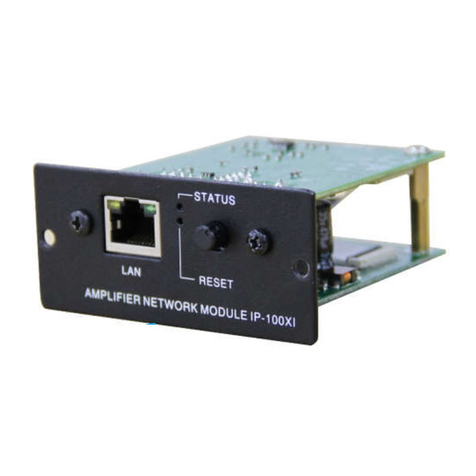
Toa IP-100XI User manual

Toa

Toa IP-100XI User manual

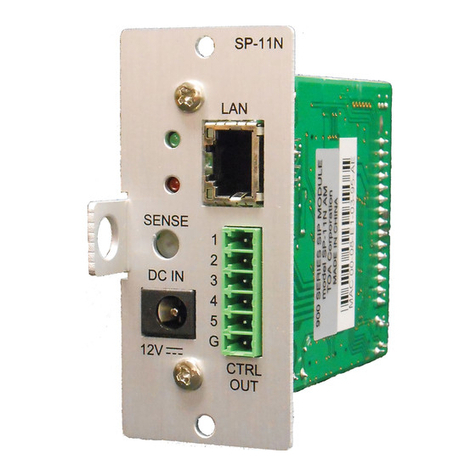
Toa SP-11N User manual

Toa

Toa SP-11N User manual

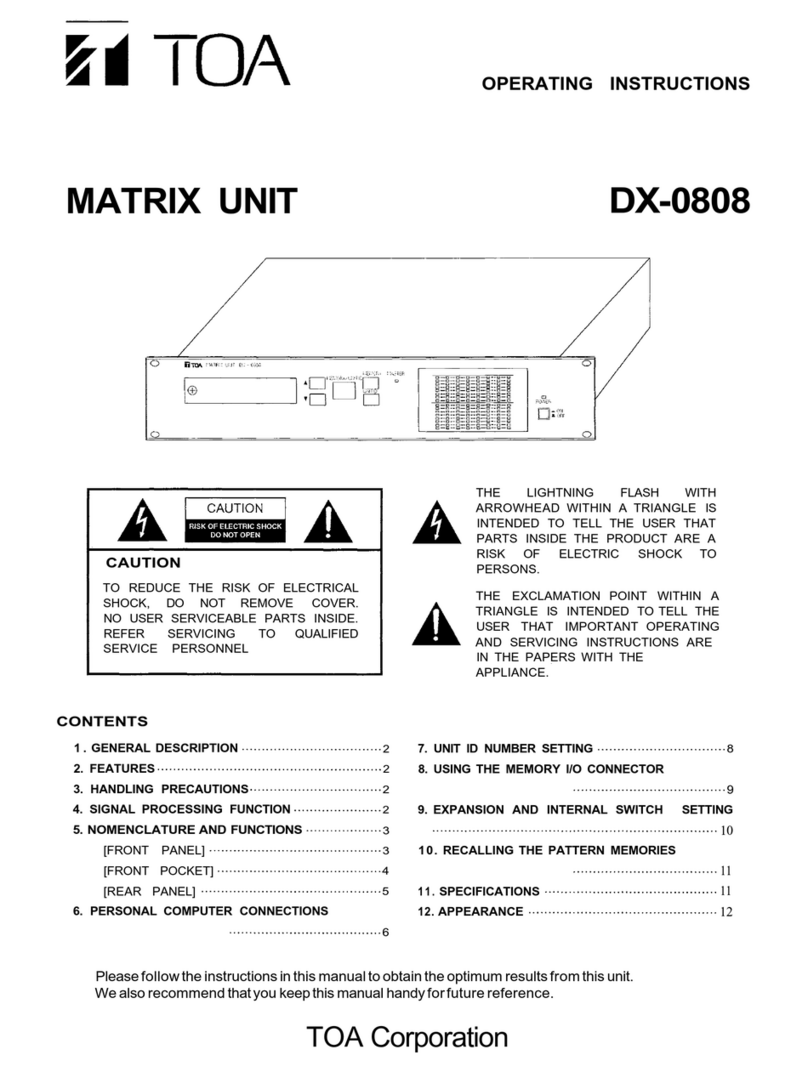
Toa DX-0808 User manual

Toa

Toa DX-0808 User manual

Toa U-14R User manual

Toa

Toa U-14R User manual

Toa AT-4012B-EB User manual

Toa

Toa AT-4012B-EB User manual

Toa AC-F1 User manual

Toa

Toa AC-F1 User manual

Toa AT-063Ap User manual

Toa

Toa AT-063Ap User manual

Toa D-2000DA1 User manual

Toa

Toa D-2000DA1 User manual

Toa AT-4000 Series User manual

Toa

Toa AT-4000 Series User manual

Toa IP-300XI User manual

Toa

Toa IP-300XI User manual

Toa AT-4060 AS User manual

Toa

Toa AT-4060 AS User manual

Toa SX-200IP User manual

Toa

Toa SX-200IP User manual

Toa AC-M1 User manual

Toa

Toa AC-M1 User manual

Toa COBRANET User manual

Toa

Toa COBRANET User manual

Popular Control Unit manuals by other brands

CEAG COOPER Crouse-Hinds GHG 664 5 Series operating instructions

CEAG

CEAG COOPER Crouse-Hinds GHG 664 5 Series operating instructions

IS5 COMMUNICATIONS RAPTOR quick start guide

IS5 COMMUNICATIONS

IS5 COMMUNICATIONS RAPTOR quick start guide

tozen PRV-CPR instruction manual

tozen

tozen PRV-CPR instruction manual

Baso BG1600M installation instructions

Baso

Baso BG1600M installation instructions

Greystone Energy Systems GT-ASM Series installation instructions

Greystone Energy Systems

Greystone Energy Systems GT-ASM Series installation instructions

Honeywell Y8610U Product data

Honeywell

Honeywell Y8610U Product data

Franklin Electric 2803552115 Assembly and operation instructions

Franklin Electric

Franklin Electric 2803552115 Assembly and operation instructions

Bosch ISP-EMIL-120 installation manual

Bosch

Bosch ISP-EMIL-120 installation manual

Anritsu MT1000A Network Master Pro Operation manual

Anritsu

Anritsu MT1000A Network Master Pro Operation manual

GARAN EWS-102 Supplementary information

GARAN

GARAN EWS-102 Supplementary information

Aerotech UFM-ST Hardware manual

Aerotech

Aerotech UFM-ST Hardware manual

urmet domus BiBus II ED. 1072 manual

urmet domus

urmet domus BiBus II ED. 1072 manual

Advantech ADAM-5000 Series user manual

Advantech

Advantech ADAM-5000 Series user manual

Azbil ACTIVAL FVY5130J Specifications & instructions

Azbil

Azbil ACTIVAL FVY5130J Specifications & instructions

Kemper ETA-THERM 130 Installation and operating manual

Kemper

Kemper ETA-THERM 130 Installation and operating manual

Metso Neles R series Installation maintenance and operating instructions

Metso

Metso Neles R series Installation maintenance and operating instructions

ElMod ThinkTank Pro Instructions for Assembly and Handling

ElMod

ElMod ThinkTank Pro Instructions for Assembly and Handling

Definox Sorio Basic 1EV installation guide

Definox

Definox Sorio Basic 1EV installation guide

manuals.online logo
manuals.online logoBrands
  • About & Mission
  • Contact us
  • Privacy Policy
  • Terms and Conditions

Copyright 2025 Manuals.Online. All Rights Reserved.