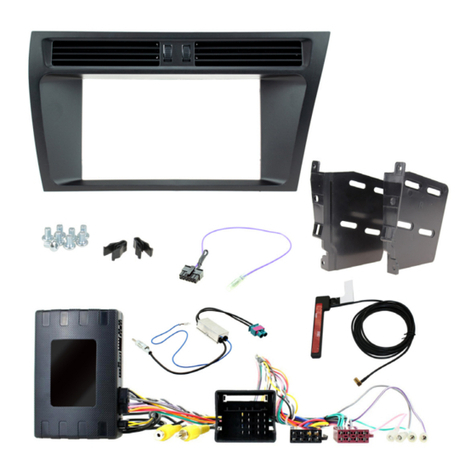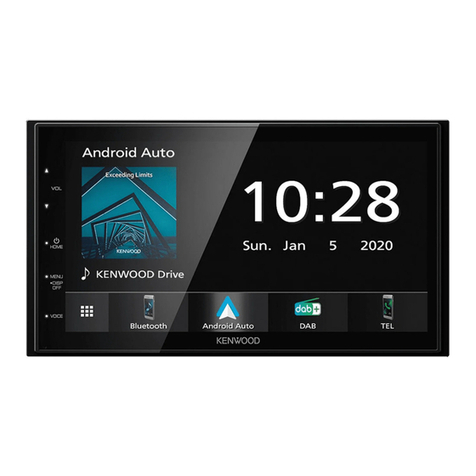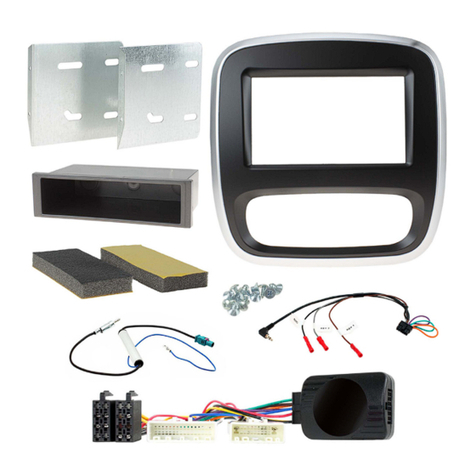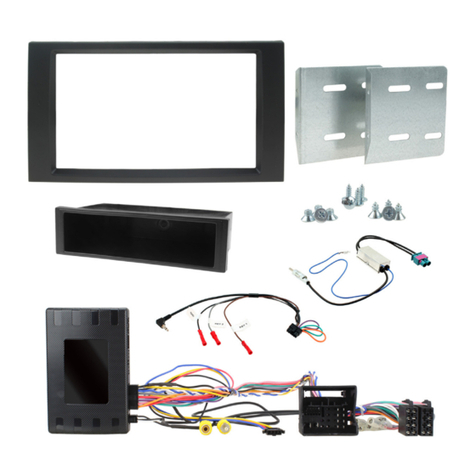
3
www.topvehicletech.com
FITTING GUIDE
STEREO REMOVAL
1. Use a panel removal tool to remove air vent panel. Once free, remove from the dashboard whilst dis-
connecng the hazard switch.
2. With the air vent panel removed, undo the 2x screws located at the top of the main fascia panel.
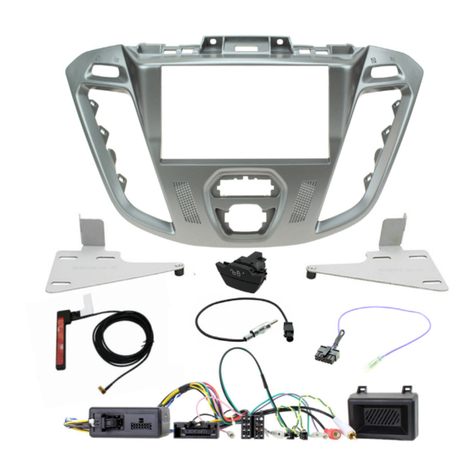
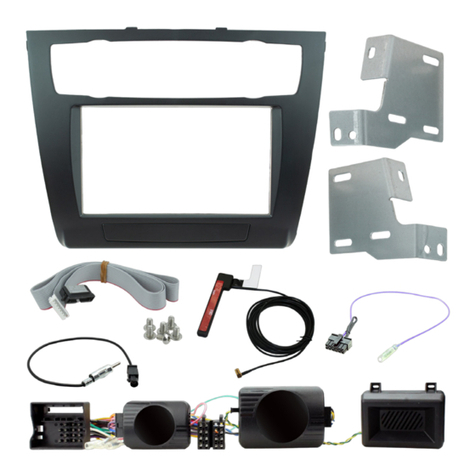
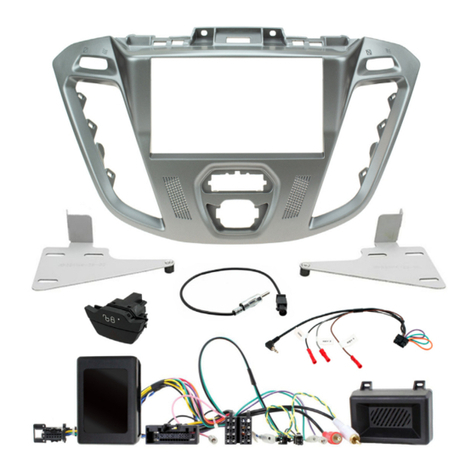
2. Aach the brackets that come with the kit to the relevant sides of the stereo. Place into the vehicle and
roughly test t with the fascia to measure whether the brackets need moving forward/backwards.
3. When happy with the alignment of the brackets, and the “Stereo Installaon” process is complete,
screw the stereo into the dashboard using the pre-exisng screws and placing the new fascia overtop,
whilst reconnecng the buons. Reassemble the dashboard in reverse order to complete the installaon.
3. Use the panel removal tool to carefully undo the clip holding the middle post in place. Once done, pull
the fascia forward and disconnect both buons on either side.
4. Connect the antenna adapter to both the pre-exisng vehicle connecon and to the back of the new
stereo.
2. Take the steering wheel control interface and aach the 14-way steering wheel harness connector to
the relevant side.
STEREO INSTALLATION
5. Aach the 4-way camera extension harness to the steering wheel control interface.
6. Aach the speaker to the interface using the 2-way connecon.
7. Connect the male yellow RCA to the ‘reverse camera input’ on the back of the new stereo.
4. Undo the 4x screws that surround the main head unit and remove it whilst disconnecng all the wiring.
1. Using the panel removal tool, remove the buons from the old fascia and transfer them into the
appropriate locaons in the new fascia.
ON (DOWN) OFF (UP)
DIPSWITCH 1 Pioneer head units All other head units
DIPSWITCH 2 Reverse Camera PAL Reverse Camera NTSC
DIPSWITCH 3 Reset factory sengs (switch) Reset factory sengs
DIPSWITCH 4 Not Used Not Used
1. Take the interface and set the dipswitches accordingly (note that these are default to o):
8. Connect the aermarket reverse camera (if required) to the female yellow RCA on the camera extension
harness.
Note: ensure the ‘Camera Connected’ opon in the ‘Preferences’ menu is set to ‘Yes’ for the camera to
funcon correctly.
3. Make a cut within the orange and purple loops on the back of the patch lead connector. Then proceed
to aach ‘Key 1’ to the light blue ‘SWC Remote’ wire on the stereo. When done, connect the 12-way
connector to the steering wheel control interface.
