manuals.online logo
Brands
  1. Home
  2. •
  3. Brands
  4. •
  5. Tot Mate
  6. •
  7. Indoor Furnishing
  8. •
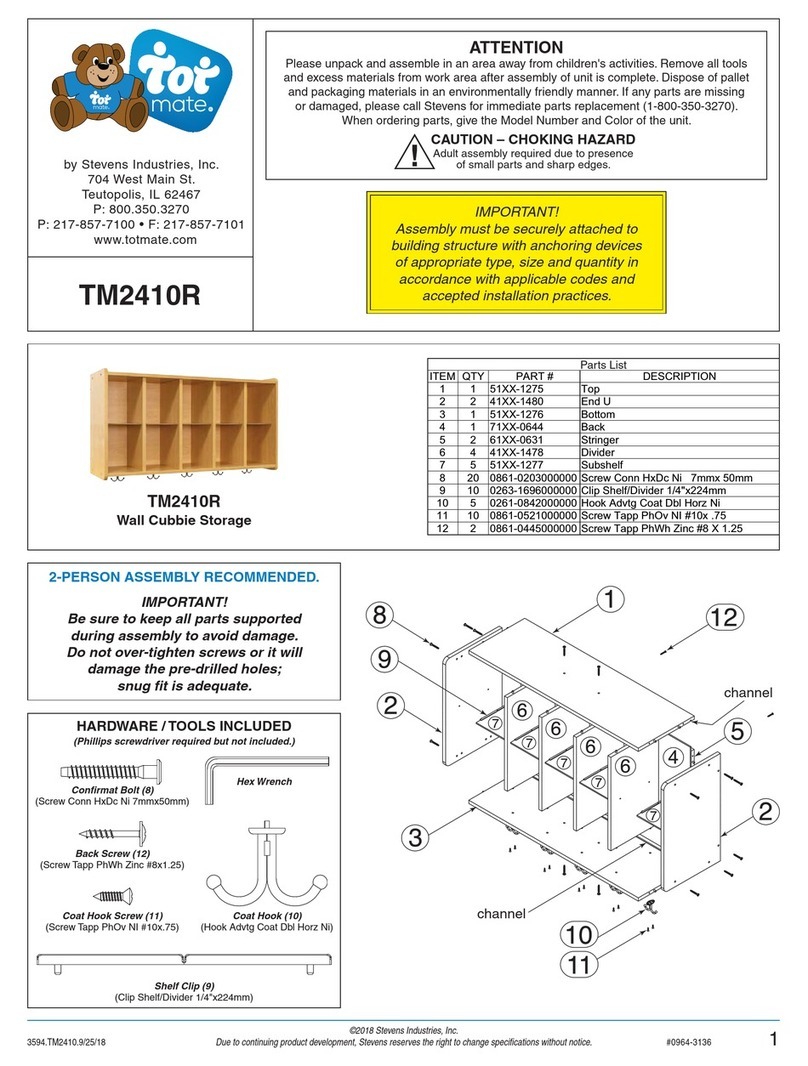
  9. Tot Mate TM2313R User manual

Tot Mate TM2313R User manual

1
#0964-3140
3594.TM2313/TM2317.10/18/18
©2018 Stevens Industries, Inc.
Due to continuing product development, Stevens reserves the right to change specifications without notice.
CAUTION – CHOKING HAZARD
Adult assembly required due to presence
of small parts and sharp edges.
ATTENTION
Please unpack and assemble in an area away from children's activities. Remove all tools
and excess materials from work area after assembly of unit is complete. Dispose of pallet
and packaging materials in an environmentally friendly manner. If any parts are missing
or damaged, please call Stevens for immediate parts replacement (1-800-350-3270).
When ordering parts, give the Model Number and Color of the unit.
NOTE: ASSEMBLY INSTRUCTIONS REFERENCE
ILLUSTRATIONS AND PART NUMBERS FOR THE TM2317R.
by Stevens Industries, Inc.
704 West Main St.
Teutopolis, IL 62467
P: 800.350.3270
P: 217-857-7100 • F: 217-857-7101
www.totmate.com
TM2313R
TM2317R
TM2313R
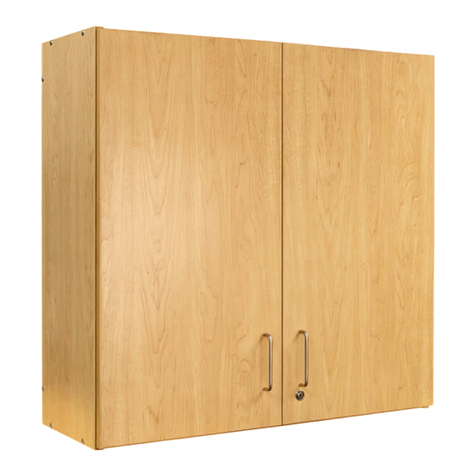
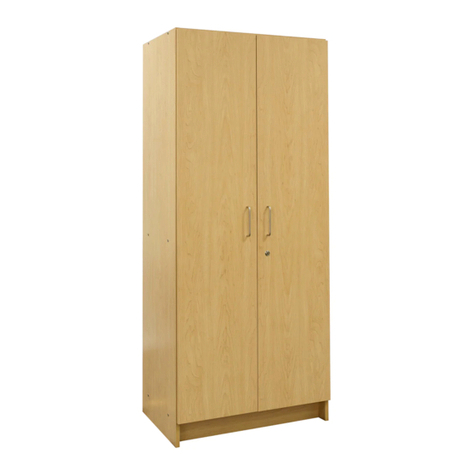
2-Level Wall Cabinet
3$5747<,7(0
;;
;;
;;
;;
;;
;;
;;
;;














3
DUWV/LVW
'(6&5,37,21
(QG8
7RS
'RRU/
'RRU5
%RW
%DFN
6WULQJHU
6KHOI$GM
+LQJH%OXP)26&'RZHO
+LQJH0WJ3ODWH%OXPPP
/RFN'HDGEROW1,Z%H]HO6,$0
/RFN&RUH1,6,$0
6WULNH3ODWH/RFN
6FUHZ7DSS3K)O=LQF;
6FUHZ7DSS3K7U=LQF;
%XPSHU3UHVV,Q[PP+HDG
3XOOPP$GYWJ%QWZU0W1L
6FUHZ0DFK3K7U=LQF[
&DWFK3ODWH'RRU%ODFN
6FUHZ7DSS3K)O=LQF;
&OLS6KOI&OU7ZLQ3LQ
6FUHZ&RQQ+['F1LPP[PP
3DUWV/LVW
TM2317R
3-Level Wall Cabinet
3$5747<,7(0
;;
;;
;;
;;
;;
;;
;;
;;
















3
DUWV/LVW
'(6&5,37,21
(QG8
7RS
%RW
6KHOI$GM
'RRU/
'RRU5
%DFN
6WULQJHU
/RFN'HDGEROW1,Z%H]HO6,$0
/RFN&RUH1,6,$0
6WULNH3ODWH/RFN
6FUHZ7DSS3K)O=LQF;
6FUHZ7DSS3K7U=LQF;
%XPSHU3UHVV,Q[PP+HDG
&DWFK3ODWH'RRU%ODFN
6FUHZ7DSS3K)O=LQF;
+LQJH%OXP)26&'RZHO
+LQJH0WJ3ODWH%OXPPP
3XOOPP$GYWJ%QWZU0W1L
6FUHZ0DFK3K7U=LQF[
&OLS6KOI&OU7ZLQ3LQ
6FUHZ&RQQ+['F1LPP[PP
3DUWV/LVW
IMPORTANT!
Assembly must be securely attached to
building structure with anchoring devices
of appropriate type, size and quantity in
accordance with applicable codes and
accepted installation practices.
TM2313R – TM2317R
STEP-BY-STEP ASSEMBLY
2#0964-3140
©2018 Stevens Industries, Inc.
Due to continuing product development, Stevens reserves the right to change specifications without notice. 3594.TM2313/TM2317.10/18/18
channel
channel
channel
3$5747<,7(0
;;
;;
;;
;;
;;
;;
;;
;;
















3
DUWV/LVW
'(6&5,37,21
(QG8
7RS
%RW
6KHOI$GM
'RRU/
'RRU5
%DFN
6WULQJHU
/RFN'HDGEROW1,Z%H]HO6,$0
/RFN&RUH1,6,$0
6WULNH3ODWH/RFN
6FUHZ7DSS3K)O=LQF;
6FUHZ7DSS3K7U=LQF;
%XPSHU3UHVV,Q[PP+HDG
&DWFK3ODWH'RRU%ODFN
6FUHZ7DSS3K)O=LQF;
+LQJH%OXP)26&'RZHO
+LQJH0WJ3ODWH%OXPPP
3XOOPP$GYWJ%QWZU0W1L
6FUHZ0DFK3K7U=LQF[
&OLS6KOI&OU7ZLQ3LQ
6FUHZ&RQQ+['F1LPP[PP
3DUWV/LVW
TM2317R
ILLUSTRATIONS AND PART NUMBERS
ARE FOR TM2317R.
HARDWARE / TOOLS INCLUDED
Door Catch (15)
(Catch Plate Door Black)
Door Catch Screw (16)
(Screw Tapp PhFl Zinc #8x.68)
Pull Screw (20)
(Screw Mach PhTr Zinc 8-32x1.00)
Pull (19)
(Pull 128mm Advtg Bntwr MtNi)
Hinge (17)
(Hinge Blum F/O 120 S/C Dowel)
Confirmat Bolt (22)
(Screw Conn HxDc Ni 7mmx50mm)
Shelf Clip (21)
(Clip Shlf Clr Twin Pin 3/4-1")
Door Bumper (14)
(Bumper Press-In 8x2.5mm Head)
Hex Wrench
Hinge Plate (18)
(Hinge Mtg Plate Blum 0mm)
Lock Catch (11)
(Strike Plate Lock)
Lock Screw (12)
(Screw Tapp PhFl Zinc #7x.875)
Lock Catch Screw (13)
(Screw Tapp PhTr Zinc #8x.62)
Lock Core (10)
(Lock Core NI SIAM #001)
Lock Body (9)
(Lock Deadbolt NI w/Bezel SIAM)
deadbolt
(Phillips screwdriver and soft mallet required but not included.)
TM2313R – TM2317R
STEP-BY-STEP ASSEMBLY
3
#0964-3140
©2018 Stevens Industries, Inc.
Due to continuing product development, Stevens reserves the right to change specifications without notice.3594.TM2313/TM2317.10/18/18
Identify Ends (1), Top (2) and Bottom (3). Note
that routed channels along back edges will all face
interior of unit for installation of Back (7). Also,
note that Top (2) and Bottom (3) are identical,
except Bottom (3) has two small holes near the
front edge for mounting Lock Catch (11).
STEP
1
With front edge of one End (1) resting on floor,
insert dowels on Top (2) into holes on End (1),
making sure channels are oriented correctly, as
shown. Press firmly into place.
STEP
2
Secure End (1) to Top (2) with two Confirmat
Bolts (22), using the included Hex Wrench.
STEP
3
Insert dowels on Bottom (3) into holes on End (1),
making sure channels are oriented correctly, as
shown. Press firmly into place.
STEP
4
Secure End (1) to Bottom (3) with two Confirmat
Bolts (22).
STEP
5
Carefully position assembly with End (1) flat on
floor, and dowels on Top (2) and Bottom (3)
facing up.
STEP
6
ILLUSTRATIONS AND PART NUMBERS ARE FOR TM2317R.
BASIC ASSEMBLY INSTRUCTIONS ARE THE SAME FOR BOTH MODELS.
2-PERSON ASSEMBLY RECOMMENDED.
IMPORTANT!
Be sure to keep all parts supported during assembly to avoid damage. Do not over-tighten
screws or it will damage the pre-drilled holes; snug fit is adequate.
channels
channels
holes for
Lock Catch
channels
TM2313R – TM2317R
STEP-BY-STEP ASSEMBLY
4#0964-3140
©2018 Stevens Industries, Inc.
Due to continuing product development, Stevens reserves the right to change specifications without notice. 3594.TM2313/TM2317.10/18/18
Slide Back (7) into channels on Top (2), Bottom
(3) and End (1). Seat firmly into place.
STEP
7
Insert dowels on Stringers (8) into holes on
End (1) near back edge, making sure holes on
Stringers (8) align with thru-holes on End (1).
Press firmly into place.
STEP
8
With channel facing down, position other End (1)
on top of assembly, so holes on End (1) align with
dowels on Top (2), Bottom (3) and Stringers (8)
AND Back (7) fits into channel on End (1). Press
firmly into place.
STEP
9
channels
thru-holes
Secure End (1) to Top (2), Bottom (3) and
Stringers (8) with six Confirmat Bolts (22).
STEP
10
Carefully turn unit over, so other End (1) is facing
up.
STEP
11
TM2313R – TM2317R
STEP-BY-STEP ASSEMBLY
5
#0964-3140
©2018 Stevens Industries, Inc.
Due to continuing product development, Stevens reserves the right to change specifications without notice.3594.TM2313/TM2317.10/18/18
Identify Left Door (5) and Right Door (6) and
remaining hardware as shown on page 2.
STEP
15
Carefully position unit with back flat on floor.
STEP
13
Insert Door Bumpers (14) into small holes on
inside corners of Doors (5 & 6), two per door.
STEP
16
Secure End (1) to Stringers (8) with two
Confirmat Bolts (22).
STEP
12
With Hinges (17) fully extended into the open
position, insert them into routed cutouts on Doors
(5 & 6), using a soft mallet and striking over the
screw heads. IMPORTANT! Take care not to
remove hinge once it is started; otherwise, pre-
drilled holes may become damaged.
STEP
17
Attach Hinge Plates (18) to inside face of Ends
(1), making sure front edge of each Hinge Plate
(18) is facing toward front edge of unit (reference
DETAIL A).
STEP
14
facing toward
front edge DETAIL A
facing toward
front edge
TM2313R – TM2317R
STEP-BY-STEP ASSEMBLY
6#0964-3140
©2018 Stevens Industries, Inc.
Due to continuing product development, Stevens reserves the right to change specifications without notice. 3594.TM2313/TM2317.10/18/18
Mount Doors (5 & 6) to Hinge Plates (18). NOTE:
Hinges need to be opened when attaching doors
to mounting plates. Starting with top Hinge (17),
press hinge in from front to back. Pop back edge
of hinge in, while holding lower hinge close to
matching Hinge Plate (18). Repeat for lower
Hinges (17).
STEP
21
Mount Lock Body (9) to inside of Right Door (6)
with four Lock Screws (12), making sure deadbolt
is facing bottom edge of door.
STEP
18
Mount Lock Catch (11) to Bottom (3) with two
Lock Catch Screws (13).
STEP
20
bottom
of door
deadbolt
Mount Pulls (19) to Doors (5 & 6) with two Pull
Screws (20) each. (Phillips screwdriver not
included.)
STEP
22
Mount Door Catch (15) to inside of Left Door (5)
with two Door Catch Screws (16).
STEP
19
TM2313R – TM2317R
STEP-BY-STEP ASSEMBLY
7
#0964-3140
©2018 Stevens Industries, Inc.
Due to continuing product development, Stevens reserves the right to change specifications without notice.3594.TM2313/TM2317.10/18/18
Ensure that all joints, bolts and screws are tight.
STEP
27
This completes the assembly.
Carefully stand unit upright.
STEP
26
Insert Shelf Clips (21) into aligning holes on each
End (1).
STEP
23
Insert Adjustable Shelves (4) into Shelf Clips
(21) by putting into unit diagonally and resting one
end on one set of clips, then lowering other end
into place on other set of clips.
STEP
24
Insert Lock Core (10) through front of Right Door
(6) and into Lock Body (9).
STEP
25

This manual suits for next models

1

Other Tot Mate Indoor Furnishing manuals
Tot Mate TMW301R User manual

Tot Mate

Tot Mate TMW301R User manual

Tot Mate TM2206R User manual

Tot Mate

Tot Mate TM2206R User manual

Tot Mate Toddler Compartment Storage TM2202R User manual

Tot Mate

Tot Mate Toddler Compartment Storage TM2202R User manual

Tot Mate TMS101R User manual

Tot Mate

Tot Mate TMS101R User manual

Tot Mate TMS401R User manual

Tot Mate

Tot Mate TMS401R User manual

Tot Mate TML401R User manual

Tot Mate

Tot Mate TML401R User manual

Tot Mate TM2224R User manual

Tot Mate

Tot Mate TM2224R User manual
Tot Mate TM2181R User manual

Tot Mate

Tot Mate TM2181R User manual

Tot Mate TM2432R User manual

Tot Mate

Tot Mate TM2432R User manual
Tot Mate TM2264R User manual

Tot Mate

Tot Mate TM2264R User manual

Tot Mate TM9300R User manual

Tot Mate

Tot Mate TM9300R User manual

Tot Mate My Place TM9428R User manual

Tot Mate

Tot Mate My Place TM9428R User manual

Tot Mate TML402R User manual

Tot Mate

Tot Mate TML402R User manual

Tot Mate TM2321R User manual

Tot Mate

Tot Mate TM2321R User manual

Tot Mate TMS302R User manual

Tot Mate

Tot Mate TMS302R User manual
Tot Mate TM2410R User manual

Tot Mate

Tot Mate TM2410R User manual

Popular Indoor Furnishing manuals by other brands

SAFAVIEH COUTURE Corinne SFV4704 quick start guide

SAFAVIEH COUTURE

SAFAVIEH COUTURE Corinne SFV4704 quick start guide

IKEA FREDRIK COMPUTER WORKSTATION 50X28 instructions

IKEA

IKEA FREDRIK COMPUTER WORKSTATION 50X28 instructions

OSP Designs 105 operating instructions

OSP Designs

OSP Designs 105 operating instructions

Furniture of America Bianca CM7734Q Assembly instructions

Furniture of America

Furniture of America Bianca CM7734Q Assembly instructions

Gami HANGUN G36 150 Assembly instruction

Gami

Gami HANGUN G36 150 Assembly instruction

Habitat KUDA 968 090 Assembly instructions

Habitat

Habitat KUDA 968 090 Assembly instructions

CB2 WALNUT Assembly instructions

CB2

CB2 WALNUT Assembly instructions

Amart Furniture 53174 Assembly instruction

Amart Furniture

Amart Furniture 53174 Assembly instruction

Solos V2 Standing Desk SD-ET147 user manual

Solos

Solos V2 Standing Desk SD-ET147 user manual

Next M60905 Assembly instructions

Next

Next M60905 Assembly instructions

Sonoma CLAREMONT 61SRR2205CLR instructions

Sonoma

Sonoma CLAREMONT 61SRR2205CLR instructions

Furniture of America CM7887N Assembly instructions

Furniture of America

Furniture of America CM7887N Assembly instructions

Panorama Moveis BHO 25 Assembly instructions

Panorama Moveis

Panorama Moveis BHO 25 Assembly instructions

Amart Furniture SILVERTON 64290 Assembly instruction

Amart Furniture

Amart Furniture SILVERTON 64290 Assembly instruction

Mamava Solo Assembly instructions

Mamava

Mamava Solo Assembly instructions

Schildmeyer Isola 567185 Assembly instructions

Schildmeyer

Schildmeyer Isola 567185 Assembly instructions

cinetto CG50.3 Assembly instructions

cinetto

cinetto CG50.3 Assembly instructions

Coaster Marshall 881295 Assembly instructions

Coaster

Coaster Marshall 881295 Assembly instructions

manuals.online logo
manuals.online logoBrands
  • About & Mission
  • Contact us
  • Privacy Policy
  • Terms and Conditions

Copyright 2025 Manuals.Online. All Rights Reserved.