manuals.online logo
Brands
  1. Home
  2. •
  3. Brands
  4. •
  5. Tot Mate
  6. •
  7. Indoor Furnishing
  8. •
  9. Tot Mate Toddler Compartment Storage TM2202R User manual

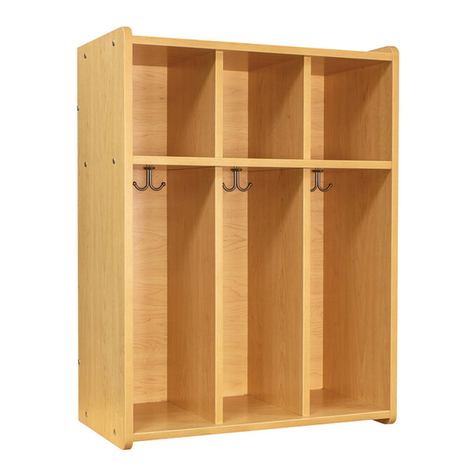
Tot Mate Toddler Compartment Storage TM2202R User manual

1
#0964-3197
3594.TM2202/TMS303.10/26/18
©2018 Stevens Industries, Inc.
Due to continuing product development, Stevens reserves the right to change specifications without notice.
CAUTION – CHOKING HAZARD
Adult assembly required due to presence
of small parts and sharp edges.
ATTENTION
Please unpack and assemble in an area away from children's activities. Remove all tools
and excess materials from work area after assembly of unit is complete. Dispose of pallet
and packaging materials in an environmentally friendly manner. If any parts are missing
or damaged, please call Stevens for immediate parts replacement (1-800-350-3270).
When ordering parts, give the Model Number and Color of the unit.
by Stevens Industries, Inc.
704 West Main St.
Teutopolis, IL 62467
P: 800.350.3270
P: 217-857-7100 • F: 217-857-7101
www.totmate.com
TM2202R
TMS303R NOTE: ASSEMBLY INSTRUCTIONS REFERENCE
ILLUSTRATIONS AND PART NUMBERS FOR THE TM2202R.
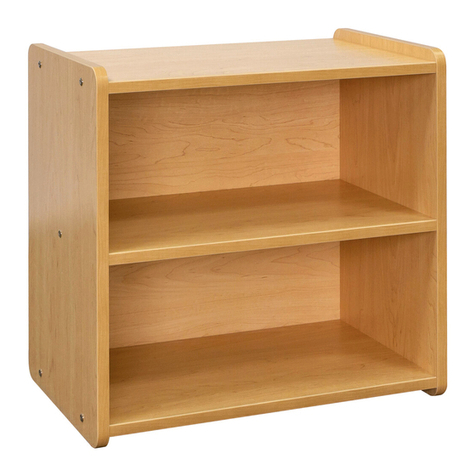
TM2202R
Toddler Compartment Storage
076,QYHQWRU
\
3DUWV/LVW
3DUWV/LVW
3$5747<,7(0
;;
;;
;;
;;
;;
;;


'(6&5,37,21
(QG8
%DFN
'LYLGHU
6KHOI
7RS
%RWWRP
6FUHZ&RQQ+['F1LPP[PP
6FUHZ7DSS3K:K=LQF;
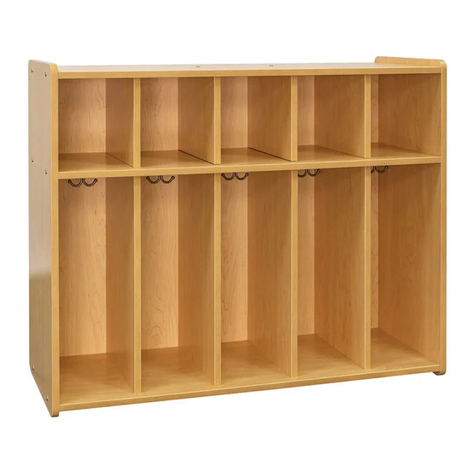
TMS303R
Preschool Compartment Storage
076,QYHQWRU
\
3DUWV/LVW
3DUWV/LVW
3$5747<,7(0
;;
;;
;;
;;
;;
;;


'(6&5,37,21
'LYLGHU
(QG8
7RS
6KHOI
%RWWRP
%DFN
6FUHZ7DSS3K:K=LQF;
6FUHZ&RQQ+['F1LPP[PP
TM2202R – TMS303R
STEP-BY-STEP ASSEMBLY
2#0964-3197
©2018 Stevens Industries, Inc.
Due to continuing product development, Stevens reserves the right to change specifications without notice. 3594.TM2202/TMS303.10/26/18
ILLUSTRATIONS AND PART NUMBERS ARE FOR TM2202R.
BASIC ASSEMBLY INSTRUCTIONS ARE THE SAME FOR BOTH MODELS.
2-PERSON ASSEMBLY RECOMMENDED.
IMPORTANT!
Be sure to keep all parts supported during assembly to avoid damage.
Do not over-tighten screws or it will damage the pre-drilled holes;
snug fit is adequate.
edgebanding
seam
channel
channel
076,QYHQWRU
\
3DUWV/LVW
3DUWV/LVW
3$5747<,7(0
;;
;;
;;
;;
;;
;;


'(6&5,37,21
(QG8
%DFN
'LYLGHU
6KHOI
7RS
%RWWRP
6FUHZ&RQQ+['F1LPP[PP
6FUHZ7DSS3K:K=LQF;
3DUWV/LVW
TM2202R
Confirmat Bolt (7)
(Screw Conn HxDc Ni 7mmx50mm)
Back Screw (8)
(Screw Tapp PhWh Zinc #8x1.25)
Hex Wrench
HARDWARE / TOOLS INCLUDED
(Phillips screwdriver required but not included.)
TM2202R – TMS303R
STEP-BY-STEP ASSEMBLY
3
#0964-3197
©2018 Stevens Industries, Inc.
Due to continuing product development, Stevens reserves the right to change specifications without notice.3594.TM2202/TMS303.10/26/18
Lay Shelf (4) flat on floor, with side having the
most holes facing up. Insert dowels on two
Dividers (3) into holes on Shelf (4), making sure
raw edges of all parts are facing same direction.
Press firmly into place.
STEP
1
raw edges
raw edge
Carefully position assembly with raw edges flat on
floor. NOTE: Raw edges face back of unit. Insert
dowels on other Divider (3) into holes on other
side of Shelf (4). Make sure all raw edges are flat
on floor. Press firmly into place.
STEP
2
raw (back) edges
raw edge
Secure Dividers (3) to Shelf (4) with three
Confirmat Bolts (7), using the included Hex
Wrench.
STEP
3
Align holes on Top (5) with dowels on Divider (3)
that was installed in Step 2. Make sure back edge
of Top (5) and all raw (back) edges are facing
toward floor. Press firmly into place.
STEP
4
raw (back) edges
channel
back
edge
Secure Top (5) to Divider (3) with Confirmat Bolt
(7).
STEP
5
Align holes on Bottom (6) with dowels on other
two Dividers (3). Make sure channel on Bottom
(6) aligns with channel on Top (5). Press firmly into
place.
STEP
6
channels
TM2202R – TMS303R
STEP-BY-STEP ASSEMBLY
4#0964-3197
©2018 Stevens Industries, Inc.
Due to continuing product development, Stevens reserves the right to change specifications without notice. 3594.TM2202/TMS303.10/26/18
Lay one End (1) flat on floor, with side having the
most holes facing up.
STEP
8
Slide Back (2) into channels on Top (5) and
Bottom (6). Seat firmly against End (1).
STEP
10
channels
Secure Bottom (6) to Dividers (3) with two
Confirmat Bolts (7). This completes the Shelf/
Divider Assembly referenced in Step 9.
STEP
7
Insert dowels on one end of Shelf/Divider
Assembly into holes on End (1). Press firmly
into place. IMPORTANT: Edgebanding seam on
both Ends (1) must be on bottom of unit when
assembly is complete.
STEP
9
Shelf/Divider
Assembly
edgebanding seam
must be on bottom
of unit
top of
end panel
top of
Shelf/Divider
Assembly
Position other End (1) on top of assembly, so
dowels on Top (5), Bottom (6) and Shelf (4) align
with holes on End (1). Make sure edgebanding
seam on End (1) is facing toward bottom of unit.
Edgebanding seam on both Ends(1) must be
facing same direction. Press End (1) firmly into
place.
STEP
11
edgebanding seam
must be on bottom
of unit
bottom of unit
top of
Shelf/Divider
Assembly
TM2202R – TMS303R
STEP-BY-STEP ASSEMBLY
5
#0964-3197
©2018 Stevens Industries, Inc.
Due to continuing product development, Stevens reserves the right to change specifications without notice.3594.TM2202/TMS303.10/26/18
Secure End (1) to Top (5), Bottom (6) and Shelf
(4) with five Confirmat Bolts (7).
STEP
12
Carefully turn unit over, so other End (1) is facing
up.
STEP
13
Repeat Step 12 to secure End (1) to Top (5),
Bottom (6) and Shelf (4).
STEP
14
Carefully position unit with front edges on floor and
back facing up.
STEP
15
Secure Back (2) to Shelf (4) with Back
Screws (8). (Phillips screwdriver not included.)
IMPORTANT! Make sure Back Screws are
centered on raw edge of Shelf and inserted
straight into Shelf. This is necessary to prevent
Back Screws from protruding through and
damaging Shelf surface.
STEP
16
Carefully stand unit upright. Make sure
edgebanding seams on Ends (1) are on bottom of
unit.
STEP
17
edgebanding
seam
Ensure that all joints, bolts and screws are tight.
STEP
18
This completes the assembly.

This manual suits for next models

1

Other Tot Mate Indoor Furnishing manuals
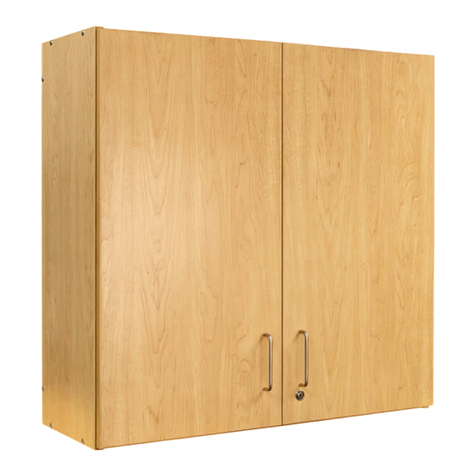
Tot Mate TM9300R User manual

Tot Mate

Tot Mate TM9300R User manual

Tot Mate TM2264R User manual

Tot Mate

Tot Mate TM2264R User manual

Tot Mate TM2224R User manual

Tot Mate

Tot Mate TM2224R User manual

Tot Mate TM2181R User manual

Tot Mate

Tot Mate TM2181R User manual

Tot Mate TM2410R User manual

Tot Mate

Tot Mate TM2410R User manual

Tot Mate TM2313R User manual

Tot Mate

Tot Mate TM2313R User manual

Tot Mate TMS302R User manual

Tot Mate

Tot Mate TMS302R User manual

Tot Mate My Place TM9428R User manual

Tot Mate

Tot Mate My Place TM9428R User manual

Tot Mate TMS101R User manual

Tot Mate

Tot Mate TMS101R User manual

Tot Mate TM2321R User manual

Tot Mate

Tot Mate TM2321R User manual

Tot Mate TML401R User manual

Tot Mate

Tot Mate TML401R User manual

Tot Mate TM2432R User manual

Tot Mate

Tot Mate TM2432R User manual

Tot Mate TMW301R User manual

Tot Mate

Tot Mate TMW301R User manual
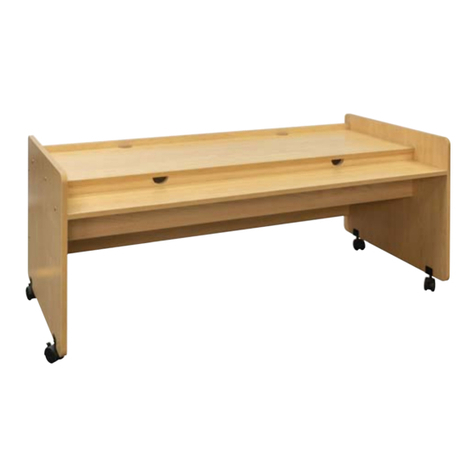
Tot Mate TML402R User manual

Tot Mate

Tot Mate TML402R User manual
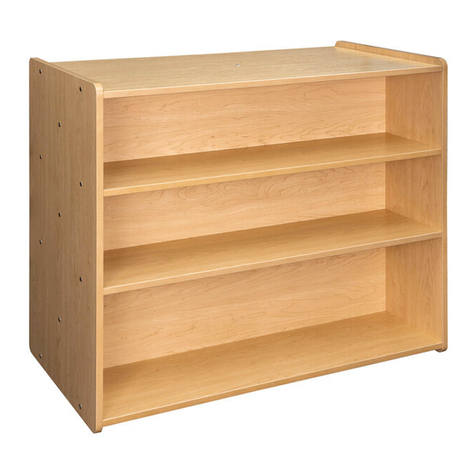
Tot Mate TMS401R User manual

Tot Mate

Tot Mate TMS401R User manual

Tot Mate TM2206R User manual

Tot Mate

Tot Mate TM2206R User manual

Popular Indoor Furnishing manuals by other brands

Sauder Hammond 431249 manual

Sauder

Sauder Hammond 431249 manual

Coaster 724218 Assembly instructions

Coaster

Coaster 724218 Assembly instructions

Flintshire Furniture CARMEL-GREY manual

Flintshire Furniture

Flintshire Furniture CARMEL-GREY manual

YitaHome FTBFSD-0014 Assembly instructions

YitaHome

YitaHome FTBFSD-0014 Assembly instructions

Cooper Lighting Shaper 499-RP specification

Cooper Lighting

Cooper Lighting Shaper 499-RP specification

RSA Lighting LYNX TZ3001 specification

RSA Lighting

RSA Lighting LYNX TZ3001 specification

sidhil 3012/LO user guide

sidhil

sidhil 3012/LO user guide

VIPACK PISBHK 10 Instructions for use

VIPACK

VIPACK PISBHK 10 Instructions for use

Harol VR1000 Mounting instructions

Harol

Harol VR1000 Mounting instructions

Whalen ATD60H-13AX Instruction booklet

Whalen

Whalen ATD60H-13AX Instruction booklet

Super Amart SILVERWOOD 54081 Assembly instruction

Super Amart

Super Amart SILVERWOOD 54081 Assembly instruction

Pronto wonen 0650/24 Assembly instructions

Pronto wonen

Pronto wonen 0650/24 Assembly instructions

Homelegance 1695-1/3 Assembly instruction

Homelegance

Homelegance 1695-1/3 Assembly instruction

jali Single Section Cupboard Assembly instructions

jali

jali Single Section Cupboard Assembly instructions

Sovella 14-C10041120 Assembly instructions

Sovella

Sovella 14-C10041120 Assembly instructions

GoodHome 3663602643159 manual

GoodHome

GoodHome 3663602643159 manual

BOGFRAN CA1 Assembly instructions

BOGFRAN

BOGFRAN CA1 Assembly instructions

Hooker Furniture 5805-75200T-85 Assembly instruction

Hooker Furniture

Hooker Furniture 5805-75200T-85 Assembly instruction

manuals.online logo
manuals.online logoBrands
  • About & Mission
  • Contact us
  • Privacy Policy
  • Terms and Conditions

Copyright 2025 Manuals.Online. All Rights Reserved.