Touratech 01-040-2017-0 User manual

Diese Anleitung ist nach unserem derzeitigen Kenntnis-
stand verfasst. RechtlicheAnsprüche auf Richtigkeit
bestehen nicht. Technische Änderungen vorbehalten.
Sehen Sie auch in unserem Katalog
oder im Internet unter www.touratech.com
DIN EN ISO 9001:2000
Zertifikat 15 100 42285
January 2006
01-040-2017-0
01-040-3017-0
Instruction: Auxilliary Fog Light
BMW R1200 RT
Remove the seats and disconnect
battery.
Remove the silver bracket on top of the
tank. It is attached with two screws front
and two on the back. Photo 2
Remove the side panels with BMW logos.
Side panels are secured with one screw
on top (photo 3), two screws rear (photo
4), two in front (photo 5).
Disconnect accessory plug wires if
installed on the side fairing.
Attention: important tips, explanations
Use these installation suggestions at your
own risk. These instructions have not
been tested by independed installers and
may not be absolutely correct.
Touratech assumes no responsibility for
errors using these instructions.
If your have any doubt about your ability
to install electrical parts, please contact a
professional installer.
Turn off ignition and disconnect battery
before attempting any work on electrical
systems.
Ask for additional repair manual from your
BMW dealer.
Contains:
1 x Fog Light
1 x Fog light bracket (two pieces)
2 x Screw dome head M6x12
2 x Screw hex M6x16
2 x Screw hex M6x12
2 x Self locking nylock nut M6
1 x Washer large M6
3 x Washer M6
2 x Cable ties 130mm
1 x Wiring loom with Hella instructions
These instructions are at our present level of
knowledge. Legal requirements do not exist.
Technical issues subject to change.
1Januar 2006
Achtung: Wichtige Hinweise zur
Montage
Führen Sie jegliche Arbeiten an der
Elektrik Ihres Motorrades nur bei
ausgeschalteter Zündung und
abgeklemmter Batterie durch!
Besorgen Sie sich eventuell zur
Unterstützung die Reparaturanleitung Ihrer
BMW R1200 RT oder nehmen Kontakt zu
Ihrem BMW - Händler auf.
Lieferumfang:
1 x Nebel Zusatzscheinwerfer
1 x Halterung Scheinwerfer (2-teilig)
2 x Schraube Linsenkopf M6x12
2 x Schraube Sechskant M6x16
2 x Schraube Sechskant M6x12
2 x Muttern selbstsichernd M6
1 x U-Scheibe groß M6
3 x U-Scheibe M6
2 x Kabelbinder 130mm schwarz
1 x Satz Anschlussleitungen mitAnleitung
Von Hella
Anleitung: Zusatzscheinwerfer Nebel
BMW R1200 RT
2
3
4
5
Nehmen Sie die Sitzbank ab und klemme
die Batterie ab (erst Masse, dann Plus).
Demontage Verkleidung:
Schrauben Sie die silberne Tankab-
deckung ab. Diese ist mit zwei Schrauben
vorne und zwei hinten befestigt (Abb. 2).
Die Seitenteile mit BMW-Logo sind mit
einer Schraube oben (Abb. 3), zwei
Schrauben seitlich (Abb. 4) und zwei
Schrauben von vorne (Abb. 5) befestigt.
Achtung: Trennen Sie den Anschluss der
Bordnetzsteckdose im linken
Seitendeckel.

Diese Anleitung ist nach unserem derzeitigen Kenntnis-
stand verfasst. RechtlicheAnsprüche auf Richtigkeit
bestehen nicht. Technische Änderungen vorbehalten.
Sehen Sie auch in unserem Katalog
oder im Internet unter www.touratech.com
These instructions are at our present level of
knowledge. Legal requirements do not exist.
Technical issues subject to change.
Remove then the large side fairings.
Make a note of different screw lenghts.
Left side panel is secured with three
screws at lower rear position and two
in lower front position (photo 6), two
screws on top (front & rear) and one on
the rear (arrows pointing to the location
of screws on photo 6).
Right side panel is secured with three
screws bottom rear, three rear, two
bottom front (refer to photo 6).
On the right side panel there are
additional three screws around glove
box (need to open the lid) and two
screws for the glove box lid.
Photo 7
Light bracket:
Install the light bracket with one screw
up in front corner from headlight. Do not
install the actual light yet to avoid
scratches on side covers.
Photo 8 (picture shows right side fog
light 040-2017)
Tank Removal:
Remove the large tank attachment
screws on right and left side of the tank.
The front ones do not need to be
loosened or removed.
Also remove one small screw on the
top of the tank in the middle front.
Disconnect fuel lines on the fuel pump
at the top left corner of the tank.
Disconnect then the two electrical
connectors and two vacuum lines.
Second vacuum line is accessible
under the tank when you lift the tank up
by approc. 10 inches.
Lift the tank completely off.
DIN EN ISO 9001:2000
Zertifikat 15 100 42285
January 2006
01-040-2017-0
01-040-3017-0
6
7
8Photo 040-2017
Instruction: Auxilliary Fog Light
BMW R1200 RT
Januar 2006
Anleitung: Zusatzscheinwerfer Nebel
BMW R1200 RT
Hinweis: Bei den großen
Verkleidungsteilen gibt es
unterschiedliche Schraubenlängen.
Das linke Verkleidungsteil ist mit
insgesamt acht Schrauben befestigt.
Position siehe Abbildung 6
Zur Demontage des rechten
Verkleidungsteils muss der Deckel des
Radiofachs zusätzlich abgeschraubt
werden. Dieser ist mit zwei Schrauben
(Abb. 7) befestigt.
Montage Halterung Zusatzscheinwerfer:
Die Halterung Zusatzscheinwerfer wird
(links und rechts identisch) wieAbb. 8
zeigt neben dem Hauptscheinwerfer
befestigt. Um Beschädigungen zu
vermeiden, montieren Sie den
Zusatzscheinwerfer bitte erst, wenn die
Verkleidung wieder komplett montiert ist.
Demontage Tank:
Lösen Sie erst die Schnellverbinder der
Benzinleitungen und die
Entlüftungsleitungen. Trennen Sie danach
die Stecker der Benzinpumpe.
Lösen Sie dann die Schraube des
Verkleidungsteils oben am Lenkkopf in
der Mitte.
Der Tank wird von je einer Schraube links
und rechts (hinten) gehalten. Die beiden
vorderen Schrauben müssen nicht
geöffnet werden.
Nehmen Sie den Tank dann vorsichtig ab.

Diese Anleitung ist nach unserem derzeitigen Kenntnis-
stand verfasst. RechtlicheAnsprüche auf Richtigkeit
bestehen nicht. Technische Änderungen vorbehalten.
Sehen Sie auch in unserem Katalog
oder im Internet unter www.touratech.com
These instructions are at our present level of
knowledge. Legal requirements do not exist.
Technical issues subject to change.
Verwenden Sie bitte ausschließlich den
mitgelieferten Kabelsatz.
Informationen zum elektrischen
Anschluss finden Sie auch in der
Herstellerbeschreibung von HELLA.
Verlegen Sie zusätzlichen Leitungen bitte
entlang des originalen Kabelbaums. Der
Schalter für den Nebelscheinwerfer wird,
wie Abb. 9 zeigt an der linken Armatur
befestigt. Die Verschraubung erfolgt
dabei von oben durch die Armatur
hindurch.
Montage Relais:
Das Relais kann mit Doppelseitigem
Klebeband auf der Innenseite des
Radiofaches befestigt werden (Abb. 11)
Elektrischer Anschluss:
Ziehen Sie nun das braune Kabel
zum Minus Pol der Batterie kürzen Sie es
entsprechend und bringen Sie die
mitgelieferte Kabelverbinder-Rundöse an
(noch nicht an die Batterie
anschließen).
Das blaue und rote Kabel zum
Scheinwerfer und den Schalter zum
Lenker ziehen.
Das gelbe Kabel zum Anschlussstecker
des Hauptscheinwerfers ziehen; kürzen
Sie das Kabel auf die passende Länge
und schließen Sie es mit dem
mitgelieferten Kabelabzweiger an dem
gelben Kabel anschließen (Abb. 12).
Achtung: In dem Stecker befindet sich
auch eine gelb / weiße Leitung. Diese
nicht verwenden.
Wiring:
General wiring information and
schematic is available in the
supplied manual provided by light
manufacturer Hella
.
Route the switch to the handlebar and
attach with a screw from above.
Photo 9
Route the brown ground cable to the
battery negative pole.
Route red wire to the battery positive
pole. Photo 10
Relay can be secured on the airbox,
under glove box or other cavity.
Photo 11
Route the yellow wire from fog light
relay to the back of the headlight.
Disconnect the plug from the back of
the headlight and remove some
isolation to expose the wires.
Photo 12
Connect the yellow wire from the fog
light relay to the stock solid yellow low
beam wire with supplied red scottslock
wire connector. NOTE: Do not to
connect to the yellow-white wire that is
next to solid yellow wire.
Photo 12A
(Photo 12 shows also second
connector for xenon light 040-1517)
DIN EN ISO 9001:2000
Zertifikat 15 100 42285
January 2006
01-040-2017-0
01-040-3017-0
10
12
12V+
-+
12A
040-2017/
040- 0173
11
9
Instruction: Auxilliary Fog Light
BMW R1200 RT
Januar 2006
Anleitung: Zusatzscheinwerfer Nebel
BMW R1200 RT

Diese Anleitung ist nach unserem derzeitigen Kenntnis-
stand verfasst. RechtlicheAnsprüche auf Richtigkeit
bestehen nicht. Technische Änderungen vorbehalten.
Sehen Sie auch in unserem Katalog
oder im Internet unter www.touratech.com
These instructions are at our present level of
knowledge. Legal requirements do not exist.
Technical issues subject to change.
Kürzen Sie das blaue und rote Kabel
entsprechend und ziehen sie es durch die
beiden dafür vorgesehenen Durchgänge
an der Unterseite der hinteren
Scheinwerferabdeckung.
Bringen Sie jetzt die mitgelieferten
Flachstecker an den Kabeln an.
Schließen Sie nun das blaue Kabel im
Scheinwerfer rechts außen an(Masse).
Schließen Sie das rote Kabel direkt am
Leuchtmittel an.(Abb. 13)
Ziehen Sie nun die Abdeckung über den
Scheinwerfer.
Überprüfen Sie die komplette Installation
und Funktionsfähigkeit des
Zusatzscheinwerfers. Um die
Speicherung einer Fehlermeldung im
Steuergerät zu vermeiden, sollten Sie den
Tank zumindest aufsetzen und den
Anschluss (Benzinleitungen und Elektrik)
vornehmen.
Klemmen Sie die Batterie und die
Masseleitung des Scheinwerfers an.
Die Schrauben der Batteriepole wieder
festziehen, wobei darauf zu achten ist,
dass erst der Pluspol wieder
angeschraubt wird.
Bei eingeschaltetem Abblendlicht sollte
sich jetzt der Nebelscheinwerfer
einschalten lassen.
Achten Sie bei der Kabelverlegung
darauf, dass diese nicht stark geknickt
oder eingequetscht werden.
Installieren Sie Tank und Verkleidung in
umgekehrten Reihenfolge zur
Demontage.
Richten Sie den Scheinwerfer aus.
Route the two wire cable (red & blue) to
the fog light.
Shorten the red and blue wires to
correct lenght and push them thru the
two small openings on the bottom of the
rubber cap on the back of the fog light.
The holes may need to be poked thru.
Do not use the larger vent hole.
Put cable connectors on the wire ends.
Do not attach the light until fairings are
reinstalled.
Photo 13
Route all wires along other wires, cut to
correct lenght, secure with cable ties
and attach O-ring connectors for battery
connection.
Secure fuse holder where it is easily
accessible. Photo 10
Reinstall tank and all side fairings.
Install fog light on the bracket.
Connect the blue wire to the ground
terminal on the outside right, inside the
fog light housing.
Connect the red wire directly in the short
white wire coming from the bulb.
Isolate connection and put rubber cap
back on the fog light.
Connect the wires to the battery;
positive first and then negative.
Make sure fuse is in the fuse holder and
test the light function when low beam is
on using the switch on the handlebar.
R1200RT motor needs to be on before
the low beam and fog light can turn on.
Adjust the light and tighten all screws
and check again that all wires are
secured.
DIN EN ISO 9001:2000
Zertifikat 15 100 42285
January 2006
01-040-2017-0
01-040-3017-0
13
Instruction: Auxilliary Fog Light
BMW R1200 RT
Januar 2006
Anleitung: Zusatzscheinwerfer Nebel
BMW R1200 RT
RB
This manual suits for next models
1
Other Touratech Motorcycle Accessories manuals
Touratech
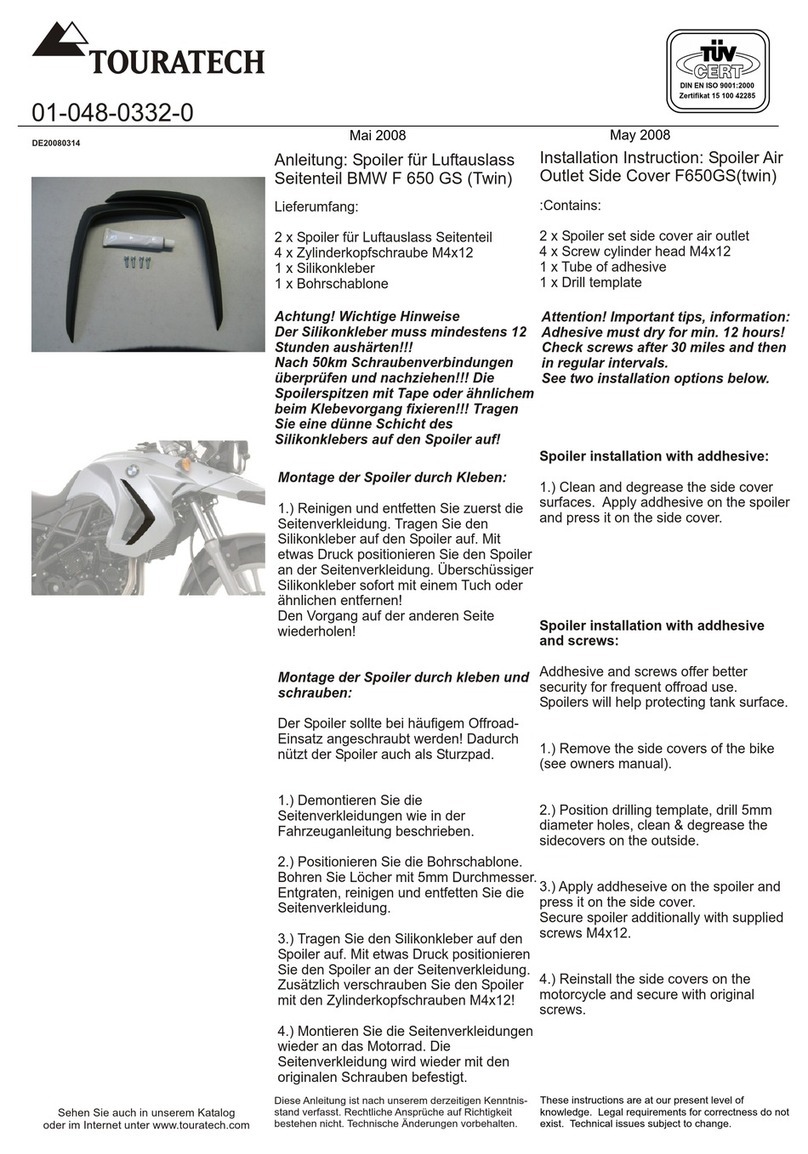
Touratech 01-048-0332-0 User manual
Touratech
Touratech 01-040-2015-0 User manual
Touratech
Touratech 01-044-0660-0 User manual
Touratech
Touratech 065-0008 User manual
Touratech
Touratech 01-370-0102-0 User manual

Touratech
Touratech 01-051-1200-0 User manual
Touratech
Touratech 01-048-0380-0 User manual
