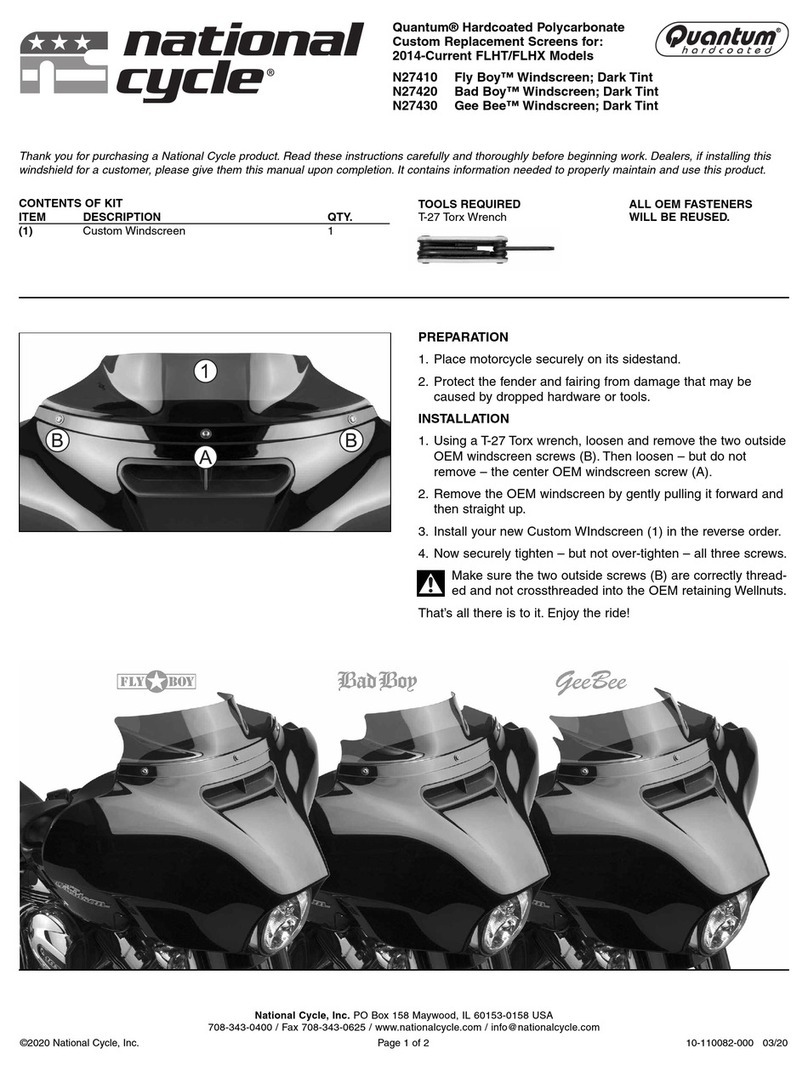
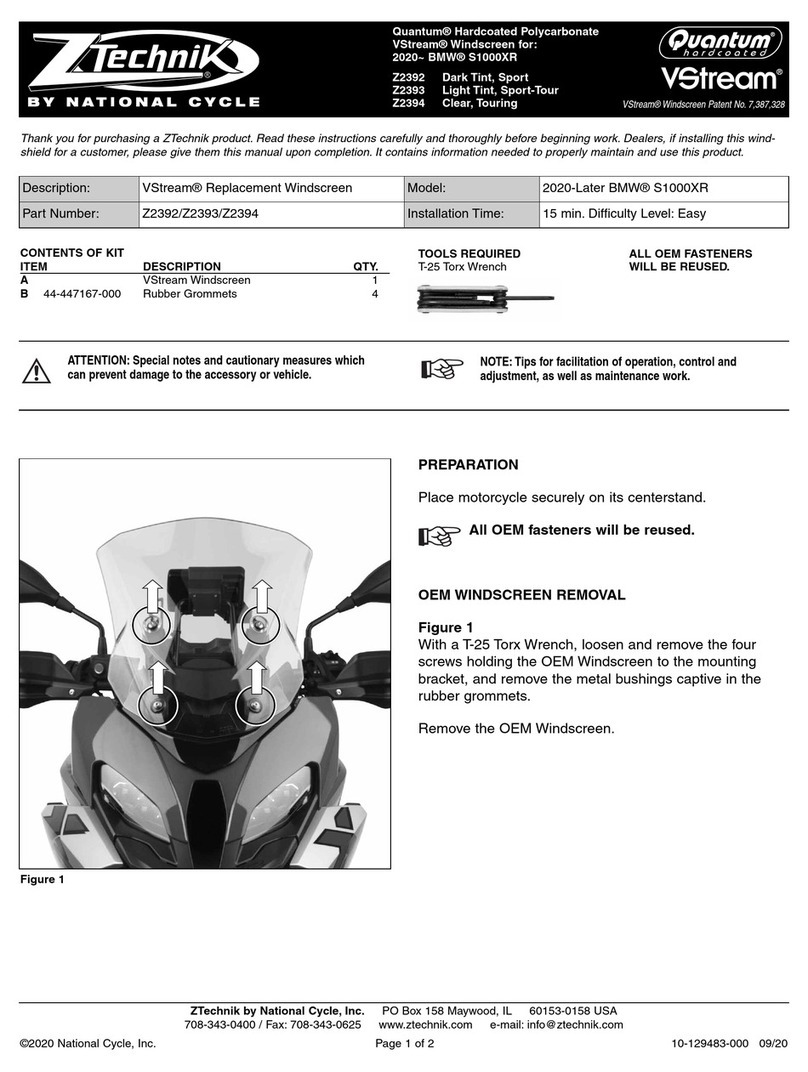
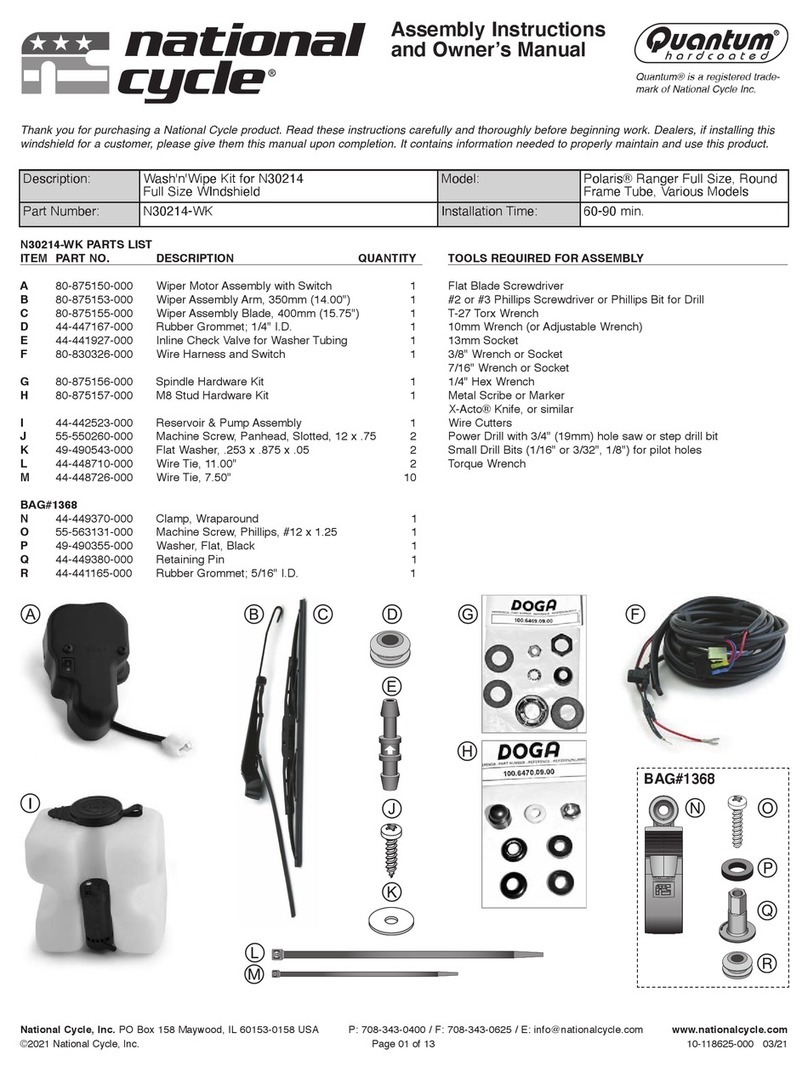
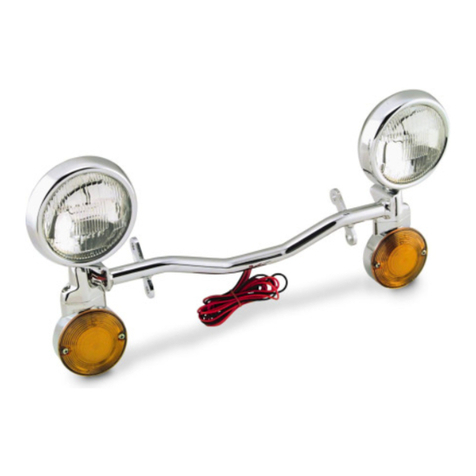
manuals.online logo
Brands
  1. Home
  2. •
  3. Brands
  4. •
  5. National Cycle
  6. •
  7. Motorcycle Accessories
  8. •
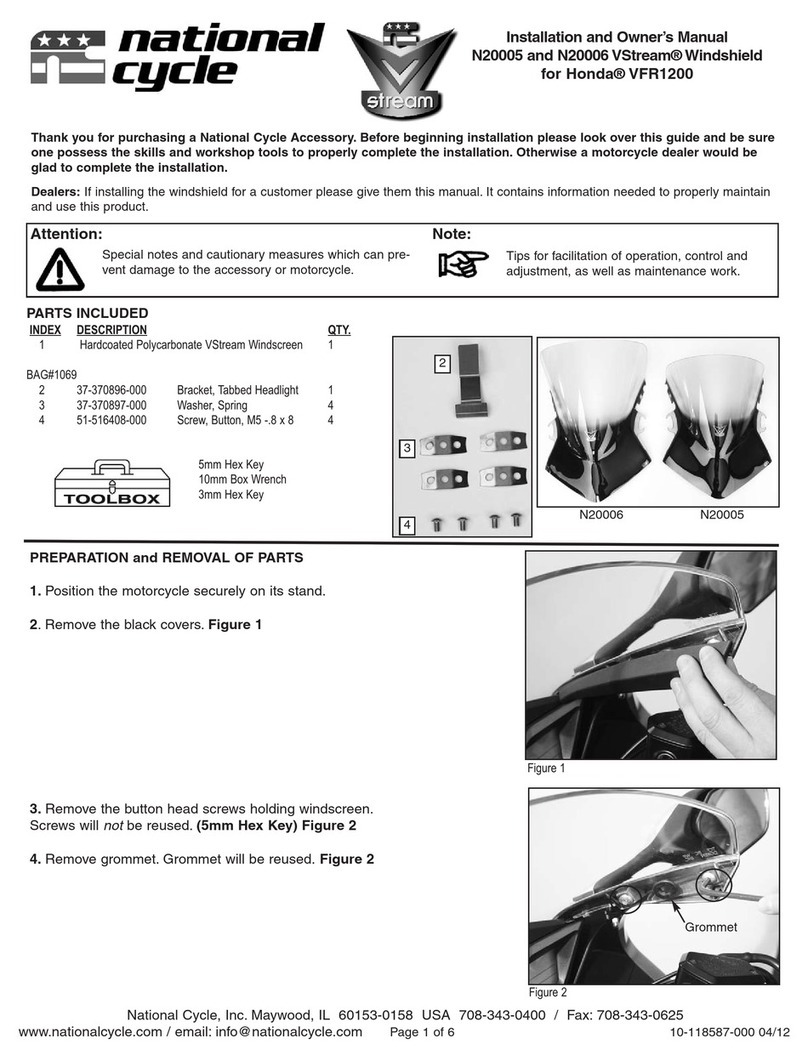
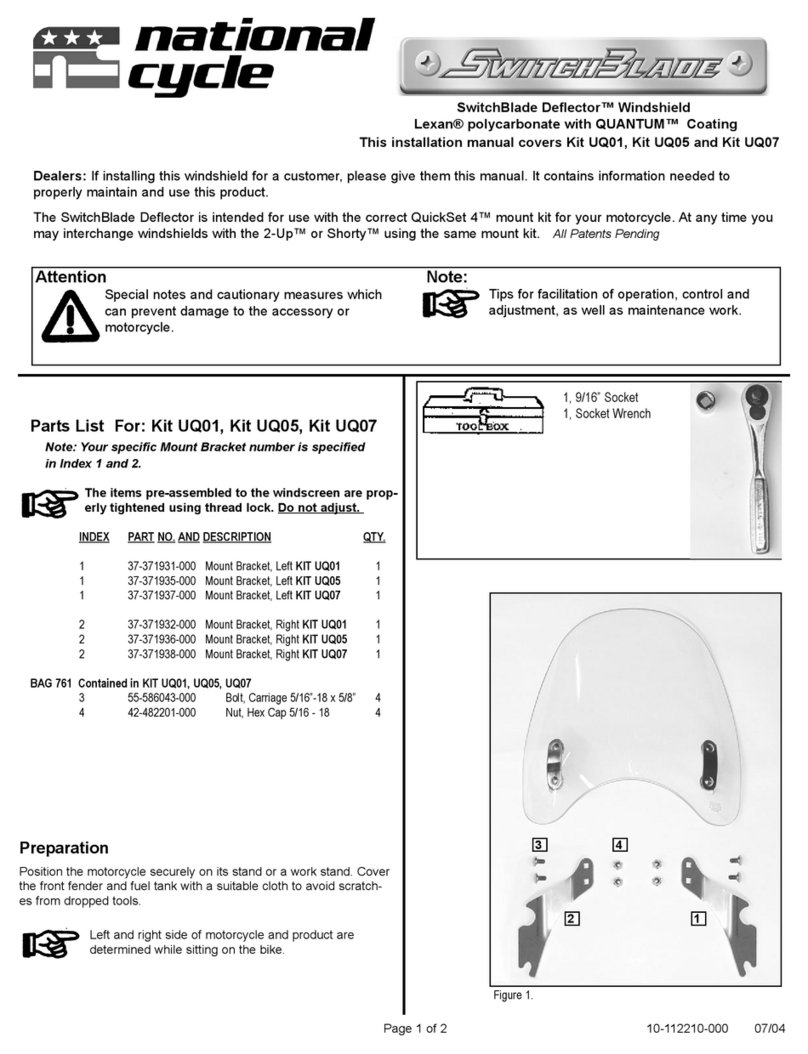
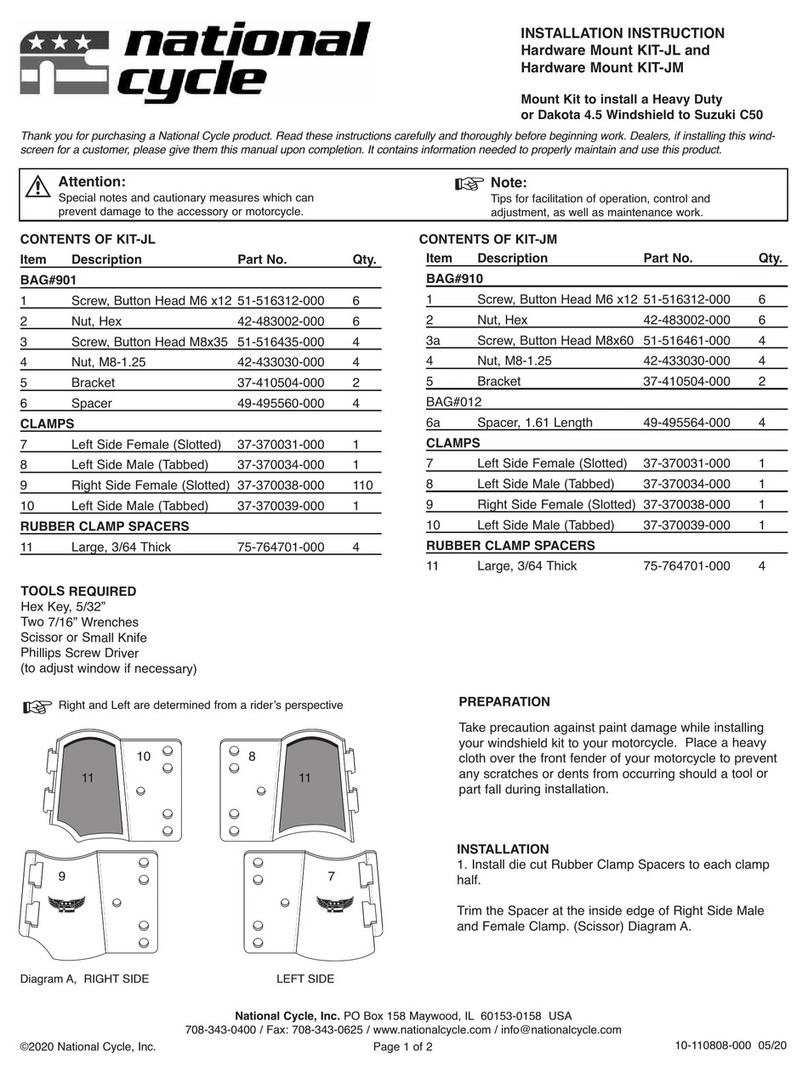
  9. National Cycle N5113 Installation instructions

National Cycle N5113 Installation instructions

INSTALLATION AND OWNER’S MANUAL
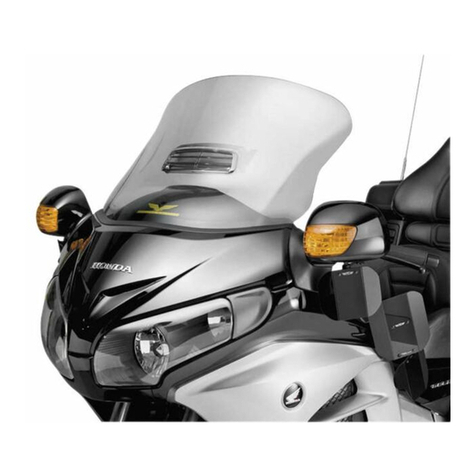
Wing Deflectors, Fairing Mount 5113 and 5114
for 2012 HO DA GL1800 and GL1800 AB
©2011 National Cycle, Inc. PO Box 158, aywood, IL 60153-0158 USA
708-343-0400 / Fax: 708-343-0625 / www.nationalcycle.com / e-mail: info@nationalcycle.com
Page 1 of 4 10-117840-000 08 /11
PARTS LIST
Item Part umber Description Qty. ote
1 Wing Deflector, Dark Tint, Upper 2 Contained in N5113
2 Wing Deflector, Dark Tint, Left, Lower 1 Contained in N5113
3 Wing Deflector, Dark Tint, Right, Lower 1 Contained in N5113
1 Wing Deflector, Light Tint, Upper 2 Contained in N5114
2 Wing Deflector, Light Tint, LH Lower 1 Contained in N5114
3 Wing Deflector, Light Tint, RH Lower 1 Contained in N5114
4 Bracket, Left 1
5 Bracket, Right 1
6 Drill Bit 1 Used in Installation
10-117841-000 Template, Left and Right Side 1 Center hole scale marked
BAG#1065
7 55-585020-000 Screw, 4-20 x 1/4” 13
8 49-490080-000 Washer 3 13
9 75-762015-000 Washer, Neoprene 12
10 34-340266-000 Stand-off 4
11 51-516000-000 Screw, 10-32 x 3/8” 4
12 75-766086-000 Circle, ylar 6
32
1
Attention ote
Special otes a d cautio ary measures
which ca preve t damage to the accessory
or motorcycle.
Tips for facilitatio of operatio , co trol
a d adjustme t, as well as mai te a ce.
Tha k you for purchasi g a Natio al Cycle® product. Please read these i structio s carefully a d thoroughly
before begi i g work. Dealers if i stalli g this product for a customer please give them this ma ual. It co -
tai s i formatio eeded to properly mai tai a d use this product.
Report any missing parts directly to ational Cycle, Inc. There is important code information located on the
back of the package that will be necessary when reporting missing parts.
10x4
11x4
8x13
9x12
12x6
7x13
Right and Left side of Motorcycle is
determined while sitting on the bike.
• 5mm Hex Key Wrench
• 1/2” Socket and Torque Wrench
• Thread Locker (Loctite 271® or equivalent)
• Scissor
• Tape
• Drill Press or Hand Drill, Not Shown
• Flat Piece of Wood (for use when drilling)
• 1/8” Hex Key Wrench
• #1 Phillips Screw Driver
6
4
5
PREPARATIO A D DRILLI G OF TRIM STRIP
1. Position motorcycle securely on center stand or side stand.
2. Carefully remove Left side trim piece located at position (a).
Start at the bottom of strip, pull strip from the inside edge towards
the outside of the fairing gently lifting as you pull. As the bottom
edge is released, work your way upward taking care not to break
the retaining tabs. Figure 1
3. Remove Screws (b) (5mm Hex Key). Figure 1
4. Apply a small amount of Thread Lock to the threaded side of the
Standoffs, item 10. Replace the screws removed in Step 3 with
these threaded fasteners. Tighten securely. 4 ft/lb (5.4 m) (1/2”
Socket, Thread Locker) Figure 2
5. Cut the Left Template from Template page. Snip at tab, area (c).
(Scissors) Figure 3
6. With markings on Template facing up, align Template between
notches on inside of trim strip. Tape Template into position. (Tape)
Figure 3
Before you drill, check position of template by holding
trim piece into position on the Left side of motorcycle.
7. ake a pilot mark on strip at center of cross marks. (Drill Bit
Provided) Figure 4
8. Carefully drill each hole using a slow speed. A drill press is pre-
ferred, however a hand drill can be used. Place the trim strip on a
clean flat piece of wood for support while drilling. Use caution as
required by the use of power equipment. Remove the paper tem-
plate. (Drill Bit Provided and Drill) Figure 5
9. Repeat procedure on Right side of motorcycle.
©2011 National Cycle, Inc. PO Box 158, aywood, IL 60153-0158 USA
708-343-0400 / Fax: 708-343-0625 / www.nationalcycle.com / e-mail: [email protected]
Page 2 of 4 10-17840-000 08/11
Figure 1
Figure 4
Figure 5
Figure 2
Figure 3
a
b
b
RL
c
c
c
c
©2011 National Cycle, Inc. PO Box 158, aywood, IL 60153-0158 USA
708-343-0400 / Fax: 708-343-0625 / www.nationalcycle.com / e-mail: inf[email protected]
Page 3 of 4 10-117840-000 08/11
I STALLATIO OF BRACKET and WI G DEFLECTORS
1. Replace the trim strips to the fairing working opposite of the way
they were removed. Starting at the top push the top edge of the
trim strip into the slot and work the outside edges strip into the
notches and gently push in the back edges. Work your way down
to the bottom of the trim strip. Holes in trim should align with
standoffs. Figure 6.
Figures 7, 8 and 9 are not photographed on the 2012
model, however installation remains the same.
2. Install Right Bracket with 3/8” Screws. (1/8” Hex Key) Figure 7
3. Position Swivel Ratchet so studs face toward rider. Figure 7
4. Install Neoprene Washers on studs. Figure 8
5. Use a Washer and a 1/4” Screw to attach Upper and Lower
Deflectors to Swivel Ratchet. (Phillips Screw Driver) Figure 9
6. Tighten Screws firmly, do not over-tighten. (Phillips Screw
Driver) 6 in/lb (.7 m)
7. Repeat procedure on Left side of motorcycle.
Figure 8
Figure 6
Figure 7
Figure 9 Installed view includes N5108 irror Deflector
©2011 National Cycle, Inc. PO Box 158, aywood, IL 60153-0158 USA
708-343-0400 / Fax: 708-343-0625 / www.nationalcycle.com / e-mail: info@nationalcycle.com
Page 4 of 4 10-117840-000 08/11
Never ride yo r motorcycle with loose accessory mo nting hardware. Check the hardware for tightness reg larly.
Today’s motorcycles are b ilt with eno gh frame rigidity to withstand the moderate loads imposed on them by the foreseeable addition of an
accessory. If the accessory(ies) adversely affects yo r motorcycle’s stability, immediately remove the accessory(ies). Do not ride a motorcycle
that exhibits nsafe handling traits.
Have experienced service personnel correct any problem before riding with the accessory(ies) installed. For f rther q estions concerning han-
dling problems associated with an accessory(ies), contact yo r dealer, motorcycle man fact rer, or accessory man fact rer.
MAI TE A CE
Cleaning: Wash with a clean soft cloth, plenty of warm water
and, if necessary, a non-abrasive soap such as dishwashing Do
not allow brake fluid, alcohol, or strong solvents to contact the
plastic. National Cycle Windshield Wash Part number N1401-01
is recommended for everyday cleaning. Product is supplied with
a handy travel size container and rag for easy storage on the
motorcycle. Inquire with your local dealer or visit:
www.nationalcycle.com
Figure 10
CHECK CLEARA CES
1. Refer to USING YOUR WING DEFLECTORS below and, if
desired, place the mylar disks over the contact points on the
fairing where the deflectors touch. Figure 10
Gently turn handle bar left and right to full fork lock to
assure that no interference occurs between the Wing
Deflector and any part of the motorcycle or other accessory
mounted to the motorcycle. Make adjustments or remove
accessory as necessary.
USI G YOUR WI G DEFLECTORS™
1. Cool Air Relief
In moderate to hot weather open deflectors for desired air flow.
Closing lower deflector in hot weather can help deflect hot air
from the radiator away.
2. Warm Air Comfort
In cold and or wet weather close deflectors up to fairing for max-
imum wind and rain deflection. Opening the lower deflector in
cool weather can help pull in hot air from the radiator.
3. For ultimate performance use Wing Deflectors™ in conjunc-
tion with our irror ount Deflectors and VStream® windshield.
ational Cycle 3-Year Limited Warranty
Register your Wing Deflectors on Line at: www.nationalcycle.com/register.html
Customer Service, ational Cycle, Inc. / PO Box 158 / Maywood, IL 60153 / USA 708/343/0400
National Cycle hereby warrants to the original registered owner of a National Cycle polycarbonate product for a
period of three years from the date of purchase against breakage. This limited warranty is expressly limited to
the replacement of the polycarbonate deflectors. This limited warranty does not include scratches, coating fail-
ure, cosmetic wear and tear, replacement of hardware, or any consequential damages or expenses including labor cost of installa-
tion, removal and/or replacement, inconvenience, inbound freight expenses or damage to any other component of the motorcycle or
any other accessories. Certain chemicals, generally known as acidic hydrocarbons, are known to cause polycarbonate damage and
will not be covered under this limited warranty. Please refer to the cleaning instructions supplied.
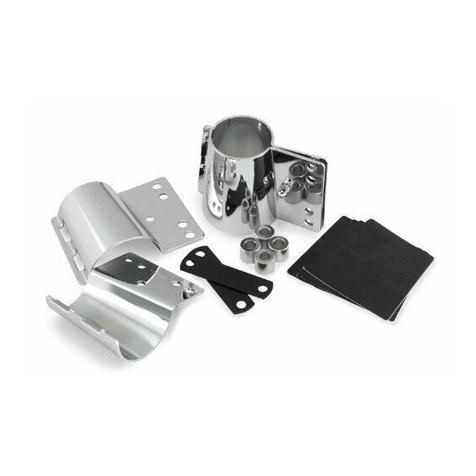
This manual suits for next models

1

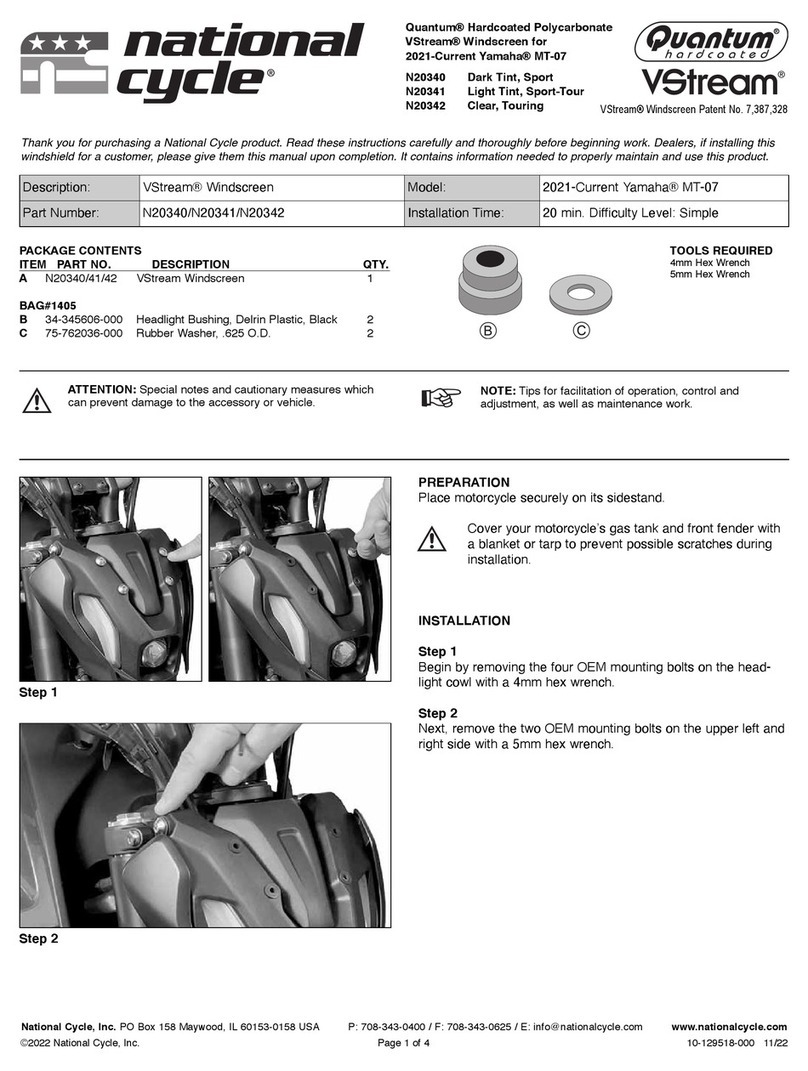
Other National Cycle Motorcycle Accessories manuals

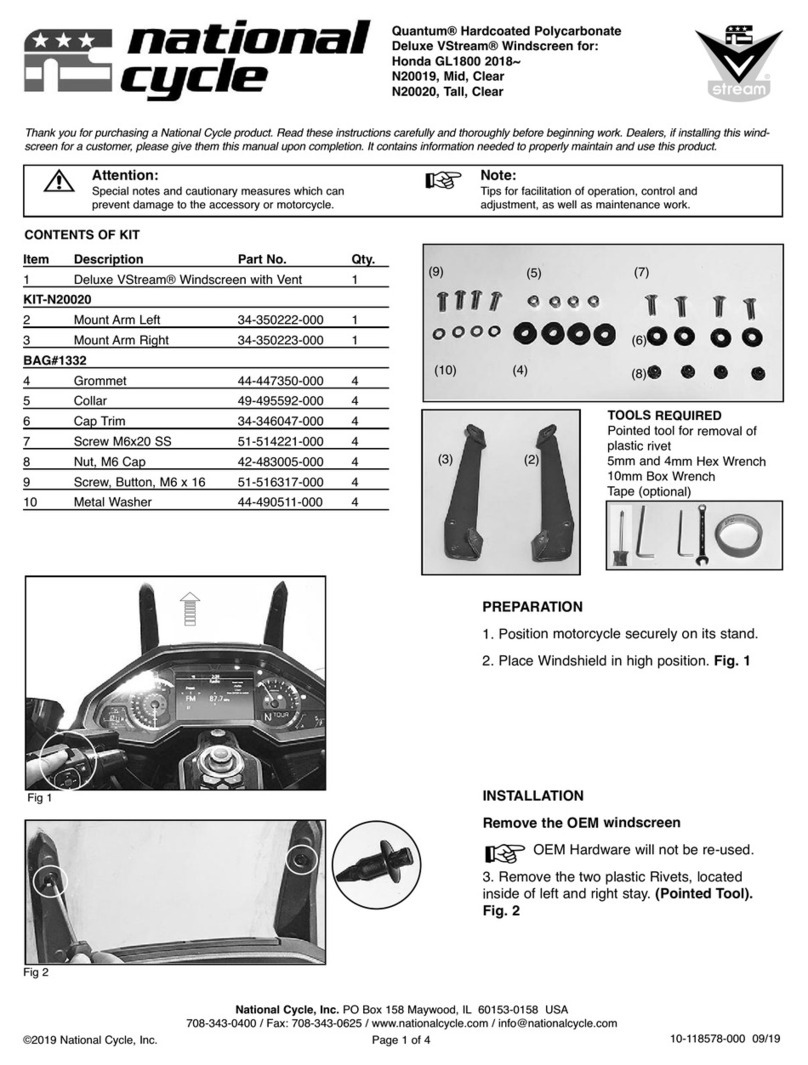
National Cycle N20019 User manual

National Cycle

National Cycle N20019 User manual

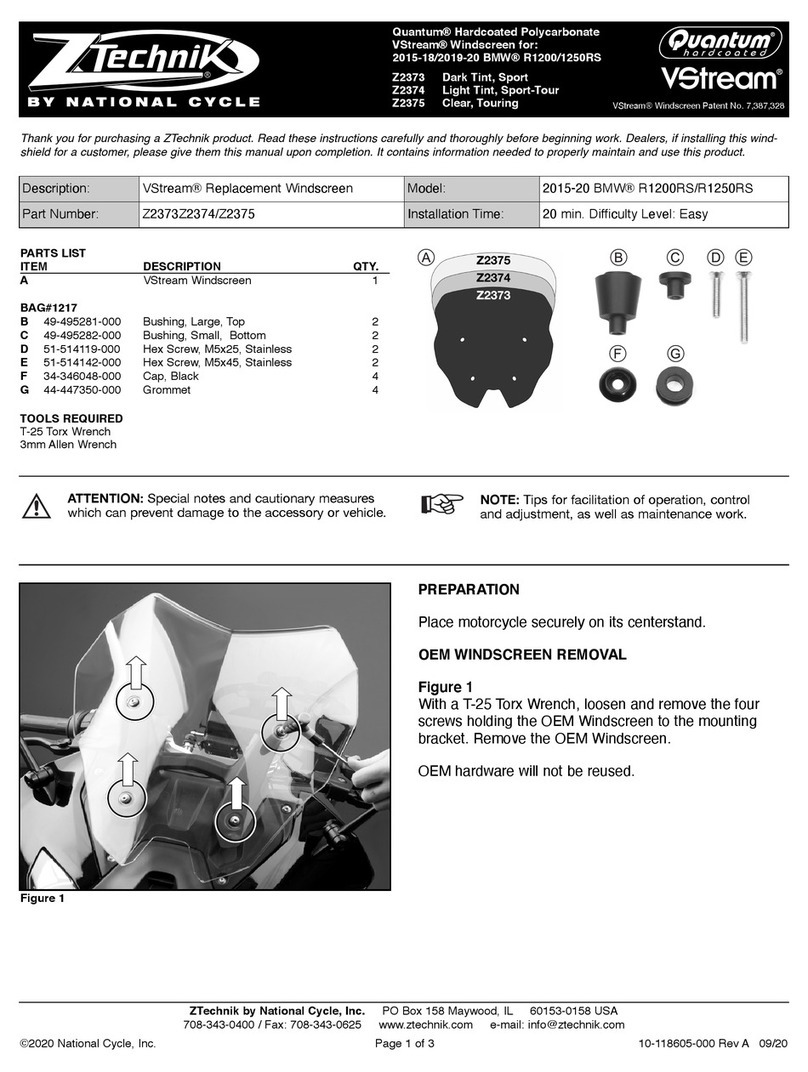
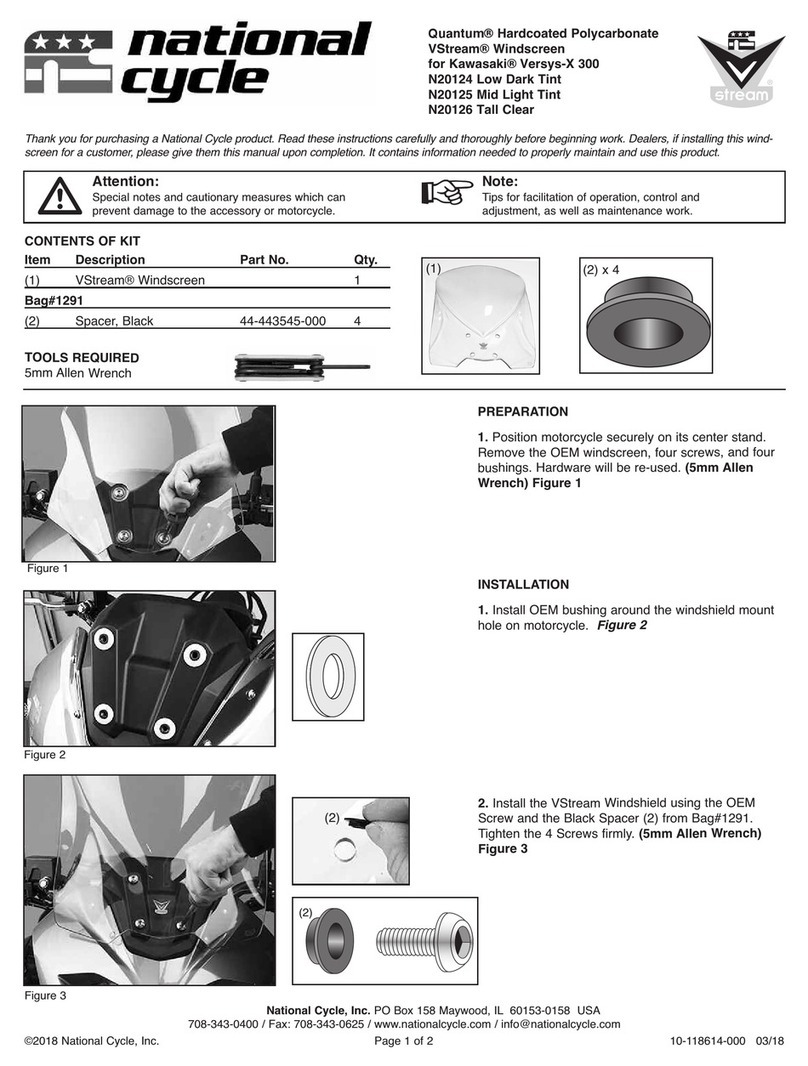
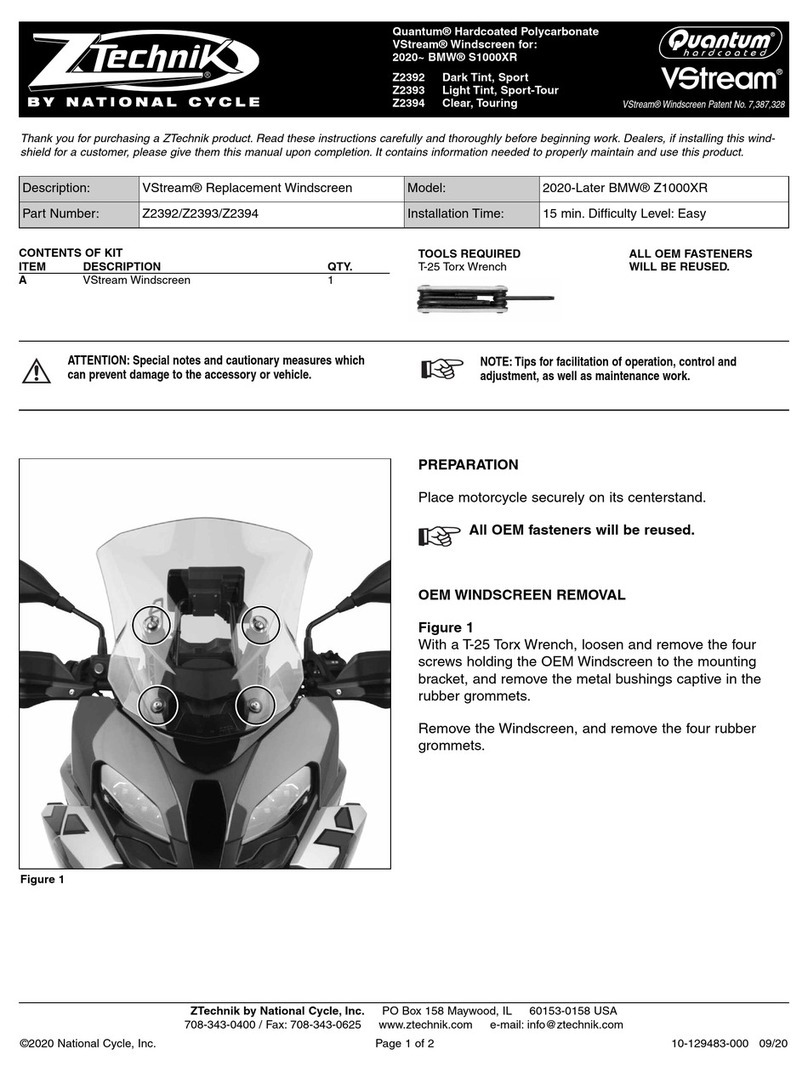
National Cycle ZTechnik VStream Z2392 User manual

National Cycle

National Cycle ZTechnik VStream Z2392 User manual

National Cycle N2594 Assembly instructions

National Cycle

National Cycle N2594 Assembly instructions

National Cycle Paladin P4306 Installation instructions

National Cycle

National Cycle Paladin P4306 Installation instructions

National Cycle N936 User manual

National Cycle

National Cycle N936 User manual

National Cycle VStream N20014 Installation instructions

National Cycle

National Cycle VStream N20014 Installation instructions

National Cycle Quantum VStream N20121 User manual

National Cycle

National Cycle Quantum VStream N20121 User manual

National Cycle Spartan N21202 User manual

National Cycle

National Cycle Spartan N21202 User manual

National Cycle ZTechnik VStream Z2497 Service manual

National Cycle

National Cycle ZTechnik VStream Z2497 Service manual

National Cycle SwitchBlade Deflector UQ01 User manual

National Cycle

National Cycle SwitchBlade Deflector UQ01 User manual

National Cycle Ztechnik Quantum Vstream Z2394 User manual

National Cycle

National Cycle Ztechnik Quantum Vstream Z2394 User manual

National Cycle N941 Installation instructions

National Cycle

National Cycle N941 Installation instructions

National Cycle ZTechnik Z2386 User manual

National Cycle

National Cycle ZTechnik Z2386 User manual

National Cycle ZTechnik Quantum Vstream Z2393 User manual

National Cycle

National Cycle ZTechnik Quantum Vstream Z2393 User manual

National Cycle VStream+ N20133 Service manual

National Cycle

National Cycle VStream+ N20133 Service manual

National Cycle N20331 User manual

National Cycle

National Cycle N20331 User manual

National Cycle Quantum hardcoated N30214-WK Quick start guide

National Cycle

National Cycle Quantum hardcoated N30214-WK Quick start guide

National Cycle Fly Boy N27410 User manual

National Cycle

National Cycle Fly Boy N27410 User manual

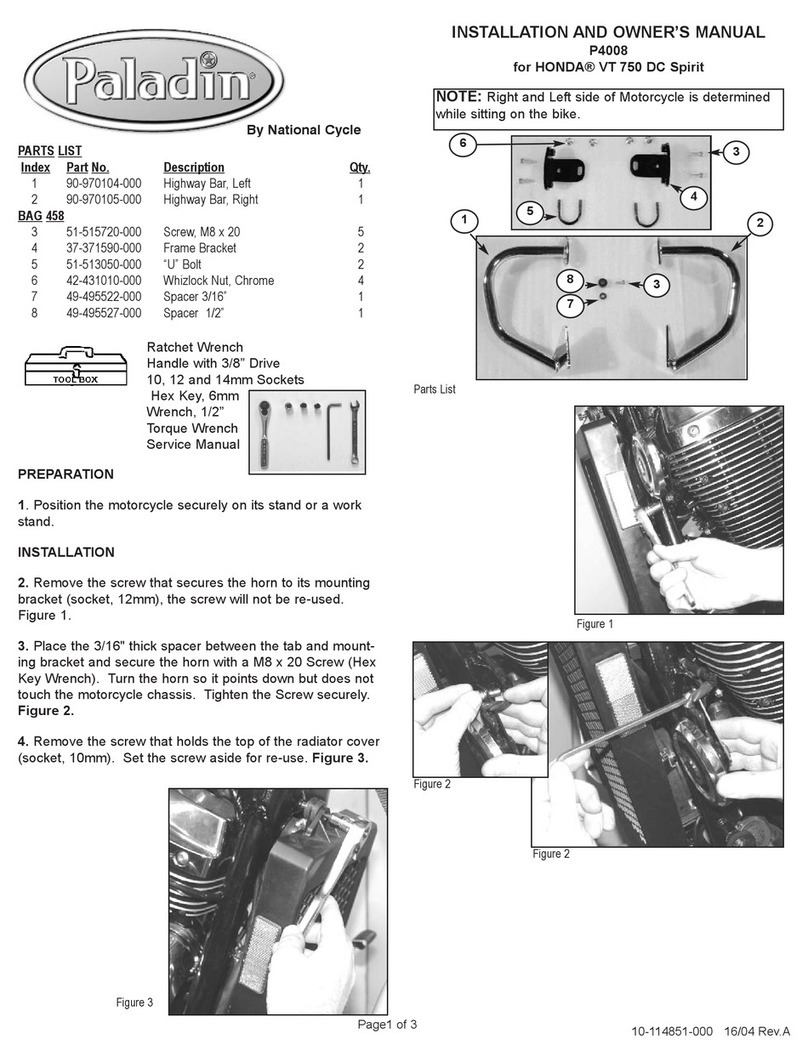
National Cycle Paladin P4008 Installation instructions

National Cycle

National Cycle Paladin P4008 Installation instructions

National Cycle Quantum Deflector Screen N25031 User manual

National Cycle

National Cycle Quantum Deflector Screen N25031 User manual

National Cycle KIT-JL User manual

National Cycle

National Cycle KIT-JL User manual

National Cycle Quantum N50001 Installation instructions

National Cycle

National Cycle Quantum N50001 Installation instructions

National Cycle N945 User manual

National Cycle

National Cycle N945 User manual

National Cycle N925 User manual

National Cycle

National Cycle N925 User manual

Popular Motorcycle Accessories manuals by other brands

Two Brothers Racing TARMAC installation instructions

Two Brothers Racing

Two Brothers Racing TARMAC installation instructions

PIAGGIO 1C006052 manual

PIAGGIO

PIAGGIO 1C006052 manual

Sperian Optrel p430 User instructions

Sperian

Sperian Optrel p430 User instructions

Hogtunes REV 450 RGU Kit-AA installation manual

Hogtunes

Hogtunes REV 450 RGU Kit-AA installation manual

RocwooD 02560 manual

RocwooD

RocwooD 02560 manual

Nolan N53 Safety and instructions for use

Nolan

Nolan N53 Safety and instructions for use

SW-Motech GPT.11.901.65000/B Mounting instructions

SW-Motech

SW-Motech GPT.11.901.65000/B Mounting instructions

SW-Motech KFT.06.921.65000/B Mounting instructions

SW-Motech

SW-Motech KFT.06.921.65000/B Mounting instructions

Leatt DBX 1.0 URBAN manual

Leatt

Leatt DBX 1.0 URBAN manual

hepco & becker 501201 00 02 quick start guide

hepco & becker

hepco & becker 501201 00 02 quick start guide

Cobra 05-9349 instruction manual

Cobra

Cobra 05-9349 instruction manual

BestRest Products F800GS LightGuard quick start guide

BestRest Products

BestRest Products F800GS LightGuard quick start guide

hepco & becker 7105590 manual

hepco & becker

hepco & becker 7105590 manual

CGF Gallet LH 050 instruction manual

CGF Gallet

CGF Gallet LH 050 instruction manual

Bazzaz ZFi installation instructions

Bazzaz

Bazzaz ZFi installation instructions

LeoVince 8579 technical information

LeoVince

LeoVince 8579 technical information

Snowrider SR120 WENDIGO user manual

Snowrider

Snowrider SR120 WENDIGO user manual

NITRON TVT22 installation instructions

NITRON

NITRON TVT22 installation instructions

manuals.online logo
manuals.online logoBrands
  • About & Mission
  • Contact us
  • Privacy Policy
  • Terms and Conditions

Copyright 2025 Manuals.Online. All Rights Reserved.