manuals.online logo
Brands
  1. Home
  2. •
  3. Brands
  4. •
  5. tropitone
  6. •
  7. Indoor Furnishing
  8. •
  9. tropitone Cabana Club Party Lounger& Natural Stone Drink... User manual

tropitone Cabana Club Party Lounger& Natural Stone Drink... User manual

For additional Cabana Club assembly and product care
instructions, see www.tropitone.com and select Product Care.


Cabana Club Cleaning and Care


Cabana Club Assembly Instructions


Cabana Club Woven Panel Attachment
If you have difficulty understanding any of the instructions and
need assistance while fastening your components together,
please call Tropitone’s Customer Service Center at 949-951-2010.
Tropitone Furniture Co., Inc.
5 Marconi, Irvine, CA 92618
949 951 2010 phone
www.tropitone.com
Part # R9T00013
Revised: 05.09.2013
©2013 Tropitone Furniture Co., Inc.
Cabana Club Party Lounger
& Natural Stone Drink Table
Assembly Instructions
Congratulations on the purchase of your Tropitone Cabana Club
Party Lounger and Drink Table (optional). Read through all steps
before fastening components together.
CAUTION: Do not try to lift or flip components with only
one person. Components may be heavy and awkward to
handle, and may result in injury to persons or damage to
property if not lifted properly.
Tools Required
3/16” Hex Key (Allen Wrench) (2) 7/16” Wrenches
Safety Glasses
Party Lounger Parts List (example: connecting 2 modules)
Bottom Connection
(2) Connector Plates
(4) ¼” x 7/8” Hex Head Bolts
(4) 1/4” Flat Washers
(4) 1/4” Lock Washers
Upper Connection stainless
steel
(2) Connector Plates
(4) 5/16” x ¾” Pan Head Screws
(4) 5/16” Lock Washers
Upper Connection aluminum
(2) Connector Plates
(4) 5/16” x 2-1/4” Hex Head Cap
Screws
(8) 5/16” Flat Washers
(4) 5/16” Lock Nuts
Drink Table Parts List (optional table)
(1) ¼” x ¾” Thumb Screw (4) ¼” x ⅝” Socket Head Screws
(4) ¼” Lock Washers
2
Party Lounger Assembly
Assembled furniture is heavy; put together at place of use.
Step 1
Align the Quarter Sections. Attach Connector Plate using ¼” x
7/8” hex head bolt with flat washer and lock washer into the
bottom rear of the first furniture component. Tighten the screw
hand tight so the plate can swing.
Swing the connector plates so the slotted hole overlaps the drilled
hole. Install a hex head bolt with flat washer and lock washer into
the second furniture component – hand-tighten hex head bolts.
Repeat for bottom front of the
furniture.
Fully tighten hex head bolts (4
places).
Repeat to attach the 3
rd
and 4
th
sections if these are components
are part of the configuration. All section junctions should be
retained with two (2) Connector Plates on the bottom of the
furniture.
7
Step 5
Insure Thumb Screw is loose to allow umbrella insertion. Using
two persons, insert 1.5” diameter umbrella pole into table umbrella
hole and lower until fully seated. Fully tighten the Thumb Screw
against the umbrella pole until the umbrella won’t lift or rotate.
Step 6
Place the seat cushions with zipper down onto each furniture
component. Components with a back have notches in the seat
cushion; the notch fits to the frame members.
Stainless Steel – (rod seat deck grid): Wrap straps around
the seat deck grid; snap closed to the tightest snap.
Aluminum – (wide, flat strap seat deck grid): Wrap straps
around seat deck grid; snap closed to the second snap.
Place the back cushions onto each furniture component with the
zippers down. Starting at one end of a back cushion, connect the
snaps to the underside of the back frame member, working your
way to the other end of the back cushion. The short straps closely
attach the cushion to the frame.
Use your index fingers from both hands to snap the strap
to the frame.
x
Fully inserting your hands will move the cushion away from
the frame making it difficult to attach the straps.
6
Step 4 Drink Table Attachment (continued)
Three Section configuration: Position three (3) Connector Plates
as shown below with two connecting the Sections together. Attach
the Drink Table.
Four Section configuration: Position four (4) Connector Plates as
shown to connect all Sections together. Attach the Drink Table.
Stainless Steel: Install
Socket Head Cap
Screws with Lock
Washers. Fully tighten
with Hex Key (5 places).
Aluminum: Install Hex Head
Screws with Flat Washers
above and Flat Washers
with Lock Nuts underneath.
Fully tighten with Wrenches
(8 places).
Stainless Steel: Install
Socket Head Cap
Screws with Lock
Washers. Fully tighten
with Hex Key (8 places).
Aluminum: Install Hex Head
Screws with Flat Washers
above and Flat Washers
with Lock Nuts underneath.
Fully tighten with Wrenches
(5 places).
3
Step 2 Party Lounger Configuration without Drink Table
Proceed to Step 3 if you’re installing the Party Lounger Drink
Table option.
Attach Connector Plates(s) into the top front of the components.
2 Section configuration
Stainless Steel: Fully tighten Pan
Head Screw with Lock Washer using
the Hex Key (2 places).
Aluminum (shown): Fully tighten Hex
Head Cap Screw with Flat Washer
on top and a Flat Washer with Lock
Nut underneath using the wrenches
(2 places).
3 Section configuration
Stainless Steel (shown): Fully
tighten Pan Head Screw with Lock
Washer using a Hex Key (4 places).
Aluminum: Fully tighten Hex Head
Cap Screw with Flat Washer on top
and a Flat Washer with Lock Nut
underneath using the wrenches
(4 places).
4 Section configuration
Stainless Steel (shown): Fully
tighten Pan Head Screw with Lock
Washer using the Hex Key
(8 places).
Aluminum: Fully tighten Hex Head
Cap Screw with Flat Washer on top
and a Flat Washer with Lock Nut
underneath using the wrenches
(8 places).
Proceed to Step 6 for final assembly.
4
Step 3 Party Lounger Configuration with Drink Table
Prepare a smooth, non-scratch surface (a tarp or pool towels can
be placed on your work surface). Place the granite top upside
down on prepared work surface.
Place the table base upside down onto the granite top and align
the base through holes with the threaded inserts on the top.
Attach the top by installing ¼” x ⅝” Socket Head Screws with Lock
Washers. Don’t fully tighten the screws until all four (4)
screws are installed.
Fully tighten all screws using the Hex Key (4 places).
Insert the thumb screw into table base and tighten a few turns.
Don’t fully tighten the screw or it will interfere with the
umbrella installation. If an umbrella won’t be installed, fully
tighten the screw.
5
Step 4 Drink Table Attachment
Two Section configuration: Position
three (3) Connector Plates as shown
below with one connecting the Sections
together. Attach the Drink Table.
Plate is flush with Party
Lounger and Table.
Stainless Steel: Install Pan
Head Screws with Lock
Washers. Fully tighten with
Hex Key (4 places).
Aluminum: Install Hex Head Cap
Screws with Flat Washers above
and Flat Washers with Lock Nuts
underneath. Fully tighten with
Wrenches (4 places).

Other tropitone Indoor Furnishing manuals
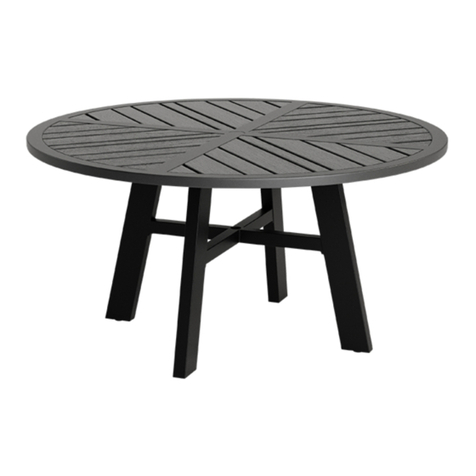
tropitone Crestwood Round KD Table User manual

tropitone

tropitone Crestwood Round KD Table User manual

tropitone Curve User manual

tropitone

tropitone Curve User manual
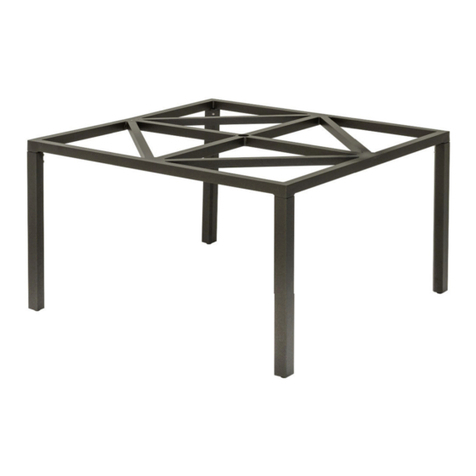
tropitone Matrix KD Table User manual

tropitone

tropitone Matrix KD Table User manual

tropitone Mobilis User manual

tropitone

tropitone Mobilis User manual
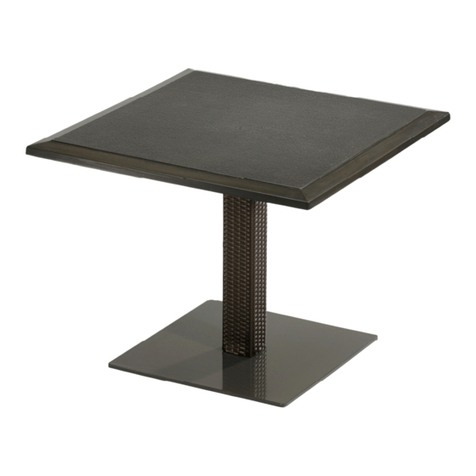
tropitone Evo 360936B User manual

tropitone

tropitone Evo 360936B User manual
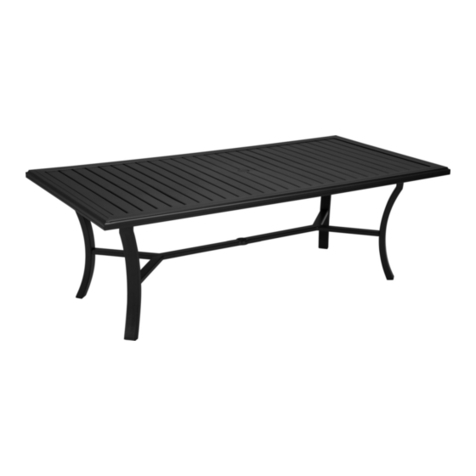
tropitone 4011 Series User manual

tropitone

tropitone 4011 Series User manual

tropitone Cabana Club User manual

tropitone

tropitone Cabana Club User manual
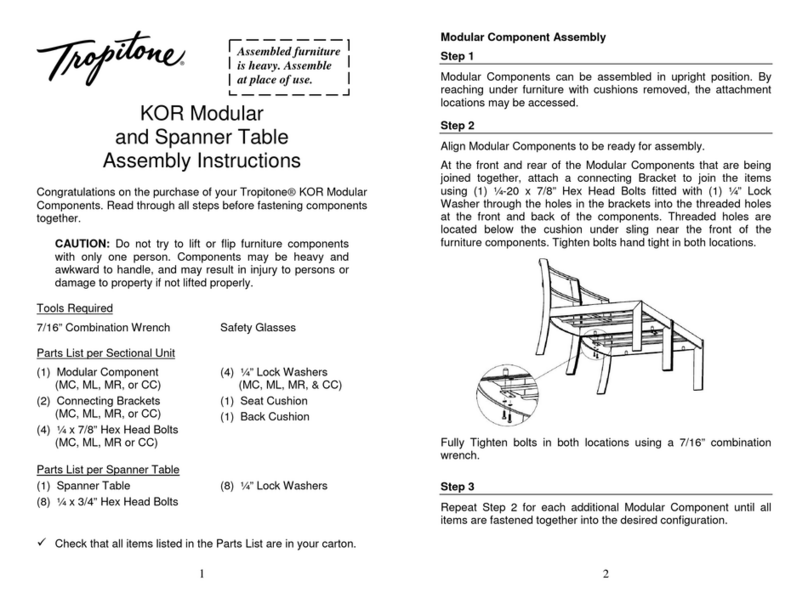
tropitone KOR User manual

tropitone

tropitone KOR User manual
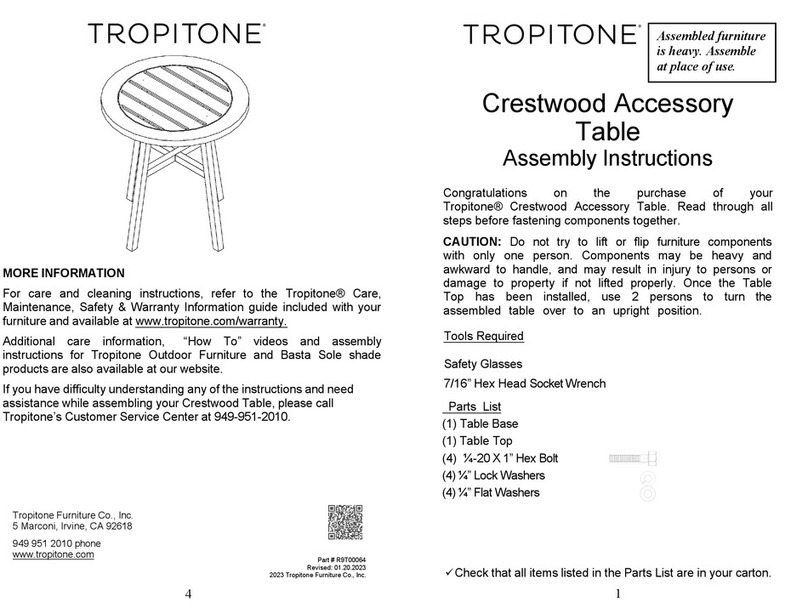
tropitone Crestwood Accessory Table User manual

tropitone

tropitone Crestwood Accessory Table User manual

tropitone Curve Chaise User manual

tropitone

tropitone Curve Chaise User manual

tropitone Stoneworks User manual

tropitone

tropitone Stoneworks User manual
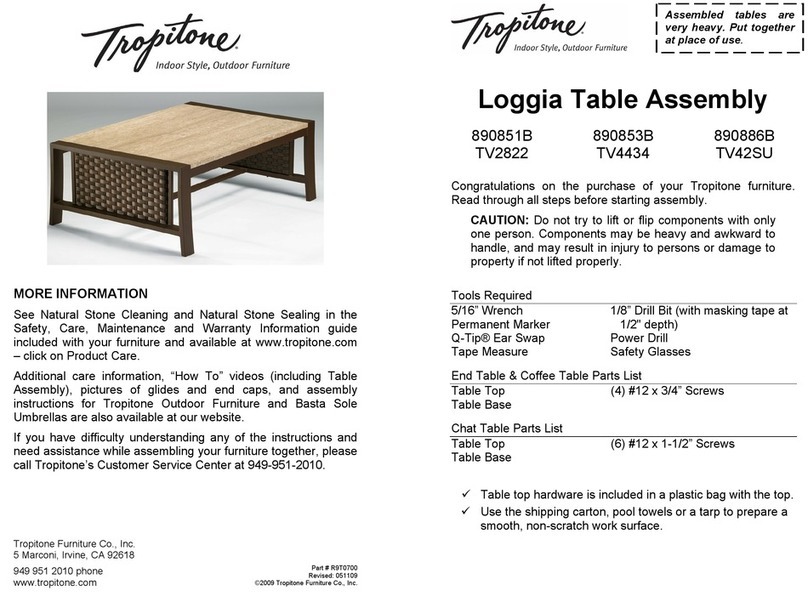
tropitone 890851B User manual

tropitone

tropitone 890851B User manual
tropitone Stoneworks User manual

tropitone

tropitone Stoneworks User manual
tropitone Party Lounger User manual

tropitone

tropitone Party Lounger User manual
tropitone Stoneworks Palazzo Pedestal Table User manual

tropitone

tropitone Stoneworks Palazzo Pedestal Table User manual

tropitone Mia Woven Lounger 361050 User manual
tropitone

tropitone Mia Woven Lounger 361050 User manual

tropitone 840838SWB User manual

tropitone

tropitone 840838SWB User manual

tropitone 800154FTCH/GL User manual

tropitone

tropitone 800154FTCH/GL User manual

tropitone Cabana Club Collection User manual

tropitone

tropitone Cabana Club Collection User manual

Popular Indoor Furnishing manuals by other brands

Rauch M1742 Assembly instructions

Rauch

Rauch M1742 Assembly instructions

Article LENIA SKU12922 Assembly instructions

Article

Article LENIA SKU12922 Assembly instructions

Alpine Peacock BVK608A owner's manual

Alpine

Alpine Peacock BVK608A owner's manual

meubar YORK K2 Assembly instruction

meubar

meubar YORK K2 Assembly instruction

Hülsta hs.420 Important product information

Hülsta

Hülsta hs.420 Important product information

modway MOD-5175 Assembly instructions

modway

modway MOD-5175 Assembly instructions

Steelcase Ology user manual

Steelcase

Steelcase Ology user manual

Romeo ROM01 Assembling instructions

Romeo

Romeo ROM01 Assembling instructions

diotti EDDARD manual

diotti

diotti EDDARD manual

interstuhl geos 47G0 Operating	 instruction

interstuhl

interstuhl geos 47G0 Operating instruction

Amart Furniture MILL 66295 Assembly instruction

Amart Furniture

Amart Furniture MILL 66295 Assembly instruction

TEMPLE & WEBSTER Ruben SBSRDONT Assembly instructions

TEMPLE & WEBSTER

TEMPLE & WEBSTER Ruben SBSRDONT Assembly instructions

Exclusive Heritage CL-10148S-WMTP installation guide
Exclusive Heritage

Exclusive Heritage CL-10148S-WMTP installation guide

Meble Furniture BROK104 manual

Meble Furniture

Meble Furniture BROK104 manual

Vivo DESK-DR02 instruction manual

Vivo

Vivo DESK-DR02 instruction manual

Lifestyle Solutions MAGNOLIA BED Assembly instructions
Lifestyle Solutions

Lifestyle Solutions MAGNOLIA BED Assembly instructions

Venjakob Metallfuss 3311 Assembly instructions
Venjakob

Venjakob Metallfuss 3311 Assembly instructions

LEMI JOLLY Assembling Instruction

LEMI

LEMI JOLLY Assembling Instruction

manuals.online logo
manuals.online logoBrands
  • About & Mission
  • Contact us
  • Privacy Policy
  • Terms and Conditions

Copyright 2025 Manuals.Online. All Rights Reserved.