manuals.online logo
Brands
  1. Home
  2. •
  3. Brands
  4. •
  5. TUBESCA-COMABI
  6. •
  7. Ladder
  8. •
  9. TUBESCA-COMABI SHERPA 2272 Series User manual

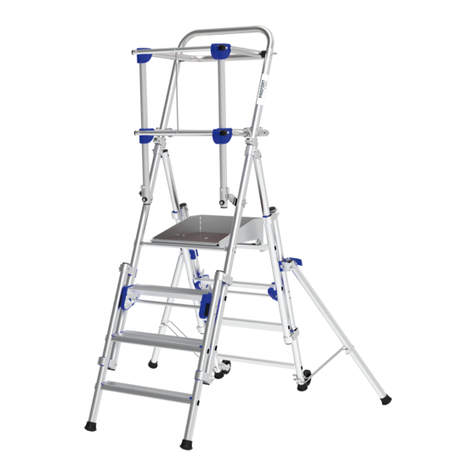
TUBESCA-COMABI SHERPA 2272 Series User manual

This manual suits for next models

2

Other TUBESCA-COMABI Ladder manuals

TUBESCA-COMABI X-TENSO 2 User manual

TUBESCA-COMABI

TUBESCA-COMABI X-TENSO 2 User manual

TUBESCA-COMABI 02271 105 à 115 User manual

TUBESCA-COMABI

TUBESCA-COMABI 02271 105 à 115 User manual

TUBESCA-COMABI Raptor2 User manual

TUBESCA-COMABI

TUBESCA-COMABI Raptor2 User manual

TUBESCA-COMABI TOTEM 2 BOX 180 User manual

TUBESCA-COMABI

TUBESCA-COMABI TOTEM 2 BOX 180 User manual

TUBESCA-COMABI VELOCE Owner's manual

TUBESCA-COMABI

TUBESCA-COMABI VELOCE Owner's manual

TUBESCA-COMABI PROFORT X'TEND User manual

TUBESCA-COMABI

TUBESCA-COMABI PROFORT X'TEND User manual

TUBESCA-COMABI STARTEO User manual

TUBESCA-COMABI

TUBESCA-COMABI STARTEO User manual

TUBESCA-COMABI Echelles crinolines User manual

TUBESCA-COMABI

TUBESCA-COMABI Echelles crinolines User manual

TUBESCA-COMABI FLEX'UP User manual

TUBESCA-COMABI

TUBESCA-COMABI FLEX'UP User manual

TUBESCA-COMABI EVOKLIP User manual

TUBESCA-COMABI

TUBESCA-COMABI EVOKLIP User manual

TUBESCA-COMABI NEOLIUM SX User instructions

TUBESCA-COMABI

TUBESCA-COMABI NEOLIUM SX User instructions

TUBESCA-COMABI RAPTOR 2272/182 Owner's manual

TUBESCA-COMABI

TUBESCA-COMABI RAPTOR 2272/182 Owner's manual

Popular Ladder manuals by other brands

smirthwaite Walking Ladders Instructions for use

smirthwaite

smirthwaite Walking Ladders Instructions for use

Batavia GIRAFFE AIR operating instructions

Batavia

Batavia GIRAFFE AIR operating instructions

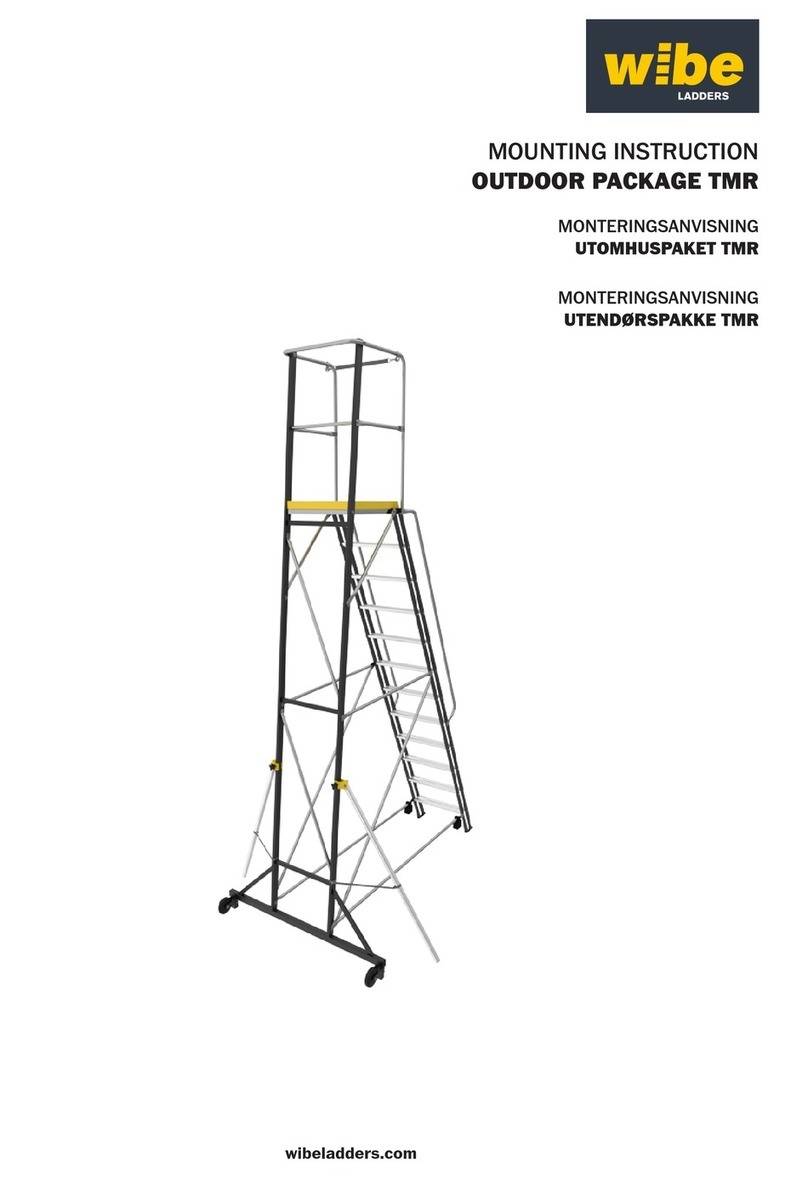
wibe TMR Mounting instruction

wibe

wibe TMR Mounting instruction

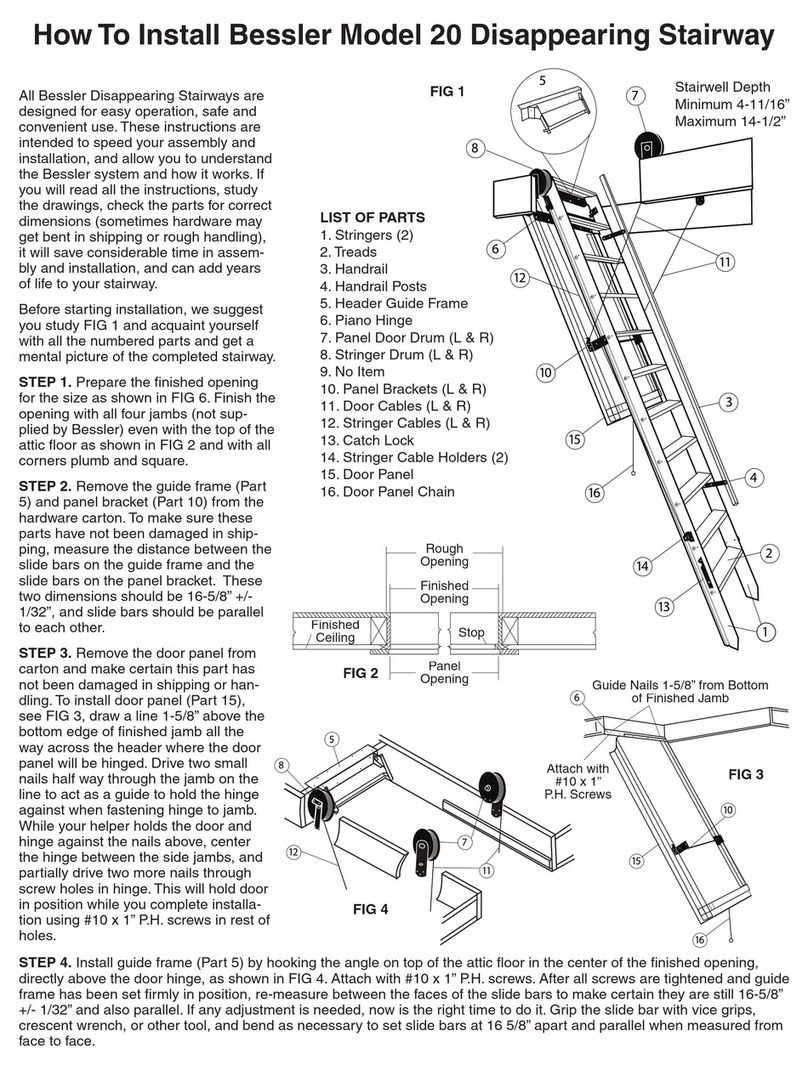
BESSLER 20 manual

BESSLER

BESSLER 20 manual

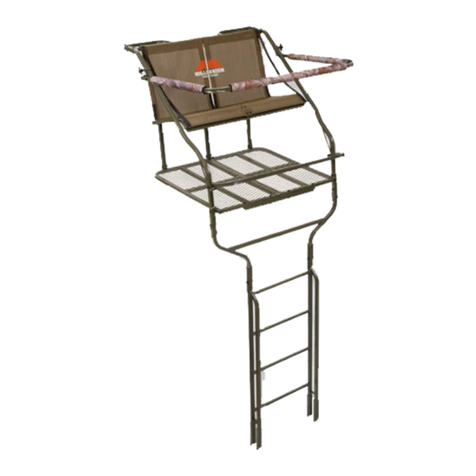
Millennium L-220-SL instruction manual

Millennium

Millennium L-220-SL instruction manual

Louisville AA2210 installation instructions

Louisville

Louisville AA2210 installation instructions

ADVANCED SIMRACING ASR6 Assembly guide

ADVANCED SIMRACING

ADVANCED SIMRACING ASR6 Assembly guide

KRAUSE 1103 Series user manual

KRAUSE

KRAUSE 1103 Series user manual

Tractel skysafe Assembly and operating manual

Tractel

Tractel skysafe Assembly and operating manual

AFIX FAST FIX Assembly guide

AFIX

AFIX FAST FIX Assembly guide

Wenger Fixed Height Stairway 2-Step Assembly instructions

Wenger

Wenger Fixed Height Stairway 2-Step Assembly instructions

KRAUSE 1212 user manual

KRAUSE

KRAUSE 1212 user manual

FACAL Euro Stilo Use and maintenance handbook

FACAL

FACAL Euro Stilo Use and maintenance handbook

Malta Dynamics R0001 quick start guide

Malta Dynamics

Malta Dynamics R0001 quick start guide

Sutphen SL75 Operation manual

Sutphen

Sutphen SL75 Operation manual

Sapa REDD Team Dura-Grip OSHA Assembly

Sapa

Sapa REDD Team Dura-Grip OSHA Assembly

RGC PRO400 instructions

RGC

RGC PRO400 instructions

fakro LWS-P 22/47 Installation instruction

fakro

fakro LWS-P 22/47 Installation instruction

manuals.online logo
manuals.online logoBrands
  • About & Mission
  • Contact us
  • Privacy Policy
  • Terms and Conditions

Copyright 2025 Manuals.Online. All Rights Reserved.

61029_315_ind_00 of 11/2013 http://www.tubesca-comabi.com/ PAGE 1/2
SHERPA 2272/173 to 2272/177 operating instructions
Product compliant with December 2009 standards, i.e. NF P 93-353 for 3 to 6 step versions and NF P 93-352 for the 7 step version
3 (without stabilizers)
0.73 1.2 0.8 16.9 2.07x0.80x0.32
4(with stabilisers)
0.95 1.39 0.66 20.1 2.30x0.80x0.32
5(with stabilisers)
1.18 1.57 0.66 21.8 2.55x0.80x0.32
6(with stabilisers)
1.42 1.75 0.66 23.3 2.80x0.80x0.32
7(with stabilisers)
1.65
1.93
0.66 25.2 3.05x0.80x0.32
150
Pf
Ht
1
2
3
4
Lg
L xHxWin m
H
L1 (m)
L2 (m)
Kg
Kg
Product folded
1. Product description
Lightweight Individual Mobile Platforms and Individual Mobile Platforms are designed for finishing and equipment fitting work. These
platforms can be used by just one operator working on the ground.
They are fitted with two non-swivel rollers used for positioning and transporting them.
They are fitted with two independent adjustable stabilizers for the 3 to 7 step models. The stabilizers hold the unit perfectly securely under
the normal operating conditions recommended by the standard.
Open up the platform by lowering the floor. The
platform must be against the climbing section, the
section with the steps.
Unfold the guardrail. Once it is in position,
the locking pins prevent the guardrail from
folding up.
LOCK THE
CAM
The stabilizer is put in place by unlocking the cam. It is in place once it makes contact with the floor. The cam must then be locked in
position before the unit can be used.
2. Use
2.1.Assembly
SHERPA 2272/173 to 2272/177 operating instructions
61029_315_ind_00 of 11/2013 http://www.tubesca-comabi.com/ PAGE 2/2
2.2.Access
2.3.Moving 2.4 Work positions
Moving when unfolded Moving when folded
2.5. Closing
Fold the unit up in reverse order to setting it up.
3. Recommendations for use:
+ Do not use the platform without its guardrails, nor behind any door that has not been locked.
+ The platform must only be used on horizontal, non-slip surfaces.
+ All the platform’s feet must be in contact with the floor or ground.
+ On soft ground, a support plate must be placed under every foot.
+ Make sure that the work area is away from any bare conductor under load.
+ The platform must not be thrown or handled brutally when in use.
+ Always face the platform when climbing or coming down from it.
+ Make sure that you are wearing shoes that give you a firm footing.
+ Do not climb up the ladder if you suffer from vertigo or are tired.
+ Do not use the ladder without putting the stabilizers in place
4. Maintenance:
+ Systematically check that the platform is in a good general condition before use (condition of parts and their
geometry. Should parts need to be replaced only use TUBESCA-COMABI components, see constructor after-
sales service instructions)
+ After use on a site, wipe the ladder with a clean cloth.
+ The ladder must be regularly checked and results of the check must be recorded.
HOLDER.
Open the gate to reach the work-floor. Once you are in position, the gate must be closed for working under correct conditions.
CLIP THE GATE INTO ITS