Operation Manual
III. The third mode (Red Mode) represents an additional
amount of fuel added during full throttle conditions. A
flashing red LED should appear on the LED display. To add
more fuel, scroll the flashing red LED to the right using the
(+) button. To add less fuel, scroll the flashing red LED to
the left using the (-) button. If you set the flashing red LED
to the 0.5 position on the LED display, no fuel will be added
to the stock fuel curve.
Note: If the flashing green, yellow and red LEDs in modes
1 through 3 (Green,Yellow and Red) are set to the 0.5
position on the LED display then the Juice Box™ will not
add any fuel to the bike’s stock fuel curve. This setting will
essentially turn off the Juice Box™ even though it is still
attached to the bike’s fuel injection system. The bike will
run as though the Juice Box™ is not installed. The Juice
Box™ LEDs will still operate normally even though no fuel
is being added.
IV. The fourth mode (Green-Blue Mode) is Not
Required for this particular model.
V. The fifth mode (Yellow-Blue Mode) is an adjustment
to determine the time when the acceleration/Yellow Mode
fuel amount turns on. A flashing yellow LED appears on
the LED display while at the same time a flashing blue LED
appears on the 8th LED. To increase the sensitivity and
therefore cause theYellow Mode fuel to turn on sooner,
scroll the flashing yellow LED to the left using the (-) button.
To decrease the sensitivity and therefore cause theYellow
Mode fuel to turn on later, scroll the flashing yellow LED to
the right using the (+) button.
VI. The sixth mode (Red-Blue Mode) is an adjustment
to determine the time when the full throttle/Red Mode fuel
amount turns on. A flashing red LED appears on the LED
display while at the same time a flashing blue LED appears
on the 8th LED. To increase the sensitivity and therefore
cause the Red Mode fuel to turn on sooner, scroll the
flashing red LED to the left using the (-) button. To decrease
the sensitivity and therefore cause the Red Mode fuel to
turn on later, scroll the flashing red LED to the right using
the (+) button.
It is recommended that the pre-programmed settings of
the Juice Box™be used. However, the Juice Box™ can be
adjusted to suit different engine modifications, states of
tune and environmental conditions. To begin this process,
press the mode button. To enter each successive mode, just
press the mode button again. Note that every mode will
be identifiable by the color(s) of the flashing LED(s) on the
LED display. There are six modes that are distinguished
by an LED color or color combination. The 6 modes are
as follows, respectively: Green,Yellow, Red, Green-Blue,
Yellow-Blue and Red-Blue.
You are now ready to manually program each mode.
Consult the base settings supplied with the unit.
To program the Juice Box™, the bike must be running in
order to supply power to the Juice Box™.
Simply press the mode button to activate the first mode.
If at anytime you stay in an adjustment mode for longer
than 5 seconds without pressing any buttons, the Juice
Box™ will exit the adjustment mode and will return to the
operational mode.
To save settings in a particular mode press the MODE
button which goes to the next adjustable mode or wait for
the Juice Box™ to exit back to the operational mode.
The settings in each mode are adjusted by pressing the
(+) and (-) buttons located on the right and left side of the
mode button, respectively. For easy reference, the LEDs are
numbered 1 through 8. However, the LEDs can be adjusted
to the following positions: 0.5, 1, 1.5, 2, 2.5, 3, 3.5, 4, 4.5, 5,
5.5, 6, 6.5, 7, 7.5, 8. For example, in a particular mode, if LED
4 is flashing then the LED display is set to 4 in that mode. If
the (+) button is pressed once then LEDs 4 and 5 will flash
simultaneously and the LED display is set to 4.5. If the (+)
button is pressed once again, only LED 5 will flash and the
LED display is set to 5. The LED display can also be set
to 0.5 by pressing the (-) button and scrolling the colored
LED to position 1 and then pressing the (-) button once
more until the LED in position 1 is flashing twice as fast as
normal.
I. The first mode (Green Mode) represents an
additional amount of fuel added under cruise conditions.
A flashing green LED should appear on the LED display.
To add more fuel, scroll the flashing green LED to the right
using the (+) button. To add less fuel, scroll the flashing
green LED to the left using the (-) button. If you set the
flashing green LED to the 0.5 position on the LED display,
no fuel will be added to the stock fuel curve.
II. The second mode (Yellow Mode) represents an
additional amount of fuel added during acceleration. A
flashing yellow LED should appear on the LED display. To
add more fuel, scroll the flashing yellow LED to the right
using the (+) button. To add less fuel, scroll the flashing
yellow LED to the left using the (-) button. If you set the
flashing yellow LED to the 0.5 position on the LED display,
no fuel will be added to the stock fuel curve.
1.
2.
Cleaning
If the unit requires cleaning, use a cloth that is only lightly dampened with water or mild detergent.
Two Brothers Racing
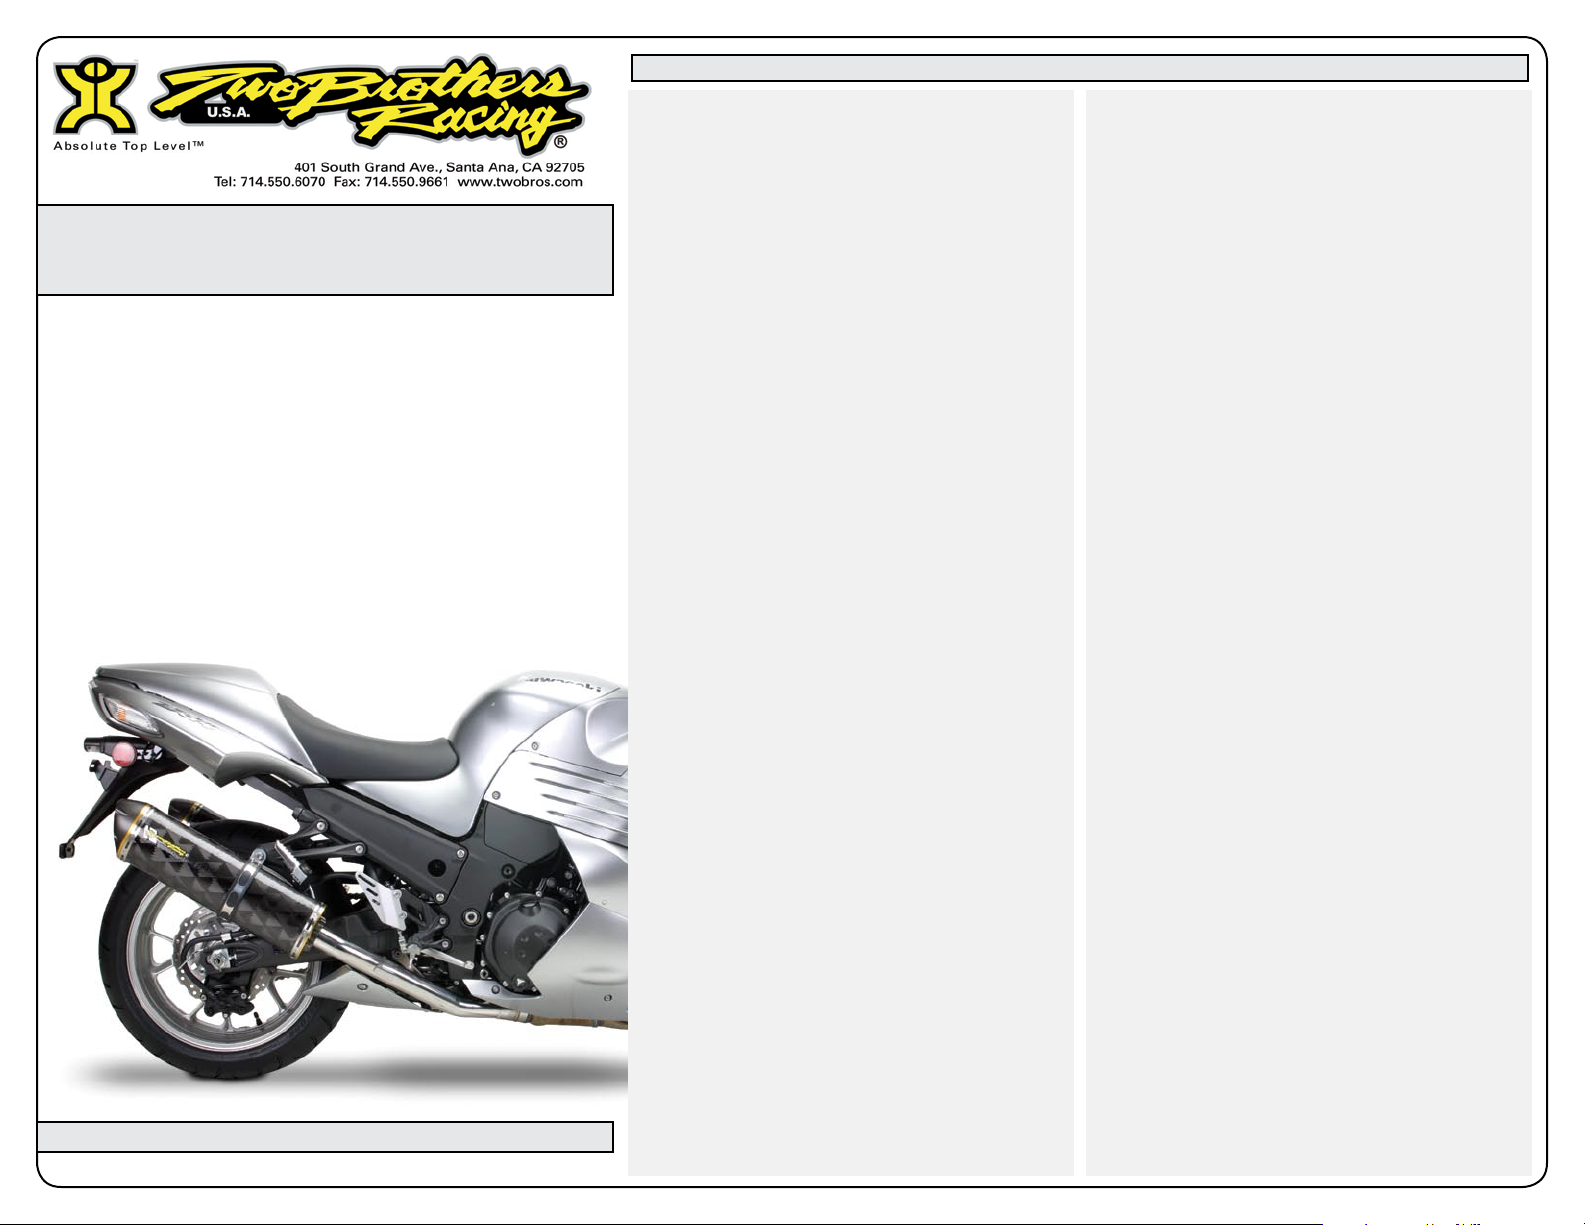
Juice Box™ - Fuel Controller
2006-08 Kawasaki ZX-14R Installation & Operation Manual
Part # 008-149


