manuals.online logo
Brands
  1. Home
  2. •
  3. Brands
  4. •
  5. Tyco Electronics
  6. •
  7. Power Tools
  8. •
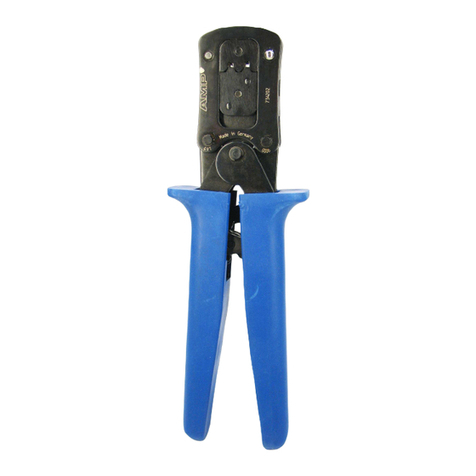
  9. Tyco Electronics 91391-1 User manual

Tyco Electronics 91391-1 User manual

Instruction Sheet
SDE PEW-12
Hand Tool Assembly 91391-1 408-10043
E
2005 Tyco Electronics Corporation, Harrisburg, A
All International Rights Reserved
Tyco is a trademark. *Trademark
Other products, logos, and company names used are the property of their respective owners. LOC B
1
of 4
TOOLING ASSISTANCE CENTER 1-800-722-1111
RODUCT INFORMATION 1-800-522-6752 This controlled document is subject to change.
For latest revision and Regional Customer Service,
visit our website at
www.tycoelectronics.com
03 NOV 05 Rev A
with Die Assembly 91391-2
PROPER USE GUIDELINES
CumulativeTraumaDisorderscanresultfromthe prolongeduseofmanually poweredhandtools.Hand toolsareintendedfor occasionaluseandlowvolume
applications. A wide selection of powered application equipment for extended-use, production operations is available.
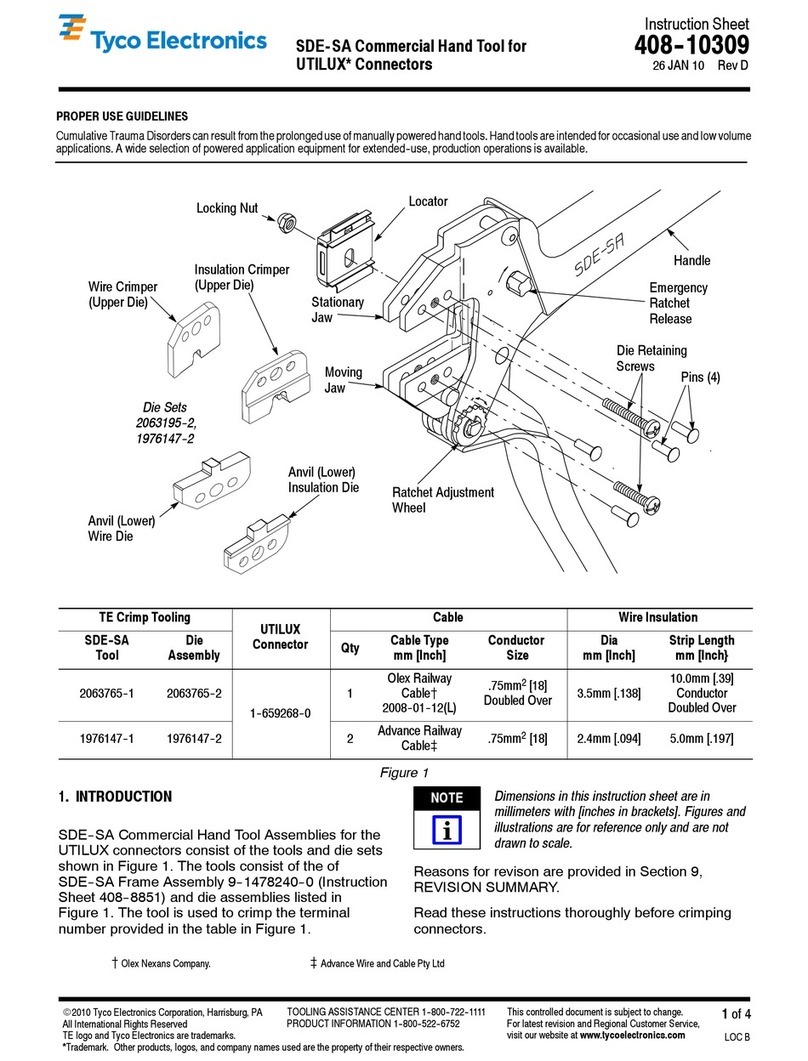
Handle
Emergency Ratchet
Release
Retaining ins
(4) Required
Die Retention
Screws
Ratchet
Adjustment
Wheel
Moving
Jaw
Nut
Locator
Stationary
Jaw
Anvil (Lower)
Insulation Die
Die Set 91391-2
Insulation
Crimper
(Upper Die)
Anvil (Lower)
Wire Die
Wire Crimper
(Upper Die)
DIE ASSEMBL
PART NUMBER CONTACT SIZE,
AWG INSULATION DIAMETER WIRE STRIP LENGTH
91391 2
30-26
0 89 1 53 [ 035 060]
2 90 3 53 [ 114 139]
91391
-
2
24-20
0
.
89
-
1
.
53 [
.
035
-.
060]
2
.
90
-
3
.
53 [
.
114
-.
139]
Figure 1
1. INTRODUCTION
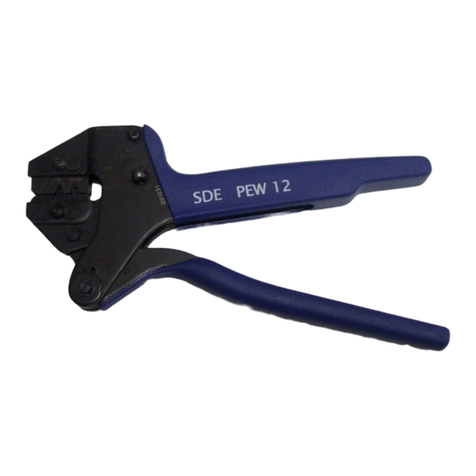
SDE PEW–12 Hand Tool Assembly 91391–1 consists
of SDE PEW–12 Frame Assembly 9–1478240–0 and
die set assembly 91391–2. See Figure 1. The tool is
used to crimp 30–20 AWG Micro Mate–N–Lok Pin
and Socket Contacts.
Dimensions in this inst uction sheet a e in
millimete s [with inches in b ackets]. Figu es and
illust ations a e fo efe ence only and a e not
d awn to scale.
2. DESCRIPTION
The tool frame features two jaws, a handle, ratchet
adjustment wheel, and an emergency ratchet release.
The die set consists of an indenter (upper die) and an
anvil (lower die). The tool frame holds a die assembly
with two crimping chambers. See Figure 1. Die
retaining pins and die retaining screws are used to
position and secure the dies in the tool frame.
The tool features a ratchet and an adjustment wheel
with a range of settings. The ratchet ensures that the
tool has completed the cycle and will not release until
the handles have been FULLY closed, unless the
emergency ratchet release is rotated to manually
release the ratchet. The adjustment wheel controls
the amount of handle pressure exerted on the dies
during the crimping procedure.
The dies bottom befo e the atchet eleases. This
featu e ensu es maximum tensile pe fo mance of
the c imp. DO NOT e-adjust the atchet.
3. INSTALLATION AND REMOVAL OF DIE SET
AND LOCATOR ASSEMBL
(Figure 1)
1. Open the tool handles and remove the two die
retaining screws from the tool jaws.
2. Place the wire anvil and insulation anvil so that
their chamfered sides and their marked surfaces
face outward, when mounted in the moving jaw of
the tool frame.
NOTE CAUTION
408-10043
SDE PEW-12 Ha d Tool Assembly 91391-1
Rev
A2
of 4
3. Insert the two die retaining pins.
4. Insert the short die retaining screw through the
jaw and through both anvil dies, and tighten the
screw just enough to hold the dies in place. Do
not
tighten the screw completely at this time.
5. Place the wire crimper and insulation crimper so
that their chamfered sides and their marked
surfaces face outward, when mounted in the
stationary jaw of the tool frame.
6. Insert the two die retaining pins.
7. Insert the long die retaining screw through the
jaw and through both crimper dies, and tighten the
screw just enough to hold the dies in place. Do
not
tighten the screw completely at this time.
8. Carefully close the tool handles, making sure
that the anvils and crimpers align properly.
Continue closing the tool handles until the ratchet
in the tool frame has engaged sufficiently to hold
the anvils and crimpers in place, then tighten both
die retaining screws.
9. Place the locator assembly over the end of the
long screw, and position the locator assembly
against the side of the tool jaw.
10. Place the nut onto the end of the long screw
and tighten the nut enough to hold the locator
assembly in place, while still allowing the locator to
slide up and down.
11. To disassemble, close the tool handles until the
ratchet releases, remove the nut, the locator
assembly, the two die retaining screws, and the
four die retaining pins, and slide the anvils and
crimpers out of the tool jaws.
The ratchet has detents with audible clicks" as
the handles are closed. The ratchet releases on
the sixth click".
4. CONTACT SUPPORT ADJUSTMENT
(Figure 2)
The contact support is preset prior to shipment,
but minor adjustment may be necessary.
1. Make a sample crimp and determine if the
contact is straight, bending upward, or bending
downward.
2. If adjustment is required, loosen the screw that
holds the contact support onto the locator
assembly.
The ratchet has detents that create audible clicks
as the tool handles are closed.
3. Place a contact with wire into the proper nest
and close the tool handles until the ratchet reaches
the sixth click, or until the contact support touches
the contact.
4. Slightly loosen the nut that holds the locator
assembly onto the tool frame.
5. Move the contact support as required to
eliminate the bending of the contact.
6. Tighten the nut and close the handles until the
ratchet releases.
7. Remove and inspect the contact.
8. Make another sample crimp. If the contact is
straight, tighten the contact support screw. If the
contact is still being bent during crimping, repeat
the adjustment procedure.
Figure 2
Contact
(Typ) Strip Length
Wire In erted
to Stop
Locator in
Wire Stop
Slot
Wire
Adju tment
Screw
for Contact
Support
Contact Support Locator
Back of Tool
(Wire Side)
NOTE
NOTE
NOTE
408-10043
SDE PEW-12 Hand Tool Assembly 91391-1
3
of 4Rev
A
5. C IMPING P OCEDU E
T is tool is provided wit a crimp adjustment
feature. Initially, t e crimp eig t s ould be
verified as specified in Figure 3. Refer to Section
6, CRIMP HEIGHT INSPECTION, and Section 7,
CRIMP HEIGHT ADJUSTMENT, to verify crimp
eig t before using t e tool to crimp desired
contacts and wire sizes.
Refer to the table in Figure 1 and select wire of the
specified size and insulation diameter. Strip the wire
to the length indicated in Figure 1, taking care not to
nick or cut wire strands. Select an applicable contact
and identify the appropriate crimp section according
to the wire size markings on the tool. Refer to
Figure 2 and proceed as follows:
1. Hold the tool so that the back (wire side) is
facing you. Squeeze tool handles together and
allow them to open fully.
2. Holding the contact by the mating end, insert the
contact — insulation barrel first — through the front
of the tool and into the appropriate crimp section.
3. Position the contact so that the mating end of
the contact is on the locator side of the tool, and so
that the open “U” of the wire and insulation barrels
must face the top of the tool. Place the contact up
into the nest so that the movable locator drops into
the slot in the contact. Refer to Figure 2. Butt the
front end of the wire barrel against the movable
locator.
Make sure t at bot sides of t e insulation barrel
are started evenly into t e crimping section. Do
NOT attempt to crimp an improperly positioned
contact.
6. C IMP HEIGHT INSPECTION
This inspection requires the use of a micrometer with
a modified anvil. Tyco Electronics recommends the
modified micrometer (Crimp Height Comparator
RS–1019–5LP) which may be purchased from:
ShearerIndustrialSupplyCo.
717–767–7575 or VALCO
610–691–3205
Proceed as follows:
1. Refer to Figure 1 and select a wire (maximum
size) for each crimp section listed.
2. Refer to Section 5, CRIMPING PROCEDURE,
and crimp the contact(s) accordingly.
3. Using a crimp height comparator, measure the
wire barrel crimp height listed in Figure 3. If the
crimp height conforms to that shown in the table,
the tool is considered dimensionally correct. If not,
the tool must be adjusted. Refer to Section 7,
CRIMP HEIGHT ADJUSTMENT.
Pos t on Po nt on
Center of W re
Barrel Oppos te
Seam
Mod f ed Anv l A"
WI E SIZE,
AWG C IMP HEIGHT
DIMENSION A" AND TOLE ANCE (+)
30-26 0.58 +0.05 [.023 +.002]
24-22 0.74 +0.05 [.029 +.002]
20 0.89 +0.05 [.035 +.002]
Figure 3
Damaged product s ould not be used. If a
damaged contact is evident, it s ould be
replaced. Contacts must not be re-terminated.
7. C IMP HEIGHT ADJUSTMENT
Although the ratchet is preset prior to shipment, it is
important to verify the crimp height using a
micrometer or caliper. General use and subsequent
wear may cause the tool to go out of adjustment. It is
recommended that crimp height be inspected, and the
ratchet be adjusted, if necessary, on a regular basis.
Refer to Figure 4, and proceed as follows:
1. If the crimp height is larger than recommended,
remove the ratchet wheel adjustment screw and
rotate the adjustment wheel counterclockwise (+)
to a higher setting. Reinstall the screw. Repeat as
required.
2. If the crimp height is smaller than
recommended, remove the ratchet wheel
adjustment screw and rotate the adjustment wheel
clockwise (–) to a lower setting. Reinstall the
screw. Repeat as required.
3. If the crimp cannot be made to conform to the
recommended crimp height, the tool or die set
must be replaced. See Section 9,
REPLACEMENT.
Figure 4
Ratchet Adjustment Wheel
Adjustment
Screw
NOTE
CAUTION
CAUTION
408-10043
SDE PEW-12 Han Tool Assembly 91391-1
Rev
A4
of 4
8. MAINTENANCE AND INSPECTION
8.1. Daily Maintenance
1. Remove dust, moisture, and other contaminants
with a clean, soft brush, or a clean, soft, lint–free
cloth. DO NOT use any objects that could damage
the dies or tool.
2. Make sure that the proper die retaining screws
are properly secured.
3. When the tool is not in use, keep the handles
closed to prevent objects from becoming lodged in
the dies. Store the tool in a clean, dry area.
4. Remove all lubrication and accumulated film
from the dies by immersing the dies in a suitable
commercial degreaser.
8.2. Inspection
1. Close the tool handles until the ratchet releases,
and then allow them to quickly open freely. If they
do not open quickly and fully, the spring is
defective. See Section 9, REPLACEMENT.
2. Inspect the crimping surfaces of the dies for
flattened, chipped, worn, or cracked areas. If
damage is evident, the dies must be replaced.
Refer to Section 9, REPLACEMENT.
9. REPLACEMENT
Order replacements through your representative, or
call 1–800–526–5142, or send a facsimile of your
purchase order to 717–986–7605, or write to:
CUSTOMER SERVICE (038–035)
TYCO ELECTRONICS CORPORATION
P.O. BOX 3608
HARRISBURG, PA 17105–3608
10. REVISION SUMMARY
S
Initial release of document

This manual suits for next models

2

Other Tyco Electronics Power Tools manuals

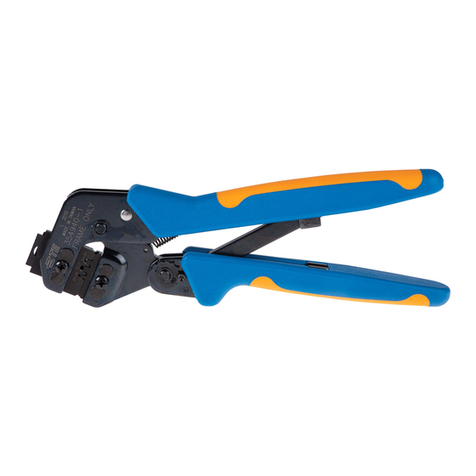
Tyco Electronics AMP PRO-CRIMPER III User manual

Tyco Electronics

Tyco Electronics AMP PRO-CRIMPER III User manual

Tyco Electronics PRO-CRIMPER III User manual

Tyco Electronics

Tyco Electronics PRO-CRIMPER III User manual

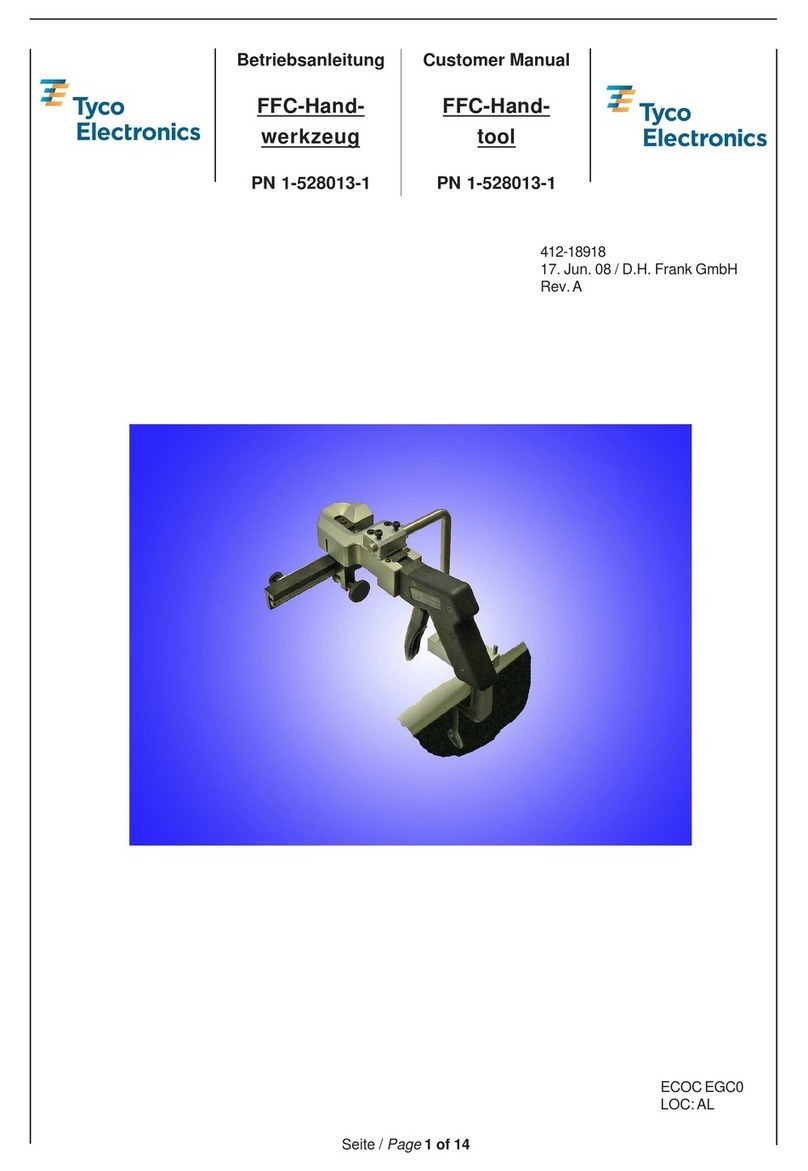
Tyco Electronics 1-528013-1 Reference guide

Tyco Electronics

Tyco Electronics 1-528013-1 Reference guide

Tyco Electronics Duoplug MK II User manual

Tyco Electronics

Tyco Electronics Duoplug MK II User manual

Tyco Electronics PRO-CRIMPER III User manual

Tyco Electronics

Tyco Electronics PRO-CRIMPER III User manual

Tyco Electronics Simel SIMABLOC 80+ Release Note

Tyco Electronics

Tyco Electronics Simel SIMABLOC 80+ Release Note

Tyco Electronics 9-1579004-7 User manual

Tyco Electronics

Tyco Electronics 9-1579004-7 User manual

Tyco Electronics CERTI-CRIMP User manual

Tyco Electronics

Tyco Electronics CERTI-CRIMP User manual

Tyco Electronics CERTI-LOK AMP DUAC User manual

Tyco Electronics

Tyco Electronics CERTI-LOK AMP DUAC User manual

Tyco Electronics 0-0654174-2 User manual

Tyco Electronics

Tyco Electronics 0-0654174-2 User manual

Tyco Electronics DYNA-CRIMP 69066 User manual

Tyco Electronics

Tyco Electronics DYNA-CRIMP 69066 User manual

Tyco Electronics 59282 User manual

Tyco Electronics

Tyco Electronics 59282 User manual

Tyco Electronics SDE- SA User manual

Tyco Electronics

Tyco Electronics SDE- SA User manual

Tyco Electronics 2063956-1 User manual

Tyco Electronics

Tyco Electronics 2063956-1 User manual

Tyco Electronics PRO-CRIMPER III User manual

Tyco Electronics

Tyco Electronics PRO-CRIMPER III User manual

Tyco Electronics GET Series User manual

Tyco Electronics

Tyco Electronics GET Series User manual

Tyco Electronics PEW 12 User manual

Tyco Electronics

Tyco Electronics PEW 12 User manual

Tyco Electronics AMP PRO-CRIMPER III User manual

Tyco Electronics

Tyco Electronics AMP PRO-CRIMPER III User manual

Tyco Electronics PRO-CRIMPER III Series User manual

Tyco Electronics

Tyco Electronics PRO-CRIMPER III Series User manual

Tyco Electronics CRIMPAC User manual

Tyco Electronics

Tyco Electronics CRIMPAC User manual

Tyco Electronics 69547 User manual

Tyco Electronics

Tyco Electronics 69547 User manual

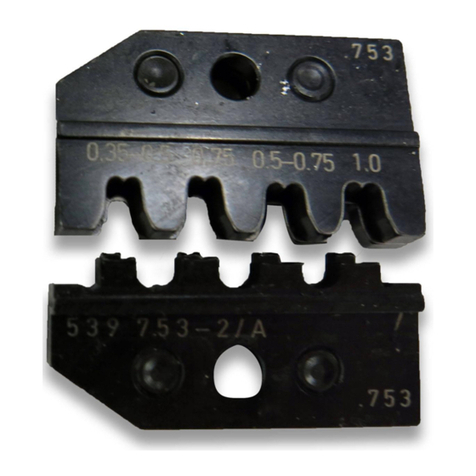
Tyco Electronics ERGOCRIMP 539 753-2 User manual

Tyco Electronics

Tyco Electronics ERGOCRIMP 539 753-2 User manual

Tyco Electronics 525690 User manual

Tyco Electronics

Tyco Electronics 525690 User manual

Tyco Electronics 91904 Series User manual

Tyco Electronics

Tyco Electronics 91904 Series User manual

Popular Power Tools manuals by other brands

Chicago Electric 61924 owner's manual

Chicago Electric

Chicago Electric 61924 owner's manual

Viega Picco 6 Instructions for use

Viega

Viega Picco 6 Instructions for use

DeWalt DPN9033-XJ Original instructions

DeWalt

DeWalt DPN9033-XJ Original instructions

stayer BHL112K operating instructions

stayer

stayer BHL112K operating instructions

Milwaukee HD28 SG Original instructions

Milwaukee

Milwaukee HD28 SG Original instructions

KNOVA KN RO-1321 manual

KNOVA

KNOVA KN RO-1321 manual

Staubli PV-MS-PLS instruction manual

Staubli

Staubli PV-MS-PLS instruction manual

SUHNER UBK 6-R Technical document

SUHNER

SUHNER UBK 6-R Technical document

Valex PTE 2100 Instructions for use and Safety Instructions

Valex

Valex PTE 2100 Instructions for use and Safety Instructions

King Industrial KC-351S instruction manual

King Industrial

King Industrial KC-351S instruction manual

Grizzly G4815 instruction manual

Grizzly

Grizzly G4815 instruction manual

Coldheat Pro user manual

Coldheat

Coldheat Pro user manual

Vigor V1711-1 Application note

Vigor

Vigor V1711-1 Application note

GÜDE AKT 4.10-4 Translation of the original instructions

GÜDE

GÜDE AKT 4.10-4 Translation of the original instructions

Rockwell ShopSeries RS5002 manual

Rockwell

Rockwell ShopSeries RS5002 manual

DeWalt DCN701 instruction manual

DeWalt

DeWalt DCN701 instruction manual

Wonder EURODAINU 1991 user manual

Wonder

Wonder EURODAINU 1991 user manual

Avdel GenesisG2-s instruction manual

Avdel

Avdel GenesisG2-s instruction manual

manuals.online logo
manuals.online logoBrands
  • About & Mission
  • Contact us
  • Privacy Policy
  • Terms and Conditions

Copyright 2025 Manuals.Online. All Rights Reserved.