UfiSpace T77I868.00 User manual

Outdoor LoRa Gateway
Installation Quick Guide
2
6
7
8
3
1Contents of delivery
5Cabling
Network Access
Model List
Installation
4Optional Accessories Recommended
Wall Mount
Pole Mount
Install Surge Protection Cable
Install 8 dBi Antenna
Appendix A
Declarations of Conformity and
Regulatory Information
Preparing the Installation
Connectors and Interfaces
All product specications are subject to change without notice
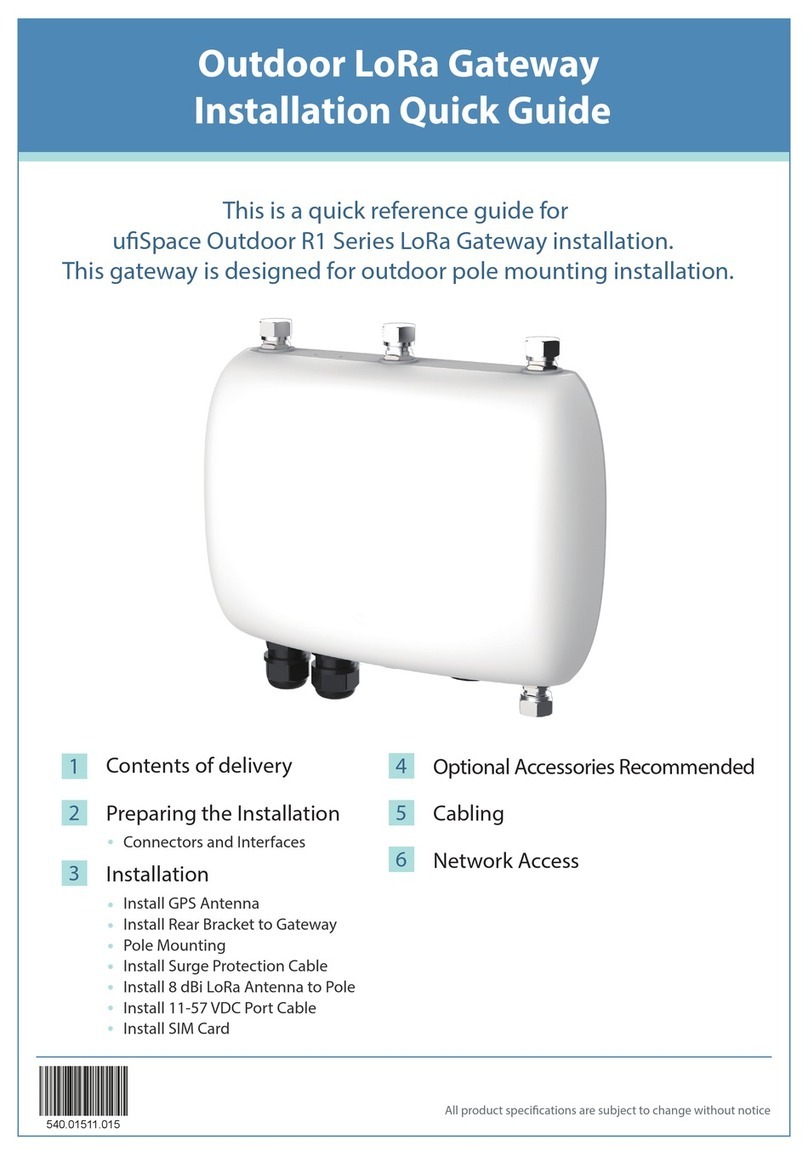
This is a quick reference guide for
uSpace Outdoor LoRa Gateway installation. This gateway
is designed for outdoor wall or pole mount installations.

1 x LTE
0 dBi antenna
1 x Installation
Quick Guide
Quick Guide
1 x User Manual
User Manual
1 x Antenna extension cable (for 3, 5, 6, 7, 8 or 9 dBi LoRa antenna, cable length 60.96 3cm)
This Outdoor LoRa Gateway is designed with Semtech Technology to provide low
power and wide area (LPWA) unlicensed band wireless connection. This gateway
supports connectivity for wide range of Internet of Things (IOT) applications.
1 Contents of Delivery
Items
1x Outdoor LoRa Gateway with water protection cap on N-Type connector ports
Metal Caps: V2.1 HW (3 for LTE version, 2 for non-LTE version); V1.5 HW (1 for LTE version, 0 for non-LTE version)
1x Outdoor LoRa Gateway User Manual and Installation Quick Guide
1x LTE 0 dBi antenna (only for model with LTE function)
1x Screw kit
2x Hose clamp
1x Surge protection cable
1x Mounting bracket
1x GPS antenna (for v2.1 HW only, cable length 120 5cm)
All product specications are subject to change without notice
- 2 -
2 x Hose clamp1 x GPS anttena 1 x Surge protection cable 1 x Mounting bracket
1 x Screw kit
1 x Antenna
extension cable
1 x Outdoor LoRa Gateway
with water protection cap on
N-Type connector ports

2 Preparing the Installation
Caution
Must make sure all antennas are installed properly before apply PoE power to the gateway.
For un-connected N-Type Antenna Port, MUST install a " N-Type Water Protection Cap" to
prevent water leaking into the device. " N-Type Water Protection Caps" are supplied with
the gateway. MUST not install or remove GPS, LoRa or LTE Antenna when DC power is
applied to the Gateway. It may damage the device.
Surge Protection Cable must be properly connected to gateway housing and earth ground.
Connectors and Interfaces
269
184
37.2
134
66
66
210
LoRa Antenna #1 (main)
GPS Antenna
LoRa Antenna #2 (secondary, optional)
LTE Antenna 48 VDC-IN/ PoE Pressure Vent
All product specications are subject to change without notice
- 3 -
V2.1 Gateway
269
184
35.44
134
66
66
210
LoRa Antenna LTE Antenna (optional)
LTE Antenna 48 VDC-IN/ PoE Pressure Vent
V1.5 Gateway

3 Installation
Wall Mount
Mounting bracket to walls
Our mounting bracket is designed for both wall and pole mount.
1Drill 4 holes on the designated wall.
2Locking the expansion nail for bracket. (Maximum 40Kg.cm torque for M5 nuts)
3After locking eache nut, reverse 3~4 turns on wall.
4Secure the bracket onto the wall with 6 screws and must sure it is level.
Install Expansion Nail for Mounting Bracket
Install the Outdoor Gateway housing to the bracket with 6 screws
All product specications are subject to change without notice
- 4 -
Using expansion nail for wall mount
Screws for mounting bracket
to gateway (SUS304 T=1.6mm)
Screw M5, Length 12mm
V2.1 Gateway

Pole Mount
All product specications are subject to change without notice
- 5 -
V2.1 Gateway
V1.5 Gateway

Vertical and Horizontal Mount Install Hose Clamp
Upright pole
Minimum OD 35mm
Maximum OD 110mm
Minimum OD 40mm
Maximum OD 120mm
Maximum 55Kg.cm torque for hose clamp
Horizontal pole
All product specications are subject to change without notice
- 6 -
Horizontal direction clamp through hole
Upright direction clamp hole
Connecting Earth Ground to Unit
Warning
The equipment has a separate protective earthing terminal on the chassis that must be permanently connected to
earth ground to adequately ground the chassis and protect the operator from electrical hazards.
The product shall be installed by a qualied service person and the installation shall conform to all local codes.
Caution
Before equipment installation begins, ensure that a service personnel has attached an appropriate grounding lug to
the grounding cable that you supply.
Power installation must be performed with qualied electrician and followed with National Electrical Code,
ANSI/NFPA 70 and Canadian Electrical Code, Part I, CSA C22.1.
Warning
At rst before powered on, connect the frame of the unit to earth.
For earthing wire, green-and-yellow insulation is required and the cross-sectional area of the conductor must be
more than 10 AWG.
1Connect one end of the grounding cable to a proper earth ground.
2Place the grounding lug attached to the grounding cable over the protective earthing terminal.
3Secure the grounding lug to the protective earthing terminal with the washers and screws.
4Dress the grounding cable and ensure that it does not touch or block access to other components.
To connect earth ground to Unit
Install Surge Protection Cable
Install the LoRa Antenna
Surge Protection Cable must be properly connected to gateway housing and earth ground.
LoRa Antenna
Antenna port water leakage enhancement
Recommend to apply 3M (2166) waterproong tape on antenna port to enhance water
leakage protection.
All product specications are subject to change without notice
- 7 -
Screw nut
Spring washer
Flat washer
Antenna
Pole ø35-50mm
M6 Utype screw
ø7.50
Screw M5, Length 12mm
Surge Protection Cable
V2.1 Gateway

Install GPS Antenna
4 Optional Accessories Recommended
Items
LoRa 3, 5, 6, 7, 8 or 9 dBi antenna
LoRa 0 dBi antenna (optional, for direct connecting to Gateway N-Type connector application, without antenna extension cable)
LoRa 3 dBi antenna (optional, for direct connecting to Gateway N-Type connector application, without antenna extension cable)
PoE Adapter (60 Watts)
All product specications are subject to change without notice
- 8 -
LoRa
0 dBi antenna
60 Watts
PoE Adapter
LoRa
3 dBi antenna
LoRa
3, 5, 6, 7, 8 or 9 dBi antenna
2 screws
or
2 screws

5 Cabling
All product specications are subject to change without notice
- 9 -
LoRa Antenna #1 LoRa Antenna #2
(optional)
LTE Antenna
PoE Adapter
GPS Antenna
3.3VDC output
for supporting
3.3V Active
GPS Antenna
V2.1 Gateway
LoRa Antenna #1
LTE Antenna
PoE Adapter
V1.5 Gateway

6 Network Access
Use Default Conguration
Caution
The backhaul network conguration on Outdoor LoRa Gateway supports several connection types
which can be selected as primary and secondary WAN. When device power up, it tries to bring up
primary WAN interface. If primary WAN is not available, the device will try to bring up the secondary
WAN interface. Device still continue to try to monitor the availability of the primary WAN interface.
Once primary interface is ready, device will switch to primary WAN immediately and shutdown
secondary WAN.
The primary WAN is congured as Ethernet with DHCP client through the PoE connectivity. On the
device with LTE support, LTE is congured as secondary WAN. In the installation environment, there
is no extra conguration is needed if a DHCP server is available through Ethernet connection. For
making device to have sucient interface parameters, following information has to be supplied by
DHCP server:
[Device IP] [Device Netmask] [Default Gateway] [DNS server]
All product specications are subject to change without notice
- 10 -
Must make sure all antennas are installed properly before apply PoE power to the gateway.
For un-connected N-Type Antenna Port, MUST install a " N-Type Water Protection Cap" to
prevent water leaking into the device. " N-Type Water Protection Caps" are supplied with
the gateway. MUST not install or remove GPS, LoRa or LTE Antenna when DC power is
applied to the Gateway. It may damage the device.
Surge Protection Cable must be properly connected to gateway housing and earth ground.

All product specications are subject to change without notice
- 11 -
Changing Conguration
If default conguration does not t the usage in installation environment, please use setup showed
in following photo to change conguration. You will need a Router that have DHCP server to oer IP
to Outdoor LoRa Gateway, or use a switch/ hub and running a DHCP server on PC for the same
purpose. After device acquired IP, you need to use PC to access device. As for the detail of changing
conguration, please refer to User Manual.
LoRa Antenna #1
GPS Antenna
LoRa Antenna #2
(optional)
LTE Antenna Ethernet Router or Switch to
assign IP to LoRa Gateway
PoE Adapter
V2.1 Gateway

WAN Page
This page describes the backhaul conguration. There are three kinds of backhaul which are Ethernet
over PoE, WiFi client mode and LTE (if both LTE module and SIM card are installed) and can be selected
and congured through their own settings.
All product specications are subject to change without notice
- 12 -
Unsafe

All product specications are subject to change without notice
- 13 -
7 Model List
Base Unit Ordering Information
Model # Description
T77I868.00 EU: Outdoor LoRa V2.1 Gateway, 863 - 870 MHz with LTE
T77I868.01 EU: Outdoor LoRa V2.1 Gateway, 863 - 870 MHz without LTE
GML820U-915U USA: Outdoor LoRa V2.1 Gateway, 902 - 928 MHz with LTE
GME800C-470 China: Outdoor LoRa V1.0 Gateway, 470 - 480 MHz without LTE
T77I778.01 Japan: Outdoor LoRa V1.5 Gateway, 922.0 - 923.4 MHz with LTE
GME810V-920U Vietnam: Outdoor LoRa V1.5 Gateway, 920 - 925 MHz without LTE
GME820K-920U S. KOREA: Outdoor LoRa V2.1 Gateway, 920.9 - 923.3 MHz without LTE
GML820P-923U Asia Pacic: Outdoor LoRa V2.1 APAC/ AS923 Gateway, 915 - 928 MHz with LTE
T77I776.01 Taiwan: Outdoor LoRa V1.0 Gateway, 922.4 - 925 MHz with LTE
If you need further assistance for purchasing the PoE adapter, please contact uSpace for more information.
Connecting Earth Ground to Unit
Warning
The equipment has a separate protective earthing terminal on the chassis that must be permanently connected to
earth ground to adequately ground the chassis and protect the operator from electrical hazards.
The product shall be installed by a qualied service person and the installation shall conform to all local codes.
Caution
Before equipment installation begins, ensure that a service personnel has attached an appropriate grounding lug to
the grounding cable that you supply.
Power installation must be performed with qualied electrician and followed with National Electrical Code,
ANSI/NFPA 70 and Canadian Electrical Code, Part I, CSA C22.1.
Warning
At rst before powered on, connect the frame of the unit to earth.
For earthing wire, green-and-yellow insulation is required and the cross-sectional area of the conductor must be
more than 10 AWG.
1Connect one end of the grounding cable to a proper earth ground.
2Place the grounding lug attached to the grounding cable over the protective earthing terminal.
3Secure the grounding lug to the protective earthing terminal with the washers and screws.
4Dress the grounding cable and ensure that it does not touch or block access to other components.
To connect earth ground to Unit
GML810E-868U EU: Outdoor LoRa V1.5 Gateway, 863 - 870 MHz with LTE,
(SW: PKGV3-20170418-FULLSDK1003)
GME810E-868U EU: Outdoor LoRa V1.5 Gateway, 863 - 870 MHz without LTE,
(SW: PKGV3-20170418-FULLSDK1003)

8 Appendix A
Safety Information
Declarations of Conformity and Regulatory Information
FCC (GML820U-915U)
Follow the guidelines in this section to ensure proper operation and safe use of the uSpace LoRa V2.1 Outdoor Gateway.
Federal Communication Commission Interference Statement
This device complies with Part 15 of the FCC Rules. Operation is subject to the following two conditions: (1) This device
may not cause harmful interference, and (2) this device must accept any interference received, including interference that
may cause undesired operation.
FCC Caution
Any changes or modications not expressly approved by the party responsible for compliance could void the user's
authority to operate this equipment. RF Modules installed in this product must not be co-located or operating in
conjunction with any other antenna or transmitters, except when installed in accordance with FCC multi-transmitter
product guidelines.
Radiation Exposure Statement
This equipment complies with FCC radiation exposure limits set forth for an uncontrolled environment. This equipment
should be installed and operated with minimum distance 20cm between the radiator & your body.
This equipment has been tested and found to comply with the limits for a Class B digital device, pursuant to Part 15 of the
FCC Rules. These limits are designed to provide reasonable protection against harmful interference in a residential
installation. This equipment generates, uses and can radiate radio frequency energy and, if not installed and used in
accordance with the instructions, may cause harmful interference to radio communications. However, there is no
guarantee that interference will not occur in a particular installation. If this equipment does cause harmful interference to
radio or television reception, which can be determined by turning the equipment o and on, the user is encouraged to try
to correct the interference by one of the following measures:
Reorient or relocate the receiving antenna.
Consult the dealer or an experienced radio/TV technician for help.
Increase the separation between the equipment and receiver.
WARNING :
HOT SURFACE DO NOT TOUCH !!
Before touching it, special attention or protection is necessary.
WARNING :
This equipment is intended to be used in a Restricted
Access Location, with access limited to SERVICE
PERSONAL and USERS authorized to be in that location.
Connect the equipment into an outlet on a circuit dierent from that to which the receiver is connected.
All product specications are subject to change without notice
- 14 -
This manual suits for next models
10
Table of contents
Other UfiSpace Gateway manuals

UfiSpace
UfiSpace S9510-28DC Manual

UfiSpace
UfiSpace GEE810E-868U User manual

UfiSpace
UfiSpace S9510-30XC Manual

UfiSpace
UfiSpace S9502-12SM Manual

UfiSpace
UfiSpace S9502-16SMT Manual

UfiSpace
UfiSpace S9501-28SMT Manual

UfiSpace
UfiSpace S9500-22XST Manual

UfiSpace
UfiSpace S9501-18SMT Manual

UfiSpace
UfiSpace LoRa GPE810U User manual

UfiSpace
UfiSpace S9500-30XS Manual
Popular Gateway manuals by other brands

LAPP
LAPP ETHERLINE NF04T manual

HMS
HMS Intesis INBACDAL1280200 Installation sheet

Telos Alliance
Telos Alliance iPort High Density quick start guide

Harmonic
Harmonic NSG 9000-3G Installation & user guide

NEC
NEC EcoPowerGateway N8142-36F user guide

Romutec
Romutec 0300 Technical Documentation/Instruction Manual