manuals.online logo
Brands
  1. Home
  2. •
  3. Brands
  4. •
  5. V-TAC
  6. •
  7. Inverter
  8. •
  9. V-TAC 11834 User manual

V-TAC 11834 User manual

SLATE TILE ROOF MOUNTING SYSTEM
INSTRUCTION MANUAL
MULTI-LANGUAGE MANUAL QR CODE
Please scan the QR code to access the manual in
multiple languages.
WEEE Number: 80133970
INTRODUCTION
Thank you for selecting and buying V-TAC Product. V-TAC will serve you the
best. Please read these instructions carefully & keep this user manualhandy for
future reference. If you have any another query, please contact our dealer or
local vendor from whom you have purchased the product. They are trained and
ready to serve you at the best.
DESCRIPTIONSKU
Slate Tile Roof Hook-Portrait11834
IN CASE OF ANY QUERY/ISSUE WITH THE PRODUCT PLEASE REACH OUT TO US AT
SUPPORT@VTACEXPORTS.COM V-TAC HOUSE, KELPATRICK ROAD, SLOUGH, BERKSHIRE, SL1 6BW, UK.
A - SLATE
NATURAL & ARTIFICIAL SLATE
INSTALLATION GUIDE
RAFTER PSN CENTRAL
SCREW/COLLAR SPACER INSTALLATION
Allow a maximum of 1.2m between tile brackets depending on site condition
Prevents pressure being applied by the screw fixing to the tile/slate covering
Pre drill the base plate with a 7mm drill.
Pre drill the slate covering with a 10mm drill.
Apply CTI Sealant to the 7mm holes, bottom of the base.
Ensure slate surface is clean of dirt, dust, alge and moss etc.
Apply CTI Sealant. DO NOT USE ANY OTHER SEALANT
DRAWING AND BOM OF A-SLATE AS FOLLOW
THE INFORMATION OF SPACER AS FOLLOW
10mm x 8.2mm x 20mm Spacers - Black Nylon Technical Specification
NAME
Base
L-Bracket
Rubber Pad
Screw
SPEC
164x265x60mm
60x70x80mm
164x265mm
St 6.3x100
MATERIAL
Aluminium 6005-T5
Aluminium 6005-T5
EPDM
Steel 10B21
QTY
1 pcs
1 pcs
1 pcs
2 pcs
1 2 3
4 5 6
7 8 9
PROCEED WITH INSTALL OF A-SLATE AS FOLLOWS
Aer locating the battens, B1
& B2 and raer R positions.
Mark the test hole position X
as shown, away from the
battens B1 and B2
Drill out the two marked
fixing hole positions with
a 7mm drill.
Insert spacers supplied
into both fixing holes to
be the level with the
slates surface.
Put the rubber pad under the aluminum bases and fix the aluminum
brackets into place using 2 x 6.3*100mm wooden screw, then Apply
CT1 sealant around the top of 2 wooden screws again.
Apply CT1 sealant around the
bottom of two fixing holes of
the aluminum bases.
Drill out the 7mm fixing
holes to 10mm. Not the
test hole.
Apply CT1 sealant into
and around the fixing
holes and test hole
Drill out a 7mm test ho Using
a screw driver, gently.
confirm the raers central
position.`
Place aluminum bases in the fixing
position as shown. Hold and drill
through the 2 marked fixing points
X using a 7mm tile drill enough to
mark the slate surfaces.

Other V-TAC Inverter manuals

V-TAC VT-66036103 User manual

V-TAC

V-TAC VT-66036103 User manual

V-TAC AF6K-SL User manual

V-TAC

V-TAC AF6K-SL User manual

V-TAC VT-6607036 User manual

V-TAC

V-TAC VT-6607036 User manual

V-TAC VT-6605305 User manual

V-TAC

V-TAC VT-6605305 User manual

V-TAC VT-66036103 User manual

V-TAC

V-TAC VT-66036103 User manual

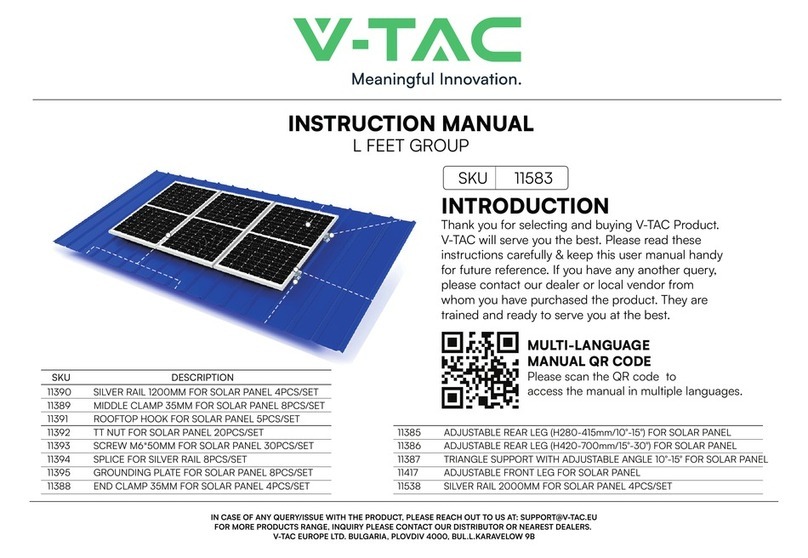
V-TAC 23070 User manual

V-TAC

V-TAC 23070 User manual

V-TAC VT-6605103 User manual

V-TAC

V-TAC VT-6605103 User manual

V-TAC VT-11024-4G User manual

V-TAC

V-TAC VT-11024-4G User manual

V-TAC VT-6608303 User manual

V-TAC

V-TAC VT-6608303 User manual

V-TAC VT-6607136 User manual

V-TAC

V-TAC VT-6607136 User manual
V-TAC iMars XG100KTR User manual

V-TAC

V-TAC iMars XG100KTR User manual

V-TAC VT-66036103 User manual

V-TAC

V-TAC VT-66036103 User manual

V-TAC 80133970 User manual

V-TAC

V-TAC 80133970 User manual

V-TAC 11583 User manual

V-TAC

V-TAC 11583 User manual
V-TAC 11514 User manual

V-TAC

V-TAC 11514 User manual

V-TAC VT-6605105 User manual

V-TAC

V-TAC VT-6605105 User manual

V-TAC VT-6607005 User manual

V-TAC

V-TAC VT-6607005 User manual

V-TAC VT-6607105 User manual

V-TAC

V-TAC VT-6607105 User manual

V-TAC 11390 User manual

V-TAC

V-TAC 11390 User manual

V-TAC 11381 User manual

V-TAC

V-TAC 11381 User manual

V-TAC SUN-6K-SG05LP1-EU User manual

V-TAC

V-TAC SUN-6K-SG05LP1-EU User manual

V-TAC Deye SUN-8K-SG01LP1-EU User manual

V-TAC

V-TAC Deye SUN-8K-SG01LP1-EU User manual

V-TAC VT-6603105 User manual

V-TAC

V-TAC VT-6603105 User manual

V-TAC SUN-5K-SG04LP3-EU User manual

V-TAC

V-TAC SUN-5K-SG04LP3-EU User manual

Popular Inverter manuals by other brands

Sungrow SH5K-20 user manual

Sungrow

Sungrow SH5K-20 user manual

Goodwe HT Series user manual

Goodwe

Goodwe HT Series user manual

Sunways AT 5000 user manual

Sunways

Sunways AT 5000 user manual

Solax Adapter Box Quick installation guide

Solax

Solax Adapter Box Quick installation guide

GENMAX GM9000PK quick start guide

GENMAX

GENMAX GM9000PK quick start guide

Bryant 451 installation instructions

Bryant

Bryant 451 installation instructions

Karda KD3000 Series Simple manual

Karda

Karda KD3000 Series Simple manual

Kaco Powador xi Series Operator instructions

Kaco

Kaco Powador xi Series Operator instructions

Grape Solar GS-MPPT-60 user manual

Grape Solar

Grape Solar GS-MPPT-60 user manual

SEW-Eurodrive MOVIDRIVE DFC11A manual

SEW-Eurodrive

SEW-Eurodrive MOVIDRIVE DFC11A manual

DUROMAX Duro Star DS4400E user manual

DUROMAX

DUROMAX Duro Star DS4400E user manual

Epever UPower-HI Series user manual

Epever

Epever UPower-HI Series user manual

Sungrow SG125HX Quick installation guide

Sungrow

Sungrow SG125HX Quick installation guide

SunSynk SUNSYNK-3.6K-SG01/03LP1 Installer manual

SunSynk

SunSynk SUNSYNK-3.6K-SG01/03LP1 Installer manual

HTP 7100P-220 installation instructions

HTP

HTP 7100P-220 installation instructions

SMA SUNNY BOY 2500 Quick installation guide

SMA

SMA SUNNY BOY 2500 Quick installation guide

Grape Solar GS-PWM-20A Quick connect guide

Grape Solar

Grape Solar GS-PWM-20A Quick connect guide

SMA SUNNY TRIPOWER 5000TL user manual

SMA

SMA SUNNY TRIPOWER 5000TL user manual

manuals.online logo
manuals.online logoBrands
  • About & Mission
  • Contact us
  • Privacy Policy
  • Terms and Conditions

Copyright 2025 Manuals.Online. All Rights Reserved.