manuals.online logo
Brands
  1. Home
  2. •
  3. Brands
  4. •
  5. Vertiv
  6. •
  7. Power Distribution Unit
  8. •
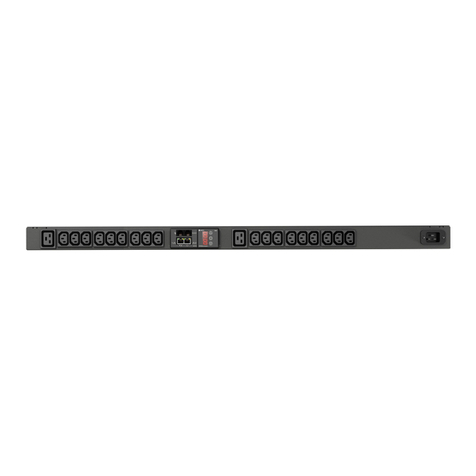
  9. Vertiv MPH2 User manual

Vertiv MPH2 User manual

Other manuals for MPH2

2

Other Vertiv Power Distribution Unit manuals

Vertiv 547692 User manual

Vertiv

Vertiv 547692 User manual

Vertiv EXM Parallel Cabinet User manual

Vertiv

Vertiv EXM Parallel Cabinet User manual

Vertiv VP9559 User manual

Vertiv

Vertiv VP9559 User manual

Vertiv NetSure 563171 User manual

Vertiv

Vertiv NetSure 563171 User manual

Vertiv Geist BR Series Installation and maintenance instructions

Vertiv

Vertiv Geist BR Series Installation and maintenance instructions

Vertiv VP8858 User manual

Vertiv

Vertiv VP8858 User manual

Vertiv VP7553 User manual

Vertiv

Vertiv VP7553 User manual

Vertiv Knurr PowerTrans2 User manual

Vertiv

Vertiv Knurr PowerTrans2 User manual

Vertiv VP7557 User manual

Vertiv

Vertiv VP7557 User manual

Vertiv Geist User manual

Vertiv

Vertiv Geist User manual

Vertiv Knurr Di-Strip Blade Power User manual

Vertiv

Vertiv Knurr Di-Strip Blade Power User manual

Vertiv MPX Series User manual

Vertiv

Vertiv MPX Series User manual

Vertiv Geist User manual

Vertiv

Vertiv Geist User manual

Vertiv LIEBERT MPX BRM User manual

Vertiv

Vertiv LIEBERT MPX BRM User manual

Vertiv VP9571A User manual

Vertiv

Vertiv VP9571A User manual

Vertiv Geist GU2 Series Installation and maintenance instructions

Vertiv

Vertiv Geist GU2 Series Installation and maintenance instructions

Vertiv VP8841 User manual

Vertiv

Vertiv VP8841 User manual

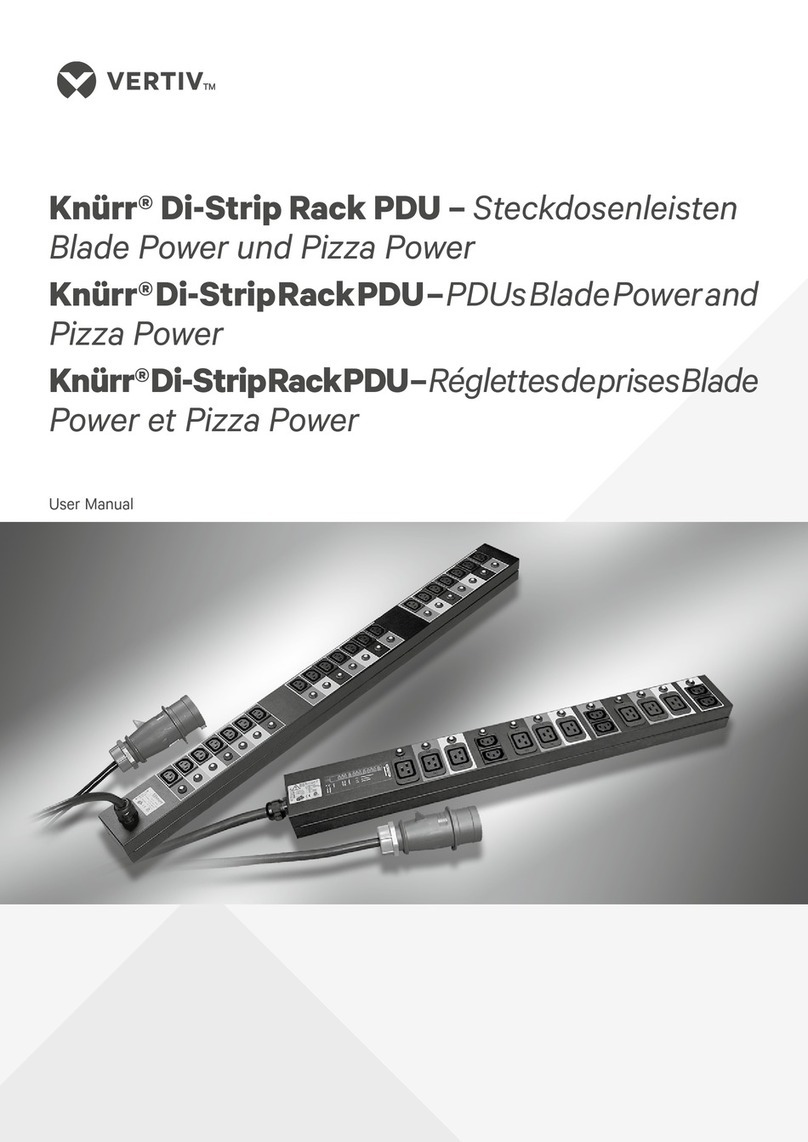
Vertiv Knürr DI-Strip Rack PDU User manual

Vertiv

Vertiv Knürr DI-Strip Rack PDU User manual

Vertiv Liebert MBX Installation and maintenance instructions

Vertiv

Vertiv Liebert MBX Installation and maintenance instructions

Vertiv MPH2 Installation and maintenance instructions

Vertiv

Vertiv MPH2 Installation and maintenance instructions

Vertiv Geist User manual

Vertiv

Vertiv Geist User manual

Vertiv NetSure 8100 Series User manual

Vertiv

Vertiv NetSure 8100 Series User manual

Vertiv Knürr DI-Strip Rack PDU User manual

Vertiv

Vertiv Knürr DI-Strip Rack PDU User manual

Vertiv GEIST UU30009L User manual

Vertiv

Vertiv GEIST UU30009L User manual

Popular Power Distribution Unit manuals by other brands

Lightcorp Nik installation instructions

Lightcorp

Lightcorp Nik installation instructions

hager SP 015 User instructions

hager

hager SP 015 User instructions

Pakedge PowerPak 9 user guide

Pakedge

Pakedge PowerPak 9 user guide

Pts 9042 Series installation guide

Pts

Pts 9042 Series installation guide

Shure WA405 user guide

Shure

Shure WA405 user guide

CORNING CCH 4U quick start guide

CORNING

CORNING CCH 4U quick start guide

Panamax M4LT-EX datasheet

Panamax

Panamax M4LT-EX datasheet

PANCONNECT FLAT 3M Assembly instruction

PANCONNECT

PANCONNECT FLAT 3M Assembly instruction

Raytheon 138-118 manual

Raytheon

Raytheon 138-118 manual

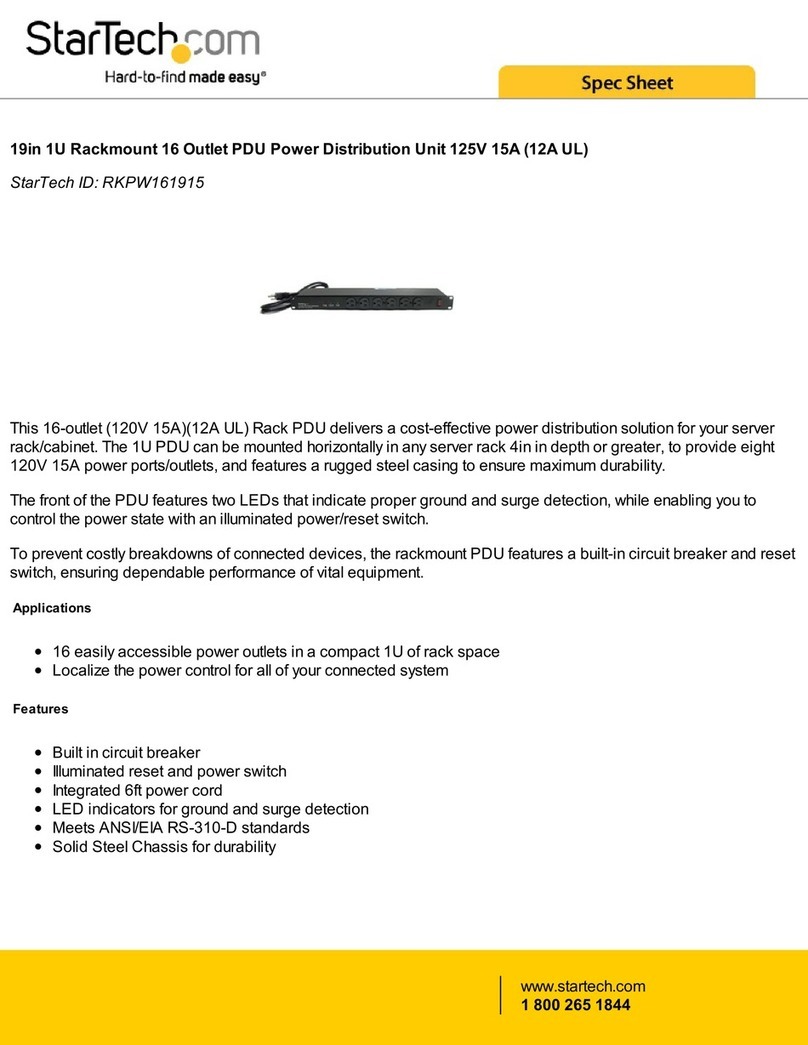
StarTech.com RKPW161915 Spec sheet

StarTech.com

StarTech.com RKPW161915 Spec sheet

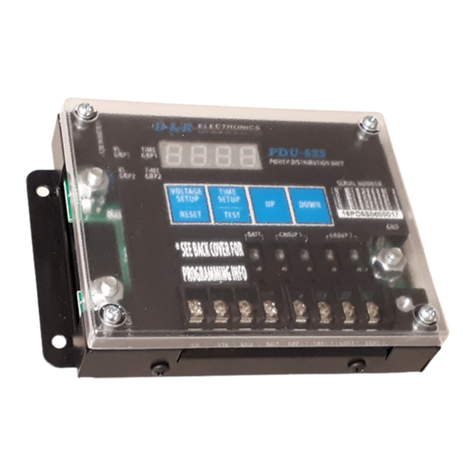
D&R ELECTRONICS PDU-6SS user manual

D&R ELECTRONICS

D&R ELECTRONICS PDU-6SS user manual

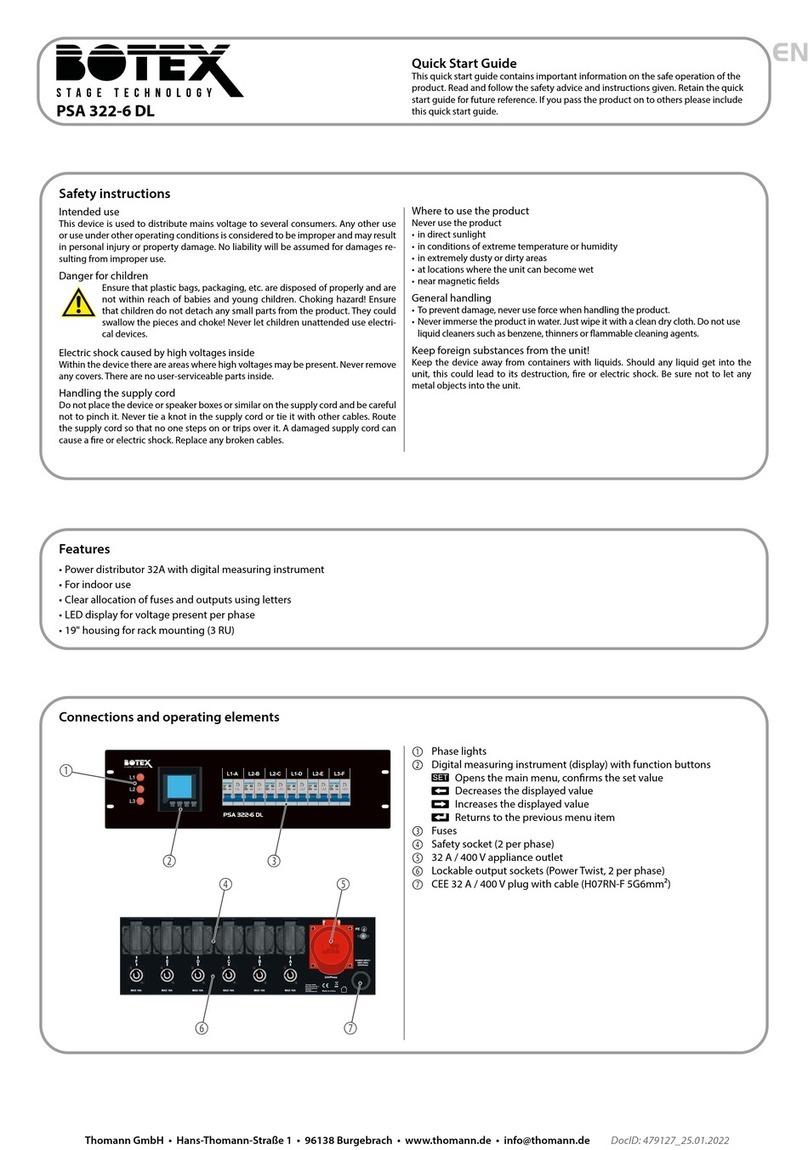
Botex PSA 322-6 DL quick start guide

Botex

Botex PSA 322-6 DL quick start guide

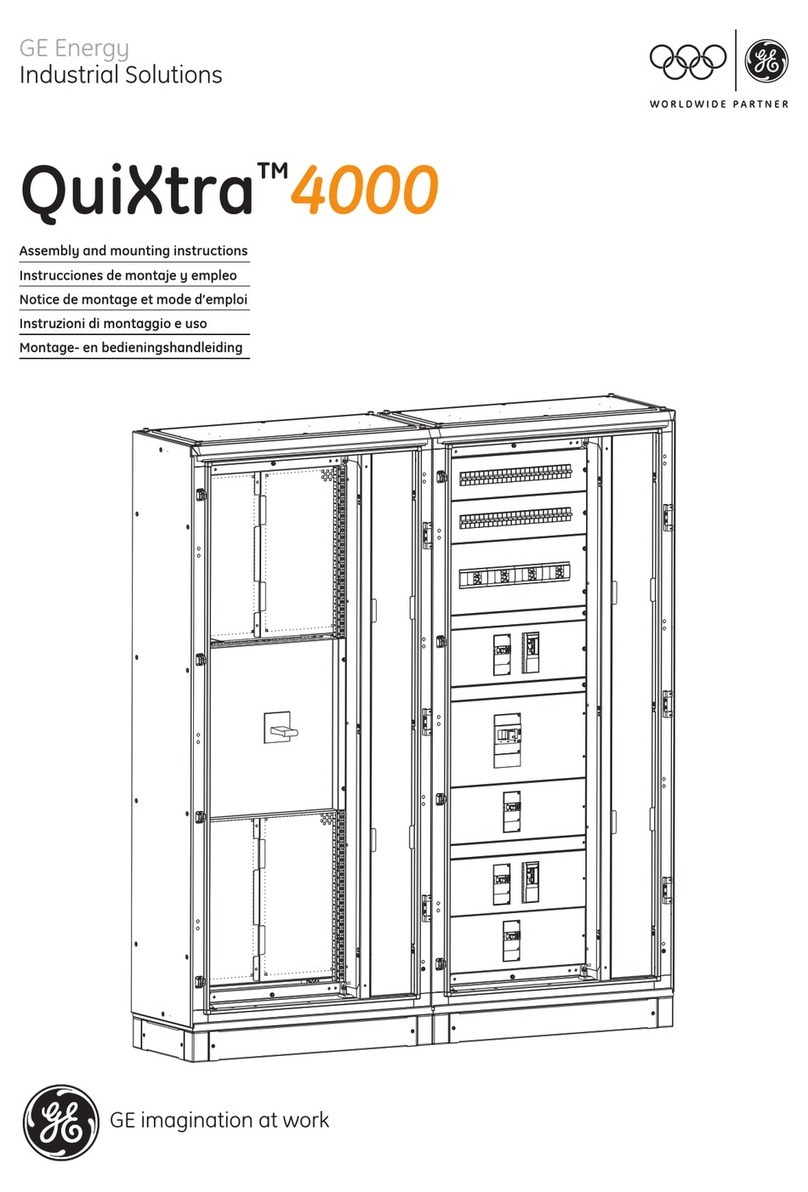
GE QuiXtra 4000 Assembly and mounting instructions

GE

GE QuiXtra 4000 Assembly and mounting instructions

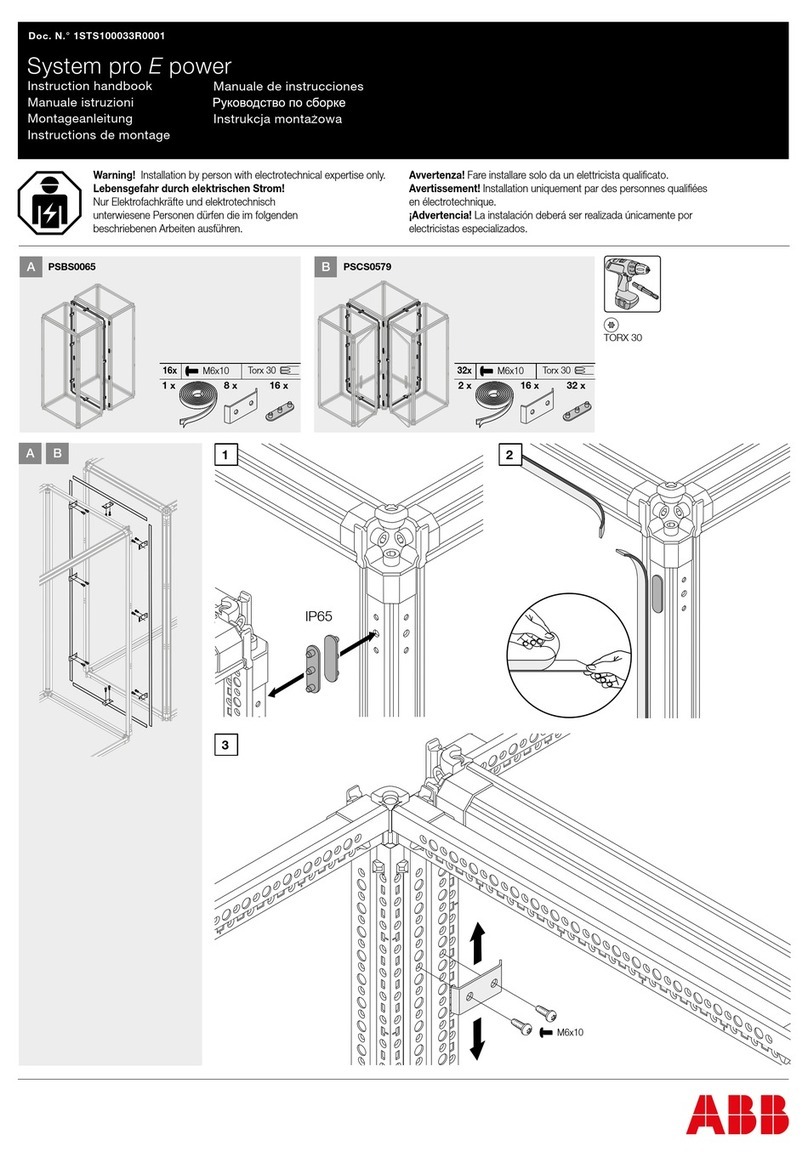
ABB PSBS0065 Instruction handbook

ABB

ABB PSBS0065 Instruction handbook

Baumuller BFN 3-1-0007-001 Instruction handbook

Baumuller

Baumuller BFN 3-1-0007-001 Instruction handbook

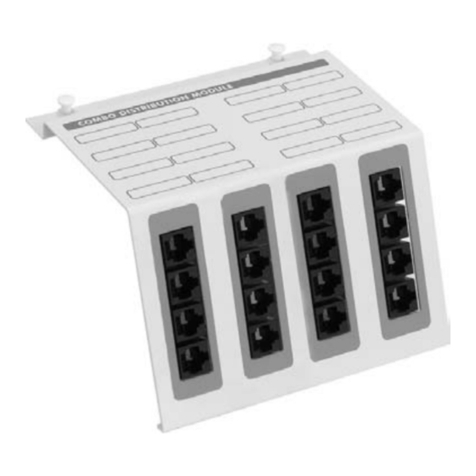
Eaton StructuredWiringSolutions ESWT41600 Instruction leaflet

Eaton

Eaton StructuredWiringSolutions ESWT41600 Instruction leaflet

GE GEK-45404F instructions

GE

GE GEK-45404F instructions

Huawei PDU8000 Series user manual

Huawei

Huawei PDU8000 Series user manual

manuals.online logo
manuals.online logoBrands
  • About & Mission
  • Contact us
  • Privacy Policy
  • Terms and Conditions

Copyright 2025 Manuals.Online. All Rights Reserved.

590-1640-501A/SL-20861_REV4
1
vertiv™ MPH2™ rack Pdu
Quick Installation Guide
VERTICAL MPH2 RACK
PDU MOUNTING
A vertical MPH2 rack PDU can be
mounted by using either the supplied
in-line brackets or the supplied
mounting buttons.
Determine which mounting method
best suits your rack and install the
necessary hardware in the rack. The
rack PDU should be mounted so that its
input power cord exits at either the top
or bottom of the rack.
In-line bracket installation
Install the brackets by inserting the legs
of each bracket into the slots on each
end of the rack PDU.
Insert two of the supplied spring nuts
into the appropriate T-slot on the rack
frame. Use a small, pointed object to
position the spring nuts into place.
Hold the bottom of the rack PDU
assembly over the desired mounting
holes in the rack frame or rack
manufacturer’s bracket and insert the
fasteners into the PDU bracket. Leave
the fasteners slightly loose.
Position the top PDU bracket over the
desired mounting holes and insert its
fasteners. Tighten all rack PDU bracket
fasteners.
Button mount installation
Use a Torx™ screw to attach the
supplied button mounts to the rear of
the rack PDU.
NOTE: Only use the mounting buttons
provided with the MPH2 rack PDU. Using
other mounting buttons may damage the
rack PDU.
Find the keyhole slots in the rack
frame or install the rack manufacturer’s
keyhole slot brackets in the desired
location in the rack.
Insert each of the attached mounting
buttons into the large opening of a
keyhole slot. Slide the assembly down
into the narrow portion of the keyhole
slots to lock the PDU in place.
HORIZONTAL MPH2 RACK
PDU MOUNTING
Attach the supplied brackets to
each side of the rack PDU. Attach
each bracket to the rack using the
appropriate screws for your rack.
Button Mount Installation
Button
Mount
Keyhole Slot
Back View Front View
Spring Nuts in
Rack Frame
In-line Bracket Installation
In-line
Bracket A
B
C
Horizontal Installation
VertivCo.com |Vertiv Headquarters, 1050 Dearborn Drive, Columbus, OH, 43085, USA
© 2017 Vertiv Co. All rights reserved. Vertiv and the Vertiv logo are trademarks or registered trademarks of Vertiv Co. All other names and logos referred to are trade names, trademarks or
registered trademarks of their respective owners. While every precaution has been taken to ensure accuracy and completeness herein, Vertiv Co. assumes no responsibility, and disclaims all
liability, for damages resulting from use of this information or for any errors or omissions. Specications are subject to change without notice.
590-1640-501A/SL-20861_REV4
2
vertiv™ MPH2™ rack Pdu
Quick Installation Guide
MPH2 Rack PDU Setup
NOTE: It is recommended that all devices
powered through the MPH2 rack PDU
be turned o and unplugged from input
power sources.
1. Connecting to a network
Connect an Ethernet cable
from your network to the RPC2
Communications Module’s
Network port.
2. Connect Devices’ Power
Cords
NOTE: Record where each powered
device is connected using the
branch and receptacle IDs on the
MPH2 rack PDU for reference.
Connect the devices’ input power
supply cables to the MPH2 rack
PDU’s receptacles.
3. Creating a Rack PDU Array™
Use an Ethernet cable to connect
the Link port of the first MPH2 rack
PDU to the Network port of the
second MPH2 rack PDU; repeat for
up to two more MPH2 rack PDUs.
4. Connecting an SN sensor
Use an RJ45 compatible cable
to connect an SN sensor to
the Sensor port of the RPC2
Communications Module.
5. Connecting a console server
Use an RJ45 compatible cable to
connect a serial console server
to the Serial port of the RPC2
Communications Module.
6. Connecting a Basic Display
Module
Use an RJ45 compatible cable to
connect an optional Basic Display
Module (BDM) to the Display port
of the RPC2 Communications
Module.
7. Turning on the MPH2 rack
PDU
Ensure all circuit breakers on the
unit are in the Off position. Connect
input power to the MPH2 rack PDU.
Press the circuit breaker switches
into the On position. Verify voltage
on the LCD and that the LEDs are
illuminated. Connect each device’s
input power supply cable and verify
the current draw on the LCD.
8. Viewing IP address, MAC
address and Firmware
version
Use the arrow keys under the LCD
of the MPH2 rack PDU to highlight
the Information icon, then press
the select key, which is located
between the arrow keys. Use an
arrow key to highlight the Network
icon and press the select key again.
The LCD displays the IP address,
MAC address and RPC2 module
firmware version.
Serial
Port
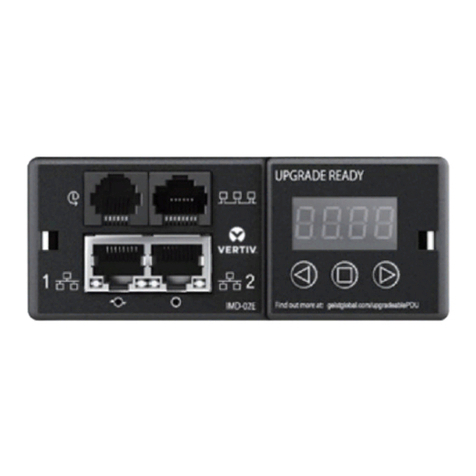
RPC2 Communications Module Ports
MPH2 Rack PDU Configuration
(Vertical Model Shown)
�
Network
Basic Display Module
Console Server
or Switch Sensor
Additional PDUs
Powered Devices
2
3
4
5
6
Sensor
Port
Display
Port
Link
Port
Network
Port