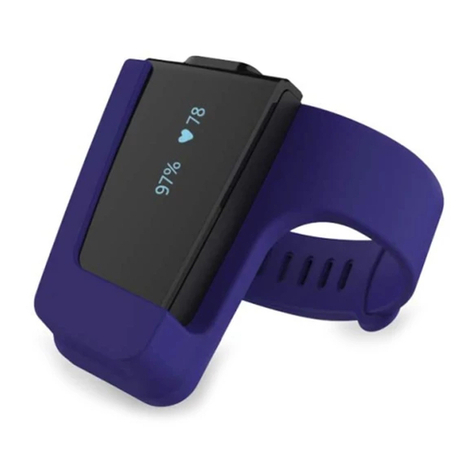
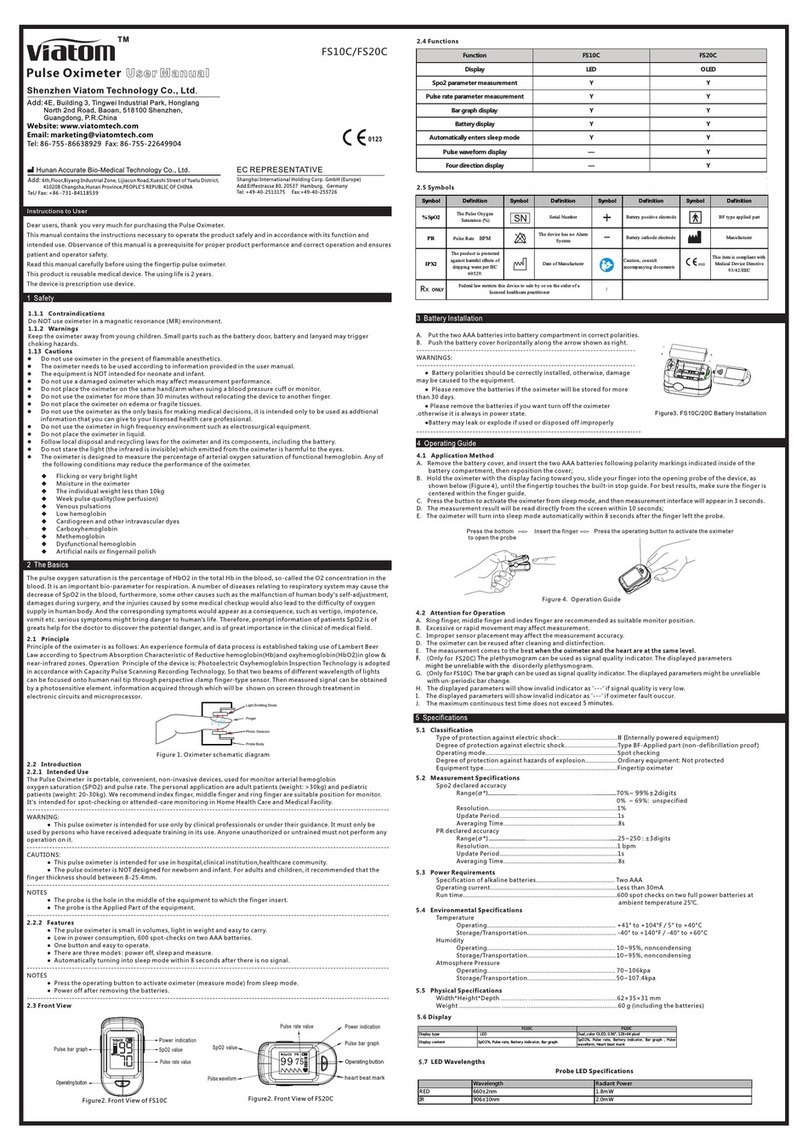
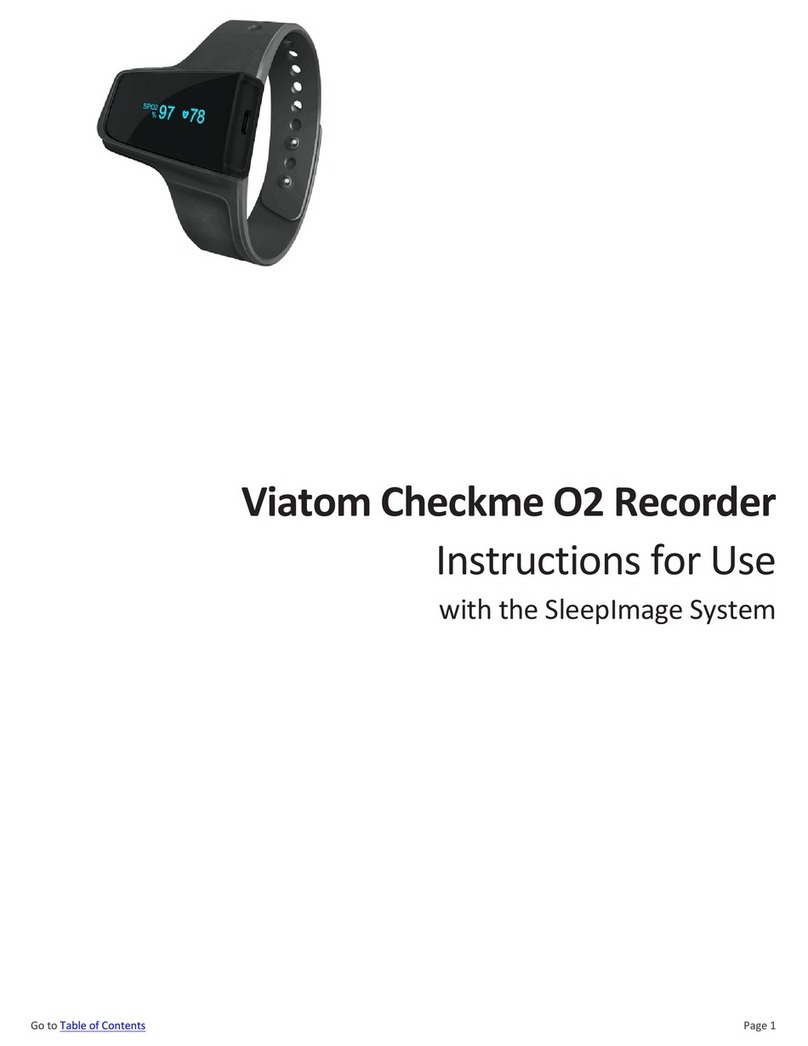
Viatom Checkme O2 User manual

Checkme O2
Smart Wrist Pulse Oximeter
User Manual
www.viatomtech.com
TM

User’s Manual
Contents
1. Introduction............................................................................................4
2 Using the Device ......................................................................................6
3 Maintenance..........................................................................................11
4 Troubleshooting.....................................................................................11
5 Specifications.........................................................................................12
6 Electromagnetic Compatibility...............................................................13
1. Einführung ............................................................................................14
2. Verwenden des Geräts..........................................................................17
3. Wartung................................................................................................22
4.Fehlerbehebung.....................................................................................23
5.Spezifikationen ......................................................................................23

4
1. Introduction
1.1 Intended Use
The Oxiband Wrist Pulse Oximeter is intended to be used for
measuring, displaying and storing of pulse oxygen saturation (SpO2)
and pulse rate in home or healthcare facilities environment.
Note:
The data and results provided by this device are for pre-check screening
purpose only and cannot be directly used for diagnostic or treatment.
The data provided by the APP is not intended for diagnosis or treatment
purpose, always consult your doctor for any health condition.
Warnings and Cautionary Advices
Do not use this device during MRI examination.
Do not use the device in a combustible environment (i.e.,
oxygen-enriched environment).
Never submerge the device in water or other liquids. Do not
clean the device with acetone or other volatile solutions.
Do not drop this device or subject it to strong impact.
Do not place this device in pressure vessels or gas sterilization
device.
Do not dismantle the device, as this could cause damage or
malfunctions or impede the operation of the device.
This device is not intended for use by people (including children)
with restricted physical, sensory or mental skills or a lack of
experience and/or a lack of knowledge, unless they are
supervised by a person who has responsibility for their safety or
they receive instructions from this person on how to use the
device.
Do not store the device in the following locations: locations in
which the device is exposed to direct sunlight, high

5
temperatures or levels of moisture, or heavy contamination;
locations near to sources of water or fire; or locations that are
subject to strong electromagnetic influences.
Vital signs measurements, such as those taken with this device,
cannot identify all diseases. Regardless of the measurement
taken using this device, you should consult your doctor
immediately if you experience symptoms that could indicate
acute disease.
Do not self-diagnose or self-medicate on the basis of this device
without consulting your doctor. In particular, do not start taking
any new medication or change the type and/or dosage of any
existing medication without prior approval.
1.2 Guide to Symbols
Symbol
Description
Type BF-Applied Part
Manufacturer
European authorized representative
CE0197
CE Marking indicating conformance to EC directive No.
93/42/EEC concerning medical devices.
MRI unsafe. Presents hazards in all MR environments
as device contains strongly ferromagnetic materials.
Indicate separate collection for electrical and
electronic equipment (WEEE).
IP22
Protected against spraying water and against access to
hazardous parts with a tool, per IEC 60529.
Follow Instructions for Use.
Warning and Caution!
SN
Serial number

6
1.3 Unpacking
Main Unit × 1
Ring Sensor × 1
Cable × 1
User Manual × 1
2Using the Device
2.1 Download App
App name: ViHealth
iOS: App Store
Android: Google Play
2.2 Charging
Charge the battery before using.
Connect the device to USB of computer or USB charging
adapter.
After fully charged, the device will power off automatically.
2.3 POWER ON/OFF
POWER ON:
Press the button for 1 second to turn on the device.
POWER OFF:
Recommended way: device turns off automatically in 2
minutes if no measurement, no operation, without App
connection.
No alarm system.

7
Manually: press the button for about 2 seconds to turn off.
2.4 Typical steps
START. Charge the battery. Wear the
device and the Ring Sensor, press the
button to power on. Go to sleep.
STOP. Next morning, take off the Ring
Sensor (and the device), the recording will
be over after the countdown.
DATA SYNC. Run App to sync data.
2.5 Start working
1) Connect the sensor cable to the device.
2) Wear the device on the left wrist; wear the
sensor on the thumb. If it is too tight, try
another finger. Avoid being loose.
3) Turn on the device. After a few seconds, the
device will begin to work.
(If the working time is less than 1 minute, the
data will not be saved)
Note:
The device can also work as a clock and pedometer without ring
sensor, and the steps will restart counting after the ring sensor
plugged in.
Please avoid excessive motion for the sensed finger during
recording and avoid any strong ambient light condition.

8
2.6 Stop working & sync data
Take off the sensor, the countdown will
begin.
During the countdown, if you wear the
sensor again, the record will be resumed.
After the countdown, the data will be ready for sync.
Sync data:
1) After the countdown, Run App to sync data;
2) Or next time after you turn on the device, run App to
sync.
Note: The device can store maximum 4 records. The oldest
record will be overwritten when the 5th record is coming in.
2.7 Display
During measurement, press the button, you can switch
different displays.
Time, Remaining battery
capacity
Sleep Mode
Living Mode
SPO2
Blood oxygen saturation
Pulse rate in Sleep Mode
Pulse rate in Living Mode
Wear the sensor
Steps
O2 Score, SpO2 drop times
O2 7.5 13
MODE
MODE
18:45
Z
Z
Z
M

9
2.8 Operation Mode Navigation
The device has two operation modes: Sleep Mode and Living
Mode.
Turn on the device, during the icon blinking, press the button
to switch between two modes.
Sleep Mode
Living Mode
Parameters
SpO2, PR, Motion
SpO2, PR, Steps
Screen
Activated by button
Always on
The Sensor
Vibrates
When SpO2 is
lower than
threshold set
When SpO2 is lower
than threshold set;
Or when step goal is
met
Bluetooth
On when the screen
lights up
Always on
Report
Sleep report
Living report
2.9 Bluetooth Connection
The device Bluetooth will be enabled automatically only when
the screen lights up.
To establish a Bluetooth connection,
1) Ensure the device screen is on to keep the device
Bluetooth enabled.
2) Make sure the phone Bluetooth is enabled.
3) Run the App, then select the Device ID for the initial use.
Note: DO NOT PAIR in the settings of your smartphone.
2.10 Add a new device
For the initial use, you need to add a new device.
1) Turn on device, run App, select <Checkme O2>;

10
2) Then input the last 4 digits of SN on the back of your
device main unit.
2.11 Real-time Dashboard
You can check real-time SpO2, Pulse Rate in App.
1) Connect device to App.
2) App->Dashboard.
2.12 Smart Vibration
The vibrator in the sensor will be activated when the SpO2 fall
below the pre-set value (Threshold). The vibration will stop
when the SpO2 recover, or you can press the button to stop it.
You can customize the vibration to help you sleep
better. Make sure your device is connected to
App first. Then you can configure it in
App->Settings.
You can switch on or off the vibration.
You can adjust the Intensity of vibration.
You can adjust the Threshold. If the vibration disturbs
you during sleep too much, you can lower the
Threshold. If you would like to get more protection
from oxygen shortage, you can turn up the Threshold.
2.13 View Results and Report
In App, you can review all the history
data. Touch a record, there comes out
the detailed report, which includes
analysis results and charts.

11
Slide a record to left, you can delete it.
2.14 O2 Score
O2 Score is overall assessment of oxygen condition, which
synthesizes the frequency, depth and duration of oxygen
shortage overnight. The range is 0-10 (10 is best). It is provided
for each record in App.
Example:
3Maintenance
3.1 Cleaning
Use a soft cloth moistened with water or alcohol to clean the
device surface.
3.2 Battery
To keep the battery in good condition, charge the battery
every 6 months when the device is not in use.
4Troubleshooting
Problem
Possible Cause
Possible Solution
Device
does not
turn on or
no
response.
Battery may be low.
Charge battery and try again.
Unexpected software
condition
Press the button for about
10 seconds to reset
Device might be
damaged.
Please contact your local
distributor.
0 10
O2 Score 7.5
(in the APP)

12
The app
cannot
find the
device.
The Bluetooth of your
phone is off.
Turn on the Bluetooth in the
phone.
The device Bluetooth
is off in Sleep Mode.
Press the button, the
Bluetooth will be turned on
when the screen lights up.
5Specifications
Classifications
EC Directive
MDD, 93/42/EEC
R&TTE, 1999/5/EC
ROHS 2.0, 2011/65/EU
Degree protection
against electrical
shock
Type BF
Environmental
Item
Operating
Storage
Temperature
5 to 40°C
-25 to 70°C
Relative humidity
(noncondensing)
10% to 95%
10% to 95%
Barometric
700 to 1060 hPa
700 to 1060 hPa
Degree of dust &
water resistance
IP22
Physical
Weight
12 g (main unit)
Display
OLED
Wireless
Bluetooth 4.0 BLE
Vibrator
Built in
Power Supply
Charge input:
DC 5V ±10%
Battery type
Rechargeable lithium-polymer battery
Charge time
2~3 hours
SpO2
Standards
Meet standards of ISO 80601-2-61
Measurement accuracy verification: The SpO2 accuracy has been
verified in human experiments by comparing with arterial blood

13
sample reference measured with a CO-oximeter. The pulse rate
accuracy has been verified by Emulator. Pulse oximeter
measurement are statistically distributed and about two-thirds of
the measurements are expected to come within the specified
accuracy range compared to CO-oximeter measurements.
SpO2 range
70% to 100%
SpO2 Accuracy
(Arms)
80-100%:±2%, 70-79%:±3%
PR range
30 to 250 bpm
PR accuracy
±2 bpm or ±2%,whichever is greater
Wave length
660-940nm
Output power
Red/Infrared: 3mW max. avg.
Pedometer
Range
0 to 99999 steps
Storage
Capacity
4 records,10 hours for each
Sleep analysis
Record
parameters
SpO2, pulse rate, motion
Record interval
4s
Drop analysis
Yes
Mobile APP
iOS
iOS 9.0 or above, iPhone 4s/iPad 3 or
above
Android
Android 5.0 or above, with Bluetooth 4.0
BLE
6Electromagnetic Compatibility
The device meets the requirements of EN 60601-1-2.
Warnings and Cautions
Using accessories other than those specified in this manual may result
in increased electromagnetic emission or decreased electromagnetic
immunity of the equipment.
The device or its components should not be used adjacent to or stacked

14
with other equipment.
The device needs special precautions regarding EMC and needs to be
installed and put into service according to the EMC information provided
below.
Other devices may interfere with this device even though they meet the
requirements of CISPR.
When the inputted signal is below the minimum amplitude provided in
technical specifications, erroneous measurements could result.
Portable and mobile communication equipment may affect the
performance of this device.
Other devices that have RF transmitter or source may affect this device
(e.g. cell phones, PDAs, and PCs with wireless function).
EMC table information is listed on our website:
https://api.viatomtech.com.cn/documents/2017/emc_en.pdf
1. Einführung
1.1 Verwendungszweck
Das Oxiband Handgelenk-Pulsoximeter dient zum Messen, Anzeigen und

15
Speichern der Sauerstoffsättigung (SpO2) und der Pulsfrequenz in Heim- oder
Gesundheitseinrichtungen.
Hinweis:
Die von diesem Gerät bereitgestellten Daten und Ergebnisse
dienen nur zur Vorabpr
ü
fung und können nicht direkt zur
Diagnose oder Behandlung verwendet werden.
Die von der APP bereitgestellten Daten sind nicht f
ü
r Diagnose-
oder Behandlungszwecke bestimmt. Fragen Sie Ihren Arzt
immer nach gesundheitlichen Problemen.
Warnungen und Warnhinweise
Verwenden Sie dieses Gerät nicht während der MRT-Untersuchung.
UseVerwenden Sie das Gerät nicht in brennbaren Umgebungen (d. H.
In mit Sauerstoff angereicherten Umgebungen).
Tauchen Sie das Gerät niemals in Wasser oder andere Flüssigkeiten.
Reinigen Sie das Gerät nicht mit Aceton oder anderen fl üchtigen
Lösungen.
Lassen Sie das Gerät nicht fallen und setzen Sie es keinen starken
Stößen aus.
PlaceLegen Sie das Gerät nicht in Druckbehälter oder
Gassterilisationsgeräte.
Dis Zerlegen Sie das Gerät nicht, da dies zu Schäden oder
Fehlfunktionen führen oder den Betrieb des Geräts beeinträchtigen
kann.
Dieses Gerät ist nicht für den Gebrauch durch Personen (einschließlich
Kinder) mit eingeschränkten körperlichen, sensorischen oder geistigen
Fähigkeiten oder mangelnder Erfahrung und / oder mangelndem
Wissen gedacht, es sei denn, sie werden von einer Person beaufsichtigt,
die für ihre Sicherheit oder deren Verantwortung verantwortlich ist
erhalten Sie Anweisungen von dieser Person zur Verwendung des
Geräts.
Store Lagern Sie das Gerät nicht an folgenden Orten: Orten, an denen
das Gerät direktem Sonnenlicht, hohen Temperaturen oder Feuchtigkeit
oder starker Verunreinigung ausgesetzt ist; Standorte in der Nähe von

16
Wasser- oder Feuerquellen; oder an Orten, die starken
elektromagnetischen Einflüssen ausgesetzt sind.
Messungen der Vitalfunktionen, wie sie mit diesem Gerät durchgeführt
werden, können nicht alle Krankheiten erkennen. Unabhängig von der
mit diesem Gerät durchgeführten Messung sollten Sie sofort Ihren Arzt
konsultieren, wenn Symptome auftreten, die auf eine akute Erkrankung
hindeuten.
Die Eigendiagnose oder Selbstmedikation auf der Grundlage dieses
Geräts darf nicht ohne R ücksprache mit Ihrem Arzt erfolgen.
Insbesondere dürfen Sie keine neuen Medikamente einnehmen oder
die Art und / oder Dosierung eines vorhandenen Medikaments ohne
vorherige Genehmigung ändern.
1.2Leitfaden zu Symbolen
Symbol
Beschreibung
Typ BF-Anwendungsteil
Hersteller
Europäischer Bevollmächtigter
CE0197
CE-Kennzeichnung zur Konformität mit der EU-Richtlinie
93/42 / EWG über Medizinprodukte.
MRI unsicher. Stellt in allen MR-Umgebungen Gefahren dar,
da das Gerät stark ferromagnetische Materialien enthält.
Getrennte Sammlung f ür Elektro- und Elektronikgeräte
(WEEE) angeben.
IP22
Geschützt gegen Spritzwasser und gegen den Zugang zu
gefährlichen Teilen mit einem Werkzeug gemäß IEC 60529
Befolgen Sie die Gebrauchsanweisung.
Warnung und Vorsicht!
SN
Ordnungsnummer
Kein Alarmsystem

17
1.3 Auspacken
Hauptgerät × 1
Ringsensor × 1
Kabel × 1
Benutzerhandbuch × 1
2. Verwenden des Geräts
2.1Lade App herunter
App-Name: ViHealth
iOS: App Store
Android: Google Play
2.2Aufladung
Laden Sie den Akku vor der Verwendung auf.Schließen
Sie das Gerät an einen USB-Computer oder einen USB-
Ladeadapter an.Nach dem vollständigen Aufladen
schaltet sich das Gerät automatisch aus.
2.3EINSCHALTEN / AUSSCHALTEN
EINSCHALTEN:
Drücken Sie die Taste 1 Sekunde lang, um das Gerät
einzuschalten.

18
AUSSCHALTEN
Empfohlene Vorgehensweise: Das Gerät schaltet sich
nach 2 Minuten automatisch aus, wenn keine Messung,
keine Bedienung oder App-Verbindung erfolgt.
Manuell: Drücken Sie die Taste etwa 2 Sekunden lang,
um das Gerät auszuschalten.
2.4Typical steps
START. Lade die Batterie auf. Tragen
Sie das Gerät und den Ringsensor
und drücken Sie zum Einschalten die
Taste. Geh ins Bett.
STOP. Nehmen Sie am nächsten
Morgen den Ringsensor (und das
Gerät) ab, die Aufnahme ist nach dem
Countdown beendet.
DATA SYNC. App ausführen, um
Daten zu synchronisieren.
2.5Beginne zu arbeiten
1)Schließen Sie das Sensorkabel an das Gerät
an.
2)Tragen Sie das Gerät am linken Handgelenk.
Tragen Sie den Sensor am Daumen.Wenn es
zu eng ist, versuchen Sie es mit einem
anderen Finger. Vermeiden Sie, lose zu
sein.
3)Schalten Sie das Gerät ein. Nach einigen Sekunden
beginnt das Gerät zu arbeiten.
(Wenn die Arbeitszeit weniger als 1 Minute beträgt,
werden die Daten nicht gespeichert.)

19
Hinweis:
Das Gerät kann auch als Uhr und Schrittzähler ohne Ringsensor
arbeiten. Die Schritte werden nach dem Einstecken des Ringsensors
neu gezählt.
Bitte vermeiden Sie
ü
bermäßige Bewegungen des erfassten Fingers
während der Aufnahme und vermeiden Sie starke
Umgebungslichtbedingungen..
2.6Stoppen Sie zu arbeiten und Daten
zu synchronisieren
Nehmen Sie den Sensor ab, der
Countdown beginnt.
Wenn Sie den Sensor während des Countdowns erneut
tragen, wird die Aufzeichnung fortgesetzt.
Nach dem Countdown sind die Daten für die
Synchronisierung bereit.
Sync data:
1) Nach dem Countdown App ausführen, um Daten zu
synchronisieren;
2) Oder führen Sie das nächste Mal nach dem
Einschalten des Geräts App zur Synchronisierung
aus.
Hinweis: Das Gerät kann maximal 4 Datensätze
speichern. Der älteste Datensatz wird
ü
berschrieben, wenn der f
ü
nfte Datensatz eingeht.
2.7Anzeige
Zeit, verbleibende Akkukapazität
Schlafmodus
Wohnmodus
SPO2
Blutsauerstoffsättigung
MODE
MODE
18:45
Z
Z
Z
M

20
Drücken Sie während der Messung die Taste, um
zwischen verschiedenen Anzeigen zu wechseln.
2.8Betriebsmodus-Navigation
Das Gerät verf ügt über zwei Betriebsmodi:
Schlafmodus und Wohnmodus.
Schalten Sie das Gerät ein. Drücken Sie die Taste,
während das Symbol blinkt, um zwischen zwei Modi zu
wechseln.
Schlafmodus
Wohnmodus
Parameter
SpO2, PR, Motion
SpO2, PR, Schritte
Bildschirm
Aktiviert durch die
Taste
Immer auf
Der Sensor
vibriert
Wenn SpO2
niedriger als
der eingestellte
Schwellenwert
ist
Wenn SpO2 niedriger
als der eingestellte
Schwellenwert ist ;
Oder wenn das
Schrittziel erreicht ist
Bluetooth
Ein, wenn der
Bildschirm
aufleuchtet
Immer auf
Bericht
Schlafbericht
Lebender Bericht
2.9Bluetooth Verbindung
Das Bluetooth des Geräts wird nur dann automatisch
aktiviert, wenn der Bildschirm leuchtet.
Um eine Bluetooth-Verbindung herzustellen,
Pulsfrequenz im Schlafmodus
Pulsfrequenz im Lebendmodus
Tragen Sie den Sensor
Schritte
O2-Score, SpO2-Abfallzeiten
O2 7.5 13

21
1) Stellen Sie sicher, dass der Bildschirm des
Geräts eingeschaltet ist, damit das Gerät
Bluetooth weiterhin aktiviert bleibt.
2) Vergewissern Sie sich, dass das Telefon Bluetooth
aktiviert ist.
3) Führen Sie die App aus und wählen Sie die
Geräte-ID für die erstmalige Verwendung aus.
Hinweis: Verbinden Sie sich NICHT mit den
Einstellungen Ihres Smartphones.
2.10Fügen Sie ein neues Gerät hinzu
Für die erstmalige Verwendung müssen Sie ein neues
Gerät hinzufügen.
1) Gerät einschalten, App ausführen, auswählen
<Checkme O2>;
2) Geben Sie dann die letzten 4 Ziffern von SN auf
der Rückseite des Hauptgeräts Ihres Geräts ein.
2.11Echtzeit-Dashboard
Sie können den Echtzeit-SpO2-Wert und die
Pulsfrequenz in App überprüfen.
1) Gerät an App anschließen.
2) App->Dashboard.
2.12 Intelligente Vibration
Der Vibrator im Sensor wird aktiviert, wenn
der SpO2-Wert den voreingestellten Wert
(Threshold) unterschreitet. Die Vibration hört
auf, wenn sich der SpO2 erholt, oder Sie
können die Taste drücken, um ihn zu stoppen.
Sie können die Vibration so anpassen, dass Sie besser
schlafen. Stellen Sie sicher, dass Ihr Gerät zuerst mit der
App verbunden ist. Dann können Sie es in App->
Einstellungen konfigurieren.
Other manuals for Checkme O2
2
Table of contents
Languages:
Other Viatom Medical Equipment manuals

Viatom
Viatom OxySmart PC-60FW User manual

Viatom
Viatom Checkme Pro User manual

Viatom
Viatom BabyO2 User manual

Viatom
Viatom Checkme O2 User manual

Viatom
Viatom PB-20 User manual

Viatom
Viatom ER1 User manual
Viatom
Viatom Wellue User manual
Viatom
Viatom Checkme Pro User manual

Viatom
Viatom FS10C User manual

Viatom
Viatom OxySmart PC-60F User manual
Popular Medical Equipment manuals by other brands

Bioness
Bioness BITS Supplemental guide

Otto Bock
Otto Bock C-Brace Instructions for use

laerdal
laerdal SimMan Important product information

Accelerated Care Plus
Accelerated Care Plus OMNISTIM FX2 PRO user manual

natus
natus Otometrics Bio-logic AuDX PRO FLEX quick start guide

GE
GE MAC 1200 Operator's manual