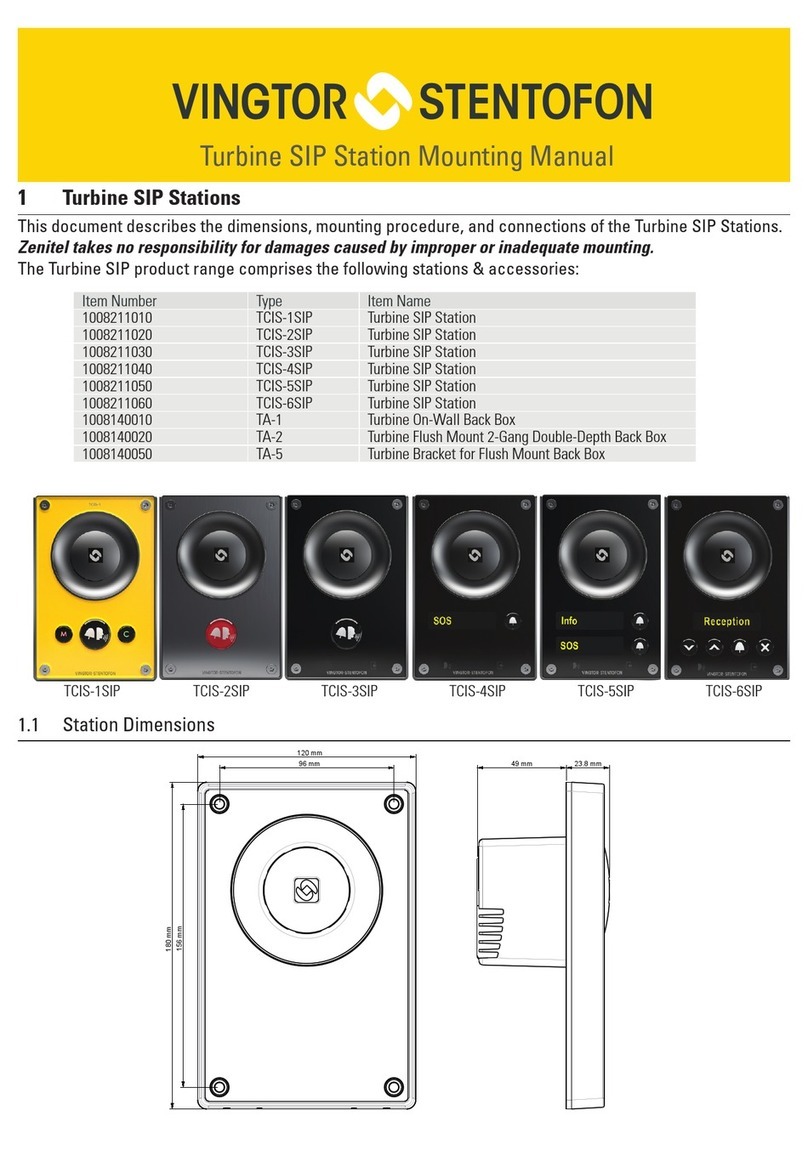
Vingtor Stentofon ITSV-1 User manual

Technical Manual 1490001010
QUICK INSTALLATION & CONFIGURATION GUIDE
ITSV-1
IP Touch Station with Video

1
The ITSV-1 is a product developed for Zenitel Norway AS and
is primarily used as part of a Zenitel Norway AS IP Intercom
solution. The ITSV-1 is not pre-congured to support or carry
emergency calls to any type of hospital, law enforcement agency,
medical care unit (“Emergency Service(s)”) or any other kind of
Emergency Service. You must make additional arrangements to
access Emergency Services. It is your responsibility to purchase
SIP-compliant Internet telephone service, properly congure the
ITSV-1 to use that service, and periodically test your conguration
to conrm that it works as you expect. If you do not do so, it is
your responsibility to purchase traditional wireless or landline
telephone services to access Emergency Services.
ZENITEL NORWAY DOES NOT PROVIDE CONNECTIONS TO
EMERGENCY SERVICES VIA THE ITSV-1. NEITHER ZENITEL
NORWAY NOR ITS OFFICERS, EMPLOYEES OR AFFILIATES
MAY BE HELD LIABLE FOR ANY CLAIM, DAMAGE, OR LOSS.
YOU HEREBY WAIVE ANY AND ALL SUCH CLAIMS OR
CAUSES OF ACTION ARISING FROM OR RELATING TO YOUR
INABILITY TO USE THE ITSV-1 TO CONTACT EMERGENCY
SERVICES, AND YOUR FAILURE TO MAKE ADDITIONAL
ARRANGEMENTS TO ACCESS EMERGENCY SERVICES
IN ACCORDANCE WITH THE IMMEDIATELY PRECEDING
PARAGRAPH.

2
PACKAGE CONTENTS
PRECAUTIONS
WARNING: Please DO NOT power cycle the ITSV-1 during system boot-up
or rmware upgrade. You may corrupt rmware images and cause the unit to
malfunction.
1 X ITSV-1 Main Case 1 X Handset 1 X Phone Cord
1 X Ethernet Cable 1 X Phone Stand
1 X Wall Mount
1 X Screen
Cleaning Cloth
1 X Quick Installation Guide /
1 X GPL License
Vingtor-Stentofon logo - as original artwork.
Short Name ITSV-1 - font Century Gothic

3
OVERVIEW
PHONE SETUP
• ITSV-1 Touch Station with Video (Item Number: 1490001010)
ITSV-1 represents the future in IP Intercom Services, featuring Android™ Operating
System 4.2, a 4.3” (480x272) capacitive touch screen, a tiltable 1 megapixel CMOS
camera, dual Gigabit network ports, integrated Wi-Fi, PoE and Bluetooth. The
ITSV-1 delivers superior HD audio & video, leading edge SIP intercom features
and integration with the Pulse and AlphaCom IP Intercom Platforms, developed
by Zenitel Norway AS. ITSV-1 redenes the desktop communication experience
with a raised level of innovation and integration of state-of-the-art real-time video
conferencing, and personalized rich media presentation & delivery.
1. Attach the wall mount to the slots on the back of the phone.
2. Attach the phone to the wall via the wall mount hole.
3. Pull out the tab from the handset cradle (see gure below).
4. Rotate the tab and plug it back into the slot with the extension up to hold the
handset while the phone is mounted on the wall.
Installing the Phone with Wall Mount:
Slots for the wall mount
and phone stand
Tab with extension up
Handset Rest
Tab with extension down

4
CONNECTING THE PHONE
1. Connect the handset and main phone case with the phone cord.
2. Connect the LAN port of the phone to the RJ-45 socket of a hub/switch or a
router (LAN side of the router) using the Ethernet cable.
3. If you have a compatible power adapter, connect the 12V DC output plug to the
power jack on the phone; plug the power adapter into an electrical outlet. (If PoE
switch is used in step 2, this step could be skipped.)
4. The LCD will display booting up or rmware upgrading information. Before
continuing, please wait for the main screen display to appear.
5. Using the web conguration interface or the menu of the touch screen, you can
further congure network connection using static IP, DHCP, etc.
HDMI Port
PC
Port
LAN
Port
Handset
Port
Power
Jack
Headset
Port
SD Card Slot
USB Port
Attach the phone stand to the back of the phone where there are slots for
mounting. The upper and bottom slots enable mounting at two dierent angles.
Installing the Phone with Phone Stand:
EXT
Port

5
Tips for Using the Keypad:
Conguring the ITSV-1 Using Touch Screen:
1. Make sure the phone is properly powered up, in idle screen and connected to
the network.
2. Tap the Applications icon on the LCD to access ITSV-1’s applications and
settings.
3. If Ethernet is not enabled, go to Settings > Wireless & Network > Ethernet
Settings and put Dierent Networks for Data and VoIP Calls to ON.
4. Select Settings > Advanced Settings > Account. Tap on one of the
Accounts to congure Account Name, SIP Server (AlphaCom or Pulse), SIP
User ID (Extension Number), SIP Authentication ID (if required) and SIP
Authentication Password (if required).
Note: For changes to take eect, it may be necessary to temporarily disable the account.
Do this by setting Account Activation to OFF and selecting OK. Then re-enable your
account by setting Account Activation to ON and selecting OK.
5. Follow the LCD menu options to congure other settings on the phone. For
example, to congure static IP on the ITSV-1, set up static IP address via LCD
menu Settings > Wireless & Network > Ethernet Settings.
6. If you want to see your accounts on your home screen as below, return to the
home screen (press Home button). Press the Menu button, and select Edit
Widgets. Several account display widgets will appear. Select and drag the
widget to the home screen.
Vingtor-Stentofon logo - as original artwork.
Short Name ITSV-1 - font Century Gothic
Status Indicator
Hold
Message
Transfer
Volume
Send
Speaker
Conference
Menu
Back
Home
Backspace
Phonebook
Standard
Keypad
Headset
Mute
Applications ContactsCall
PHONE CONFIGURATION
• For further information on the configuration of AlphaCom,
SIP, and Pulse, please see A100K11559 Turbine Video
Configuration Manual and AlphaWiki.

6
Conguring the ITSV-1 Using Web Browser:
1. Ensure your phone is properly powered up and connected to the Internet.
2. To nd the IP address of the phone, use the touch screen and tap Settings >
About Phone and scroll down to Network Status.
3. Enter the phone’s IP address in your PC’s browser.
4. Log in by entering the default username: admin and password: alphaadmin
5. To register the account on the ITSV-1, go to General Settings > Account
1/2/3/4/5/6 to congure Account Name, SIP Server (AlphaCom or Pulse),
SIP User ID (Extension Number), SIP Authentication ID (if required) and SIP
Authentication Password (if required).
Note: For changes to take eect, it may be necessary to temporarily disable the account.
First uncheck the Yes box for Account Active, then click Save and Apply (button appears
in yellow bar at top of browser). Once this is done, re-enable the account by checking the
Yes box for Account Active followed by Save and Apply again.

7
The following sections describes how the ITSV-1 is congured to work together with
the Turbine Video Intercom TCIV-2/TCIV-3/TCIV-6.
ALPHACOM CONFIGURATION
• Log into the ITSV-1 by entering default username: admin and password: alphaadmin
AlphaCom ITSV-1 Account Setup:
●Select Account > Account 1 >General Settings
● Enter the values shown above for the parameters
Account Active: Check Yes box
SIP Server: IP address of AlphaCom server (see Main Settings in TCIV)
SIP User ID: Directory Number of ITSV-1 phone
SIP Authentication ID: Same as SIP User ID
AlphaCom ITSV-1 Audio Codec Settings:
● Check in AlphaPro under Users & Stations the codec that has been
selected for the SIP phone (normally G722)
●Select Account 1 > Codec Settings
●Remove all codecs from the Selected list except the one dened in
AlphaPro, i.e. G722.

8
AlphaCom ITSV-1 Video Conguration:
The video is streamed in MJPEG format directly from the TCIV camera to the
ITSV-1. The TCIV camera must have a static IP address.
●Select Account 1 > Call Settings
● Click the Yes box for Start Video Automatically
●Select Vingtor Stentofon System from Special Feature dropdown box
● Click Congure to open the camera list
● Enter the camera URL and the directory number of the TCIV station
Door System URL : http://< TCIV camera IP address>:<port no.>/mjpg/video.mjpg
Example: http://10.5.101.46:8090/mjpg/video.mjpg
Door System SIP User ID : Directory Number of TCIV station

9
PULSE CONFIGURATION
• Log into the ITSV-1 by entering default username: admin and password: alphaadmin
Pulse ITSV-1 Account Setup:
●Select Account > Account 1 >General Settings
● Enter the values shown above for the parameters
Account Active: Check Yes box
SIP Server: IP address of intercom station set as Pulse Server
SIP User ID: Directory Number of the ITSV-1 phone
SIP Authentication ID: Same as SIP User ID
Pulse ITSV-1 Video Conguration:
The video is streamed directly from the TCIV camera to the ITSV-1. The TCIV
camera must have a static IP address.
●Select Account 1 > Call Settings
● Click the Yes box for Start Video Automatically

10
Pulse Group Call:
The Pulse Server transmits group call audio using IP multicast technology. Each group
call uses its own unique multicast IP address. To nd the multicast IP address:
● Log into the Pulse Server
●Select Server Management >Group Call
Make a note of the multicast addresses under Group audio address.
● Log into the ITSV-1
●Select Advanced Settings > Multicast Paging
●Set Multicast Paging Codec = G722
●Enter the multicast addresses under Listening Address
● Click Apply and Reboot the ITSV-1
When a Group Call is activated, the ITSV-1 will automatically broadcast the audio in the
loudspeaker. The ITSV-1 will display the text of the Group Call as entered under Label.
If the ITSV-1 is busy in a regular call when a Group Call is made, it will by default not
play the Group Call audio. If Paging Barge is set to value 2 or higher, the current call
will be placed On Hold, and the Group Call audio will be broadcast. When the Group
Call is ended, press the Hold button to resume the regular call.

Zenitel Norway AS
Sandakerveien 24c
0403 Oslo, Norway
For Warranty and RMA information, please visit www.zenitel.com
HDMI, the HDMI Logo, and High-Denition
Multimedia Interface are trademarks or registered
trademarks of HDMI Licensing LLC in the United
States and other countries.
TM
*Android is a Registered Trademark of Google, Inc.
DOC NUMBER
Zenitel and its subsidiaries assume no responsibility for any errors that may appear in this publication, or for damages arising from the information therein. Vingtor-Stentofon products are developed and marketed
by Zenitel. The company’s Quality Assurance System is certified to meet the requirements in NS-EN ISO 9001. Zenitel reserves the right to modify designs and alter specifications without notice.
ZENITEL PROPRIETARY. This document and its supplementing elements, contain Zenitel or third party information which is proprietary and confidential. Any disclosure, copying, distribution or use is prohibited, if
not otherwise explicitly agreed in writing with Zenitel. Any authorized reproduction, in part or in whole, must include this legend. Zenitel – All rights reserved.
customer[email protected]
WE HAVE 24/7
CUSTOMER
SERVICE
GLOBAL: +47 4000 2700
USA: 800 654 3140
Mon-Fri 09:00 to 17:00 CST
cs@zenitel.com
A100K11705 3.11.17
Table of contents
Other Vingtor Stentofon Intercom System manuals
Vingtor Stentofon
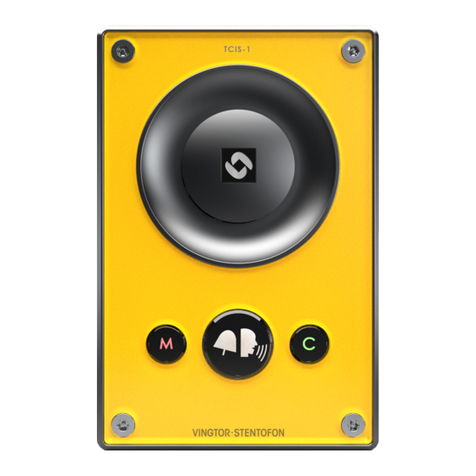
Vingtor Stentofon Turbine TMIS-1 Installation instructions manual

Vingtor Stentofon
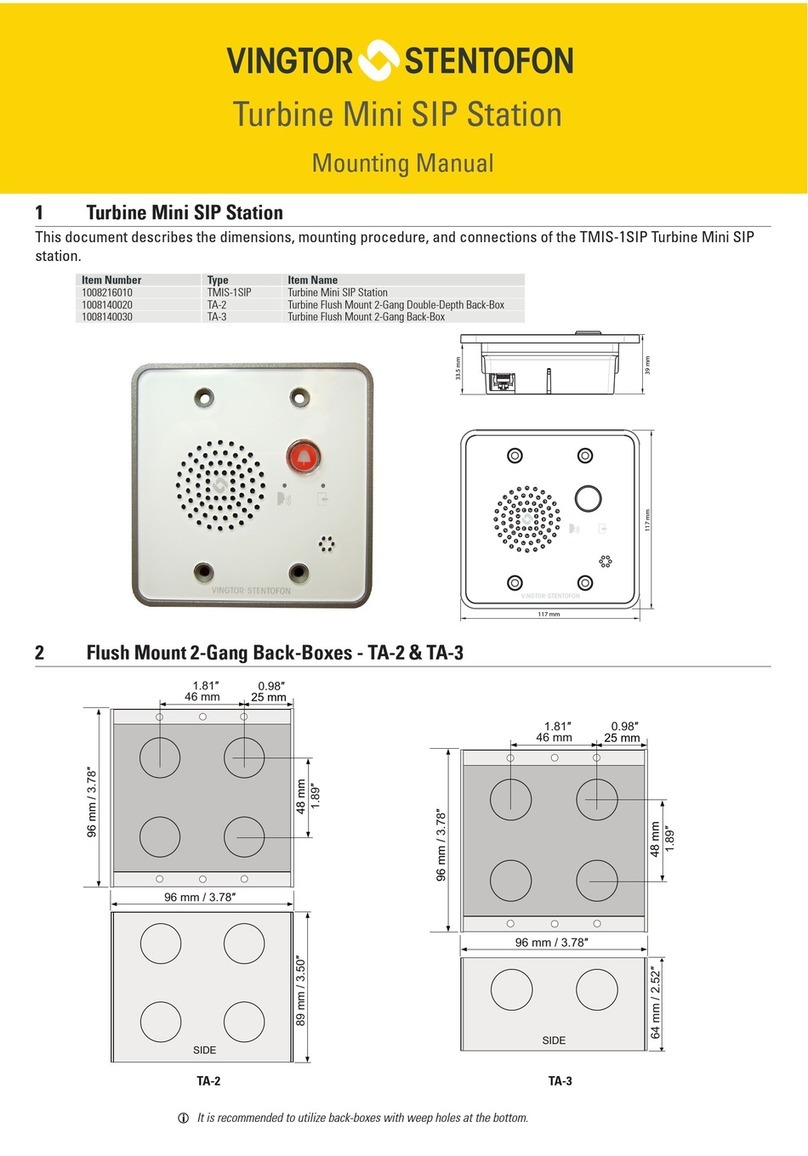
Vingtor Stentofon TCIS-1 User manual
Vingtor Stentofon
Vingtor Stentofon TCIS-1 Guide

Vingtor Stentofon
Vingtor Stentofon TCIS-1SIP Guide

Vingtor Stentofon
Vingtor Stentofon TCIV-2 Guide

Vingtor Stentofon
Vingtor Stentofon Exigo Ex EAPFX-1 User manual

Vingtor Stentofon
Vingtor Stentofon TCIV-2SIP Guide
Vingtor Stentofon
Vingtor Stentofon Turbine Compact Analog TCAS Series Guide

Vingtor Stentofon
Vingtor Stentofon TCIS Series User manual
Vingtor Stentofon
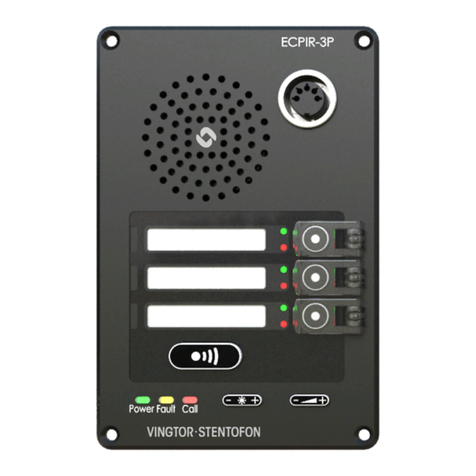
Vingtor Stentofon ECPIR-3P User manual