manuals.online logo
Brands
  1. Home
  2. •
  3. Brands
  4. •
  5. Vingtor Stentofon
  6. •
  7. Intercom System
  8. •
  9. Vingtor Stentofon TCIS-1 Guide

Vingtor Stentofon TCIS-1 Guide

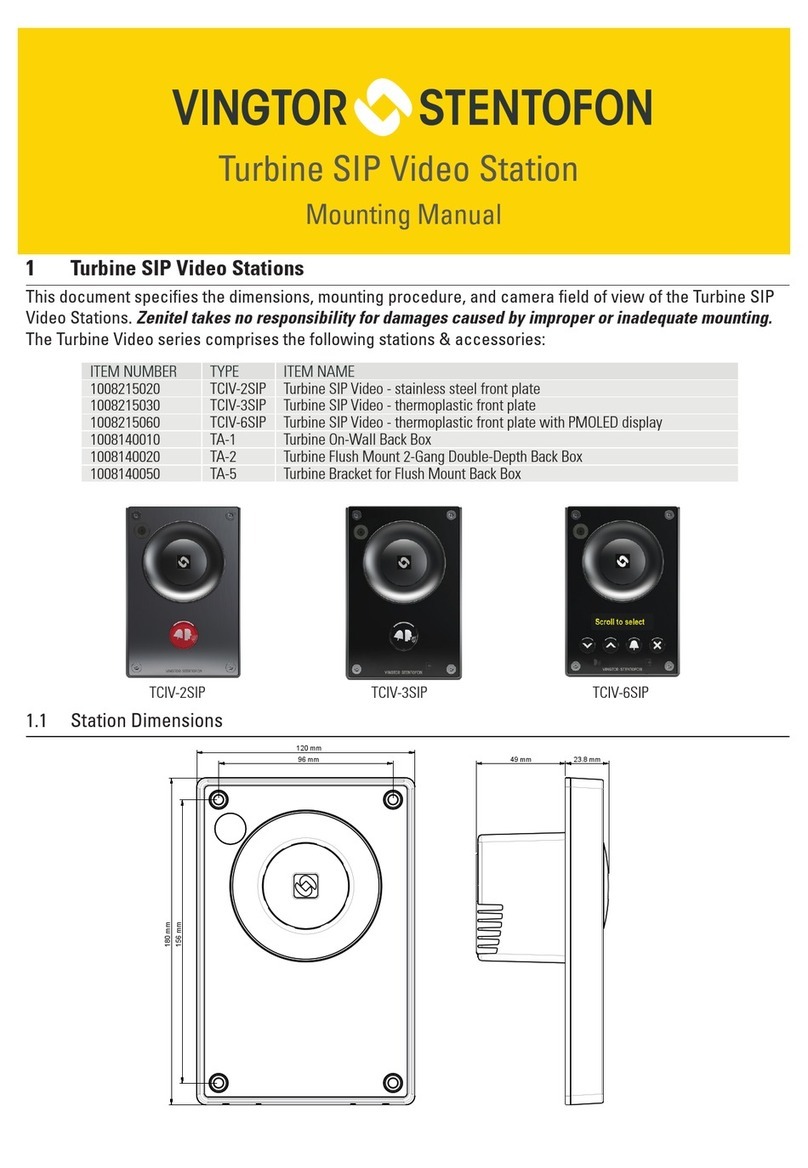
1 Turbine Compact IP Stations
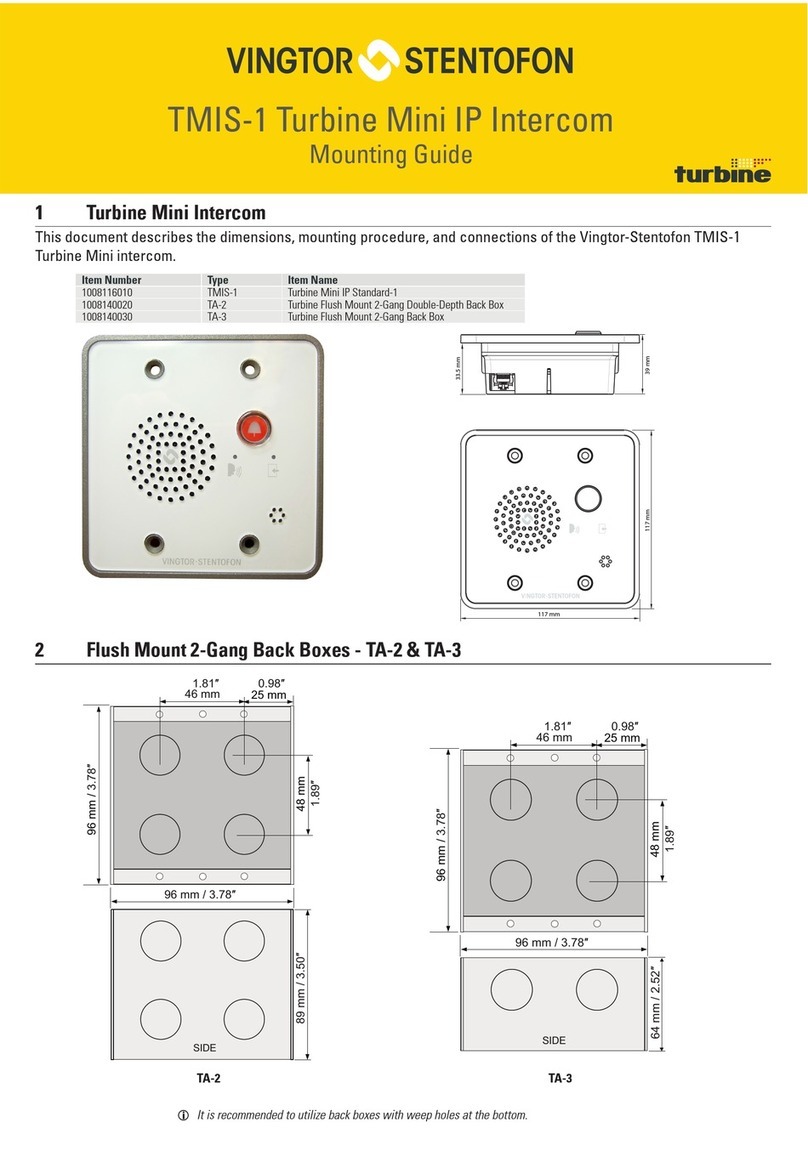
This document describes the dimensions, mounting procedure, and connections of the Turbine Compact IP
Stations. Zenitel takes no responsibility for damages caused by improper or inadequate mounting.
The Turbine Compact IP product range comprises the following stations & accessories:
Item Number Type Item Name
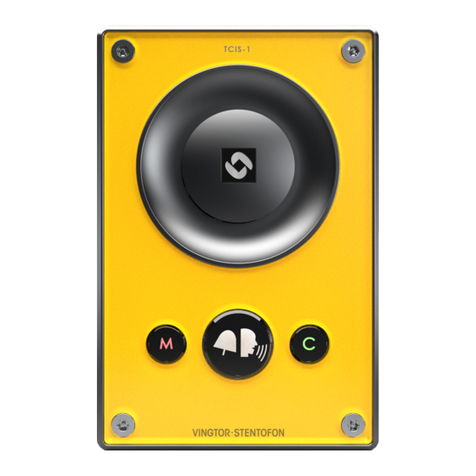
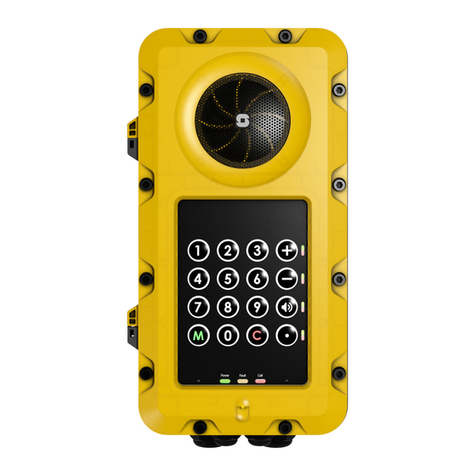
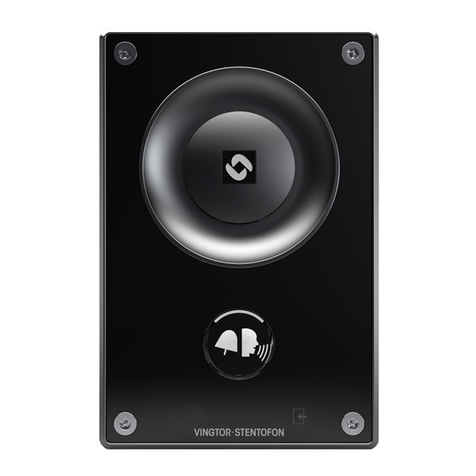
1008111010 TCIS-1 Turbine Compact IP - thermoplastic front plate
1008111020 TCIS-2 Turbine Compact IP - stainless steel front plate
1008111030 TCIS-3 Turbine Compact IP - thermoplastic front plate
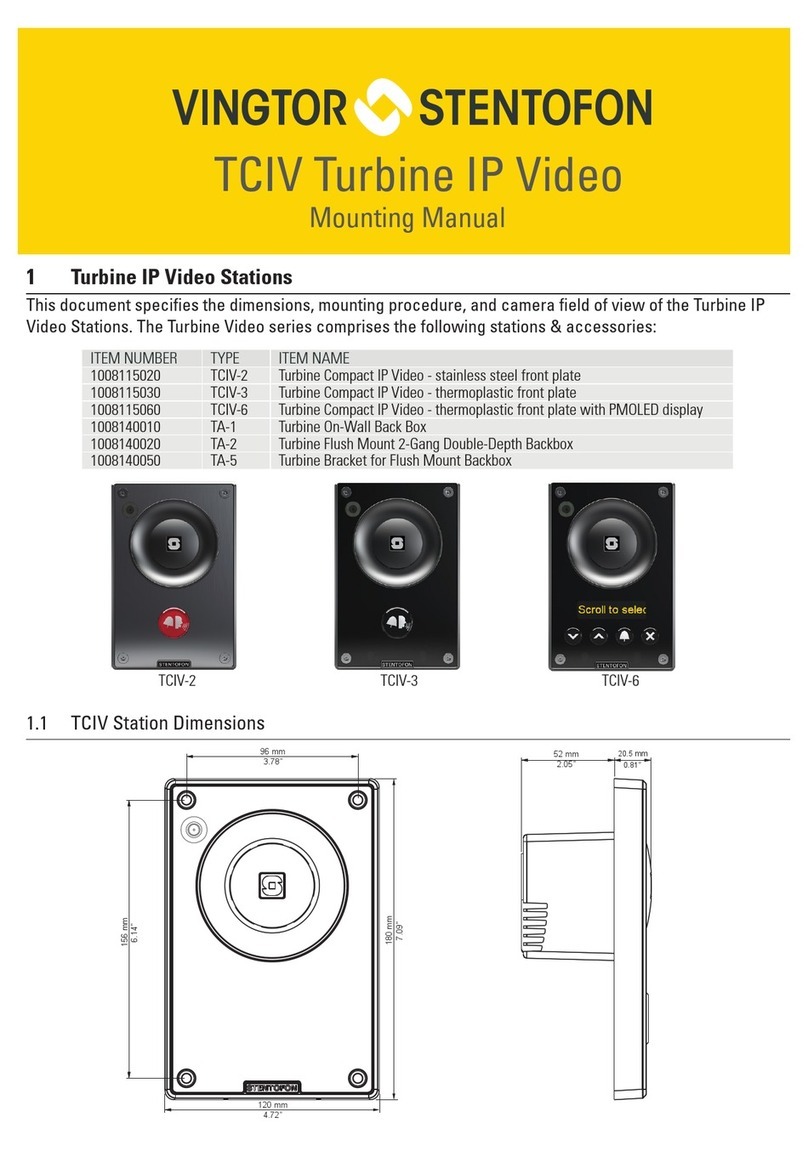
1008111040 TCIS-4 Turbine Compact IP - thermoplastic front plate with PMOLED display
1008111050/1008111901 TCIS-5/TCIS-C1 Turbine Compact IP - thermoplastic front plate with PMOLED display
1008111060 TCIS-6 Turbine Compact IP - thermoplastic front plate with PMOLED display
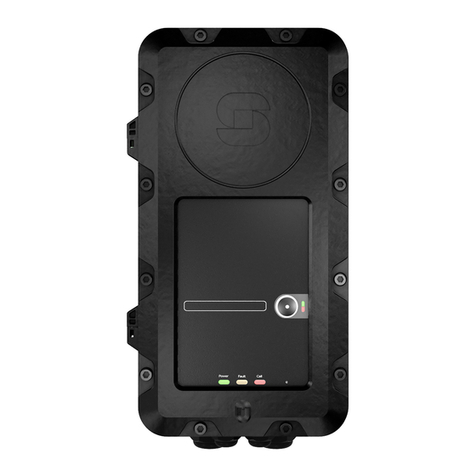
1008113020 TCIA-2 Turbine Compact Analog over IP Intercom
1008140010 TA-1 Turbine On-Wall Back Box
1008140020 TA-2 Turbine Flush Mount 2-Gang Double-Depth Back Box
1008140050 TA-5 Turbine Bracket for Flush Mount Back Box
1.1 TCIS Compact Station Dimensions
120 mm
96 mm
156 mm
180 mm
23.8 mm49 mm
TCIS-1 TCIS-2/TCIA-2 TCIS-3 TCIS-4 TCIS-5/TCIS-C1 TCIS-6
Turbine Compact IP Mounting Manual
2 On-Wall Surface Mounting
2.1 On-Wall Surface Mount Back Box - TA-1
2.2 On-Wall Surface Mounting Procedure
1. Mount the back box onto the wall using A4 socket head screws
2. Fit the gasket onto the back box with the ridged side facing down
–Plug the Ethernet cable into the RJ-45 port on the station
3. Mount the Turbine station onto the back box with the M5 fasteners provided applying
1.5 Nm torque
76 mm
150 mm
D6.5 mm
25 mm
120 mm
Mounting holes are to be drilled
as shown.
Max. recommended screw
diameter: ISO M6 or ANSI 1/4".
Screw length must be greater
than 25 mm or 1".
A4 stainless steel socket head
screws/bolts are recommended.
Max. recommended screw
head diameter: 9.5 mm or 3/8".
3”
5.90”
4.72”
1”
0.25”
D
Mounting Hole
Mounting Hole Mounting Hole
Mounting Hole
Included:
4x M5 Fasterners
2x Grommets
1x M20 Cable Gland
4x Washers for extra protection
against corrosive effects between
surfaces to be placed at bottom of
the 4 mounting holes.
cable holes
M20 M16
Surface
Mount
Back Box
Gasket
1
2
Microphone
Washers
Turbine
Station
3LThe Gasket MUST be mounted to
seal the station!
LEnsure the station is mounted verti-
cally with the microphone aperture
facing down.
LEnsure there is enough clearance
under the station so that the micro-
phone aperture is NOT smothered.
LPlace the washers at the bottom of
the 4 mounting holes on the back
box.
LUse the grommets and M20 cable
gland provided for the cable holes
on the back box.
LIP-66 rating is only valid when
TA-1 Back Box is used
3 Flush Mounting
3.1 Flush Mount 2-Gang Double-Depth Back Box - TA-2
LIt is recommended to utilize back boxes with weep holes at the bottom.
3.2 Flush Mount Bracket - TA-5
LThe TA-5 Bracket is mandatory for flush mounting.
96 mm / 3.78?
48 mm
25 mm
23 mm
89 mm / 3.50?
89 mm / 3.50?
96 mm / 3.78?
46 mm
SIDE
SIDE
22 mm
1.81? 0.98?
0.90?
0.87?
1.89?
83 mm
87 mm
46 mm
50 mm
4 mm
4 mm
74 mm
91 mm
Fits US 2-GANG electrical boxes
Recommended screw diameter: up to M4 (5/32")
Use #6-32 UNC pan head screws for the TA-2 back box
CUTOUT
0.16”
1.81”
0.16”
3.58”
1.97”
3.42”
3.27”
2.91”
Included:
4x M5 Fasteners
4x #6-32 UNC Pan Head Screws
DOC NO.
Zenitel and its subsidiaries assume no responsibility for any errors that may appear in this publication, or for damages arising from the information therein. Vingtor-Stentofon products are developed and
marketed by Zenitel. The company’s Quality Assurance System is certified to meet the requirements in NS-EN ISO 9001. Zenitel reserves the right to modify designs and alter specifications without notice.
ZENITEL PROPRIETARY. This document and its supplementing elements, contain Zenitel or third party information which is proprietary and confidential. Any disclosure, copying, distribution or use is
prohibited, if not otherwise explicitly agreed in writing with Zenitel. Any authorized reproduction, in part or in whole, must include this legend: Zenitel – All rights reserved.
3.3 Flush Mounting Procedure
1. Mount the 2-gang back box into the wall
2. Mount the bracket onto the back box with
#6-32 UNC pan head screws
3. Fit the gasket onto the bracket with the
ridged side facing down
–Plug the Ethernet cable into the RJ-45 port on
the station
4. Mount the Turbine station onto the
bracket with the M5 fasteners provided
4 Connections
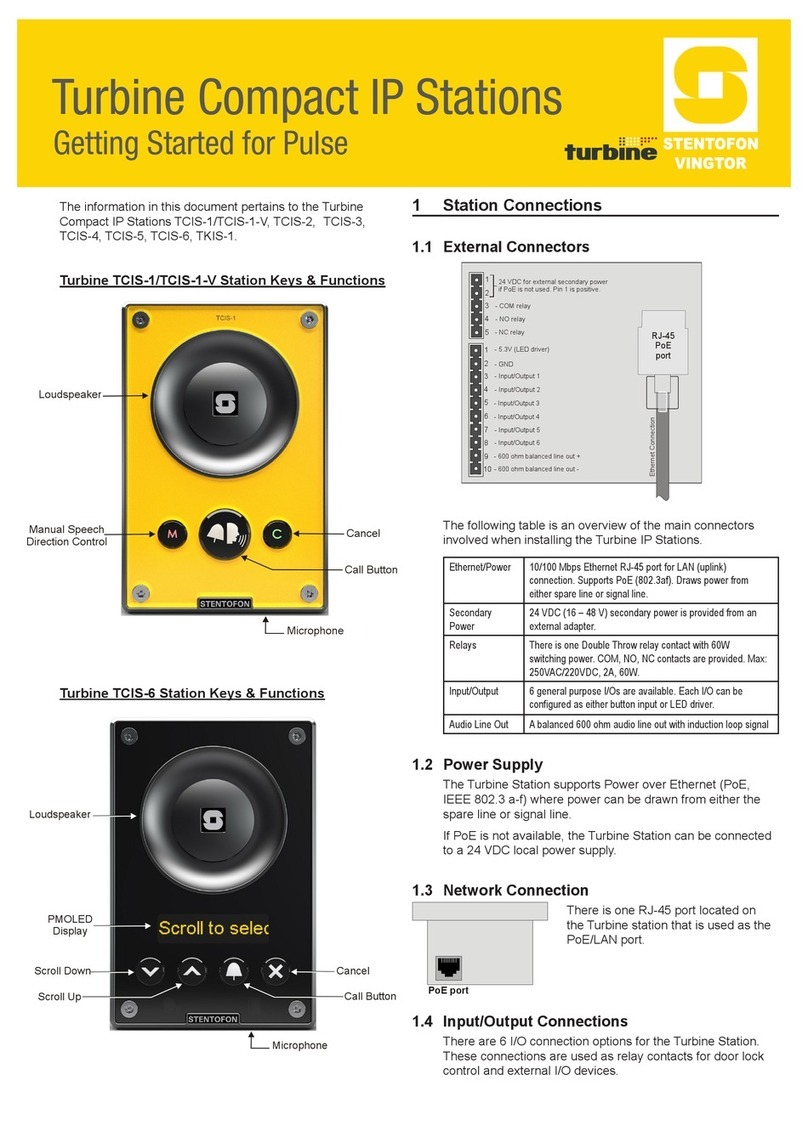
The Turbine Compact IP station has a RJ-45 PoE/LAN port, and 6-pin & 10-pin external connectors.
Ethernet /
Power
10/100 Mbps Ethernet RJ-45 port for LAN
(uplink) connection. Supports PoE (802.3af).
Draws power from either spare line or signal
line.
Secondary
Power
24 VDC (16 – 48 V) secondary power is provided
from an external adapter.
Relays There is one Double Throw relay contact with
60W switching power. COM, NO, NC contacts
are provided. Max: 250VAC/220VDC, 2A, 60W.
Input/Output 6 I/Os are available. Each I/O can be configured
as either input, output, or LED driver.
Audio Line Out A balanced 600 ohm audio line out with
induction loop signal
LUse cables crimped with ferrules for terminal block connectors
• When the Turbine Station is connected to the network, its IP address is
automatically obtained from a DHCP server or an IP address in the range
169.254.x.x will be assigned.
• To make the station speak its IP address, press the call button on the station.
2-Gang
Back Box
Gasket
1
3
Microphone
Bracket
2
Turbine
Station
4
1
5
4
3
2
1
6
10
5
4
3
2
9
8
7
RJ-45
PoE
port
24 VDC for external secondary power
if PoE is not used. Pin 1 is positive.
- 5.3V (LED driver)
- GND
- Input/Output 5
- COM relay
- NC relay
- NO relay
- Input/Output 1
- Input/Output 2
- Input/Output 3
- Input/Output 6
- 600 ohm balanced line out +
- 600 ohm balanced line out -
- Input/Output 4
Ethernet Connection
21.10.2020
A100K11254 customer[email protected]
LThe Gasket MUST be mounted to seal the station!
LThe TCIA-2 has different connections
LEnsure the station is mounted verti-
cally with the microphone aperture
facing down.
LEnsure there is enough clearance
under the station so that the micro-
phone aperture is NOT smothered.
LApply silicone sealant all around
the aluminum frame of the station,
making sure to leave the micro-
phone aperture open.
Other manuals for TCIS-1

2

This manual suits for next models

15

Other Vingtor Stentofon Intercom System manuals

Vingtor Stentofon TCIS Series User manual

Vingtor Stentofon

Vingtor Stentofon TCIS Series User manual

Vingtor Stentofon TCIV-2 Guide

Vingtor Stentofon

Vingtor Stentofon TCIV-2 Guide

Vingtor Stentofon TCIS-1 User manual

Vingtor Stentofon

Vingtor Stentofon TCIS-1 User manual

Vingtor Stentofon TCIS-1 User manual

Vingtor Stentofon

Vingtor Stentofon TCIS-1 User manual

Vingtor Stentofon TFIE-1 Guide

Vingtor Stentofon

Vingtor Stentofon TFIE-1 Guide

Vingtor Stentofon Turbine Compact Analog TCAS Series Guide

Vingtor Stentofon

Vingtor Stentofon Turbine Compact Analog TCAS Series Guide

Vingtor Stentofon Turbine TMIS-1 Installation instructions manual

Vingtor Stentofon

Vingtor Stentofon Turbine TMIS-1 Installation instructions manual

Vingtor Stentofon Exigo Ex EAPFX-1 User manual

Vingtor Stentofon

Vingtor Stentofon Exigo Ex EAPFX-1 User manual

Vingtor Stentofon Exigo Ex EAPFX-1 Guide

Vingtor Stentofon

Vingtor Stentofon Exigo Ex EAPFX-1 Guide

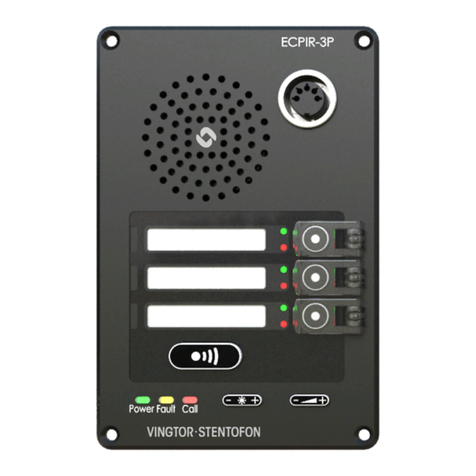
Vingtor Stentofon ECPIR-3P User manual

Vingtor Stentofon

Vingtor Stentofon ECPIR-3P User manual

Vingtor Stentofon TCIV-2SIP Guide

Vingtor Stentofon

Vingtor Stentofon TCIV-2SIP Guide

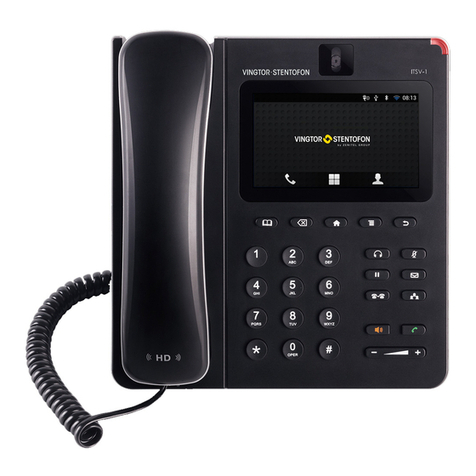
Vingtor Stentofon ITSV-1 User manual

Vingtor Stentofon

Vingtor Stentofon ITSV-1 User manual

Vingtor Stentofon Turbine Mini SIP Station Guide

Vingtor Stentofon

Vingtor Stentofon Turbine Mini SIP Station Guide

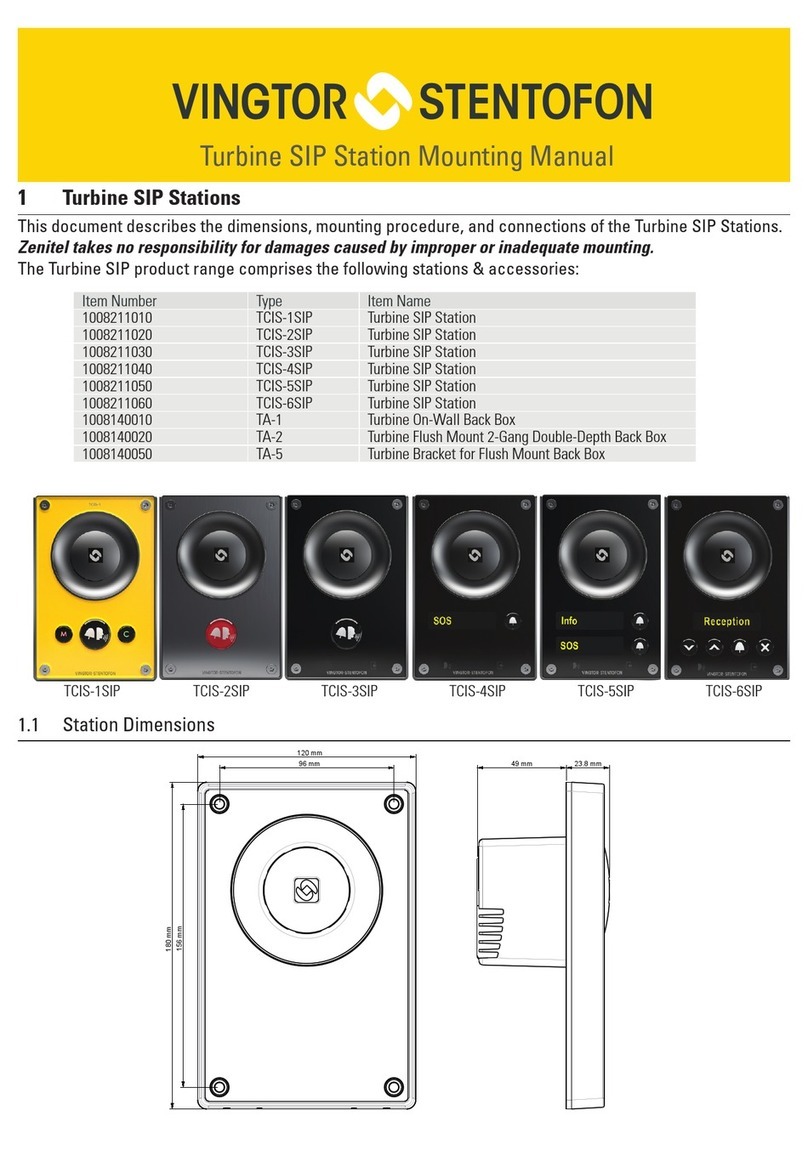
Vingtor Stentofon TCIS-1SIP Guide

Vingtor Stentofon

Vingtor Stentofon TCIS-1SIP Guide

Popular Intercom System manuals by other brands

Commax DRC-40YFD user manual

Commax

Commax DRC-40YFD user manual

Comelit Diva series Technical manual

Comelit

Comelit Diva series Technical manual

Bticino 315411 User and installation manual

Bticino

Bticino 315411 User and installation manual

Gainwise TH-601W Settings guide

Gainwise

Gainwise TH-601W Settings guide

Panasonic VL-MV30BX operating instructions

Panasonic

Panasonic VL-MV30BX operating instructions

Grandstream Networks GSC3505 user guide

Grandstream Networks

Grandstream Networks GSC3505 user guide

Ergosys 2000SC owner's manual

Ergosys

Ergosys 2000SC owner's manual

Vimar Elvox Due Fili Plus 7549/M Installer manual

Vimar

Vimar Elvox Due Fili Plus 7549/M Installer manual

Videx 4900 - 4900M installation instructions

Videx

Videx 4900 - 4900M installation instructions

CyberData 011309 quick start guide

CyberData

CyberData 011309 quick start guide

Greyfox Cat 5 user guide

Greyfox

Greyfox Cat 5 user guide

SSS Siedle Vario SET VVP 850-1-01 Product information

SSS Siedle

SSS Siedle Vario SET VVP 850-1-01 Product information

Vimar ELVOX TAB 4.3 Due Fili Plus Installation and operation manual

Vimar

Vimar ELVOX TAB 4.3 Due Fili Plus Installation and operation manual

Electra VPM.1FR02 user manual

Electra

Electra VPM.1FR02 user manual

Bpt HET/301-304 VR installation instructions

Bpt

Bpt HET/301-304 VR installation instructions

Viking X-35 Series product manual

Viking

Viking X-35 Series product manual

Viking Electronics K-1770-IP product manual

Viking Electronics

Viking Electronics K-1770-IP product manual

Access Security Products DE-596/KP user manual

Access Security Products

Access Security Products DE-596/KP user manual

manuals.online logo
manuals.online logoBrands
  • About & Mission
  • Contact us
  • Privacy Policy
  • Terms and Conditions

Copyright 2025 Manuals.Online. All Rights Reserved.