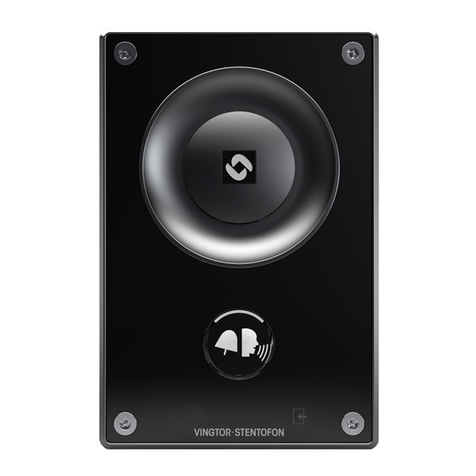
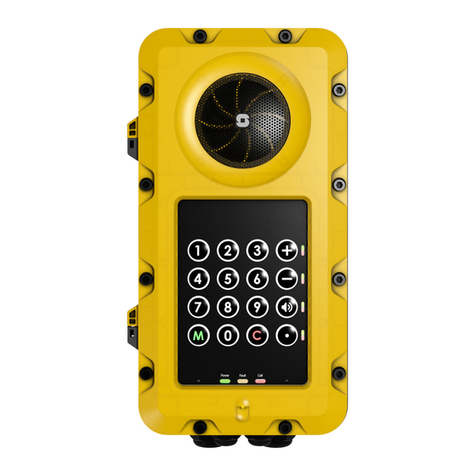
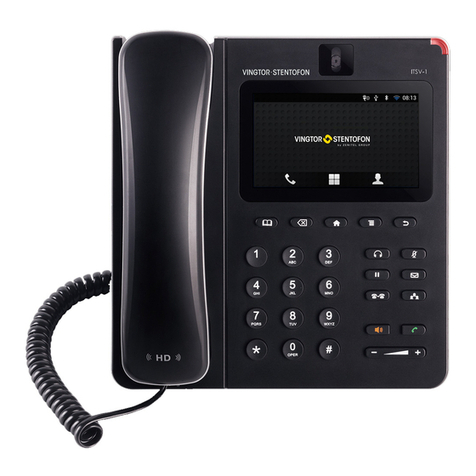
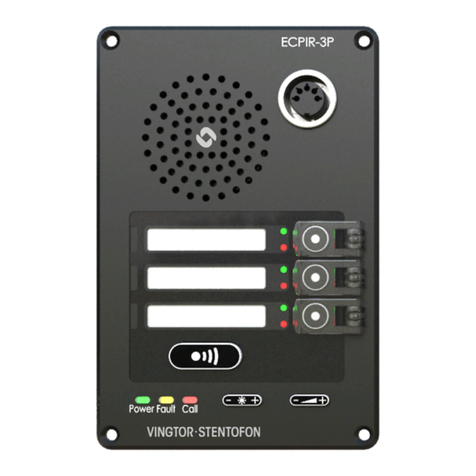
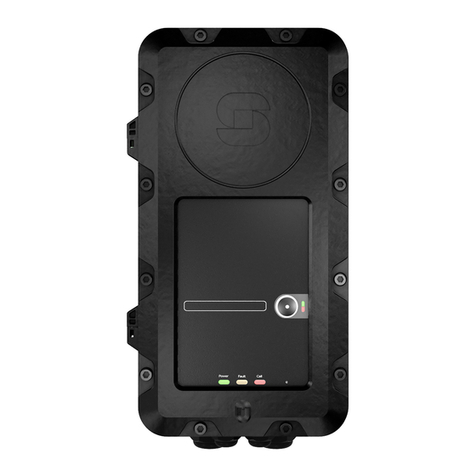
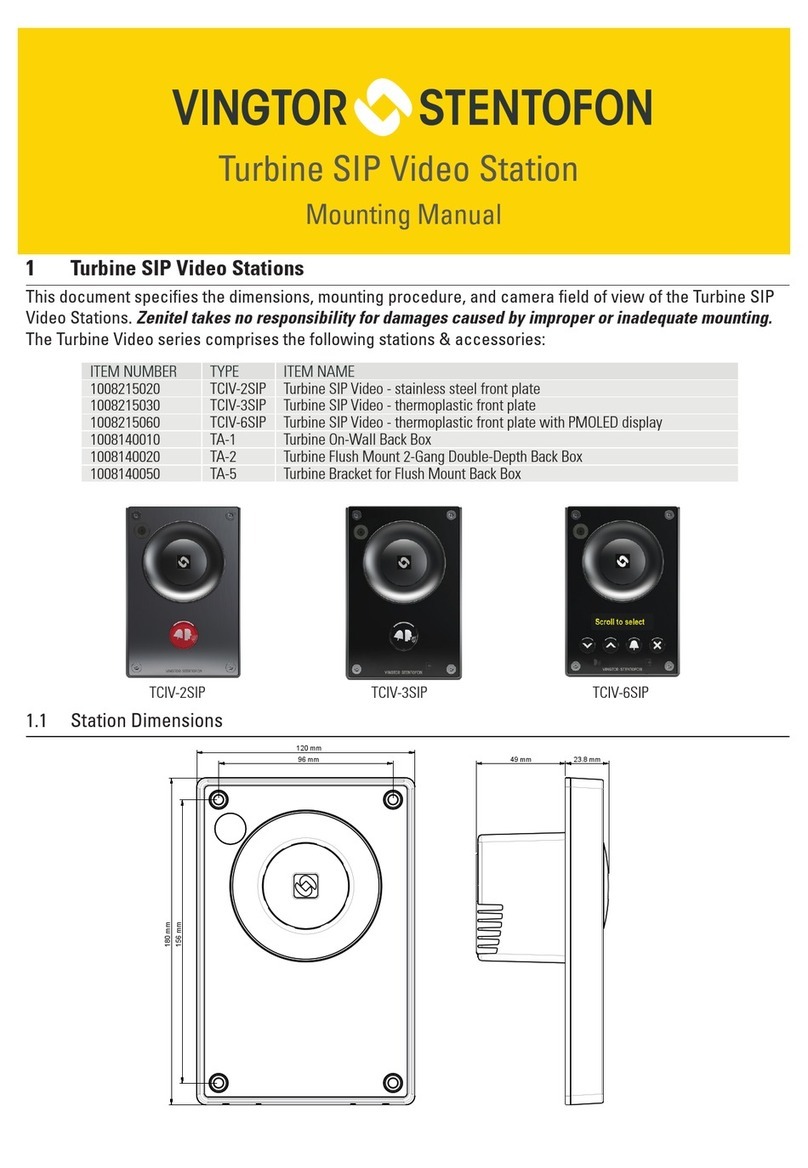
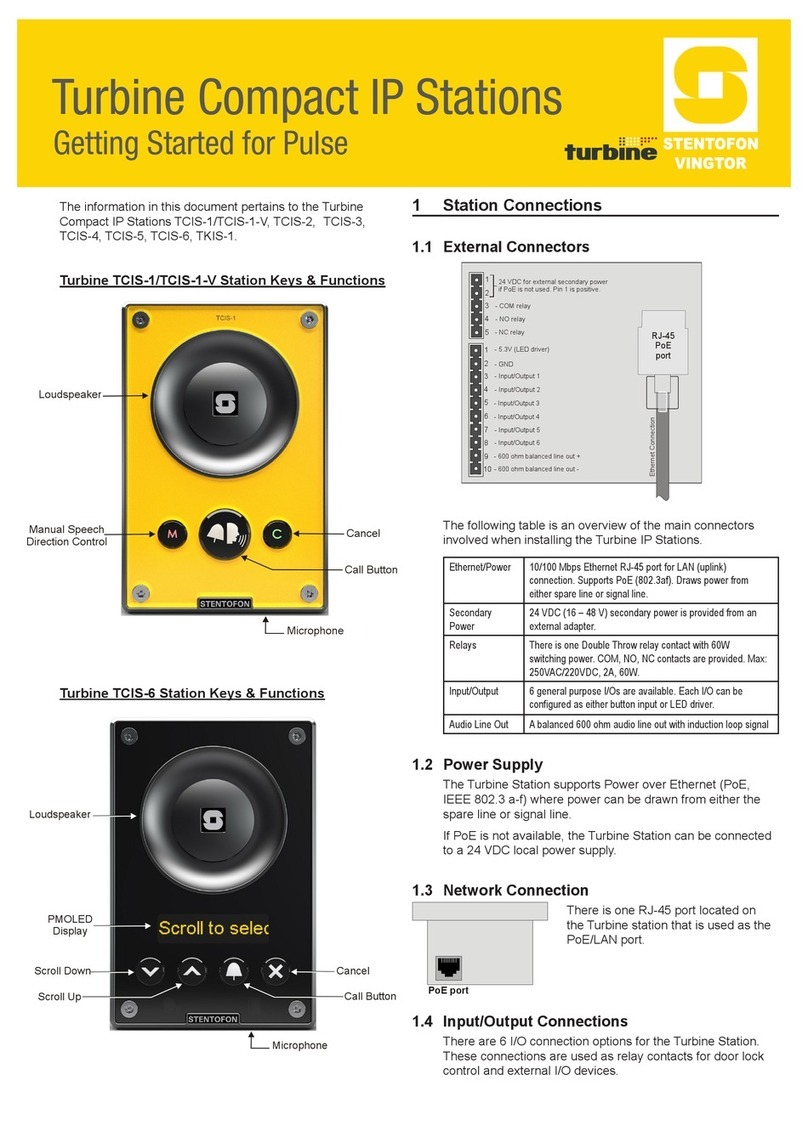
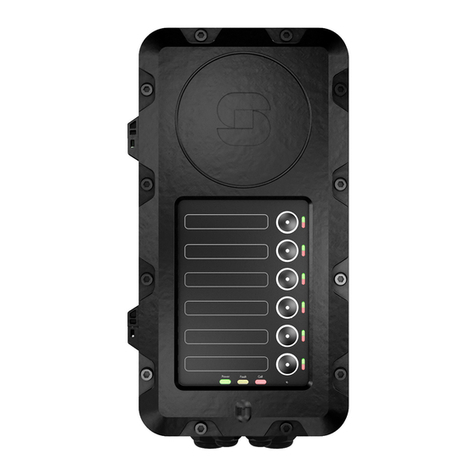
Vingtor Stentofon TCIS-1 User manual

TECHNICAL MANUAL A100K11194
Configuration Guide
Turbine Compact IP Stations

About this Document
Document Scope
This document describes the setup procedure and conguration of the various
models of the Turbine Compact IP station series.
Station Software Version: 3.0.3.3 or later
Product Item Number
Tubine Compact IP Station - TCIS-1 1008111010
Tubine Compact IP Station - TCIS-1-V 1028111010
Tubine Compact IP Station - TCIS-2 1008111020
Tubine Compact IP Station - TCIS-3 1008111030
Tubine Compact IP Station - TCIS-4 1008111040
Tubine Compact IP Station - TCIS-5 1008111050
Tubine Compact IP Station - TCIS-6 1008111060
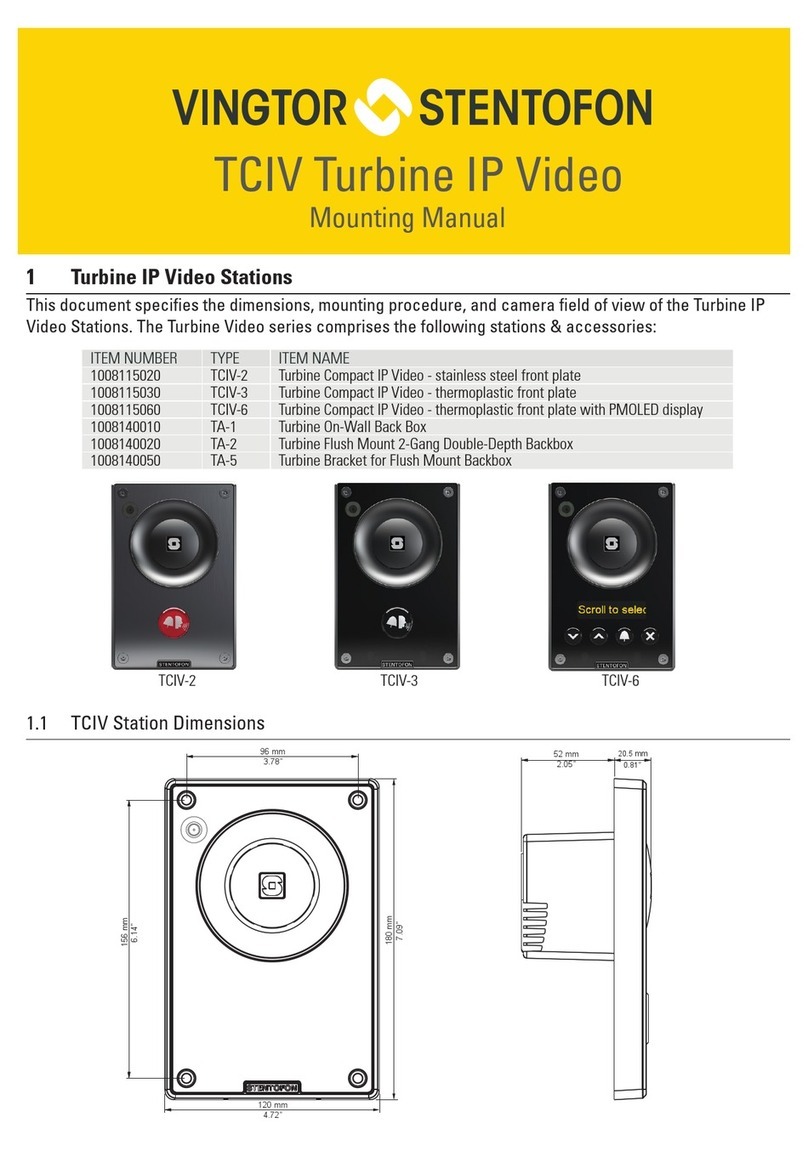
Turbine Kit - VoIP Intercom Module - TKIS-2 1008131020
Surface Mount Back Box - TA-1 1008140010
Flush Mount 2-Gang Double-Depth Back Box - TA-2 1008140020
Flush Mount Bracket - TA-5 1008140050
Publication Log
Rev. Date Author Status
1.0 21.9.2012 HKL Published
1.1 13.12.2012 HKL TKIS-2
1.2 16.1.2013 HKL I/Os, conversation mode
1.3 1.8.2013 HKL Electret mic setting
Related Documentation
For further information, refer to the following documentation:
Doc. number Documentation
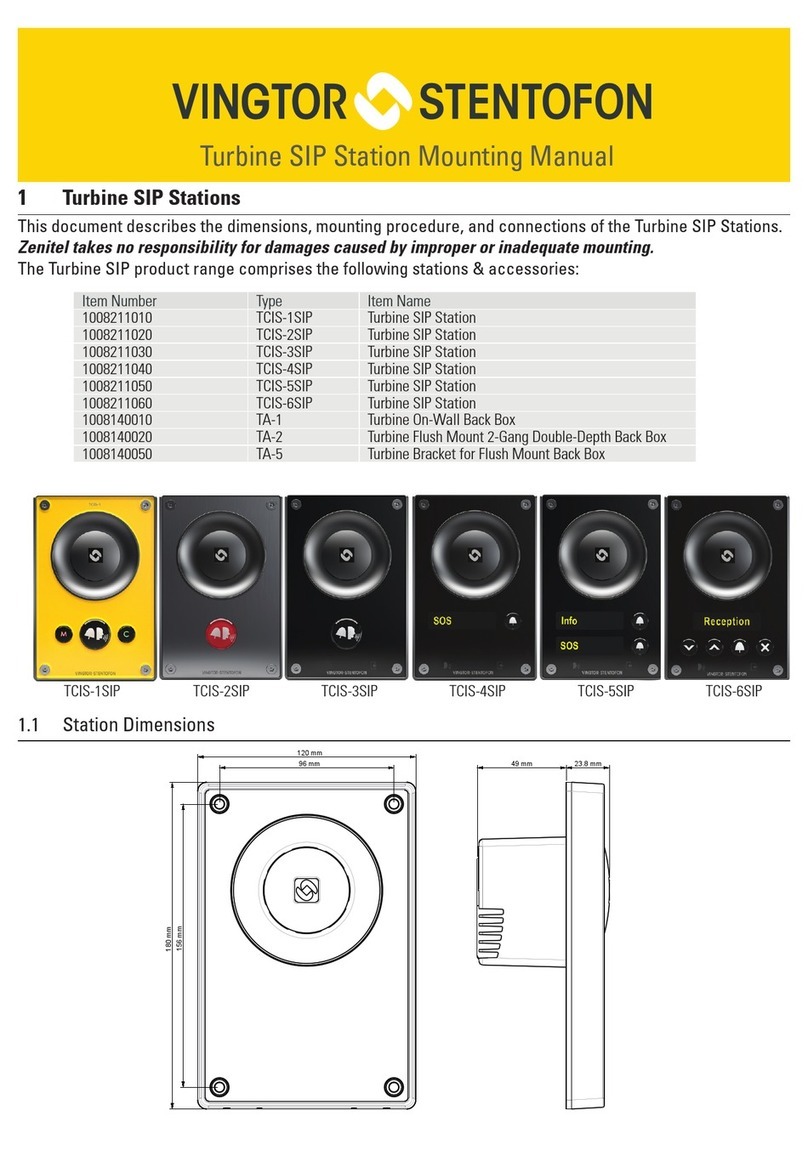
A100K11254 Turbine Compact IP Stations Mounting Guide
A100K11258 Turbine Compact Analog Stations Mounting Guide
A100K10805 AlphaCom XE Installation & Conguration

3
Turbine Station Conguration Guide
A100K11194
Contents
1 Turbine Compact IP Stations ........................................................................................................ 5
2 Station Connections...................................................................................................................... 7
2.1 External Connectors on IP Station .......................................................................................... 7
2.2 Power Supply .......................................................................................................................... 7
2.3 Network Connection ................................................................................................................ 7
2.4 Input/Output Connections ....................................................................................................... 7
3 Starting Up the Station.................................................................................................................. 8
4 AlphaComConguration .............................................................................................................. 9
4.1 Logging into the Station .......................................................................................................... 9
4.2 Station Main Settings ........................................................................................................... 10
4.3 Advanced AlphaCom Settings................................................................................................11
4.4 Audio Settings .......................................................................................................................11
4.5 I/O Settings ........................................................................................................................... 13
4.6 OLED Labels ......................................................................................................................... 13
4.7 Address Book ........................................................................................................................ 14
4.8 Sound Detection.................................................................................................................... 14
5 SIPConguration......................................................................................................................... 15
5.1 Logging into the Station ........................................................................................................ 15
5.2 Station Main Settings ........................................................................................................... 16
5.3 SIP Settings .......................................................................................................................... 17
5.4 Audio Settings ....................................................................................................................... 19
5.5 Direct Access Key Settings ................................................................................................... 21
5.6 Relay Settings ....................................................................................................................... 22
5.7 SNMP Settings ...................................................................................................................... 23
5.8 Automatic Conguration using TFTP .................................................................................. 26
6 PulseConguration..................................................................................................................... 27
6.1 Logging into the Station ........................................................................................................ 27
6.2 Station Main Settings ........................................................................................................... 28
6.3 Connect other Intercom Stations........................................................................................... 29
6.4 Congure Directory (Phonebook).......................................................................................... 29
6.5 Verify System Setup .............................................................................................................. 29
6.6 Congure Call and Audio Settings ........................................................................................ 30
6.7 Congure the Call Buttons on an IP Substation .................................................................... 30
6.8 Add SIP Accounts for 3rd-party IP Telephone and IP DECT .................................................. 31
6.8.1 Create SIP station account ......................................................................................... 31
6.8.2 Congure IP telephone ............................................................................................... 32
6.9 Add SIP Accounts for Telephone Gateways .......................................................................... 32
6.9.1 Install license ............................................................................................................... 32
6.9.2 Create SIP gateway account ....................................................................................... 32
6.9.3 Congure telephone gateway ..................................................................................... 32
6.10 Modify Pulse Station Proles ................................................................................................ 33
7 Common Advanced Network Settings....................................................................................... 34
8 Station Software Upgrade........................................................................................................... 35
8.1 Prerequisites ......................................................................................................................... 35
8.2 Upgrade Via Station Web Interface ....................................................................................... 35
8.3 Upgrade Via AlphaCom XE ................................................................................................... 36
9 Station Indication LEDs .............................................................................................................. 37
9.1 LEDs on Front Plate .............................................................................................................. 37
9.2 Status LEDs on PCB ............................................................................................................. 37
9.3 Ethernet Activity & Speed LEDs on PCB .............................................................................. 37
10 Restoring Factory Defaults......................................................................................................... 38
10.1 Reset to Factory Default Settings with Activated DHCP ....................................................... 38
10.2 Reset to Factory Default Settings with Static IP .................................................................... 38
11 Compact Station & Accessories Dimensions ........................................................................... 39
11.1 Compact Station Dimensions ................................................................................................ 39
11.2 On-Wall Surface Mount Back Box - TA-1 .............................................................................. 39
11.3 Flush Mount Bracket - TA-5 .................................................................................................. 40
11.4 Turbine Kit VoIP Intercom Module - TKIS-2 .......................................................................... 40
12 TurbineStationSpecications ................................................................................................... 41
4
A100K11194
Turbine Station Conguration Guide
A: CongurationFileParametersforSIPProvisioning ................................................................ 43
A.1 Remote Provisioning using TFTP ........................................................................................ 43
A.2 General Parameters ............................................................................................................. 43
A.3 SIP Parameters .................................................................................................................... 44
A.4 Call Parameters ................................................................................................................... 45
A.5 Relay Parameters ................................................................................................................ 48
A.6 SNMP Parameters ............................................................................................................... 49
A.7 Example Conguration File ................................................................................................... 52
B: Station Board Connections & Indicators................................................................................... 54
B.1 PCB - Front ........................................................................................................................... 54
B.2 Input Connectors ................................................................................................................... 55
B.3 Output Connectors + 1 relay ................................................................................................. 55
B.4 PCB - Rear ............................................................................................................................ 56
B.5 Front Board - Front ................................................................................................................ 57
B.6 Front Board - Rear ................................................................................................................ 57
Figures
Figure 1 Turbine TCIS-1 Station Keys & Functions ............................................................................ 6
Figure 2 Turbine TCIS-6 Station Keys & Functions ............................................................................ 6
Figure 3 External Connectors on IP Station ........................................................................................ 7
Figure 4 AlphaCom Intercom System ................................................................................................. 9
Figure 5 SIP System ......................................................................................................................... 15
Figure 6 Pulse System ...................................................................................................................... 27

5
Turbine Station Conguration Guide
A100K11194
1 Turbine Compact IP Stations
All IP stations in the Turbine series utilize the latest technology to produce
unparalleled audio quality. Some of the many features include: HD voice
quality, Open Duplex, Active Noise Cancellation, MEMS microphone, a
10W Class D amplier and our unique speaker grille design.
There are six station models in the Turbine Compact series:
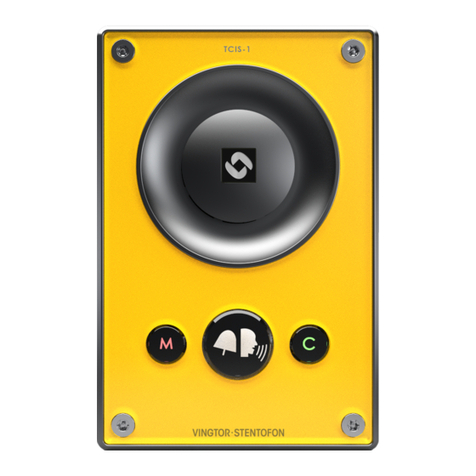
TCIS-1/TCIS-1-V
Thermoplastic frontplate with single call
button plus Push-To-Talk & Cancel
TCIS-2
Stainless steel frontplate with single call button
TCIS-3
Thermoplastic frontplate with single call
button
TCIS-4
Thermoplastic frontplate with single call button
and PMOLED display
TCIS-5
Thermoplastic frontplate with two call buttons
and PMOLED display
TCIS-6
Thermoplastic frontplate with call & scrolling
buttons and PMOLED display
TKIS-2
The encapsulated TKIS-2 Turbine Kit VoIP Intercom Module can
be used to build customized intercom or help point solutions.
VoIP and CCoIP can be added to parking solutions, cash points,
vending machines, et al.

6
A100K11194
Turbine Station Conguration Guide
Figure 1 Turbine TCIS-1 Station Keys & Functions
Figure 2 Turbine TCIS-6 Station Keys & Functions
Loudspeaker
Cancel
Microphone
Manual Speech
Direction Control
Call Button
Loudspeaker
Cancel
Microphone
Call Button
Scroll Up
Scroll Down
PMOLED
Display

7
Turbine Station Conguration Guide
A100K11194
2 Station Connections
2.1 External Connectors on IP Station
Figure 3 External Connectors on IP Station
The following table is an overview of the main connectors involved when
installing the Turbine IP Stations.
Ethernet / Power 10/100 Mbps Ethernet RJ-45 port for LAN (uplink) connection. Supports PoE
(802.3af). Draws power from either spare line or signal line.
Secondary Power 24 VDC (16 – 48 V) secondary power is provided from an external adapter.
Relays There is one Double Throw relay contact with 60W switching power. COM, NO,
NC contacts are provided. Max: 250VAC/220VDC, 2A, 60W.
Input/Output 6 general purpose I/Os are available. Each I/O can be congured as either
button input or LED driver.
Audio Line Out A balanced 600 ohm audio line out with induction loop signal
2.2 Power Supply
The Turbine Station supports Power over Ethernet (PoE, IEEE 802.3 a-f)
where power can be drawn from either the spare line or signal line.
If PoE is not available, the Turbine Station can be connected to a 24 VDC
local power supply.
2.3 Network Connection
There is one RJ-45 port located on the Turbine station that is used as the
PoE/LAN port.
PoE port
2.4 Input/Output Connections
There are 6 I/O connection options for the Turbine Station.
These connections are used as relay contacts for door lock control and
external I/O devices.
1
5
4
3
2
1
6
10
5
4
3
2
9
8
7
RJ-45
PoE
port
24 VDC for external secondary power
if PoE is not used. Pin 1 is positive.
- 5.3V (LED driver)
- GND
- Input/Output 5
- COM relay
- NC relay
- NO relay
- Input/Output 1
- Input/Output 2
- Input/Output 3
- Input/Output 6
- 600 ohm balanced line out +
- 600 ohm balanced line out -
- Input/Output 4
Ethernet Connection

8
A100K11194
Turbine Station Conguration Guide
3 Starting Up the Station
The Turbine Station features an embedded web interface, which allows
users to log in via a standard web browser.
To start up the station, your PC and the IP station have to be connected
together via a PoE switch using network cables:
1. Connect the PC to the PoE switch
2. Connect the PoE port on the IP station to the PoE switch
When the Turbine Station is connected to the network, the IP address of
the station is automatically obtained in one of two ways:
1. An IP address is obtained from a DHCP server if there is one.
2. If there is no DHCP server, an IP address in the range 169.254.x.x
will be assigned.
To make the station speak its IP address:
● Press the call button on the station
- when the station is not registered yet
At commissioning, the IP station needs to be congured to enable it to be
used as:
● station subscribed to an AlphaCom server
● SIP station
● Pulse station
PoE port
IP Network
AlphaCom XE Server/Exchange
Control Room
Master Station
AlphaCo m XE7
Turbine TCIS-1
Turbine TICS-5
iPBX (SIP domain)
SIP phone

9
Turbine Station Conguration Guide
A100K11194
4 AlphaComConguration
The Turbine Stations are connected to the AlphaCom XE server/
exchange which is the heart of the STENTOFON security and
communication system. The communication between the AlphaCom XE
exchange and the Turbine Stations utilize the STENTOFON CCoIP®
protocols. The AlphaCom XE server/exchange includes all main service
congurations for the IP stations and only a minimum conguration is
needed to be carried out on the actual station.
Figure 4 AlphaCom Intercom System
4.1 Logging into the Station
Access the station by logging into the web interface using a standard web
browser:
1. Open a web browser
2. In the browser’s address bar, type the station IP address and press
the ENTER key
- The station login page will be displayed.
To log into the station:
1. Click Login
2. Enter the default User name: admin
3. Enter the default password: alphaadmin
The Station Information page will now be displayed, showing the IP
station conguration and status.
IP Network
AlphaCom XE Server/Exchange
IP Desk Master
Control Room
Master Station
AlphaCo m XE7
Turbine TICS-6
Turbine TCIS-1
Turbine TICS-5

10
A100K11194
Turbine Station Conguration Guide
4.2 Station Main Settings
● Click Station Main > Main Settings to access the page for
conguring station mode and IP parameters.
Station Mode
●Select the Use Alphacom radio-button
Turbine Frontboard
Depending on the type of Turbine Compact station, select one of the
options from the drop-down box:
-Kit
-Normal (TCIS-1, TCIS-2, TCIS-3)
-OLED Labels (TCIS-4, TCIS-5)
-Scrolling Station (TCIS-6)
Registration Settings
● Enter the IP address of the AlphaCom server/exchange in which the
IP station is to be a subscriber in the AlphaCom IP-address eld.
● Enter the directory no. of the station in the Directory Number eld.
- If a directory number is not entered, the station will register with
its MAC address. The MAC address is found on the Station
Information page and needs to be entered into AlphaPro.
IP Settings
●DHCP – Select this option if the IP station shall receive IP Settings
from a DHCP server.
●Static IP – Select this option if the IP station shall use a static IP
address. Enter values for:
-IP-address
-Subnet-mask
-Gateway
-DNS Server 1 (option for network administration)
-DNS Server 2 (option for network administration)
-Hostname (option for network administration)
Read IP Address
● Check the Read IP Address box to enable an unregistered station to
speak the IP address when the call button is pressed.
Click Save followed by Apply to apply the new conguration settings.

11
Turbine Station Conguration Guide
A100K11194
4.3 Advanced AlphaCom Settings
●Select Advanced AlphaCom to access the page for conguring
parameters for audio, I/O settings, OLED labels, address book,
sound detection.
4.4 Audio Settings
To congure audio settings:
●Select Advanced Alphacom > Audio from the menu
● Select or set values for the parameters:
- Microphone Sensitivity
- Automatic Volume Control
- Debug Automatic Volume Control
- Conversation Mode
- Audio prole
- Line Out Source
Microphone Sensitivity
- Select the sensitivity level in the range 0 to 7 from the drop-down
box. The default setting is 5.
Automatic Volume Control
- Check the box to enable automatic volume control that is adjusted
according to the noise level
Debug Automatic Volume Control
- Check the box to show current volume level on OLED display
Conversation Mode
For this parameter, there are ve options:
-Full Open Duplex: Normal mode with echo cancellation
-Robust Duplex: Option used when open duplex fails due to
excessive speaker loudness, microphone overload or very high
nonlinear distortions.
-Half Duplex Switching: Switches speech direction depending on
who speaks the loudest
-Push-To-Talk: Half-duplex communication. Initially the microphone
is shut off. Push the M-button to open the microphone, and release
to listen. (Only applicable to TCIS-1 station)
-Open: Full Open Duplex without echo cancellation

12
A100K11194
Turbine Station Conguration Guide
Line Out Source
This parameter can play audio either from VoIP signal (Speaker) or direct
from Microphone.
AudioProle
For this parameter, there are 2 options: Normal or Advanced.
●Select Advanced to access additional and detailed menu options for
audio settings such as noise and echo cancellation:
Advanced Audio Settings
LThese parameters are optional.
The functions and default values for each parameter are described under
Advanced Audio Settings.

13
Turbine Station Conguration Guide
A100K11194
4.5 I/O Settings
●Select Advanced AlphaCom > I/O Settings from the menu
●Select either Input or Output options from the drop-down box for I/O
Pins 1 to 6.
4.6 OLED Labels
LNote that only Turbine stations congured with OLED Labels (TCIS-4, TCIS-5)
under Main Settings will have this menu option.
●Select Advanced AlphaCom > OLED Labels from the menu
OLED Display Text
● Enter display text in the relevant elds for OLED 1 and OLED 2.
OLED Font Size
● The font size can be either 12 or 16
OLED Brightness
● Brightness: Default, Bright, Extra Bright

14
A100K11194
Turbine Station Conguration Guide
4.7 Address Book
LNote that only the Turbine station congured as a Scrolling Station (TCIS-6)
under Main Settings will have this menu option.
●Select Advanced AlphaCom > Address Book from the menu
Default Display Text
● The idle text shown in the display may be changed. The default text
is: Scroll to Select
Font Size
● The font size can be either 12 or 16
OLED Brightness
● Brightness: Default, Bright, Extra Bright
Start Scrolling After
● Set the time in minutes after which scrolling should start
Upload Address Book
A CSV le consisting of directory numbers and display text with the semi-
colon character (;) as delimiter may be uploaded.
● Click Browse to upload a CSV le
4.8 Sound Detection
●Select Advanced Alphacom > Sound Detection from the menu
Sound Detection Settings
Here you can set the minimum amplitude and duration of the audio, the
DAK to activate, etc.

15
Turbine Station Conguration Guide
A100K11194
5 SIPConguration
SIP (Session Initiation Protocol) is the de facto standard for IP telephony.
The STENTOFON SIP intercom stations are specially built for easy
integration with any iPBX system.
The STENTOFON SIP Stations are custom-made IP intercom stations
that can integrate with any iPBX system.
IP Network
SIP phone
iPBX (SIP domain)
SIP phone
Turbine TCIS-1
Turbine TICS-5
Turbine TICS-6
Figure 5 SIP System
5.1 Logging into the Station
Access the station by logging into the web interface using a standard web
browser:
1. Open a web browser
2. In the browser’s address bar, type the station IP address and press
the ENTER key
- The station login page will be displayed.
To log into the station:
1. Click Login
2. Enter the default User name: admin
3. Enter the default password: alphaadmin
The Station Information page will now be displayed, showing the station
settings and status.

16
A100K11194
Turbine Station Conguration Guide
5.2 Station Main Settings
● Click Station Main > Main Settings to access the page for
conguring station mode and IP parameters.
Station Mode
●Select the Use SIP radio-button
Turbine Frontboard
Depending on the type of Turbine Compact station, select one of the
options from the drop-down box:
-Kit
-Normal (TCIS-1, TCIS-2, TCIS-3)
-OLED Labels (TCIS-4, TCIS-5)
-Scrolling Station (TCIS-6)
IP Settings
●DHCP – Select this option if the IP station shall receive IP Settings
from a DHCP server.
●Static IP – Select this option if the IP station shall use a static IP
address. Enter values for:
-IP-address
-Subnet-mask
-Gateway
-DNS Server 1 (option for network administration)
-DNS Server 2 (option for network administration)
-Hostname (option for network administration)
Read IP Address
● Check the Read IP Address box to enable an unregistered station to
speak the IP address when the call button is pressed.
● Click Save followed by Apply to apply the new conguration
settings.

17
Turbine Station Conguration Guide
A100K11194
5.3 SIP Settings
●Select SIPConguration > SIP Settings to access the page for
conguring SIP parameters.
Account Settings
Display Name
- Enter a name that will be shown on the display at the remote party.
Directory Number (SIP ID)
- This is the identication of the station in the SIP domain, i.e. the
phone number for the station. This parameter is mandatory. Enter
the SIP ID in integers according to the SIP account on the SIP
domain server.
Server Domain (SIP)
- This parameter is mandatory and species the primary domain for
the station and is the IP address for the SIP server (e.g. Asterisk or
Cisco Call Manager). Enter the IP address in regular dot notation,
e.g. 10.5.2.138.
Backup Domain (SIP)
- This is the secondary (or fallback) domain. If the station loses
connection to the primary SIP domain, it will switch over to the
secondary one. Enter the IP address in regular dot notation.
Backup Domain 2 (SIP)
- This is the tertiary backup domain.
Authentication User Name
- This is the authentication user name used to register the station
to the SIP server. This is required only if the SIP server requires
authentication and is normally the same as the SIP ID.

18
A100K11194
Turbine Station Conguration Guide
Authentication Password
- The authentication user password used to register the station
to the SIP server. This is required only if the SIP server requires
authentication
Register interval
- This parameter species how often the station will register, and
reregister in the SIP domain. This parameter will affect the time it
takes to detect that a connection to a SIP domain is lost.
- Enter the values in number of seconds from 60 to 999999. The
default interval is 600 seconds.
Outbound Proxy [optional]
- Enter the IP address of the outbound proxy server in regular dot
notation, e.g. 10.5.2.100
Port
- Enter the port number used for SIP on the outbound proxy server.
The default port number is 5060.
Call Settings
Enable Auto Answer
- This is not required. Enables automatic answer after a set number
of seconds.
- Check the box to enable this function and enter the delay in
seconds in the eld for Auto Answer Delay. The default delay
setting is 0 and the maximum is 30 seconds.
Delay Call Setup
- This only applies to input buttons and DAKs. The default delay
setting is 0 and the maximum is 60 seconds.
Overlap dialing
- This will lead to the phone starting to dial each time a digit is
entered and the SIP proxy replying with ‘Number incomplete’ until
such time as the number has been entered and the call can be
initiated successfully without the enter key having to be pressed.
DTMF method
- Choose between SIP INFO or RFC 2833 to select DTMF signalling
method.
RTP Timeout value
- This cancels a call if the station does not receive RTP packets from
the remote party. Enter values in the range 0-9999 seconds. The
default setting is 0 which means RTP timeout is disabled.
After entering all the desired values, click Save and then click Reboot to
enable the SIP settings.

19
Turbine Station Conguration Guide
A100K11194
5.4 Audio Settings
Select SIPConguration > Audio Settings
Speaker Volume
- Select the volume level in the range 0 to 7 from the drop-down
menu.
- Default setting is 5
Noise Reduction Level
- The higher the noise reduction level the more deterioration there is
in audio quality.
- Default setting is 0 (i.e. the function is disabled)
Microphone Sensitivity
- Select the sensitivity level in the range 0 to 7 from the drop-down
menu.
- Default setting is 5
Remote Controlled Volume Override Mode
- This acts as simplex mode. This feature is activated after the rst
DTMF * or # is received from the remote station. Send DTMF * to
talk and # to listen.
- Check the box to enable this function.
- Default setting is an unchecked box (i.e. the function is disabled)
Message Controlled Volume Override Mode
Check the box to enable the following messages:
- SIP MESSAGE “Audio_receive_only”: Turns the microphone off
and loudspeaker on
- SIP MESSAGE “Audio_send_only”: Turns microphone on and
loudspeaker off
- SIP MESSAGE “Audio_send_receive”: Turns both microphone and
loudspeaker on
- Default setting is an unchecked box (i.e. the function is disabled)
Automatic Volume Control
- Check the box to enable automatic volume control that is adjusted
according to the noise level
- Default setting is an unchecked box (i.e. the function is disabled)
Debug Automatic Volume Control
- Check the box to show current volume level on OLED display
- Default setting is an unchecked box (i.e. the function is disabled)

20
A100K11194
Turbine Station Conguration Guide
Conversation Mode
-Full Open Duplex: Normal mode with echo cancellation
-Robust Duplex: Option used when open duplex fails due to
excessive speaker loudness, microphone overload or very high
nonlinear distortions.
-Half Duplex Switching: Switches speech direction depending on
who speaks the loudest
-Push-To-Talk: Half-duplex communication. Initially the microphone
is shut off. Push the M-button to open the microphone, and release
to listen. (Only applicable to TCIS-1 station)
-Open: Full Open Duplex without echo cancellation
AudioProle
For this parameter, there are 2 options:
- Normal
- Advanced
●Select Advanced to access additional and detailed menu options for
audio settings such as noise and echo cancellation:
Advanced Audio Settings
LThese parameters are optional.
The functions and default values for each parameter are described under
Advanced Audio Settings.
● After entering all the desired values, click Save to enable the audio
settings.
Other manuals for TCIS-1
2
This manual suits for next models
13
Table of contents
Other Vingtor Stentofon Intercom System manuals

Vingtor Stentofon
Vingtor Stentofon TCIS-1 User manual

Vingtor Stentofon
Vingtor Stentofon TCIV-2SIP Guide

Vingtor Stentofon
Vingtor Stentofon Exigo Ex EAPFX-1 Guide

Vingtor Stentofon
Vingtor Stentofon TCIS-1 Guide

Vingtor Stentofon
Vingtor Stentofon Turbine Mini SIP Station Guide

Vingtor Stentofon
Vingtor Stentofon TCIS Series User manual

Vingtor Stentofon
Vingtor Stentofon TFIE-1 Guide

Vingtor Stentofon
Vingtor Stentofon ITSV-1 User manual

Vingtor Stentofon
Vingtor Stentofon ECPIR-3P User manual

Vingtor Stentofon
Vingtor Stentofon TCIS-1SIP Guide