manuals.online logo
Brands
  1. Home
  2. •
  3. Brands
  4. •
  5. VIRTUFIT
  6. •
  7. Treadmill
  8. •
  9. VIRTUFIT Easy Fit User manual

VIRTUFIT Easy Fit User manual

User manual
EN
9
Step
Step
Step
Step 1
1
1
1:
:
:
:. Take the machine from the packageˈput on the flat floor. Use your one hand to
hold on the handle bar, lift up the upright post slowly (as below) . And put screw M8X40 in
the left and right side. Put screw M8X15 to the rear side. Tight the screw well.
Step
Step
Step
Step 2:
2:
2:
2: Lift up the computer to utmost as below. Use the M8*15 to fix the computer on the
upright post .
Step
Step
Step
Step 3:
3:
3:
3: Tighten all the screw well.
ASSEMBLY
ASSEMBLY
ASSEMBLY
ASSEMBLY INSTRUCTIONS
INSTRUCTIONS
INSTRUCTIONS
INSTRUCTIONS
Easy Fit Treadmill
EN VirtuFit Easy Fit Treadmill
2
SAFETY INSTRUCTIONSSAFETY INSTRUCTIONS
CHECKLISTCHECKLIST
ASSEMBLY INSTRUCTIONSASSEMBLY INSTRUCTIONS
FOLDING INSTRUCTIONSFOLDING INSTRUCTIONS
LEVELING ADJUSTMENTLEVELING ADJUSTMENT
TRAIN ON HEARTRATETRAIN ON HEARTRATE
MAINTENANCEMAINTENANCE
TROUBLE SHOOTINGTROUBLE SHOOTING
CONTROL PANELCONTROL PANEL
EXPLODED DRAWINGEXPLODED DRAWING
PARTS LISTPARTS LIST
TRAINING INSTRUCTIONSTRAINING INSTRUCTIONS
3 - 4
5 - 6
7 - 10
11 - 12
13
14
15 - 16
17 - 18
19 - 23
24
25 - 26
27
INDEX
EN
VirtuFit Easy Fit Treadmill 3
– It is important to read this entire manual before assembling and using the device. Safe and
effective use can only be achieved if the device is assembled, maintained and used properly.
It is your responsibility to ensure that all users of the device are informed of all warnings and
precautions.
– Before starting any exercise program, you should consult your doctor to determine if you have
any medical or physical conditions that could put your health and safety at risk, or prevent you
from using the device properly. Your doctor’s advice is essential if you are taking medication
that affects your heart rate, blood pressure or cholesterol level.
– Be aware of your body’s signals. Incorrect or excessive exercise can damage your health. Stop
exercising if you experience any of the following symptoms: pain, tightness in your chest, irregular
heartbeat, extreme shortness of breath, lightheadedness, dizziness or feelings of nausea. If you do
experience any of these conditions you should consult your doctor before continuing with your
exercise program.
– Keep children and pets away from the device. The device is designed for adult use only.
– Use the device on a solid, flat level surface with a protective cover for your floor or carpet. To
ensure safety, the device should have at least 0.5 metres of free space all around it.
– Before using the device, check that the nuts and bolts are securely tightened.
– The safety of the device can only be maintained if it is regularly examined for damage and/or
wear and tear.
ATTENTION
WARNING:
Before beginning any exercise program consult your physician. This is especially
important for people who are over 35 years old or who have pre-existing health
problems. Read all instructions before using any fitness equipment. Do not operate this
device without properly fitted guards, as the moving parts can present a risk of serious
injury if exposed.
SAFETY INSTRUCTIONS
EN VirtuFit Easy Fit Treadmill
4
– Always use the device as indicated. If you find any defective components while assembling or
checking the device, or if you hear any unusual noises coming from the device during use,
stop immediately. Do not use the device until the problem has been rectified.
– Wear suitable clothing while using the device. Avoid wearing loose clothing that may get caught
in the device or that may restrict or prevent movement.
– The max user weight is 100 KGS. Braking ability is independent of speed.
– The device is not suitable for therapeutic use.
– Care must be taken when lifting or moving the device so as not to injure your back. Always use
proper lifting techniques and/or seek assistance if necessary.
– Please keep the space at least 1 to 2 meter at the end of base frame to escape any accidents!
– Place the device on a clean and flat surface. Do not place the device on a thick carpet.
– The device is for indoor use and not for outdoor use to prevent damage. Keep the storage location
dry, clean and flat. It is forbidden to use the device for purposes other than training.
– Only use the machine in an environment with an ambient temperature between 10 °C and 35 °C.
Only store the device at an ambient temperature between 5 °C and 45 °C.
Warranty claim is excluded if the cause of the defect is the result of:
– Maintenance assembly and repair work not carried out by an official dealer.
– In the event of improper use, neglect and / or poor maintenance.
– Failure to maintain the device in accordance with the manufacturer’s instructions (see the enclosed
manual).
SAFETY INSTRUCTIONS
EN
VirtuFit Easy Fit Treadmill 5
TOOLKIT
6
Unpacking
Unpacking
Unpacking
Unpacking &
&
&
& Assembly
Assembly
Assembly
Assembly
WARNING!:
WARNING!:
WARNING!:
WARNING!: Use extreme caution when assembling this treadmill. Failure to do so could
result in injury.
NOTE:
NOTE:
NOTE:
NOTE: Each step number in the assembly instructions tells you what you will be doing.
Read and understand all instructions thoroughly before assembling the treadmill.
UNPACK
UNPACK
UNPACK
UNPACK AND
AND
AND
AND VERIFY
VERIFY
VERIFY
VERIFY THE
THE
THE
THE CONTENTS
CONTENTS
CONTENTS
CONTENTS OF
OF
OF
OF THE
THE
THE
THE BOX:
BOX:
BOX:
BOX:
●Lift up and remove the box that surrounds the Treadmill.
●Check the following items are present. If any of the parts are missing, contact with the
dealer.
Main
Main
Main
Main Part
Part
Part
Part
Motorcover Console Motor
Main body
manual
Silicon bottle Manual
Hardware pack Safety key
7
Running belt Running deck Side rail Rear cover (left) & (right)
Motor belt Front roller Rear roller
Treadmill
Treadmill
Treadmill
Treadmill instruction
instruction
instruction
instruction
Cosole
Handle pulse
Handle bar
Upright post
Motor cover
Running belt
Side rail
R rear cover
L rear cover
Main frame
Base frame
Two adjustments
CHECKLIST
When you open the carton, and you will find the below parts in the carton.
EN VirtuFit Easy Fit Treadmill
6
ASSEMBLY INSTRUCTIONS
8
TECHNOLOGY
TECHNOLOGY
TECHNOLOGY
TECHNOLOGY
DATA
DATA
DATA
DATA
Voltage AC-220V 50Hz
Max weight100Kg
Dimension
Running belt 1200*420mm
Horsepower 750W
Speed 1.0ˉ13Km/h
Hardware
Hardware
Hardware
Hardware pack
pack
pack
pack
Allen socket head full thread screw
˄M8*15˅4pcs
TAllen wrench 1pcs
Allen C.K.S.half thread
screw˄M8*40*20˅2pcs
L Allen wrench 1pcs
1595*730*1260mm
EN
VirtuFit Easy Fit Treadmill 7
ASSEMBLY INSTRUCTIONS
9
Step
Step
Step
Step 1
1
1
1:
:
:
:. Take the machine from the packageˈput on the flat floor. Use your one hand to
hold on the handle bar, lift up the upright post slowly (as below) . And put screw M8X40 in
the left and right side. Put screw M8X15 to the rear side. Tight the screw well.
Step
Step
Step
Step 2:
2:
2:
2: Lift up the computer to utmost as below. Use the M8*15 to fix the computer on the
upright post .
Step
Step
Step
Step 3:
3:
3:
3: Tighten all the screw well.
ASSEMBLY
ASSEMBLY
ASSEMBLY
ASSEMBLY INSTRUCTIONS
INSTRUCTIONS
INSTRUCTIONS
INSTRUCTIONS
Missing parts: If you think you are missing certain parts in your package, carefully check the styrofoa and
the device. Some parts (bolts, screws, etc.) are already attached to/in the device.
Error message: Ensure that all cables are carefully attached. The aluminum legs are very sensitive and
must remain straight. Do you receive an error message after mounting your device? Then you have to
straighten these aluminum legs again, this may cause the error message to disappear.
Socket screws: The device contains socket screws, make sure that the allen key is firmly in the
bolt before you apply force to the key. In this way you prevent the head of the socket head screw from
being rotated.
STEP 1
• Take the machine from the package,put on the flat floor. Use your one hand to hold on the handle
bar, lift up the upright post slowly (as below) . And put screw M8X40 in the left and right side. Put
screw M8x15 to the rear side. Tight the screw well.
EN VirtuFit Easy Fit Treadmill
8
STEP 2
ASSEMBLY INSTRUCTIONS
• Lift up the computer to utmost as below. Use the M8*15 to fix the computer on the upright post .
9
Step
Step
Step
Step 1
1
1
1:
:
:
:. Take the machine from the packageˈput on the flat floor. Use your one hand to
hold on the handle bar, lift up the upright post slowly (as below) . And put screw M8X40 in
the left and right side. Put screw M8X15 to the rear side. Tight the screw well.
Step
Step
Step
Step 2:
2:
2:
2: Lift up the computer to utmost as below. Use the M8*15 to fix the computer on the
upright post .
Step
Step
Step
Step 3:
3:
3:
3: Tighten all the screw well.
ASSEMBLY
ASSEMBLY
ASSEMBLY
ASSEMBLY INSTRUCTIONS
INSTRUCTIONS
INSTRUCTIONS
INSTRUCTIONS
EN
VirtuFit Easy Fit Treadmill 9
STEP 3
ASSEMBLY INSTRUCTIONS
• Tighten all the screw well.
9
Step
Step
Step
Step 1
1
1
1:
:
:
:. Take the machine from the packageˈput on the flat floor. Use your one hand to
hold on the handle bar, lift up the upright post slowly (as below) . And put screw M8X40 in
the left and right side. Put screw M8X15 to the rear side. Tight the screw well.
Step
Step
Step
Step 2:
2:
2:
2: Lift up the computer to utmost as below. Use the M8*15 to fix the computer on the
upright post .
Step
Step
Step
Step 3:
3:
3:
3: Tighten all the screw well.
ASSEMBLY
ASSEMBLY
ASSEMBLY
ASSEMBLY INSTRUCTIONS
INSTRUCTIONS
INSTRUCTIONS
INSTRUCTIONS
EN VirtuFit Easy Fit Treadmill
10
ADAPTER
ASSEMBLY INSTRUCTIONS
• The adapter connection is located on the front / back of the device (see image). Confirm the adapter
to the adapter connection and connect to mains power. You can now use the treadmill.
• Do not use the machine until it has been fully assembled and inspected for proper operation in
accordance with the user manual.
• Inspect your machine to make sure everything is tight and the components are correct are mounted.
ATTENTION
•When you start using the treadmill, always go on the rails. Once the belt rolls, you can stand on
the walking platform. This way the motor is loaded the least.
•After using the treadmill, turn off the on / off switch. Use the emergency stop in addition not
unnecessary, only in an emergency. In this way the printed circuit board is loaded the least.
SAFETY KEY
• Install the safety key in the console. When you start walking, attach the safety key to your clothing.
Pull at one emergency on the key safety lanyard and the treadmill will stop immediately.
EN
VirtuFit Easy Fit Treadmill 11
NOTE: Store your machine in a dry area away from children and high trac areas. Be sure it is secure
and cannot fall onto small animals or children.
FOLDING
UNFOLDING
1. Restore the incline to flat (0) position.
2. Unplug from power point before folding.
3. Lift deck until it’s parallel to the upright post and cylinder locks into position.
NOTE: Check to ensure cylinder locking device has engaged.
1. Place one hand on handle bar, use the other to push top of the running deck forward.
2. Press one foot on the middle section of the cylinder to dis-engage the locking mechanism.
3. Allow deck to begin slowly dropping before releasing hands.
FOLDING INSTRUCTIONS
EN VirtuFit Easy Fit Treadmill
12
12
FOLDING
FOLDING
FOLDING
FOLDING THE
THE
THE
THE TREADMILL
TREADMILL
TREADMILL
TREADMILL
1. Restore the incline to flat (0) position .
2. Unplug from power point before folding
3. Lift deck until it's parallel to the upright post and cylinder locks into position
4. Caution: check to ensure cylinder locking device has engaged
UNFOLDING
UNFOLDING
UNFOLDING
UNFOLDING THE
THE
THE
THE TREADMILL
TREADMILL
TREADMILL
TREADMILL
1. Place one hand on handle bar, use the other to push top of the running deck forward
2. Press one foot on the middle section of the cylinder to dis-engage the locking
mechanism
3. Allow deck to begin slowly dropping before releasing hands
MOVING
MOVING
MOVING
MOVING THE
THE
THE
THE TREADMILL
TREADMILL
TREADMILL
TREADMILL
The treadmill can be moved around in house safely in its fold-up position by using the
transport wheels
Firmly hold onto handle bars with both hands, pull the treadmill towards you, then portable
on wheels, drag or push slowly
Transportation wheel
FLEXIBLE TUBE
MOVING THE TREADMILL
The treadmill can be moved around in house safely in its fold-up position by using the transport wheels.
Firmly hold onto handle bars with both hands, pull the treadmill towards you, then portable on wheels,
drag or push slowly.
FOLDING INSTRUCTIONS
EN
VirtuFit Easy Fit Treadmill 13
LEVELING THE TREADMILL
You can balance the treadmill by adjusting
the foot pad (B02) if the ground is uneven;
Turn the foot pad (B02) to the left side by
cross solid wrench (B08) will increase the
height and turn to the right side will decrease
the height.
RUNNING BELT ADJUSTMENT
01. Running belt deviates to left: Start the machine, set speed at 2-3 km/h without a load on the belt,
use Allen key to turn the screw 1/4 turn (see fig. 1). Then allow the machine to run without a load for 1-2
minutes. Repeat process until the belt becomes central.
02. Running belt deviate to right: Start the machine, set speed at 2-3 km/h without a load on the belt,
use Allen key to turn the screw 1/4 turn (see fig. 2). Then allow the machine to run without a load for 1-2
minutes. Repeat process until the belt becomes central.
03. Running belt jam: If the running belt is in dead condition, use the Allen key to turn the screw 1/2 a
turn both left and right until the jam solved (see fig 3).
LEVELING ADJUSTMENT
EN VirtuFit Easy Fit Treadmill
14
HAND PULSE SENSORS
WARNING
Hand pulse sensors
This VirtuFit fitness equipment is provided with hand pulse sensors for measuring the heart rate. The hand
pulse sensors are located on the handlebars. The hand pulse sensors are only working if they are touched
both at the same time for a couple of seconds. For accurate measurement it is important to have slightly
moist hands and to use a constant pressure on the sensors. Too dry or too moist hands can result in less
accurate measurement of the heart rate.
NOTE! Do not use the hand pulse sensor in combination with a wireless heart rate transmitter to prevent
errors.
• Consult a physician if you have a pacemaker, before using a wireless heart rate transmitter.
• If there are more than one heart rate measurement devices in one room, please make sure to keep
distance to the other devices to prevent inaccurate measurement or errors.
• Alway try to keep the wireless heart rate transmitter in a close distance of 1 meter from the console.
• Always wear a wireless heart rate transmitter directly on the body under your clothes.
SAFETY KEY
At any time, when you remove the safety key, the treadmill will make an emergency stop. The screen will
display error code E7 and a buzzer will sound. When the safety key has been reattached in the right place,
the whole screen will light up for 2 seconds. After that, the treadmill will return to manual mode. (The same
happens when the program is reset).
TRAIN ON HEART RATE
EN
VirtuFit Easy Fit Treadmill 15
CLEANING
SEMIANNUAL MAINTENANCE
DAILY MAINTENANCE
• Clean and remove sweat after each use Do not use aggressive cleaning agents and ensure that
the device remains free of moisture.
• Check that the rail and the wheels under the seat are free from dust and dirt.
• Inspect all bolts and nuts in connection with moving parts of the device, tighten as required.
• Check the mobility of moving parts and components of the use equipment, silicone spray if
necessary.
Safeandeectiveusecanonlybeachievedifthedevicewillbeassembledandmaintained
well. It is your responsibility to ensure that the equipment is regularly maintained. Parts
that are already used and / or damaged must be replaced before continuing using. The
rower machine may only be used indoors and stored away, prolonged exposure to
weathering and changes in temperature / humidity can have a serious impact on the
electrical components and moving parts of the device.
WARNING:
Before cleaning the machine, please make sure the power has been switched o.
Cleaning:General cleaning of the device will extend the life of the treadmill. Hold clean the treadmill by
dusting regularly. Be sure to clean the exposed area of the belt and the foot rails of the treadmill on both
sides.
In addition, wear clean shoes to reduce the risk of contamination of the treadmill. Remove the hood at least once
a year to vacuum underneath.
For more information: www.virtut.nl/service/faq/#toggle-id-1
MAINTENANCE
EN VirtuFit Easy Fit Treadmill
16
ATTENTION: In order to prolong the lifespan of the treadmill, we suggest switch o the treadmill
for about 10 minutes after 2 hours’ exercising. Running belt is too loose or tight will do harm to the
treadmill. So keep a suitable tightness is very important. We suggest you grasp the running belt and pull
it up to a certain distance until you cannot pull it up anymore. If the distance is between 50-75mm, we
think the tightness of the running belt is suitable.
Lubricate the treadmill
• Lubrication of the treadmill is necessary every time 300 km has been walked on the treadmill. The
treadmill will make an alarm “di di di” and the screen will show “OIL” to inform you of your treadmill
needs oil lubrication. Apply the oil to the center of the treadmill mat.
• After lubrication press the STOP key for more than 3 seconds in standby mode and then the machine
will sweep o the alarm and lubrication information. We suggest you lubricate the machine as
the following method: People who use the treadmill less than 3 hours per week, please lubricate the
machine per 6 months People who use the treadmill less than 3-5 hours per week, please lubricate
the machine per 3 months 3 People who use the treadmill more than 5 hours per week, please
lubricate the machine per 2 months.
•Running belt is o-center: The Running belt may become o-center after using for a period of time.
First allow the machine to run by it-self and the belt may centralize automatically. If it does not
centralize automatically, you can adjust the position of the belt by screwing the bolt shown in the
images below. If the running belt has shifted to the right, you need to tighten the screw on the right
of the belt or loosen the screw on the left. If the belt has moved to the left, do the opposite.
•Belt Slipping: Please adjust bolts according to the diagram below. When adjusting the two sides
make sure each adjustment is the same, on either side of the treadmill. We recommend adjusting by
half a turn until the running belt does not slip or deviate. Avoid making the belt too tight as this may
damage it.
NOTE: Any repair must be done by a professional technician unless otherwise specified by the supplier
or manufacturer.
LUBRICATION
MAINTENANCE
EN
VirtuFit Easy Fit Treadmill 17
Threadmill does not work
• No connect to power supply: Plug into socket.
• Safety switch not insert: Insert safety switch in monitor.
• Cut o the signal circuit system: Check control panel and signal cable.
• Treadmill is not switch on: Switch on.
Belt does not run properly
• Running belt not lubricate well: Adjust running belt by silicon.
• Belt too tight: Adjust running belt.
Belt is slipping
• Belt is too loose: Adjust running belt.
• Motor belt is too loose: Adjust the motor belt.
Threadmill does not work
• Did not connect the power supply: Connect the power supply.
• Safety key did not put well: Well put the safety key on the correct position.
• Transformer did not x well or transformer defected: Fix well the transformer or change the
transformer.
• Electrocircuit interrupt: Check the connect wire and the terminal of the connect wire, and well
connect.
Treadmill stop suddenly
• Safety key fall o: Put well the safety key.
• The electronic system problem: Ask for the after sale service.
Key defected
• Key is damaged: Change key.
• Key can not work: Change key board and wire. Change pcb board. Change computer.
MALFUNCTION AND SOLUTION
ERROR CODES
TROUBLE SHOOTING
EN VirtuFit Easy Fit Treadmill
18
CODE REASON SOLUTION
E1
1. Connect wire loose or defected.
2. Computer defected.
3. Transformer defected.
4. Controller defected.
1. Well connect the wire or Change the wire.
2. Change the computer.
3. Change the transformer.
4. Change the controller.
E2
1. Motor connect wire or motor
defected.
2. The connect wire between the
motor and controller is loose or
controller defected.
1. Change the motor wire or change the motor.
2. Well connect the wire or change the
controller.
E3
1. Speed sensor not well put.
2. Speed sensor defected.
3. The connect wire between the
speed sensor and the controller did
not connect well.
4. Controller defected.
1. Well put the speed sensor.
2. Change the speed sensor.
3. Well connect the wire.
4. Change the controller.
E5 1. Controller defected.
2. Motor defected.
1. Change the controller.
2. Change the motor.
E7 Computer can not test the safety
key signal. Check the safety key, and wel put.
NO PULSE
1. Handle pulse wire did not
connect well or wire defected.
2. Console circuitry defected.
1. Well connect the wire or change the wire.
2. Change the console.
CONSOLE
SHORT OF
DISPLAY
1. The screw on the pcb is loose.
2. Console defected.
1. Tight well the screw.
2. Change the console.
TROUBLE SHOOTING
EN
VirtuFit Easy Fit Treadmill 19
CONSOLE
FUNCTION
SPEED
When the treadmill power on ,the time display window display 5-4-3-2-1
countdown. The speed shine, display the speed numerical value and the value
F1-F5 when under the body fat test program. Or the ERR massage when treadmill
is unnormal.
TIME Display the time numerical value.
DISTANCE Display the version no. when power on. And then display the distance numerical
value.
CALORIES Display the calories numerical value ,the value when under the body fat test
program.
PULSE Display the pulse numerical value when testing the heart rate. And display incline
numerical value when press the quick incline key.
CONTROL PANEL
EN VirtuFit Easy Fit Treadmill
20
BUTTON FUNCTION
PROG When the treadmill is stopped, cycle select the program
P0-P36 you prefer.
MODE
Mode select key ,when the treadmill is stopped, set the MODE you prefer. You
can select the TIME countdown -> Distance countdown -> Calories countdown ->
Normal mode. The reposition of default (30 minutes) when P1-P36.
START When the treadmill is stopped ,press the START key to turn on the treadmill. Press
“START” key when running, it will pause.
STOP
When the treadmill is running, stop the treadmill by pressing the STOP
key. When the LCD window show the ERR massage, press the STOP key to clear the
ERR massage. When the treadmill stops, press the“STOP” key, it can return to the
default display status.
‘+’ Increase the speed when running. Increase the parameter under the body
fat testing.
‘’ Decrease the speed when running. Decrease the parameter under the body
fat testing.
QUICK
SPEED
When the treadmill is running, select the quick speed key 2, 4, 5, 6, 7, 9,11, 13 you
want by pressing the quick speed key.
CONTROL PANEL

Other VIRTUFIT Treadmill manuals

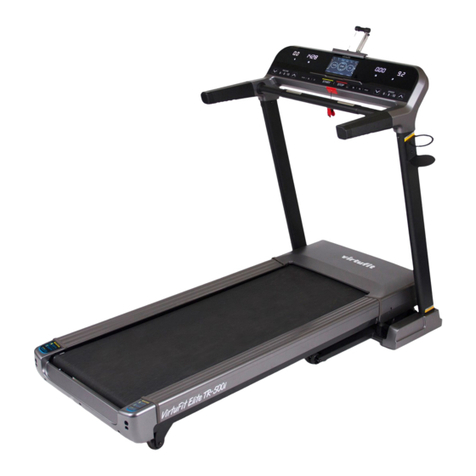
VIRTUFIT Elite TR-500i User manual

VIRTUFIT

VIRTUFIT Elite TR-500i User manual

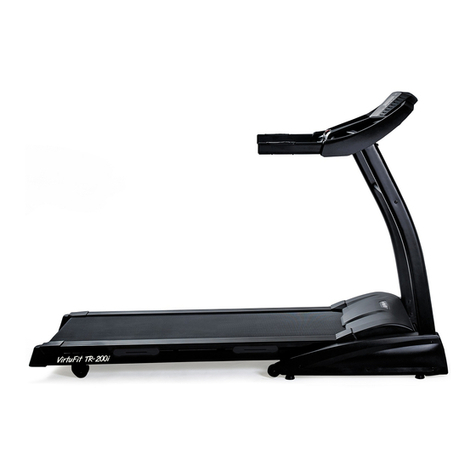
VIRTUFIT TR-200i User manual

VIRTUFIT

VIRTUFIT TR-200i User manual

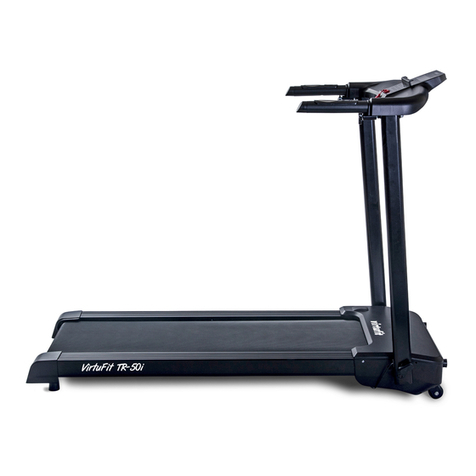
VIRTUFIT TR-50i User manual

VIRTUFIT

VIRTUFIT TR-50i User manual

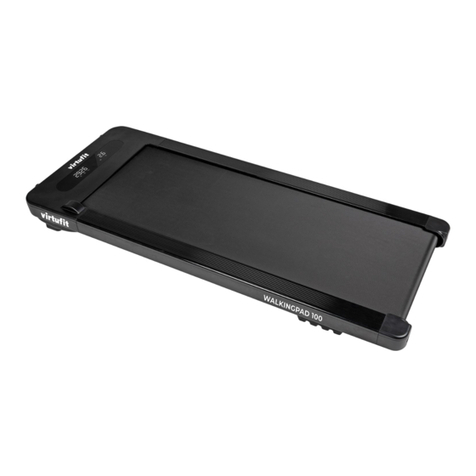
VIRTUFIT Walkingpad 100 User manual

VIRTUFIT

VIRTUFIT Walkingpad 100 User manual

VIRTUFIT Pro Elite HiiT User manual

VIRTUFIT

VIRTUFIT Pro Elite HiiT User manual

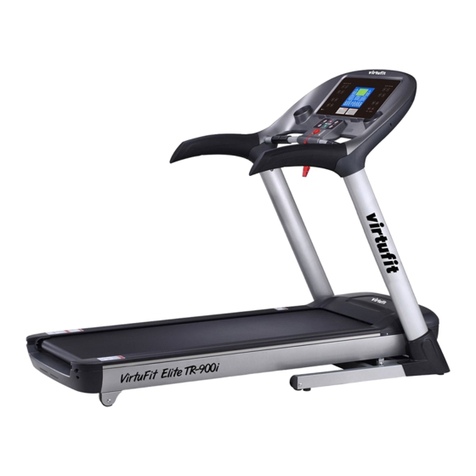
VIRTUFIT TR-900i User manual

VIRTUFIT

VIRTUFIT TR-900i User manual

VIRTUFIT TR-75 User manual

VIRTUFIT

VIRTUFIT TR-75 User manual

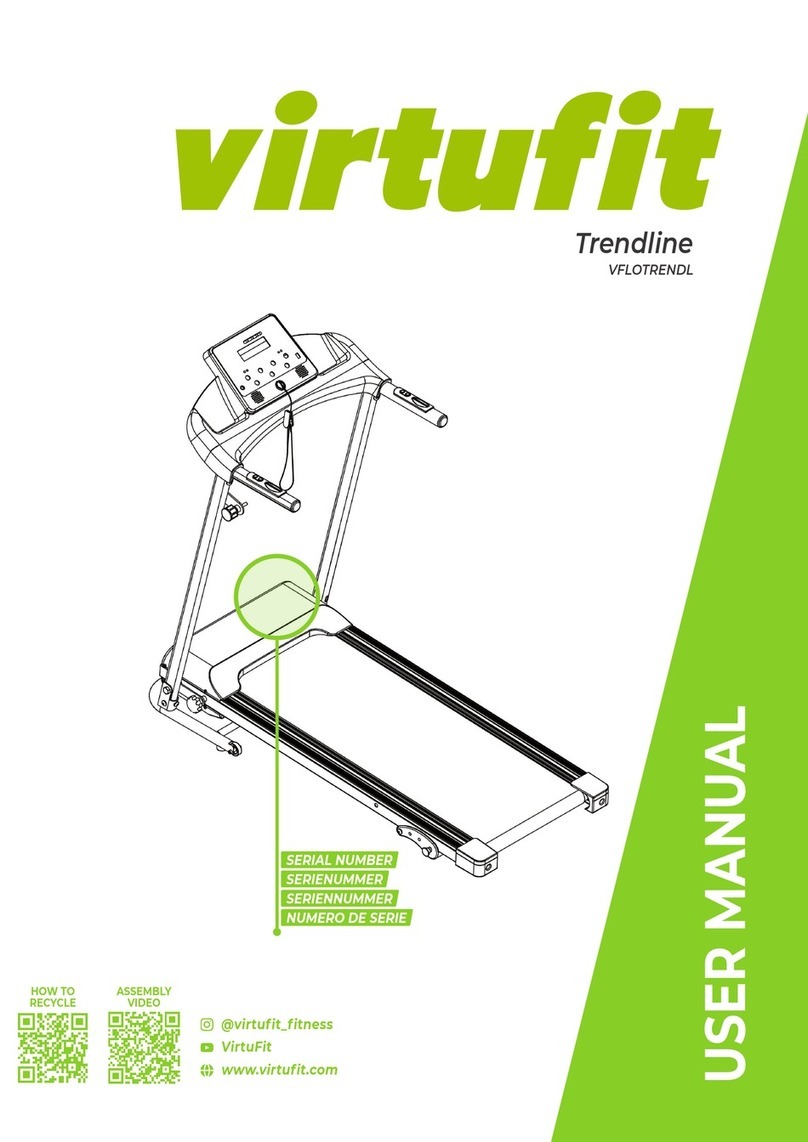
VIRTUFIT Trendline VFLOTRENDL User manual

VIRTUFIT

VIRTUFIT Trendline VFLOTRENDL User manual

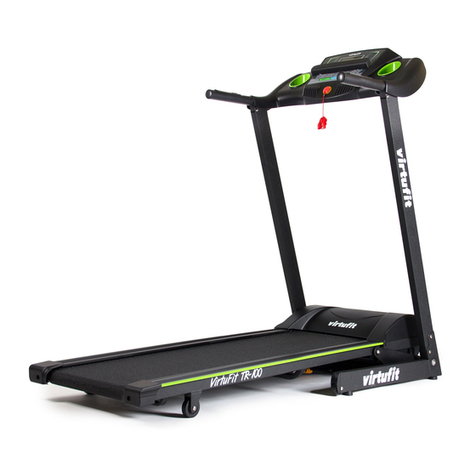
VIRTUFIT TR-100 User manual

VIRTUFIT

VIRTUFIT TR-100 User manual

VIRTUFIT TR-50i User manual

VIRTUFIT

VIRTUFIT TR-50i User manual

VIRTUFIT TR-200i User manual

VIRTUFIT

VIRTUFIT TR-200i User manual

VIRTUFIT TR-900i User manual

VIRTUFIT

VIRTUFIT TR-900i User manual

VIRTUFIT TR-50i User manual

VIRTUFIT

VIRTUFIT TR-50i User manual

VIRTUFIT TR-100 User manual

VIRTUFIT

VIRTUFIT TR-100 User manual

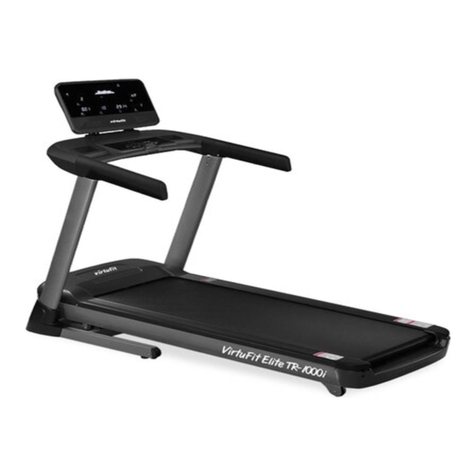
VIRTUFIT Elite TR-1000i User manual

VIRTUFIT

VIRTUFIT Elite TR-1000i User manual

VIRTUFIT Run Fit User manual

VIRTUFIT

VIRTUFIT Run Fit User manual

VIRTUFIT Trendline User manual

VIRTUFIT

VIRTUFIT Trendline User manual

VIRTUFIT TR-200i User manual

VIRTUFIT

VIRTUFIT TR-200i User manual

VIRTUFIT TR-90i User manual

VIRTUFIT

VIRTUFIT TR-90i User manual

VIRTUFIT Elite Comfort User manual

VIRTUFIT

VIRTUFIT Elite Comfort User manual

VIRTUFIT VFLORUNFIT User manual

VIRTUFIT

VIRTUFIT VFLORUNFIT User manual

VIRTUFIT Elite TR-500i User manual

VIRTUFIT

VIRTUFIT Elite TR-500i User manual

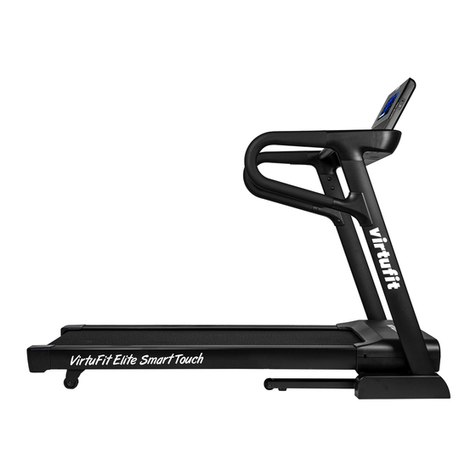
VIRTUFIT Elite Smart Touch User manual

VIRTUFIT

VIRTUFIT Elite Smart Touch User manual

Popular Treadmill manuals by other brands

BH FITNESS S1Ti Service and repair manual

BH FITNESS

BH FITNESS S1Ti Service and repair manual

Costway SuperFit SP37522 user manual

Costway

Costway SuperFit SP37522 user manual

Pro-Form 790cd Treadmill user manual

Pro-Form

Pro-Form 790cd Treadmill user manual

Life Gear 97240 owner's manual

Life Gear

Life Gear 97240 owner's manual

Pro-Form CROSSWALK DL user manual

Pro-Form

Pro-Form CROSSWALK DL user manual

Pro-Form EKG 831.297890 user manual

Pro-Form

Pro-Form EKG 831.297890 user manual

Life Gear 98105 owner's manual

Life Gear

Life Gear 98105 owner's manual

Precor 9.25 Serveice manual

Precor

Precor 9.25 Serveice manual

Nautilus T624 Assembly and owner's manual

Nautilus

Nautilus T624 Assembly and owner's manual

Smooth Fitness 5.25E user manual

Smooth Fitness

Smooth Fitness 5.25E user manual

FYTTER i console+ runner RU-8X manual

FYTTER

FYTTER i console+ runner RU-8X manual

Landice Pro Trainer owner's manual

Landice

Landice Pro Trainer owner's manual

Dyaco Canada 1611510 Service manual

Dyaco Canada

Dyaco Canada 1611510 Service manual

Tunturi Pure Run 4.1 user manual

Tunturi

Tunturi Pure Run 4.1 user manual

KAT VR WALK Premium Package user manual

KAT VR

KAT VR WALK Premium Package user manual

Reebok RX9200 RBTL22921 user manual

Reebok

Reebok RX9200 RBTL22921 user manual

Image 831.297570 user manual

Image

Image 831.297570 user manual

Reebok RBTL16910 user manual

Reebok

Reebok RBTL16910 user manual

manuals.online logo
manuals.online logoBrands
  • About & Mission
  • Contact us
  • Privacy Policy
  • Terms and Conditions

Copyright 2025 Manuals.Online. All Rights Reserved.