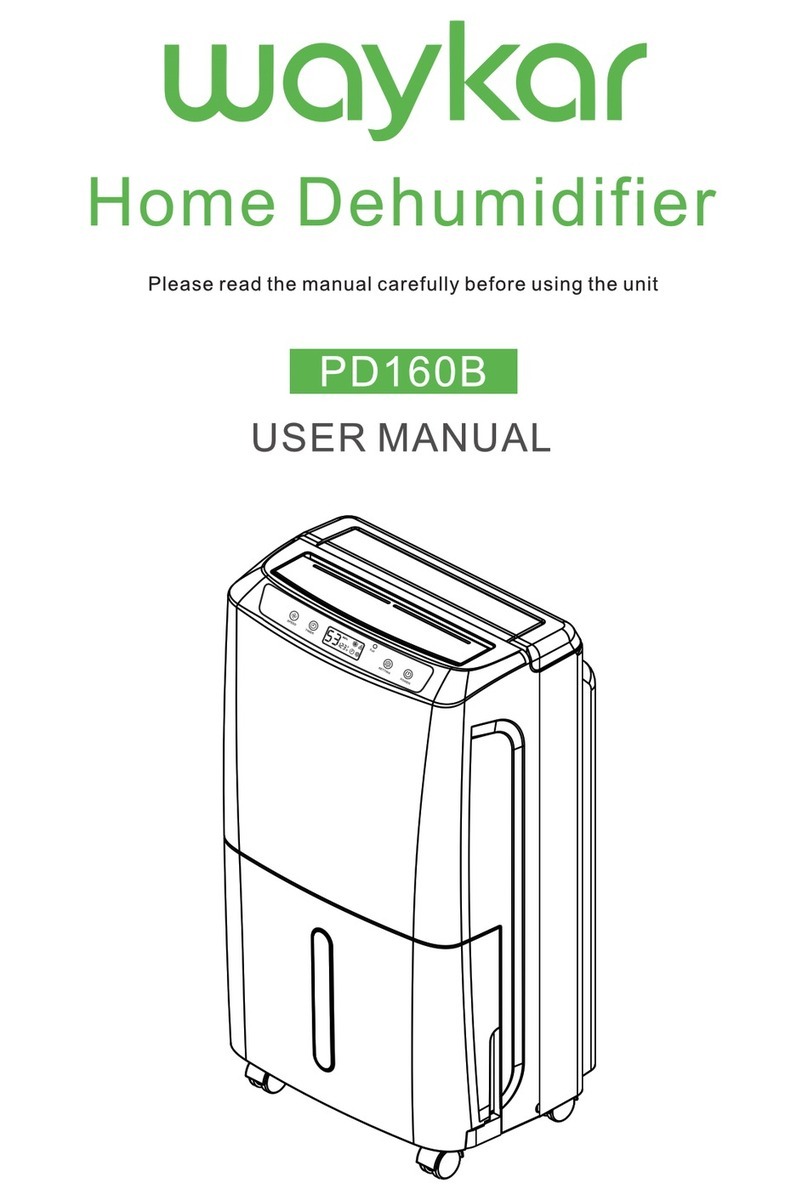
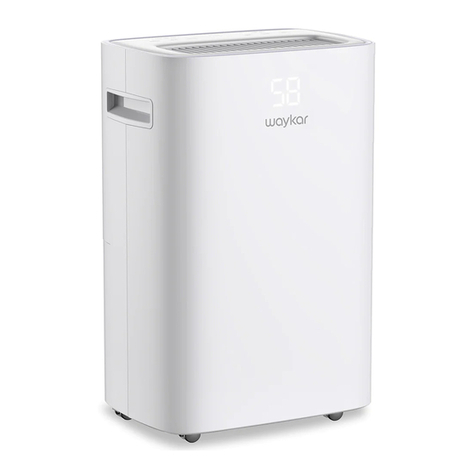
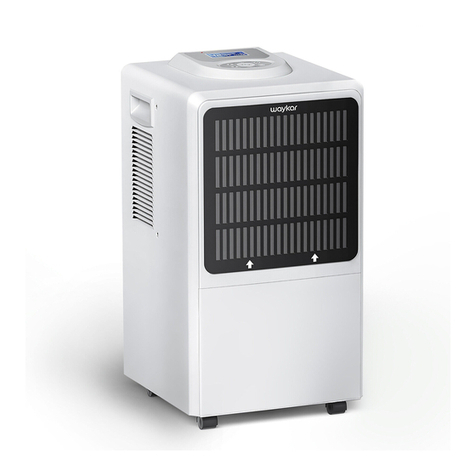
Waykar PD160B User manual

Home Dehumidifier
Please read the manual carefully
before using the unit
PD160B
USER MANUAL
www.waykar.com

Thank you for purchasing our dehumidifier.
Waykar wishes that our products and services can bring convenience to your
work and life. We highly recommend that you keep the manual for reference
if you encounter unexpected events using the unit.
Please read the manual carefully to ensure proper use of the dehumidifier.
Our dehumidifiers are widely used in family bedrooms, bathrooms, base-
ments, offices and storage rooms, etc.
The dehumidifiers from Waykar provide quick and efficient operation to
reduce room's humidity and bring you a healthy and comfortable life.
If there is any problem of the product, please contact Waykar Customer
Service at support@waykar.com with your Purchase Order ID to help you
address the problem more effectively.
FOR CUSTOMERS
TO ACCESS CUSTOMER SUPPORT FASTER

To prevent any internal damage, it is very important to keep the unit
(like this one) upright throughout its journey.
Please leave it standing as the picture shown below and outside the
box for 24 HOURS before plugging it in.
BEFORE FIRST USE:

Operation Instructions
Cleaning and Maintenance
TABLE OF CONTENTS
03
01
04
09
10
13
14

Be sure to run the slopping water hose downward to let the water flow out smoothly.
benzene and thinner, etc.
Do not place or operate in a wet room such as bathroom or laundry room, which may be
splashed by water.
the grilles
tank
fingers grilles
support@waykar.com
IMPORTANT NOTICE FOR FIRST USE
are

CAUTION
support@waykar.com
To avoid fire hazard or electric shock, do Not use an extension cord or an adapter plug,
do Not remove any prong from the power cord.
Do not operate dehumidifier with a damaged cord or plug to avoid a hazard, it must be
replaced by the manufacturer or its service agent. Please contact Waykar Customer
Service at support@waykar.com for repair or replacement.
.
P.02

Continuous
Drainage Port
FRONT
REAR
P.03

When using dehumidifier, other objects
surrounding the machine at least need to be
kept a distance of 7.9 inches (20cm), as shown
in the picture on the right:
OPERATION INSTRUCTIONS
FULL TANK
Full
PLACE COR R ECTLY
CON TROL PA N EL
P.04

When the unit is running, selecting TIMER will turn the unit off in the set hours
later (Delay Stop). When the unit is off, then the TIMER will turn the unit on in the hours you earlier
selected (Delay Start).
-When it starts to work
(After you set the desired humidity, the readout will display the actual humidity.)
-If the room humidity level is higher than your setting value, the dehumidifier will automatically start working;
-When the humidity drops to what you desire, the dehumidifier will automatically stop and the " " icon on
the screen will flash, indicating the wet control status.
-When the humidity level is set at 30%RH, the dehumidifier will be at CONTINUOUS dehumidifying mode.
-Before entering TIMER setting, make sure you press the Setting Button to set a desired
room humidity first.
-Before entering TIMER setting, make sure power is being supplied to the unit.
Control the fan speed. Press to select either High or Normal fan speed. A higher fan speed will result
in quicker moisture removal.
OPERATION INSTRUCTIONS
NOTE
Timer Setting
Humidity Setting
Power Button
Speed Button
P.05
TIMER setting: Press or hold the Timer Button to change the delay timer at 1 hour increment, up
to 24 hours. After TIMER setting is finished, the control panel will display the remaining time (8, 7
or 6, etc.) until the unit starts or stops.
If then press TIMER button again, the control panel will display the room temperature and humidity
value as before. After that, adjust the TIMER setting to 00 will cancel the Auto Start/Stop function.
For the Delay Start, the fan speed and humidity maintained will be the same as previous setting.
Set the speed high for maximum removal first, when the humidity has been reduced and quiet
operation is more preferred, you can return the speed back to Normal.
Control the fan speed. Press to select either High or Normal fan speed. A higher fan speed will result
in quicker moisture removal.
tank
tanktank
FULL TANK Indicator Light
Compressor starts after the fan work for a few seconds.
Compressor shuts down at once, and the fan will stop after a few seconds. (When other
malfunction occurs, or the humidity reaches desired level, the fan will stop after tens of seconds).
Fault Phenomenon Analysis of Causes Processing Method
Humidity always shows "25% RH"
— but there is a big difference from
the actual humidity.
Set the humidity to 30%RH,the dehumidifier
can still continue to work, and can be used
normally.
The dehumidifier is not affected and can
continue to work, and can be used normally.
Please let the dehumidifier keep working for
a period of time, after the water on the
surface of humidity sensor is removed, it will
return to normal.
Humidity always shows "99% RH"
— but there is a big difference from
the actual humidity.
Water on the surface of
humidity sensor?
OPERATION INSTRUCTIONS
Action Description
Tips:
Faults & Protection Codes:
P.06
Set the speed high for maximum removal first, when the humidity has been reduced and quiet
operation is more preferred, you can return the speed back to Normal.

Continuous Draining Outlet
Rubber Plug
Water Tank Draining Outlet
Hold both sides of the water
tank with both hands and
pull it out gently.
There are two ways to remove the collected water:
When the water tank is full, remove the tank and empty it.
1. Use the Water Tank
OPERATION INSTRUCTIONS
FULL TANK
REMOVING THE COLLECTED WATER
P.07
When using manual drainage, insert the
"rubber plug" in the continuous draining
outlet to prevent water leakage.

Continuous Draining Outlet
Rubber Plug
Water Tank Draining Outlet
-Replace the empty tank back into the unit, and once seated correctly, the unit will start
up again.
-You should hear a click when the tank is in the correct position.
-Do not remove the float in the tank, otherwise the sensor will not be able to sense the
water level properly, so that the water will overflow from the tank when the it's full.
Water can be automatically emptied into a floor drain by attaching a draining hose to
the dehumidifier.(It may be helpful to remove the water tank first so you can see the
connection better. )
Note: The inner diameter of draining outlet is 0.39 inches.
2.Continuous Draining
-Be sure to run the slopping water hose downward to let the water flow out smoothly.
OPERATION INSTRUCTIONS
draining
drainingdrainage
NOTE
NOTE
P.08
When using the drainage hose
for continuous drainage, insert
the "rubber plug" into the water
tank draining outlet to prevent
water leakage.

1. Clean the Water Tank
2. Clean the Air Filter
3.Storing the Dehumidifier
WARNING:
WARNING:
Wipe down the water tank every 2 weeks.
Pull up to remove the air filter. Clean the filter with water and soft cloth at least once every
30 days.
When not using the dehumidifier for a long time.
Do not operate the dehumidifier without a filter. Because dirt and lint will clog it and
reduce its performance.
-After turning off the dehumidifier, wait for one day before emptying the water tank.
-Clean the main body of the dehumidifier, water tank and air filter.
-Wrap the cord and bundle it with the band.
CLEANING AND MAINTENANCE
P.09

Is the FULL TANK indicator blinking?
(The tank is full or in a wrong position?)
This product does not apply to over
hot or cold environment, the machine
will automatically enter the protection
mode. It is a normal phenomenon.
When running under lower ambient
temperature, the machine will
automatically defrost, which is a
normal phenomenon. It will restart
dehumification again until the
defrosting process finished.
It is normal the compressor ceases
while defrosting process. Wait until
the process finished, it will restart
dehumidification again.
Is the room humidity lower or reaching
the preset humidity level?
(When the room humidity has reached
the preset level, the dehumidifier will
enter Standby Mode and the indicator
on LCD will flash. )
Please set the humidity 5%RH lower
than the room humidity or set the
humidity to 30%RH.
This is to prevent the frequent start
of the machine. Does the machine
stop working just now?
The dehumidifier is designed to
work in the humidity range of
30%-80%. Above or below this
range, it will not work.
P.10

to
levelly
Room temperature is too low, or
below 41℉ (5℃): The machine will
not work or undergo poor dehumi-
fying efficiency in low temperature.
Please wait until the temperature
rises to above 41℉ (5℃): or higher.
Please leave about 20cm (7.9
inches) around the product.
Do not allow enough time to
remove the moisture.
Clean up the dirt or lint on the
air outlet and intake.
Please check whether the packing
bag of the filter had been removed
and the filter has been installed
correctly.
Do Not set the humidity too low.
Typically, 40-50% are good for use.
Continuous Mode
to
P. 11

Connect the hose with the draining
outlet tightly.
The water tank has not been
installed properly
The float of water tank has been
stuck.
Move the float and let it swing
freely.
Re-install the water tank properly.
support@waykar.com the
P.12

P.13
This product can expose you to chemicals including Styrene and its compounds, which is
known to the State of California to cause cancer and birth defects or other reproductive harm.
For more information, please visit: www.P65Warning.ca.gov.

Waykar offers a 12-month warranty to all of our products together with the original proof
of purchase when a defect occured, including those newly purchased and unused, from
Waykar or through an authorized reseller, wholly or substantially, or as a result of faulty
manufacturing parts, or workmanship during the Warranty Period.
The warranty does not apply if damage is caused by other factors, including but without
limitation of:
Please fill out all required fields and inlcude your Order ID, Date of Purchased if applicable.
These are our general terms for the warranty service, but we always encourage our
customers to reach out to us if any issues, regardless of warranty terms.
If you are experiencing an issue with Waykar product, you can contact us at
support@waykar.com, we will dedicate our efforts to resolve it for you.
Order Number ready
Warranty
Extend Your Warranty by 1 Year
Customer Support
P.14


We are expecting to see our products fulfill your life and hear your voice.
Your satisfaction means a lot to us.
Please tag us if you share a snap on your social media.
www.waykar.com
www.waykar.com
For FAQs and more information please visit:
(Scan the QR Code for Live Chat)
Other manuals for PD160B
1
Table of contents
Other Waykar Dehumidifier manuals

Waykar
Waykar PD09B User manual

Waykar
Waykar PD08E User manual

Waykar
Waykar JD026C-150 User manual

Waykar
Waykar JD026E-130 User manual

Waykar
Waykar JD025C-120 User manual

Waykar
Waykar AFD2.5D User manual

Waykar
Waykar PD606B User manual

Waykar
Waykar PD1201B User manual

Waykar
Waykar PD253B User manual

Waykar
Waykar PDGT701BA User manual
Popular Dehumidifier manuals by other brands

SMC Networks
SMC Networks IDF100F-30 W Series Operation manual

Stadler Form
Stadler Form Albert operating instructions

COLUMBIA VAC
COLUMBIA VAC OPC1100 manual

Dryfix
Dryfix CBD50 user manual

Danby
Danby Premiere DDR50A2GP Owner's use and care guide

SUNTEC
SUNTEC Klimatronic DryFix 20 Design instruction manual