manuals.online logo
Brands
  1. Home
  2. •
  3. Brands
  4. •
  5. WE-EF
  6. •
  7. Outdoor Light
  8. •
  9. WE-EF LSP400 LED Series User manual

WE-EF LSP400 LED Series User manual

LSP_LTP400_LED_010120 / 006-1341
Technische Änderungen vorbehalten.
Technical specifications are subject to change.
© WE-EF 2020
Sicherheit
Der Hersteller übernimmt keine Haftung für Schäden, die durch
unsachgemäßen Einsatz oder Montage entstehen.
Werden nachträglich Änderungen an Leuchten und/oder Zubehör
vorgenommen, so gilt derjenige als Hersteller, der diese Änderungen
vornimmt.
Safety indices
The manufacturer is then discharged from liability when damage is
caused by improper use or installation.
If any luminaire and/or accessory is subsequently modified, the
persons responsible for the modification shall be considered as
manufacturer.
Product Information / Surge Protection
This luminaire can be fitted with a surge protection device of type
2-3. The technical data can be found directly on the installed
device. If the surge protector has been triggered by an adverse
event , the luminaire is automatically disconnected from the mains.
In that case, the LED on the surge protector no longer lights up.
For comprehensive protection of the luminaire against lightning and
electrical surges, primary (Type 1) and secondary (Type 2) surge
arrestors must be installed into the power supply. We recommend a
combination arrestor (Type 1+2+3), which is installed in the control
cabinet.
The technical planner/installer is responsible for the proper selec-
tion, sizing and installation of the surge protection modules that
must be provided on site. Please note the various protection levels
for Class I and II, as well as the applicable statutory provisions
regarding surge protection. Installation and maintenance may only
be performed by a qualified electrician.
Produkthinweis / Überspannungsschutz
Diese Leuchte kann mit einem Überspannungsschutz Typ 2-3 aus-
gestattet sein. Die technischen Daten finden Sie in diesem Fall
direkt auf dem eingebauten Gerät. Wurde der Überspannungs-
schutz im Schadensfall ausgelöst, wird die Leuchte automatisch
vom Netz getrennt. Bei eingeschalteter Stromversorgung leuchtet
dann die Leuchtdiode am Überspannungsschutz nicht mehr.
Zu einem umfassenden Schutz der Leuchte gegen Blitzeinwirkungen
und Überspannungen ist es notwendig, zusätzlich einen Grob-
(Typ 1) und Mittelschutzableiter (Typ 2) in die Stromversorgung ein-
zubauen. Wir empfehlen einen Kombiableiter (Typ 1+2+3) für die
Montage im Schaltschrank.
Der Fachplaner/Installateur ist für die fachgerechte Auswahl,
Dimensionierung und die Montage der bauseits einzusetzenden
Überspannungsschutzbausteine verantwortlich. Bitte beachten Sie
die unterschiedlichen Schutzpegel für die Schutzklassen I und II
sowie die geltenden gesetzlichen Vorschriften zum Überspannungs-
schutz. Die Installation und Wartung ist nur von einem entsprechend
qualifiziertem Elektro-Fachbetrieb durchzuführen.
WE-EF LIGHTING Thailand
Tel +66 2 738 9610
info.asiapacific@we-ef.com
WE-EF LIGHTING USA
Tel +1 724 742 0030
info.usa@we-ef.com
WE-EF LEUCHTEN Germany
Tel +49 5194 909 0
info.germany@we-ef.com
WE-EF LUMIERE France
Tel +33 4 74 99 14 44
info.france@we-ef.com
WE-EF LIGHTING Australia
Tel +61 3 8587 0444
info.australia@we-ef.com
WE-EF HELVETICA Switzerland
Tel +41 22 752 49 94
info.switzerland@we-ef.com
www.we-ef.com
WE-EF LEUCHTEN
Montage- und
Wartungshinweise für
Lichtsäulen
Serien LSP400 / LTP400 LED
Installation and
Maintenance Instructions for
Light Columns
LSP400 / LTP400 LED Series
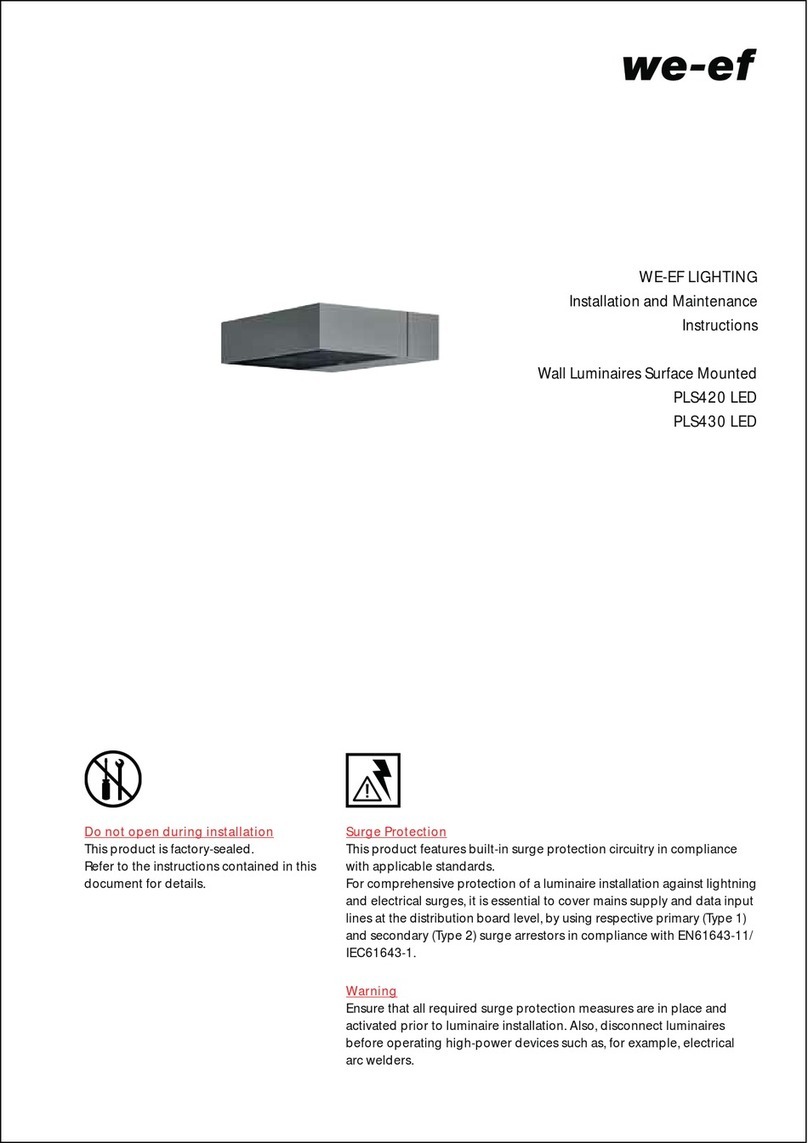
Light Columns
IP44, IK10
Lichtsäulen
IP44, IK10
400
4000
400
4000
205
205
120
1500
ø 350
ø 310
ø 20
ø 350
ø 310
ø 20
LSP444
LSP449
LSP434
LSP439
LTP434
LTP439
LTP444
LTP449
120
1500
205
205
Installation
The product must be installed and maintained by a suitably
qualified professional in compliance with latest building/
construction and/or electrical regulations and relevant
legislation.
Notice: If the luminaire is modified by anybody other than
the original manufacturer, then the warranty will no longer
be valid and shall become the full responsibility of the
modifying person/organisation. Claims based on defects
attributable to improper installation and/or application, and
the consequences thereof, are excluded.
In case of component failure, LED replacement due to
abnormal circumstances or at end of life, replacement
must be carried out by a suitably qualified and trained
professional.
In case of questions please contact our technical hotline:
+49 5194 909209 (from Monday - Friday from 08.00 until
16.00 hours.
Maintenance
Apart from cleaning the product’s exterior surfaces, no
special maintenance work is required. Do not use high-
pressure cleaners.
Protect our environment: Discard used LEDs in compliance
with the most recent environmental legislation.
Montage
Montage und Wartung des Produkts dürfen nur von Fach-
personal mit entsprechender beruflicher Qualifikation in
Übereinstimmung mit den geltenden bautechnischen
und/oder elektrischen Vorschriften durchgeführt werden.
Hinweis: Modifikationen an der Leuchte, die nicht durch
den Originalhersteller erfolgen, führen zum Erlöschen der
Garantie und Gewährleistung des Originalherstellers und
zum vollständigen Übergang der Verpflichtungen daraus
auf die modifizierende Person/Organisation. Ansprüche
aufgrund von Mängeln, die direkt oder indirekt auf unsach-
gemäße Montage und/oder Anwendung zurückzuführen
sind, sind ausgeschlossen.
Bei Ausfall von Komponenten, bei LED-Wechsel aufgrund
ungewöhnlicher Umstände oder am Ende der Lebensdauer
darf der Austausch nur von geschultem Fachpersonal mit
entsprechender beruflicher Qualifikation ausgeführt werden.
Bei Fragen wenden Sie sich bitte an unsere technische
Hotline unter +49 5194 909209 (Montag - Freitag von
08:00 Uhr bis 16:00 Uhr).
Wartung
Abgesehen von der äußerlichen Reinigung des Produkts ist
keine besondere Wartung erforderlich. Keine
Hochdruckreiniger verwenden.
Für die Entsorgung der LEDs sind die zur Zeit gültigen
Umweltgesetze zu beachten.
ø max.17 mm 5 x 2,5 mm2
Leuchtmittel / Light source
LED 37W*
* Nominalleistung, aktualisierte Daten siehe www.we-ef.com
* Nominal power, for latest data refer to www.we-ef.com
Schutzklasse / Class I, ta = 25°C
Windangriffsfläche / windage area
LSP434/439 / LTP434/439 . . . . . . . . . . . . . . . . . . . . 0,32 m2
LSP444/449 / LTP444/449 . . . . . . . . . . . . . . . . . . . . 0,85 m2
580500
Montagezubehör / Mounting Accessory
Erdstück / Planted Root ESD6 300-0456 11,4 kg
M16
ø 350
ø 310
Vorgehensweise
Um einen festen Stand der Leuchte zu gewährleisten ist
das WE-EF Erdstück ESD6 300-0456 zu verwenden.
1) Spannungsfreiheit der Anschlussleitung herstellen.
2) Das Erdstück ausrichten und im Boden verankern.
3) Je nach Leuchtengröße wie folgt vorgehen:
3.1) Leuchten ≤ 1500 mm Höhe:
Die Leuchte auf dem Erdstück befestigen und die
Schrauben mit den beiliegenden Kappen abdecken.
3.2) Leuchten > 1500 mm – 4000 mm Höhe:
Schrauben Jlösen und Kaschierung Khoch-
schieben. Die Leuchte auf dem Erdstück oder dem
Fundament befestigen. Kaschierung Kwieder mit
Schrauben Jbefestigen.
4) Die Anschlusstür Fdurch Lösen der Verriegelungs-
schraube Gentfernen, die Sicherungskappe Hund die
Abdeckung des Anschlusskastens Iabnehmen.
5) Nulleiter (N), Phase (L1) und Schutzleiter auf die
dafür vorgesehenen und entsprechend markierten
Kontakte anschließen.
6) Die Abdeckung wieder aufsetzen, die Sicherungskappe
aufstecken, die Anschlusstür einsetzen und mit der
Verriegelungsschraube sichern.
Installation Procedure
The WE-EF planted root ESD6 300-0456 is recommended
to secure a rigid installation.
1) Switch off the mains electrical supply.
2) Adjust position of the planted root and fix it to the
ground.
3) Depending on luminaire size, proceed as follows:
3.1) Luminaires ≤ 1500 mm height:
Mount the luminaire to the planted root and cover
the screws with the enclosed caps.
3.2) Luminaires > 1500 mm – 4000 mm height:
Loosen screws Jand move up cover K.
Fix luminaire to the planted root or foundation.
Reinstall cover Kwith screws Jagain.
4) Remove the door Fthrough loosening of the locking
screw G, take off the safety cap Hand the cover of the
connecting box I.
5) Connect N = neutral, L = phase, = earthing to the
corresponding marked contacts.
6) Re-install the cover, put on the safety cap, re-install
the door and secure with the locking screw.
D
A
E
B
C
I
F
H
G
K
J
Abb. 2
fig. 2
Abb. 1
fig. 1
LED Wechsel und Wartung
Leuchtengehäuse nicht während des Betriebes öffnen!
1) Spannungsfreiheit der Anschlussleitung herstellen.
2) Durch Lösen der Befestigungsschraube Adie
Abschlusskappe Bentfernen.
3) Die drei Befestigungsschrauben Cdes Chassis lösen,
den Steckverbinder Dabziehen, das Chassis Eleicht
drehen und nach oben herausnehmen.
4) LED Platine wechseln.
5) Dichtungen auf Funktionsfähigkeit prüfen und ggfs.
austauschen.
6) Das Chassis Ewieder einhängen, die Befestigungs-
schrauben Cfest anziehen, Steckverbinder Daufste-
cken, die Abschlusskappe B aufsetzen, die Schraube A
fest anziehen und den Abdeckstopfen einsetzen.
7) Vorgehensweise für die Montage und Demontage wie
beschrieben.
Für die Entsorgung der LEDs sind die zur Zeit gültigen
Umweltgesetze zu beachten.
LED Replacement and Maintenance
Do not open luminaire while in operation or while mains
supply is switched on!
1) Switch off the mains electrical supply.
2) Loosen the fixing screws Aand take off the cap B.
3) Loosen the 3 fixing screws Cof the gear tray, take off
the cable connector D, slightly turn the gear tray E
and remove upwards.
4) Exchange LED board.
5) Check gasket for damage and replace if necessary.
6) Re-install the gear tray, firmly tighten the fixing screws
C, insert cable connector D, re-install the cap B, firmly
tighten the fixing screw Aand insert the cover plug.
7) Same procedure for the installation and dismantling as
described.
Protect our environment: Discard used LEDs in compliance
with the most recent environmental legislation.

This manual suits for next models

9

Other WE-EF Outdoor Light manuals

WE-EF PFL540 LED User manual

WE-EF

WE-EF PFL540 LED User manual

WE-EF ESC100 LED Series User manual

WE-EF

WE-EF ESC100 LED Series User manual

WE-EF EFL540 LED User manual

WE-EF

WE-EF EFL540 LED User manual

WE-EF FLA780 User manual

WE-EF

WE-EF FLA780 User manual

WE-EF VFL500 Series User manual

WE-EF

WE-EF VFL500 Series User manual

WE-EF ETC130 User manual

WE-EF

WE-EF ETC130 User manual

WE-EF ETC100-GB LED Series User manual

WE-EF

WE-EF ETC100-GB LED Series User manual

WE-EF ZA630 User manual

WE-EF

WE-EF ZA630 User manual

WE-EF SLS400 LED Series User manual

WE-EF

WE-EF SLS400 LED Series User manual

WE-EF DLO229 LED User manual

WE-EF

WE-EF DLO229 LED User manual

WE-EF ETC100-GB LED Series User manual

WE-EF

WE-EF ETC100-GB LED Series User manual

WE-EF ESC130 User manual

WE-EF

WE-EF ESC130 User manual

WE-EF RFL540-SE LED Series User manual

WE-EF

WE-EF RFL540-SE LED Series User manual

WE-EF ASP530 User manual

WE-EF

WE-EF ASP530 User manual

WE-EF KTX234 LED User manual

WE-EF

WE-EF KTX234 LED User manual

WE-EF XRY324 LED User manual

WE-EF

WE-EF XRY324 LED User manual

WE-EF LTM440 LED User manual

WE-EF

WE-EF LTM440 LED User manual

WE-EF ETC300-GB LED Series User manual
WE-EF

WE-EF ETC300-GB LED Series User manual
WE-EF ESC130-FS User manual

WE-EF

WE-EF ESC130-FS User manual

WE-EF FLA441 Technical specifications

WE-EF

WE-EF FLA441 Technical specifications

WE-EF KTY234 User manual

WE-EF

WE-EF KTY234 User manual

WE-EF VFL500-SE Series User manual

WE-EF

WE-EF VFL500-SE Series User manual
WE-EF KTY234 LED User manual

WE-EF

WE-EF KTY234 LED User manual

WE-EF ETC100 Series User manual

WE-EF

WE-EF ETC100 Series User manual

Popular Outdoor Light manuals by other brands

BEGA 84866 Instructions for use

BEGA

BEGA 84866 Instructions for use

Utilitech FSI UT-312-2000BRZ quick start guide

Utilitech

Utilitech FSI UT-312-2000BRZ quick start guide

JONATHAN Y JYL6105A quick start guide

JONATHAN Y

JONATHAN Y JYL6105A quick start guide

Aquatec Equipment PondMAX ULTRA Series instruction manual

Aquatec Equipment

Aquatec Equipment PondMAX ULTRA Series instruction manual

VISIO VI-1TC user manual

VISIO

VISIO VI-1TC user manual

Haute Decor DCYD0012 instructions

Haute Decor

Haute Decor DCYD0012 instructions

PNI SL802 manual

PNI

PNI SL802 manual

HUDSON VALLEY LIGHTING mitzi JESSA Assembly and mounting instructions

HUDSON VALLEY LIGHTING

HUDSON VALLEY LIGHTING mitzi JESSA Assembly and mounting instructions

Adesso CONEY Assembly instructions

Adesso

Adesso CONEY Assembly instructions

HEPER PRIFMA ML EVO 1 Installation & maintenance instructions

HEPER

HEPER PRIFMA ML EVO 1 Installation & maintenance instructions

Maxim 40039CDSE manual

Maxim

Maxim 40039CDSE manual

Platek NANO PROIETTORE installation instructions

Platek

Platek NANO PROIETTORE installation instructions

LUDECO PL5011 manual

LUDECO

LUDECO PL5011 manual

Philips ecoMOODS 16924/47/16 Specifications

Philips

Philips ecoMOODS 16924/47/16 Specifications

Inspire Lakko Assembly, Use, Maintenance Manual

Inspire

Inspire Lakko Assembly, Use, Maintenance Manual

Dale Tiffany GF12144 Assembly instructions

Dale Tiffany

Dale Tiffany GF12144 Assembly instructions

BOPP Saturn Mounting instructions

BOPP

BOPP Saturn Mounting instructions

Bartscher IWL250ST Original instruction manual

Bartscher

Bartscher IWL250ST Original instruction manual

manuals.online logo
manuals.online logoBrands
  • About & Mission
  • Contact us
  • Privacy Policy
  • Terms and Conditions

Copyright 2025 Manuals.Online. All Rights Reserved.