manuals.online logo
Brands
  1. Home
  2. •
  3. Brands
  4. •
  5. WeatherTech
  6. •
  7. Automobile Accessories
  8. •
  9. WeatherTech No-Drill MudFlap User manual

WeatherTech No-Drill MudFlap User manual

Start by thoroughly washing your vehicle. Take care to
remove all dirt, debris, and stains from each fender in the areas
corresponding to where the MudFlaps will be installed.
ES Comience por lavar bien el
vehículo. Asegúrese de quitar
completamente la suciedad, los
desechos y las manchas de cada
defensa en las áreas donde se
instalarán las Loderas.
ES Estacione el vehículo en terreno
plano. Comience con la instalación de
las Loderas del lado del conductor.
FR Stationnez le véhicule sur un
terrain nivelé. Commencez par
l’installation de la bavette
garde-boue côté conducteur.
Park the vehicle on level ground. Begin with the driver’s side
MudFlap installation.
12
The MudFlap is designed to fit vehicles with
standard size wheels and tires. Installation
of MudFlaps on vehicles with aftermarket
wheels or oversize tires may interfere with
the MudFlap, will void the warranty and may
damage the MudFlap or the vehicle.
WARNING
La Lodera está diseñada de modo que se adapte a vehículos
con ruedas y neumáticos de tamaño estándar. La instalación
de la Lodera en vehículos con ruedas no originales o
neumáticos de mayor tamaño podría afectar las Loderas,
anularía la garantía y podría dañar las Loderas o el vehículo.
ES ADVERTENCIA
La bavette garde-boue est conçue pour convenir aux
véhicules dotés de roues et de pneus de dimension
standard. L’installation des bavettes garde-boue sur les
véhicules équipés de roues de marché secondaire ou des
pneus surdimensionnés peut interférer avec les bavettes
garde-boue, ce qui annule la garantie et peut endommager
la bavette garde-boue ou le véhicule.
FR AVERTISSEMENT
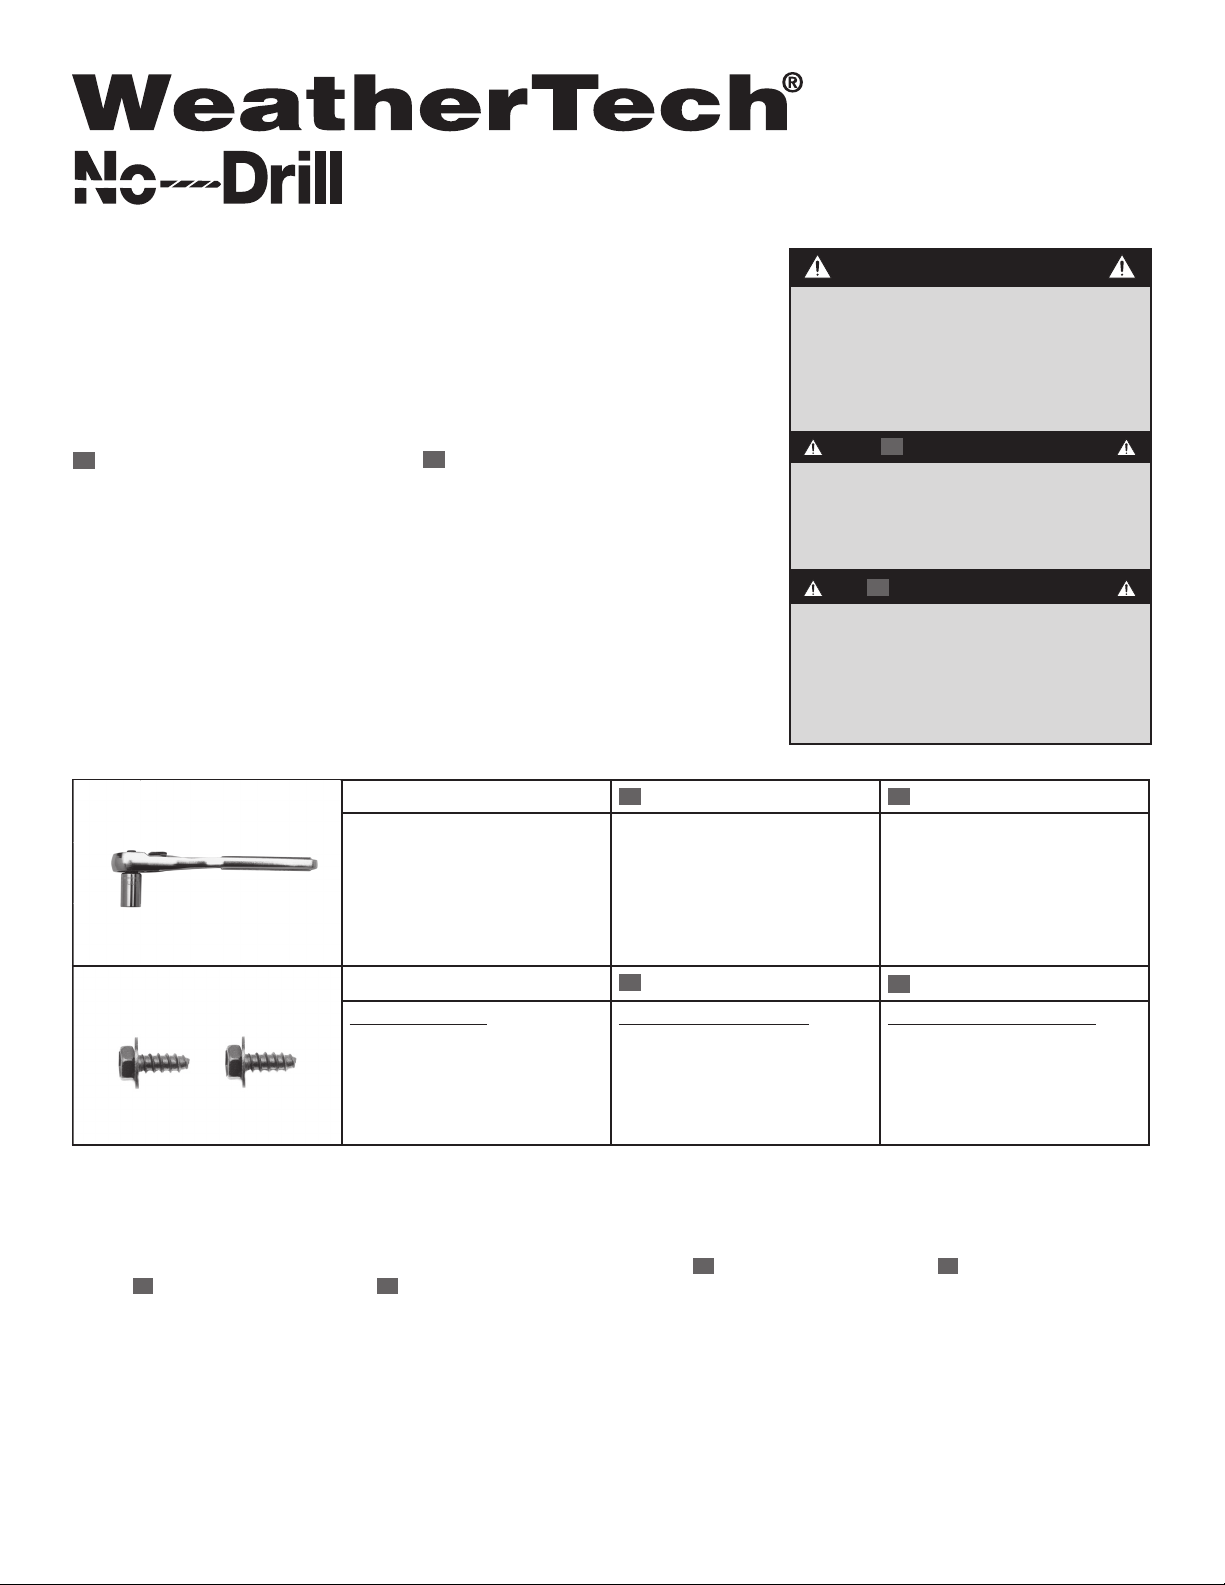
Tools Needed ES Herramientas necesarias FR Outils nécessaires
- Ratchet and Socket Set - Juego de matraca y dados - Trousse de douilles et rochets
Hardware ES Accesorios FR Quincaillerie
Parts Kit: (48MF552)
- (2) Hex Head Screws
Juego de piezas: (48MF552)
- (2) tornillos de cabeza hexagonal
Trousse de pièces : (48MF552)
- (2) vis à tête hexagonale
FR Commencez par bien laver votre
véhicule. Assurez-vous d’enlever
toute la poussière, tous les débris et
toutes les taches de chaque aile dans
les zones correspondant à l’endroit
où les bavettes garde-boue
seront installées.
ES FR
MudFlap
Thank you for purchasing the WeatherTech®No-Drill MudFlap. Please read this
installation guide to thoroughly familiarize yourself with the steps to install the MudFlap
on your vehicle. When properly installed, the WeatherTech®No-Drill MudFlap will
provide you with years of protection.
Gracias por adquirir la Lodera Sin-Perforar de
WeatherTech®. Lea esta guía de instalación para
familiarizarse bien con los pasos de instalación
de la Lodera en el vehículo. Cuando se instala
correctamente, las Loderas Sin-Perforar de
WeatherTech®le brinda años de protección.
Nous vous remercions d’avoir acheté la bavette
garde-boue sans perçage WeatherTech®. Veuillez
lire ce guide d’installation pour bien vous
familiariser avec les étapes d’installation de la
bavette garde-boue sur votre véhicule. Lorsqu’elle
est installée correctement, la bavette garde-boue
sans perçage WeatherTech®vous procurera des
années de protection.
Installation Instructions
Instrucciones de instalación Instructions d’installation
5Using the MudFlap marked “LH,” place the MudFlap up to the
wheel well and align with the corresponding holes.
Using the (3) previously removed factory fasteners and (1)
screw from the provided parts kit, loosely re-install each one
by hand in their corresponding holes.
6
Locate the (3) factory fasteners and (1) factory hole as indicated
3Remove the (3) factory fasteners with a ratchet and
appropriate sized socket and retain for later use.
4
View Easy Installation Video · Ver video sobre instalación sencilla · Visionner une vidéo d’installation facile
WeatherTech.com/install
ES Localice los (3) sujetadores de
fábrica y (1) orificio de fábrica como
se indica.
ES Coloque la Lodera identificada con
la marca “LH” (lado izquierdo) en el
hueco de la rueda y alinéela con los
orificios correspondientes.
ES
Vuelva a colocar con la mano
y sin ajustar, en los orificios
correspondientes, los (3) sujetadores de
fábrica que extrajo anteriormente y (1)
tornillo del kit de piezas suministrado.
ES Extraiga los (3) sujetadores
de fábrica con una matraca y con
una llave de tamaño adecuado y
consérvelos para utilizarlos más tarde.
FR Repérez les (3) attaches et le
trou d’usine indiqués.
FR Placez la bavette garde-boue
marquée “LH” sur le passage
de roue et alignez-la sur les
trous correspondants.
FR Prenez les (3) attaches d’usine
retirées précédemment et une vis
de la trousse de pièces fournie;
réinstallez chaque attache dans le
trou correspondant sans trop serrer.
FR Dévissez les (3) attaches
d’usine à l’aide d’un rochet et de la
douille appropriée, et conservez-les
pour un usage ultérieur.
Install the passenger side MudFlap marked “RH” repeating
steps 3-7.
Using the ratchet and appropriate sized socket, snug each
of the (4) screws first then fully tighten with the MudFlap
pressed firmly against the fender.
8
7
View Easy Installation Video · Ver video sobre instalación sencilla · Visionner une vidéo d’installation facile
WeatherTech.com/install
ES Con la matraca y una llave de
tamaño adecuado, primero calce
los (4) tornillos y luego ajuste por
completo presionando firmemente la
Lodera contra la defensa.
ES Repita los pasos 3 a 7 para
instalar la Lodera del lado del pasajero
identificada con la marca “RH”.
FR
À l’aide du rochet et de la
douille appropriée, serrez légèrement
chacune des (4) vis d’abord, puis
serrez-les complètement en pressant
fermement la bavette garde-boue
contre l’aile.
FR Installez la bavette garde-boue
côté passager marquée “RH” en
répétant les étapes 3 à 7.
Congratulations!
Your new WeatherTech®No-Drill MudFlaps have been installed!
¡Sus nuevas Loderas Sin-Perforacion
de WeatherTech®están instaladas!
Vos nouvelles bavettes garde-boue sans
perçage WeatherTech®sont installées!
ES FR
¡Felicitaciones! Félicitations!
© 2018 by MacNeil IP LLC
67MF571
Made in the USA
Questions? (630) 769-1500 ES ¿Preguntas? 001 6307691500
WeatherTech.mx
Questions? (888) 905-6287
WeatherTech.ca
¿Preguntas? (630) 769-1500
FR Questions? (888) 905-6287
WeatherTech.ca
WeatherTech.com WeatherTech.com
For warranty information, please visit
www.WeatherTech.com/warranty
or contact
our customer support team at (630) 769-1500
or (800) 441-6287.
Para información sobre la garantía, por favor
visite
www.WeatherTech.com/espanol/warranty
o póngase en contacto con nuestro equipo de
servicio al cliente a (630) 769-1500
o al (800) 441-6287.
For warranty information, please visit
www.WeatherTech.ca/warranty
or contact our
customer support team at (888) 905-6287
or (905) 549-2761
Para información sobre la garantía, por favor
visite
www.Weathertech.mx/warranty
o póngase en contacto con nuestro equipo
de servicio al cliente a 001 6307691500.
Pour plus d’informations sur la garantie, svp
visite
www.WeatherTech.ca/fr/warranty
ou
contactez notre service à la clientele au
(888) 905-6287 ou (905) 549-2761
Canada
USA
ES
México

Other WeatherTech Automobile Accessories manuals

WeatherTech No-Drill User manual

WeatherTech

WeatherTech No-Drill User manual

WeatherTech No-Drill MudFlap User manual

WeatherTech

WeatherTech No-Drill MudFlap User manual

WeatherTech 84PH1318BK User manual

WeatherTech

WeatherTech 84PH1318BK User manual

WeatherTech No Drill MudFlap User manual

WeatherTech

WeatherTech No Drill MudFlap User manual

WeatherTech No-Drill MudFlaps User manual

WeatherTech

WeatherTech No-Drill MudFlaps User manual

WeatherTech CupFone User manual

WeatherTech

WeatherTech CupFone User manual

WeatherTech No-Drill MudFlap User manual

WeatherTech

WeatherTech No-Drill MudFlap User manual

WeatherTech Truck Bed Cover Quick start guide

WeatherTech

WeatherTech Truck Bed Cover Quick start guide

WeatherTech No-Drill MudFlap User manual

WeatherTech

WeatherTech No-Drill MudFlap User manual

WeatherTech 88TG07 User manual

WeatherTech

WeatherTech 88TG07 User manual

WeatherTech MudFlap User manual

WeatherTech

WeatherTech MudFlap User manual

WeatherTech No-Drill MudFlap User manual

WeatherTech

WeatherTech No-Drill MudFlap User manual

WeatherTech No-Drill MudFlap User manual

WeatherTech

WeatherTech No-Drill MudFlap User manual

WeatherTech MF110 User manual

WeatherTech

WeatherTech MF110 User manual

WeatherTech WindshieldFone User manual

WeatherTech

WeatherTech WindshieldFone User manual

WeatherTech No Drill MudFlap User manual

WeatherTech

WeatherTech No Drill MudFlap User manual

WeatherTech No-Drill MudFlap 110107 User manual

WeatherTech

WeatherTech No-Drill MudFlap 110107 User manual

WeatherTech No-Drill MudFlap User manual

WeatherTech

WeatherTech No-Drill MudFlap User manual

WeatherTech 48MF568 User manual

WeatherTech

WeatherTech 48MF568 User manual

WeatherTech No-Drill MudFlap User manual

WeatherTech

WeatherTech No-Drill MudFlap User manual

WeatherTech No-Drill MudFlap User manual

WeatherTech

WeatherTech No-Drill MudFlap User manual

WeatherTech No-Drill MudFlap User manual

WeatherTech

WeatherTech No-Drill MudFlap User manual

WeatherTech Child Car Seat Protector User manual

WeatherTech

WeatherTech Child Car Seat Protector User manual

WeatherTech No-Drill MudFlap User manual

WeatherTech

WeatherTech No-Drill MudFlap User manual

Popular Automobile Accessories manuals by other brands

MSD Ignition DIS-2 installation instructions

MSD Ignition

MSD Ignition DIS-2 installation instructions

Nasty Ringz Nasty Glow installation instructions

Nasty Ringz

Nasty Ringz Nasty Glow installation instructions

Tracon Electric STLC5W user manual

Tracon Electric

Tracon Electric STLC5W user manual

Warn 87722 installation instructions

Warn

Warn 87722 installation instructions

Car-Interface v.LiNK CI-VL2-LR14-OPS manual

Car-Interface

Car-Interface v.LiNK CI-VL2-LR14-OPS manual

ACV 381087-01 installation manual

ACV

ACV 381087-01 installation manual

Rhino-Rack SX029 instruction manual

Rhino-Rack

Rhino-Rack SX029 instruction manual

STO N SHO SNS 119 Installation procedures

STO N SHO

STO N SHO SNS 119 Installation procedures

Winplus 3.5 VEHICLE BACKUP CAMERA WIRELESS SYSTEM Installation and operation manual

Winplus

Winplus 3.5 VEHICLE BACKUP CAMERA WIRELESS SYSTEM Installation and operation manual

Ewert Energy Systems Orion BMS Troubleshooting

Ewert Energy Systems

Ewert Energy Systems Orion BMS Troubleshooting

Lippert Components SolidStep XF owner's manual

Lippert Components

Lippert Components SolidStep XF owner's manual

Metra Electronics 99-3012G-LC user manual

Metra Electronics

Metra Electronics 99-3012G-LC user manual

Cruz 912-70 Series Assembly instructions

Cruz

Cruz 912-70 Series Assembly instructions

Metra Electronics 70-9800 installation instructions

Metra Electronics

Metra Electronics 70-9800 installation instructions

Toro Security Cage Kit installation instructions

Toro

Toro Security Cage Kit installation instructions

JVC LYT0002-0B9A instruction manual

JVC

JVC LYT0002-0B9A instruction manual

SCA 325730 Owner's instruction manual

SCA

SCA 325730 Owner's instruction manual

Minimizer FKPB5B Important safety information

Minimizer

Minimizer FKPB5B Important safety information

manuals.online logo
manuals.online logoBrands
  • About & Mission
  • Contact us
  • Privacy Policy
  • Terms and Conditions

Copyright 2025 Manuals.Online. All Rights Reserved.