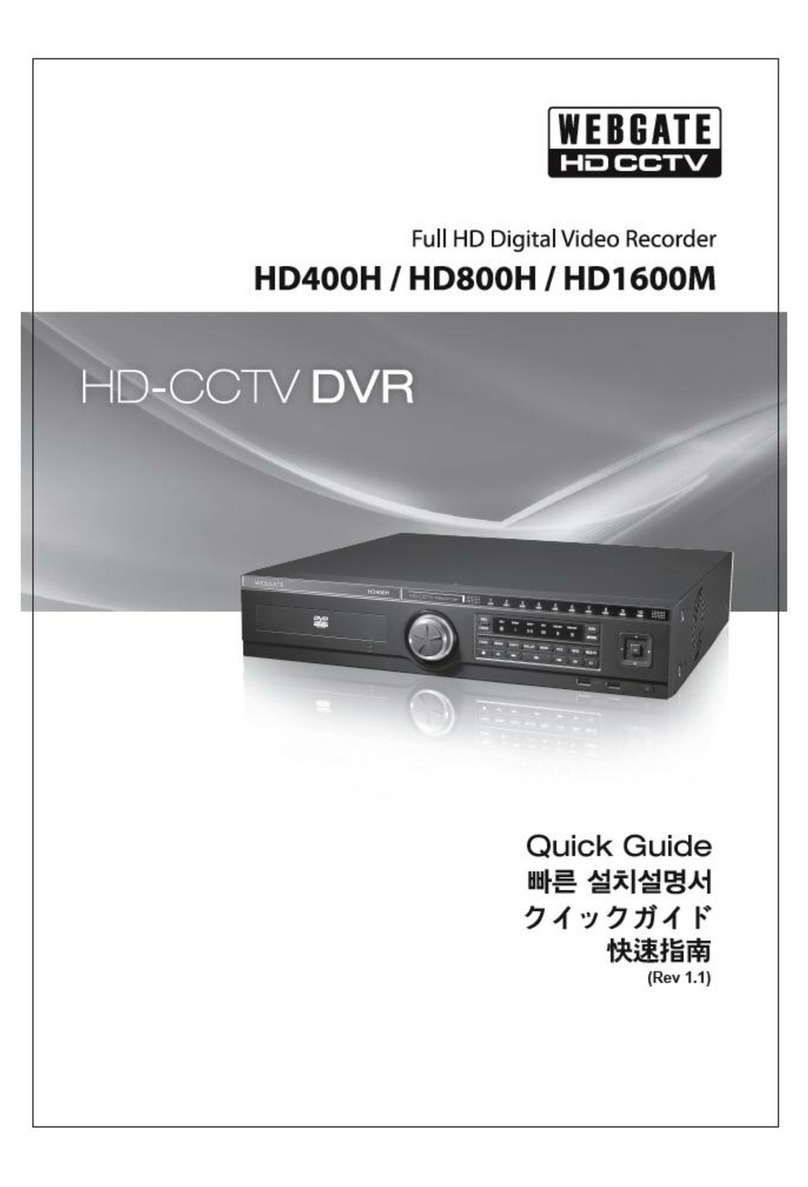
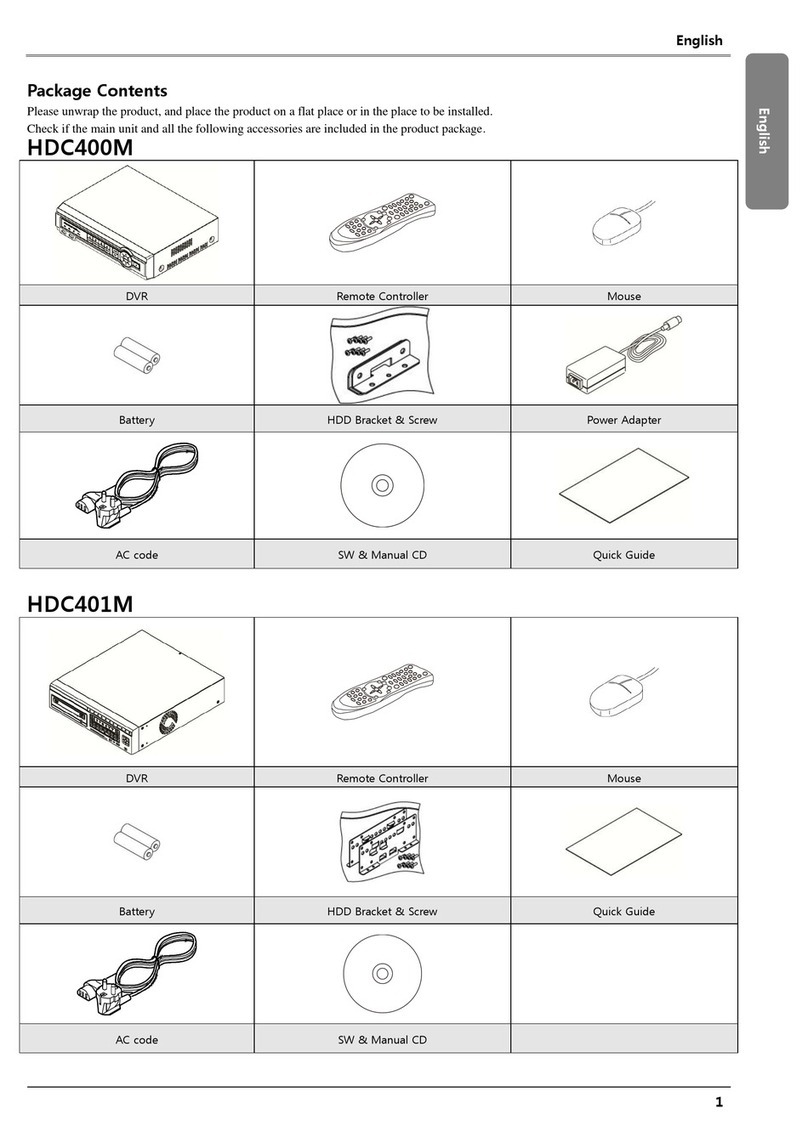
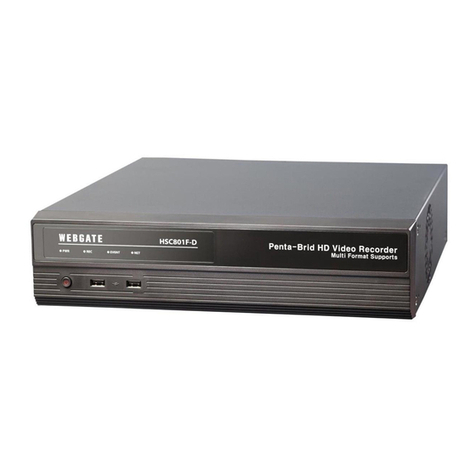
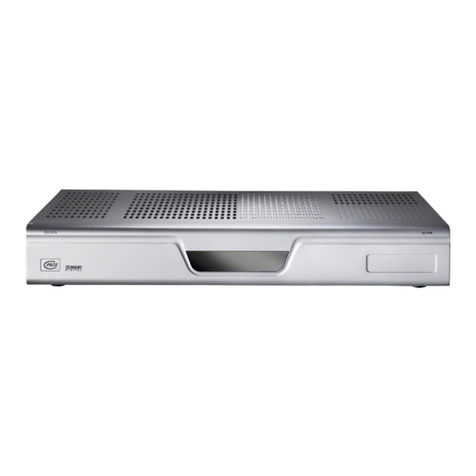
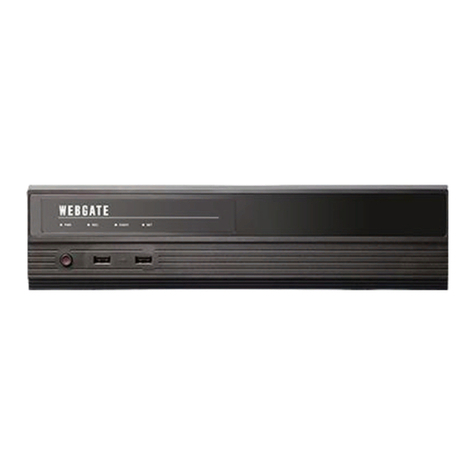
WebGate DS412 User manual

User Manual V0.4 eDVR DS412
WEBGATE INC. 1 / 1
FCC Compliance Statement
Caution : Any changes or modifications in construction of this device which are
not expressly approved the party responsible for compliance could void the user's
authority to operate the equipment.
NOTE : This equipment has been tested and found to comply with the limits for a
Class B digital device, pursuant to part 15 of the FCC Rules. These limits are
designed to provide reasonable protection against harmful interference in a
residential installation. This equipment generates, uses and can radiate radio
frequency energy and, if not installed and used in accordance with the
instructions, may cause harmful interference to radio communications, However,
there is no guarantee that interference will not occur in a particular installation. If
this equipment does cause harmful interference to radio or television reception,
which can be determined by turning the equipment off and on, the user is
encouraged to try to correct the interference by one or more of the following
measures:
- Reorient or relocate the receiving antenna.
- Increase the separation between the equipment and receiver.
- Connect the equipment into an outlet on a circuit different from that to which
the receiver is connected.
- Consult the dealer or an experienced radio/TV technician for help.
This device complies with Part 15 of the FCC Rules.
Operation is subject to the following two conditions:
(1) This Device may not cause harmful interference, and
(2) This device must accept any interference received, including
interference that may cause undesired operation.
CAUTION
Danger of explosion if battery is incorrectly replaced.
Replace only with the same or equivalent type.
Disposal of used batteries according to the general recommendations against the
environmental pollution.

User Manual V0.4 eDVR DS412
Important Notice
1. When using DS412, do not put heavy monitor or others on DS412.
2. DS412 is indoor use and all the communication wirings are limited to inside of
building. Therefore you should consider environmental specifications that are included
in the manual. For DS412 cleaning, gently wipe the outside with a clean dry cloth.
3. Be sure to use a DC adapter that is provided by Web Gate Inc. Connecting DS412
directly to a AC current, may cause electric damages to DS412.
4. Be cautious of handling DS412. Physical shocks may harm the product.
5. DS412 is made with a metal case. When installing the camera, be sure it is attached
securely to avoid any injures. Be careful to locate the camera where children cannot
reach it
6. If DS412 does not operate properly, please contact the closest local WebGate
distributor for after sales service. In all cases, you are prohibited to disassemble the
product. If so, WebGate is not responsible for any malfunction nor service warranty.
7. Security surveillance laws may differ for each country. Therefore, please contact the
local region first to avoid any surveillance law violations and to apply for authorized
purposes only.
WEBGATE INC. 2 / 2

User Manual V0.4 eDVR DS412
EDVR Manual
Version : 0.4
Making Date : January, 28, 2003
Revision Date : February, 25, 2003
1. Install & Run
1.1. Descriptions
A. Front Panel
IEEE1394 USB
123 5647
1234
8 9 0 +10 ENTER
MENU
EXIT
HELP
WEBGATE
ALARM
DIGITAL VIDEO RECODER AX-100L
Function selection
button
Channel selection
button
LED Direction/Replay
button
Remote controller
receiver
(1) Remote Controller Receiver
(2) Channel Selection Button
- To select video input channel in monitoring and playback mode
(3) LED
- PWR : To show power supplying status. “ON” means to supply power.
- NET : To show the status of Ethernet and communication. It blinks as many as
transmitted frames per second.
- REC : To show frame recording status. It blinks as many as recording frame per
second.
- PLAY : To show playback mode. It blinks as many as replaying frame per second.
- ALARM 1~4
(4) Function selection button
- SEQ : To show with converting all connected video channels
- MULTI : To show multi channels (4-9-16-13 divided screen)
- SELECT : To select video channel for PTZ control
- ZOOM : To show expanded image via one channel mode
WEBGATE INC. 3 / 3

User Manual V0.4 eDVR DS412
- SEARCH : To search the recorded image in Playback mode
(5) Direction/Replaying Button
- MENU : To set PTZ and configuration menu
- ENTER : To confirm the selected menu
- HELP :
- EXIT : To exit form the selected menu
- Arrow key : Replay function or menu moving function
B. Rear Panel
COM2/RS232
1.RXD
2.TXD
3.GND
4.R+
5.R-
6.T+
7.T-
8.GND
SENSOR IN ALARM OUTCOM1
RS232 RS422/485 S1 S1 S1 S1
12345678
O1 O2 O3 04
+-+-+-+-+-+-+-+-
AUDIO
MIC
LINE
VIDEO VIDEO
OUTPUT INPUT
VCR
MONITOR
Ch3
Ch1
Ch4
Ch2
75ohm
HI-Z
1234 OFF
VIDEO
NTSC
PAL
ON
CONTROL
REMOTE
INPUT
ETHERNET
10/100
IEEE1394
12
DC12V
3.5A
POWER
GND
ON
USB1
USB2
(1) Serial Port & DIO
- Serial : RS232 9Pin D-Sub Connector & RS232/422/485 terminal block
- Sensor In : 4 sensor inputs
- Alarm Out : 4 Alarm Relay outputs
(2) Audio In/Output
- 1 audio input & 1 output
(3) Video Output
- 1 monitor output & 1 VCR output
(4) Video Input
- 4 video inputs
(5) Ethernet
(6) Power
Serial port &
DIO
Video
output
Audio input Ethernet Power
Video
input
WEBGATE INC. 4 / 4

User Manual V0.4 eDVR DS412
1.2. Connect Device
A. Connect Video
B. Connect Monitor
C. Connect Ethernet
D. Connect Audio
E. Connect Power & Run
2. Monitor
It is to monitor real time image. Ch. 1~4 are for analogue image input via BNC cable, and Ch. 5~16 are
for digital image input of network camera via network.
A. View basic screen (quad-split)
(1) Supply power.
(2) Power LED is on, and DVR starts
booting.
(3) After booting, basic screen (quad-split)
shows.
※If user password is set, a dialogue for
entering password will be indicated.
B. View full screen
(1) Press the button of channel that user
wants to view from multi screen
(4/9/16/13).
(2) When selecting one between channel 10
and 16, press the [+10] button at first
then the other number.
(3) Screen changes into 1 channel full
screen, and the related channel shows.
(4) If pressing the [MULTI] button, full screen moves to the previous multi screen.
. View multi screenC
WEBGATE INC. 5 / 5

User Manual V0.4 eDVR DS412
(1) Press the [MULTI] button for viewing several channels simultaneously.
ed in due order.
els 1
. View all channels with automatic converting
r automatically with using the [SEQ] button.
configured ‘Auto
(4) are smaller than number of current split screen, SEQ function will not run.
. View an alarm triggered channel
function in menu.
ps up automatically.
utomatically. For example,
(4)
. View extended image
can be viewed with [ZOOM] button from ‘Full screen’ mode.
wice size.
the center of screen. And it can move each 10th step to left
(5) .
nction is cancelled.
. View with connecting PTZ
is connected to eDVR and “Serial Conf.” is set in menu, PTZ can be
(2) ELECT] button in monitor mode.
tton.
(2) Whenever pressing the [MULTI] button, 4-9-16-13 split screens are chang
(3) In quad-split mode, images of channels 1 to 4 show. Channels 1 to 9 in 9-split mode, chann
to 16 in 16-split mode, and channels 1 to 12 in 13-split mode.
D
(1) All channels can be viewed in due orde
(2) Press the [SEQ] button from current multi screen (except 16/13-split screen).
(3) Show [SEQ] mode in the right of screen and sequential images as much as the
SW Interval’ value.
If connected channels
(5) Set ‘Auto SW Interval’ value in menu. Default value is 3 seconds.
(6) To shut down [SEQ] function, press the [SEQ] button.
E
(1) Set ‘Alarm Pop-up Screen’
(2) When alarm is triggered, the related channel po
(3) According to alarm triggered channel number, a split screen shows a
if alarm triggered channels are three, the images show in quad-split screen.
Show type of alarm trigger in the left of screen.
F
(1) Extended image
(2) Press the [ZOOM] button.
(3) Extended image shows by t
(4) Default place of extended image is on
and right and 4th to up and down.
To move it, use the [Arrow] button
(6) If repress the [ZOOM] button, the fu
G
(1) When PTZ controller
controlled.
Press the [S
(3) Channel selection menu shows.
(4) Select a channel with [Arrow] bu
WEBGATE INC. 6 / 6

User Manual V0.4 eDVR DS412
(5) Press the [MENU] button.
(6) PTZ menu (PAN/TILT, ZOOM/FOCUS, Preset, Preset Save) shows.
S’, [UP/DOWN] arrow key is for ‘TILT/FOCUS’
(9) shows.
reset shows.
. View network camera’s image
input of network cameras (WebEye Series, I-Rec Series).
. Playback
recorded images via full screen or quad split screen.
. Playback via basic screen (full screen)
as 1x.
fore 1 minute 45 seconds is displayed.
. Playback via split screen
basic screen playback mode.
e related channel number.
. Playback with extending
basic screen playback mode.
the center of screen. And it can move each 10th step to left
(4) .
nction is cancelled.
. Various playback modes
lay as 1x.
(7) Press the [ENTER] button after selecting one.
(8) When selecting ‘PAN/TILT’ or ‘ZOOM/FOCU
and [LEFT/RIGHT] arrow key for ‘PAN/ZOOM’.
When selecting ‘Preset’, a dialogue for selecting stored preset
(10) When selecting ‘Preset Save’, a dialogue for storing current point as p
H
(1) Channels 5 to 16 are for
(2) eDVR should be connected to Ethernet and the related channel be set in MENU.
3
It is to replay
A
(1) Press the Play [►] button.
(2) Play [►] button is to replay
(3) The recorded image of channel 1 be
B
(1) Press the [MULTI] button from
(2) Channels 1 to 4 shows in quad-split screen.
(3) To move into basic screen playback, press th
C
(1) Press the [ZOOM] button from
(2) Extended image shows by twice size.
(3) Default place of extended image is on
and right and 4th to up and down.
To move it, use the [Arrow] button
(5) If repress the [ZOOM] button, the fu
D
(1) ►(PLAY) : To rep
(2) ■(STOP) : To stop replaying
WEBGATE INC. 7 / 7

User Manual V0.4 eDVR DS412
(3) ▌▌ (PAUSE) : To pause replaying
er pressing the button, replaying speed increases gradually
(5) D) : Whenever pressing the button, reverse replaying speed increases
(6) sing [►,Replay] or [►►, FAST FORWARD] button from
(7) EWIND] button from pause status, image is
. Search
rch any image in playback mode.
(1) Press the [SEARCH] button in playback mode.
cting log in log browser.
ted value or selecting log.
he [EXIT] button.
. Setting menu
nel and recording schedule with using [MENU] button. There are total seven menus
. Descriptions
e [Menu] button of front panel.
/right’ button. To move to the sub menu, press the [Enter]
(4) o upper menu, press the [Exit] button.
enu or help.
. Dialogue for entering word
he related dialogue box is indicated.
(4) ►►(FAST FORWARD) : Whenev
(x1, x2, x4, x8, x16)
◄◄ (FAST REWIN
gradually (x1, x2, x4, x8, x16)
STEP FORWARD : When pres
pause status, image is replayed frame by frame.
STEP REWIND : When pressing [◄◄, FAST R
replayed frame by frame.
4
It is to sea
(2) Search something with entering date/time or sele
(3) Searching channel is current playback channel.
(4) Press the [ENTER] button after entering the rela
(5) The searched image is replayed.
(6) To exit from search mode, press t
5
It is to set chan
(Camera, Normal Rec., Alarm Rec., Relay, Monitor, System, Utility)
A
(1) Press th
(2) Enter Admin password, if it is set.
(3) Main menu can be selected with ‘left
button.
To move t
(5) A changed value is applied instantly.
(6) Status bar indicates value of selected m
B
(1) When setting value is a word, t
(2) To set a word, use direction arrow keys and number keys “0”to ”9".
WEBGATE INC. 8 / 8

User Manual V0.4 eDVR DS412
(3) The matching point between horizontal and vertical bar is selecting value.
n order to select
(5) er to confirm the selected value.
. Camera setting
(Ch1 – Ch4) Input
ideo input are same like picture above.
-menu.
ressing [Enter] key.
f DVR.
n
- using ◄◄ button or ►► button after pressing [Enter] key.
(2) Network Camera Video (Ch5 – Ch16) Input
pressing [Enter] key, the related dialogue box is indicated.
ressing [Enter] key.
admin
- word should be entered. Default value
- e/I-Rec” with using ◄◄ button or ►► button after pressing [Enter] key.
key, the related dialogue box is indicated.
fault values are
(4) Or enter the related numbers in order of horizontal/vertical. (For example, i
“N”, press [4] and [3] button.)
Press the [ENTER] button in ord
(6) After setting all values, press the [Exit] button.
C
(1) Analogue Video
- All setting menus for analogue v
- If pressing [Enter] key after selecting a channel, user can move to the sub
- Name: If pressing [Enter] key, the related dialogue box is indicated.
- Activity: Set “On/Off” with using ◄◄ button or ►► button after p
- Type: It only shows input video signal(NTSC/PAL). To set it, use dip switch on the rear o
- Color: Set “Color/Mono” with using ◄◄ button or ►► button after pressing [Enter] key.
- Gain/Bright/Contrast; Set the value between –9 and +9 with using ◄◄ button or ►► butto
after pressing [Enter] key.
PTZ Port: Set the value with
- Address: If pressing [Enter] key, the related dialogue box is indicated.
* There are ‘Login’ menu and ‘Network’ menu.
1) Login menu
- Name: If
- Activity: Set “On/Off” with using ◄◄ button or ►► button after p
- Access Token: If the related network camera is encrypted, the same value that is set in its
menu should be configured. Default value is “NULL”.
User ID/Password: The related network camera’s ID/Pass
is “guest/guest”.
Type: Set “WebEy
- CH: Set one between Ch1 and Ch6.
- IP Address(URL): If pressing [Enter]
- Port: If pressing [Enter] key, the related dialogue box is indicated. The de
different according to camera type; “8080” in “WebEye” and “8001” in “i-Rec”.
WEBGATE INC. 9 / 9

User Manual V0.4 eDVR DS412
2) Network menu
- Refresh: If selecting it, all local cameras are listed up. If using this menu, it is needless to enter
each local camera’s IP address manually in “Login” menu.
D. Normal Recording
* There are four types (Weekday Day/Weekday Night/Weekend Day/Weekend Night).
- Normal Recording: There are five conditions
(No Rec./Low/Standard/High/Custom). All conditions except “Custom” operate together with
“Frame Rate” and “Quality” automatically; 3fps/Q1 in “Low”, 10fps/Q3 in “Standard”, and
20fps/Q5 in “High”. When setting “Custom”, Frame Rate and Quality can be set separately.
- Special Time Recording: There are five conditions
(No Rec./Low/Standard/High/Schedule). It can be set in ‘System’ menu.
- Alarm Recording: Set “On/Off” with using ◄◄ button or ►► button after pressing [Enter] key.
E. Alarm Recording
* Among these menus, some menu may not be activated. Namely, setting menus are different according to
camera type(analogue camera/network camera). In addition to that, WebEye series doesn’t support
“Alarm Recording” currently. WebEye can support this menu after upgrading Firmware in July.
- IP Cam Event: It is only for I-Rec series(Ch.5 ~ Ch.16) currently. If setting as “On” after
registering I-Rec series, its related data are recorded according to setting menu in camera’s
admin menu.
- MD/S1/S2/S3/S4: It is only for analogue cameras(Ch.1 ~ Ch.4). Be carious that DVR is set on
the base of NO(Normal Open) type sensor.
- Alarm Recording: There are five conditions.
(No Rec./Low/Standard/High/Custom) All conditions except “Custom” operate together with
“Frame Rate” and “Quality” automatically. When setting “Custom”, Frame Rate and Quality
can be set separately.
- Pre/Post Alarm: Maximal 10 seconds can be set.
WEBGATE INC. 10 / 10

User Manual V0.4 eDVR DS412
F. Relay
* There are four types(Weekday Day/Weekday Night/Weekend Day/Weekend Night).
- Setup: It can be set from Relay1 to Relay4. It is for sending digital output signal in case of alarm
triggered event(MD or Sensor).
- Special Time: It is for setting in ‘Special Time’ zone.
G. Monitor
- Auto Sequence: It is for setting auto sequence cycle in monitoring mode. Its maximal value is 60
seconds.
- Alarm Pop-up: It is for setting automatic video pop-up, when alarm is triggered.
- Pop-up Hold: It is for setting pop-up image’s duration among 5/6/7/8/9/10 seconds/Keep.
H. System
1) Audio
- Recording: It is to set whether audio is recorded or not.
- Level: It can be set between –7 and +8.
- +20dB: It is for amplifying audio input signal against low input level.
- Video Link: It is to link with replayed video channel.
2) Time
- Date/Time: It is to set Date and Time.
- Date Format: It is set one between “MM/DD/YYYY” and “YYYY/ MM/DD”.
- Weekday Start/End: It is to set a range of “Weekday”. The other range will be “Weekend”.
- Day Start/End: It is to set a range of “Day”. The other range will be “Night”.
- Daylight Saving: It is to set daylight saving. If it set as “On”, time will be changed automatically
in related period.
- Time Zone: It is to set time zone.
- Set time: To set a value, another menu has only to exit from the related menu. But for setting
time, user should certainly press this button.
3) Special Time
- It is to set maximal four zones as “Special Time”.
WEBGATE INC. 11 / 11

User Manual V0.4 eDVR DS412
4) Security
- User Password: It is to set User’s Password only for monitoring and playback.
- Admin Password: It is to set Admin’s Password for all controlling.
- Remote Setup: If setting as “Enable”, user can set DVR with specific S/W in remote site via
network.
- Remote DIO: It is to set DIO menu in remote site.
5) Disk Setup
- Auto Del. Normal: When HDD is full of recorded data, they can be deleted automatically except
alarm-triggered data.
- Auto Del. Alarm: If setting it, alarm-triggered data will be also deleted in case of being full.
- Alarm Partition: DVR recognizes all connected HDDs as one. It is to set percentage of HDDs for
alarm recording range within HDDs’ total sizes.
- Backup Reminder: It is to set backup information showing according to EveryDay, EveryWeek,
or EveryMonth.
- Day/Time: According to setting values of “Backup Reminder”, setting ranges are indicated
differently.
6) Network
6)-1: Network
- Type: It is to set connected network line(Ethernet/xDSL).
- DHCP: It is to set DHCP using or not.
- Network information setting: It is to set IP address, Netmask, Gateway, or DNS server’s IP
address.
6)-2 xDSL
- User ID/Password: When DVR is connected to xDSL, access ID and Password should be
entered.
- WRS Interval/URL/Group: It is to set server registering interval, server’s URL, or configured
group ID.
- Status: It shows xDSL’s accessing status.
* Currently(25, February), eDVR supports only Ethernet, not xDSL. After upgrading xDSL function,
WebGate will let you know it instantly.
WEBGATE INC. 12 / 12

User Manual V0.4 eDVR DS412
6)-3 Server
- Monitoring Port/Playback Port: DVR use 8001 port as Monitoring port and 8105 port as
Playback port. When selecting one for changing, the related dialogue box is indicated.
- Firewall/Port: When using Firewall, set is as ‘Yes’ and enter its port.
7) Serial Setup
* There are two RS232 menus (One is for external device via DB-9 pin, and the other is for PTZ
setting) and RS 422/485 menu.
- Device: It is to set a connected external device.
- Baud rate/Parity/Stop bit/Data bit: Each value should be set normally according to a connected
external device.
8) Miscellaneous
- Remote Control ID: Total sixteen remote control IDs can be set. So with this seeing, maximal
sixteen DVRs can be controlled with one remote controller.
- DVR ID: It shows in specific DVR manager S/W in order to manage several DVRs easily.
- Factory Setting: It is for factory setting.
I. Utility
1) Disk Manager
- A connected HDD is detected automatically.
- Action: Set one among “Add/Remove/Format/Confirm Removed”.
- Select Disk: It is to select a setting Disk.
- Type: There are several kinds of indicating words.
[?] : It shows a detected HDD’s status before formatting
[*] : It shows a added HDD’s status before formatting
[R] : It shows a using HDD’s status after formatting
[X] : It shows a not-detected HDD’s status that is used previously.
2) Disk Backup
- Start Date/End Date: It is to set backup range.
- Select Disk: The connected backup HDD is detected automatically. At first, backup HDD should
be added and formatted in “Disk Manager” menu.
WEBGATE INC. 13 / 13
Table of contents
Other WebGate DVR manuals

WebGate
WebGate EH1600L User manual

WebGate
WebGate MD1600H User manual

WebGate
WebGate HD400H User manual

WebGate
WebGate MH1600H Instruction Manual

WebGate
WebGate Hybrid DVR Series User manual

WebGate
WebGate UHN1600-H2 User manual

WebGate
WebGate HD400H User manual

WebGate
WebGate HDC400M User manual

WebGate
WebGate HS1600F-D User manual

WebGate
WebGate HS1620F-PD User manual