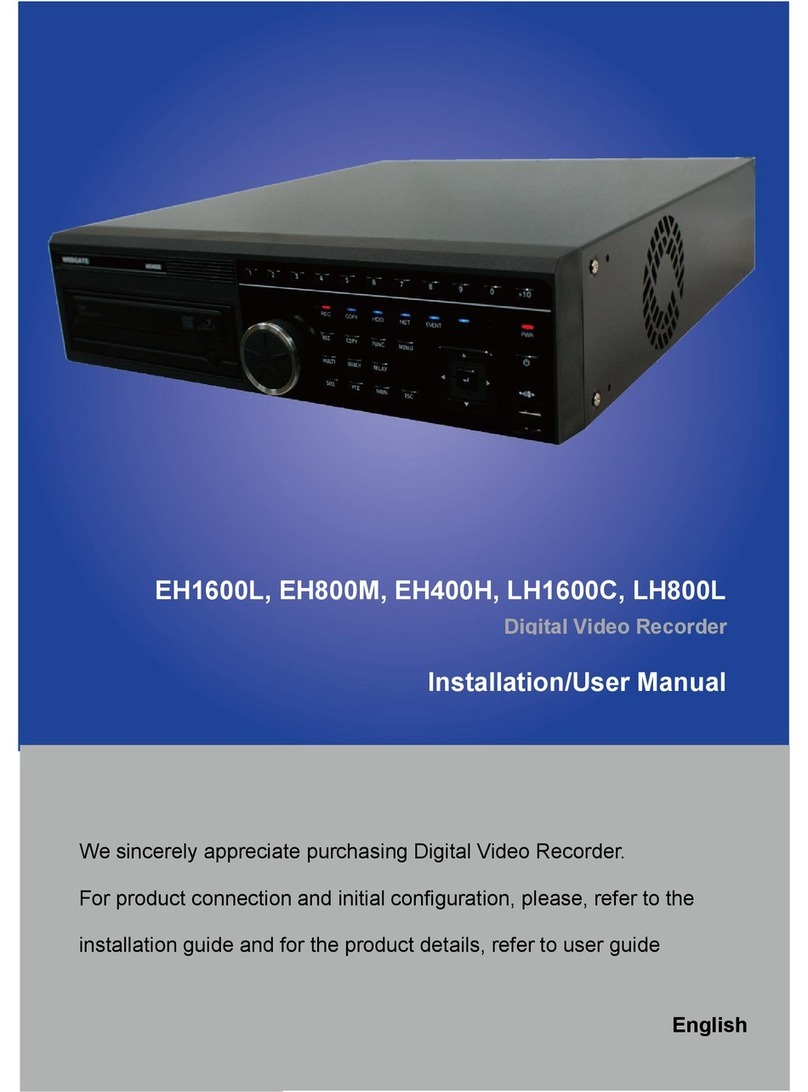
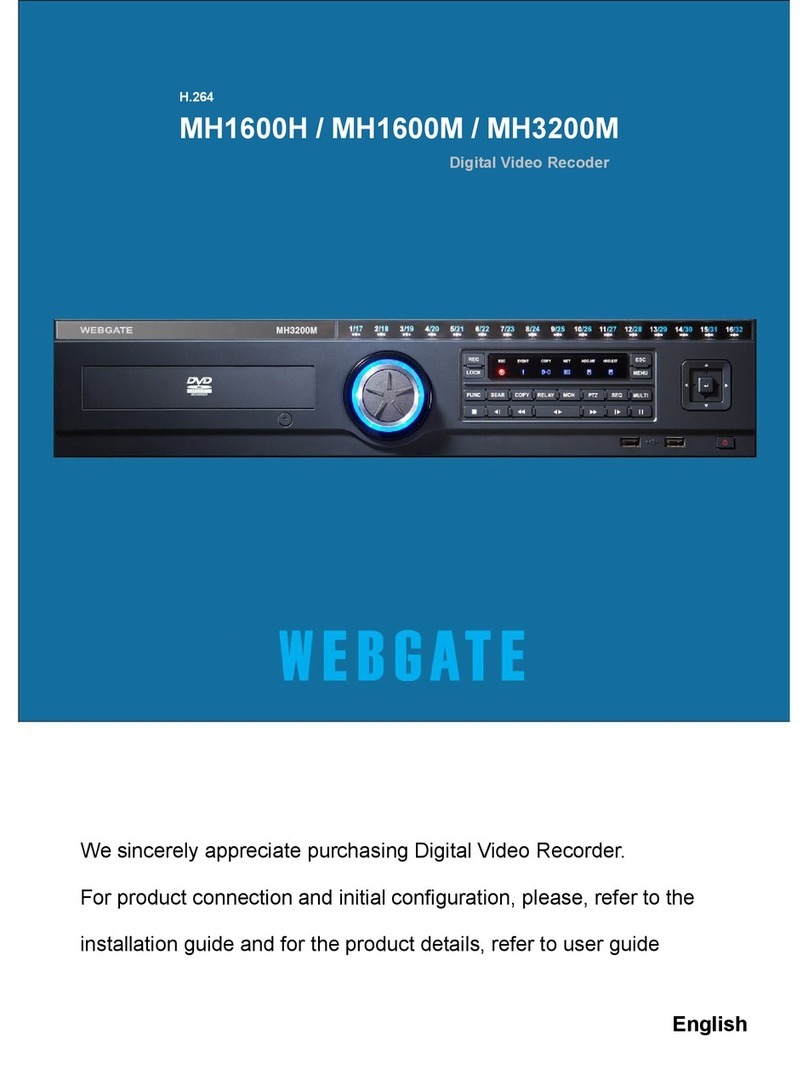
WebGate MD1600E User manual


Install&User Manual
1
Important Notice
1. Do not place heavy objects on the top of the product.
2. Product is for indoor use. It is not weatherproof. Use product with referring to its
environmental specifications ( emperature & Humidity). o clean the product, gently wipe the
outside with a clean dry cloth.
3. Product uses AC power of 110V ~ 240V. Be cautious not to cause electric damages to
product.
4. Be careful not to drop the product. Physical shocks may harm the product including internal
HDD. In addition, be sure the product is secured after installation.
5. Product is made of metal. herefore you can hurt human beings if you throw it to them or hit
on them. When installing product, be cautious to locate on safe places where children are
unreachable.
6. If Product does not operate properly, please contact the closest WEBGA E distributor for
after sales service. ampering or disassembling the product will void the warranty.
7. Security surveillance laws may differ for each country. herefore, please contact the local
region first to avoid any surveillance law violations.
he content of this manual can differ according to firmware or Software upgrading, and the
standard and appearance of products may be changed for the improvement of quality without
an advance notice.

Install&User Manual
2
Contents
KEY FEATURES ............................................................................. 7
INSTALL MANUAL ....................................................................... 10
1. FEATURE .................................................................................. 10
1.1 Supplied Accessories ...................................................................................................................... 10
2.1 Description & Function .................................................................................................................. 11
2.1.1 Front ....................................................................................................................................... 11
2.1.2 REAR ..................................................................................................................................... 13
2.1.3 REMOTE CONTROLLER .................................................................................................... 13
2. INSTALLATION ......................................................................... 16
2.2 nstallation and Connection ............................................................................................................ 16
2.2.1 Connecting & Running ........................................................................................................... 16
2.3 Running OSD menu ....................................................................................................................... 18
2.3.1 OSD menu configuration ........................................................................................................ 18
2.3.2 Setting remote controller ........................................................................................................ 19
2.3.3 nstall examples ...................................................................................................................... 20
2.3.4 Basic Setting ........................................................................................................................... 21
2.4 Connecting and configuring D O ports .......................................................................................... 25
2.4.4 HDD ....................................................................................................................................... 34
2.4.5 Remote monitor and control ................................................................................................... 35
USER MANUAL ............................................................................ 7
DESCRIPTION .............................................................................. 7
3.1 Front Part ........................................................................................................................................ 37
3.2 Rear Part ......................................................................................................................................... 39
3.3 Menu Structure ............................................................................................................................... 40

Install&User Manual
3
3.4 Function Menu ............................................................................................................................... 40
3.5 Factory Reset .................................................................................................................................. 41
MONITORING ............................................................................... 46
4.1 Basic Screen ................................................................................................................................... 46
4.2 Single Fll Screen Mode .................................................................................................................. 46
4.3 Multi Screen Mode ......................................................................................................................... 46
4.4 Screen Description .......................................................................................................................... 46
4.5 Auto Switch Mode .......................................................................................................................... 47
4.5.1 System Standard Mode ........................................................................................................... 47
4.5.2 User Sequence Mode .............................................................................................................. 47
4.6 Event Screen ................................................................................................................................... 48
4.7 Zoom Screen Mode ........................................................................................................................ 49
4.8 Pause Live Screen........................................................................................................................... 49
4.9 PTZ Control .................................................................................................................................... 50
4.9.1 Pan/Tilt .......................................................................................................................................... 51
4.9.2 Zoom/Focus ................................................................................................................................... 51
4.9.3 Load Preset .................................................................................................................................... 51
4.9.4 Save Preset .................................................................................................................................... 51
4.9.5 Auxiliary On .................................................................................................................................. 51
4.9.6 Auxiliary Off ................................................................................................................................. 52
4.9.7 Menu .............................................................................................................................................. 52
PLAYBACK ................................................................................... 5
5.1 Playback Mode ............................................................................................................................... 53
5.1.1 Playback on Standard monitor (16 / 9 division) ..................................................................... 53
5.1.2 Playback function ................................................................................................................... 53
5.2 SEARCH MODE............................................................................................................................ 53
5.2.1 Time Search ............................................................................................................................ 54

Install&User Manual
4
5.2.2 Schedule Search ...................................................................................................................... 54
5.2.3 Event Search ........................................................................................................................... 55
5.2.4 Thumbnail Search ................................................................................................................... 56
5.3 Copy ............................................................................................................................................... 56
5.3.1 CD/DVD ................................................................................................................................. 57
5.3.2 RE4 ......................................................................................................................................... 58
5.3.3 AV ......................................................................................................................................... 59
6. CONFIGURATION..................................................................... 60
6.1 Recording Structure ........................................................................................................................ 60
6.2 System Setup .................................................................................................................................. 60
6.2.1 Date/Time ............................................................................................................................... 60
6.2.2 Disk ........................................................................................................................................ 63
6.2.3 User Setup .............................................................................................................................. 65
6.2.4 Utility...................................................................................................................................... 67
6.3 Network .......................................................................................................................................... 69
6.3.1 xDSL ...................................................................................................................................... 71
6.3.2 WRS ....................................................................................................................................... 71
6.4 Device Setup ................................................................................................................................... 72
6.4.1 Camera Setup.......................................................................................................................... 73
6.4.2 Monitor Setup ......................................................................................................................... 74
6.4.3 Audio Setup ............................................................................................................................ 75
6.4.4 Text Setup ............................................................................................................................... 76
6.4.5 Serial Setup ............................................................................................................................. 77
6.5 Event Setup ..................................................................................................................................... 79
6.5.1 Event Check............................................................................................................................ 79
6.5.2 Sync Event .............................................................................................................................. 80
6.5.3 Motion Detection .................................................................................................................... 82
6.5.4 Sensor ..................................................................................................................................... 83
6.5.5 Preset ...................................................................................................................................... 84
6.6 Recording setup .............................................................................................................................. 85
6.6.1 Program setup ......................................................................................................................... 85

Install&User Manual
5
6.6.2 Manual/Schedule recording setup ........................................................................................... 87
WEB VIEWER ............................................................................... 91
7.1 System requriement ........................................................................................................................ 91
7.2 Login .............................................................................................................................................. 92
7.3 User Setup ...................................................................................................................................... 92
7.4 Browser available ........................................................................................................................... 93
7.5 Monitor ........................................................................................................................................... 93
7.5.1 Screen division and changing video position ......................................................................... 94
7.5.2 Move to Playback ................................................................................................................... 95
7.5.3 Channel On/Off ...................................................................................................................... 95
7.5.4 Sensor ndication .................................................................................................................... 95
7.5.5 Relay opeartion ....................................................................................................................... 95
7.5.6 Using microphone .................................................................................................................. 96
7.5.7 Event data ............................................................................................................................... 96
1.1.1. Video Recording & Save saving ............................................................................................. 96
7.5.8 UsingPTZ ............................................................................................................................... 97
7.5.9 Using Audio ............................................................................................................................ 98
7.5.10 Closing Video Channel ........................................................................................................... 98
7.6 Playback ......................................................................................................................................... 99
1.1.2. Video Division & Changing Channel ..................................................................................... 99
7.6.1 mage recording ...................................................................................................................... 99
7.6.2 Printing ................................................................................................................................. 100
7.6.3 Backup .................................................................................................................................. 100
7.6.4 Web Monitor ......................................................................................................................... 101
7.6.5 Channel On/Off .................................................................................................................... 101
7.6.6 Saving time & Checking Rec. Capacity ............................................................................... 101
1.1.3. Searching Calander ............................................................................................................... 101
1.1.4. Functional function at the buttom of monitor ....................................................................... 102
TROUBLE SHOOTING ............................................................... 10
AVAILABLE HDD ........................................................................ 105

Install&User Manual
6
COMPATITABLE CD/DVD LIST .................................................. 106
SPECIFICATION ......................................................................... 106
PRODUCT SIZE .......................................................................... 109

Install&User Manual
7
KEY FEATURES
Monitoring Screen
Supprots real live video with high resolution per each channel and variable display mode.
Real MPEG-4 Video
Varianble display mode
MD1600E : 1/4/9/16 channel mode
MD800E : 1/4/9 channel mode
MD400E : 1/4 channel mode
Auto Switching
MD1600E : Composite x 2, VGA x 1
MD800E : Composite x 2, VGA x 1
MD400E : Composite x 2, VGA x 1
Audio Recording
Supprots real-time audio input and recording
Simultaneous 4ch audio input & recording available
Input : 4Ch, Output : 1ch (Rear)
Simultaneous audio recording and playback available
Recording
It supports 480ips recording at High-Resolution (4CIF) and available to record max. 5
seconds before triggering an event. Also, convert function is available protecing privacy.
MPEG-4 Video recording with High-Quality
MD1600E : CIF(360x240) 480ips

Install&User Manual
8
MD800E : 2CIF(360x240) 240ips
MD400E : 4CIF(360x240) 120ips
Supprots manual & schedule recording
Video loss detection
Supprots archiving event list이벤트(Sensor, Video Loss,
Motion detection, ext)
Available record Max 5 seconds before triggering an event per
each channel
Search/ Playback
It supports variable and convenient functions for search & playback
Play back by time, date, Channel
Easy and convenient search using mouse
Pre/post search from a freeze frame
Play back by Event (Sensor, Video Loss, Motion Detection, ext)
Easy & convenient search using Remote Controller & Jog/
Shuttle
Back up device
It is available to back up to DVD-R, CD-R, USB memory by user’s choice.
Supprots various back up device : DVD-R, CD-R, USB memory
Network
It supports variable network like LAN, XDSL and easily control from remote site using PC
cliet viewer.

Install&User Manual
9
E-mail notification thru. CP/IP, DHCP in case of triggering an
event
Live monitoring form remote site (Whole screen or available to
select quad screen)
Available to playback, recording, search and DVR management
thru. network viewer in PC
Available to record, search & playback by time from remote site.
Supprots 10/100Mbps Ethernet/xDSL
Multiple DVR connection
Etc.
Supports User friendly GUI and mouse function
Easy and simple firmware upgrade thru. USB memory
Recorded data back up thru. USB port
P Z Control (SPEED DOME), PRESE fucntion
Available to control up to 16 DVRs with one remote controller

Install&User Manual
10
Install Manual
1. Feature
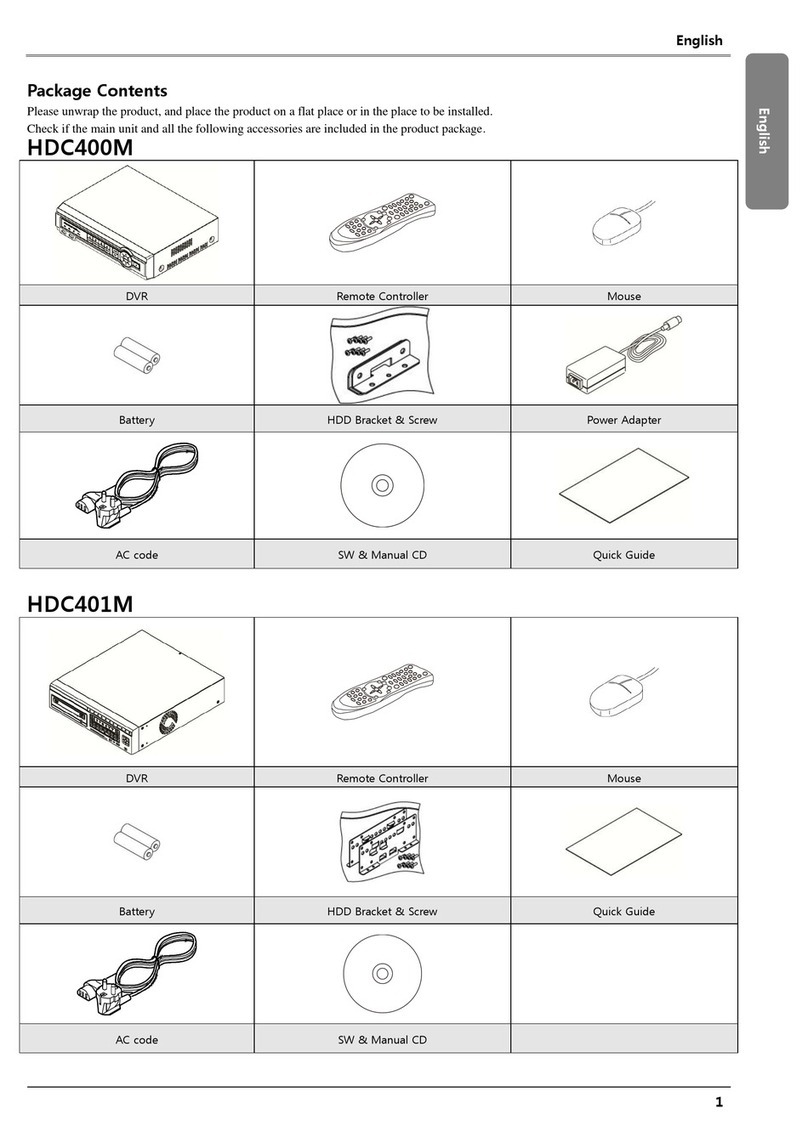
1.1 Supplied Accessories
Unpack and check all the items as below

Install&User Manual
11
2.1 Description & Function
2.1.1 Front
Item Description
1 DVD-Multi (For
Back up)
Back up use for recorded data by DVD/CD media
2 Channel Button o select video input channel
3 Jog/ Shuttle S EP function control, Playback direction change,
Playback speed control
4
REC LED Displays recording status
COPY LED Displays copy status
HDD LED Displays HDD running.
NE WORK LED Displays network connection
EVEN LED Displays event detection
5 Power urn on/ off power
6 Menu o enter menu
7 ESC o escape from menu or close pop-up window
8 REC o start or stop manual recording
9 Multi o change DVISION in live or playback mode
10 SEQ o run or stop user sequence
11 Copy o enter copy mode
12 Search o enter search mode
13 P Z o start P Z function or stop
14
Func o enter function mode
15 Relay Manual On/Off button for relay

Install&User Manual
12
16 Mon o change Monitor/ Stop
17 ◀/REW o move or select in menu and change replay speed to
reverse direction in playback mode
18 ▼/Stop o stop replay in playback mode
19 ▶/FWD o move or select in menu and change replay speed to
forward direction in playback mode
20 ▲/Pause o move or select in menu and pause live/ replay video
21 Enter/Play o enter playback mode or select menu
21 USB port Use connecting USB memory or Mouse

Install&User Manual
13
2.1.2 REAR
번호
번호번호
번호
Input/ Output name Descrtiption
1 Power connector Socket for AC100V~AC240V power cord
2 CH1~16(8/4) BNC input for camera connection
MD1600E : 16EA, MD800E : 8EA, MD400E : 4EA
3 Loop out BNC output(Loop) for camera connection
4 Monitor/ Spot BNC connection for monitor output
5 Audio Input(RCA) RCA connection for Audio input
6 Audio Output Speaker output terminal
7 Ground Ground between DVR & external device
8 Ethernet For network connection (RJ-45)
9 RS-232C RS-232C D-SUB
10
VGA OU PU Output for PC connection
11
ermination Ohm ermination Ohm for Com2, Com3
12
Relay/Serial Connection for Relay and Serial(RS-485)
13
Sensor IN Input for external sensor
2.1. REMOTE CONTROLLER
It is available to use all functions of DVR. If several DVR are set with unique ID numbers,
they can be controlled with one remote controller. o use remote controller, it is necessary

Install&User Manual
14
to set ID first which want use. Keep pressing ID button repetedely (Up to Max. 16 times)
and use it matching DVR & ID.
No. Iten Description
1 ID o select Remote Controller ID
2 LOCK Not use
3 COPY o indicate copy menu, copy recorded data to USB
4 BACKUP Not use
5 RELAY ON o manually ON
6 RELAY OFF o manually OFF
7 SEQ Auto sequencing
8 MUL I o change division
9 ZOOM o run digital zoom
10 SEARCH o indicate search menu
11 CHANNEL BU ON o select channel
12 SELEC Not use

Install&User Manual
15
13 +10 In case of selecting over 10
(+10 + 1)
14 FN1 Not use
15 FN2 Not use
16 MENU Covert to menu screen
17 HELP Not use
18 ◀/REW Move setting menu to left direction/REW
19 ▶/FWD Move setting menu to right direction/FWD
20 ▲/PAUSE Move setting menu to top direction/PAUSE
21 ▼ Move setting menu to bottom direction/S OP
22 EN ER/PLAY Menu selection/Playback
23 EN ER o select menu
24 EXI o cancel setting, escape from menu
25 FAS REWIND(◀◀) Speedy replay to reverse direction
26 REWIND PLAY(◀) Replay to reverse direction
27 FORWARD PLAY(▶) Repleay to forward direction
28 FAS FORWARD
(▶▶)
Speedy replay to forward direction
29 S OP( ) o stop replay
30 S EP REVERSE(◀l) Replay to reverse direction by each frame
31 S EP FORWARD (l▶)
Replay to forward direction by each frame
32 PAUSE(ll) o freeze playback
33 P/ PAN/ IL Control
34 LOAD PRESE o read preset
35 AUX ON Auxiliary ON

Install&User Manual
16
2. Installation
2.2 Installation and Connection
2.2.1 Connecting & Running
2.2.1.1 Connecting camera
Connect CC V camera to DVR with BNC cable as below
- he video type for all channels should be either N SC or PAL, not be combined both
- DVR sets video signal’s impedance (75Ω) automatically. Impedence is set as 75 Ω basically. If
connecting a dvice to video output, impedance will be “Hi-z” status.
- Video ype (N SC/PAL) should be changed after booting DVR. he order of camera
recognition follows ch1 through Ch16 camera amd 1st recognized camera type leads other
camera type.
2.2.1.2 Connecting monitor
Connect CC V monitor to DVR with BNC cable as below;
2.2.1. Connecting Audio
Connect audio signal to DVR with using RCA cable or D-SUB as below;

Install&User Manual
17
2.2.1.4 Supplying Power
Connect power cable as below;
- When supplying power, DVR starts booting automatically.
- In order to cut off power, press power switch on DVR front during 5 seconds, then select
“YES” after appearing a pop-up window.
- For supplying power again, push the Power button.

Install&User Manual
18
2. Running OSD menu
2. .1 OSD menu configuration
Press [MENU] in keypad of front to open configuration menu as below;
(1) Main Menu : he selected tab is show in bright color and the related sub-menu will be
shown left- below the tab. o move to the previous/next tab, use the [◀/▶] arrow buttons. o
move to a sub-menu press the [Enter] key.
(2) Sub-menu : he selected sub-menu is shown as tab title and the related setting will be
shown. o move to the previous/next tab, use the [◀/▶▲/▼] arrow buttons. o move to the
related setting press [Enter]. o move to upper main menu, press [ESC] button.
( ) Setting page : he selected tab is shown as orange, o move to the previous/next tab, use
the [◀/▶] or [▲/▼] arrow button and press [Enter] key for value setting. Whn setting value is a
word, a dialogue box to edit the word will be open. When setting value is number, it should be
set with using [◀/▶] or [▲/▼]. Press [ESC] button when the value is set and also [ESC] button
is available to upper sub-menu.
2. .1.1 Dialogue box to edit a word
Dialogue box to edit a word is image shown as below; It is available to input both word and
bumber.

Install&User Manual
19
.
Keep pressing [▲/▼], [◀/▶] arrow button until the word is looking for and press Enter. In case
of deleting input word press [], spacing words press [] button. o exit from dialogue box,
press [Enter] after finishing word input.
2. .2 Setting remote controller
2. .2.1 Setting ID of DVR
When controlling several DVRs with one remote controller, set Remote Control ID as follws;
(1) Press the [MENU] button
(2) [▶] Select “system” with using [▶] arrow button and press [Enter] or [▼] button
(3) [▼] Select “Utility” with using [▶] arrow button and press [Enter] button.
(4) Select “Remote Control ID” and press [Enter]
(5) [◀/▶] Select a value using [◀/▶] arrow buttons and press [ESC]
(6) Press the [ESC] button to return to the monitor mode.
<Reference>
Up to 16DVRs can be controlled with a single remote controller.
When not using remote controller, set the Remote Control ID as “Off”
2. .2.2 Selecting ID
If several DVRs are with unique ID numbers, they can be controllerd with one remote controller.
o select a specific DVR, keep pressing the ID button of remote controller until a buzzer sounds
during 2 seconds.
This manual suits for next models
2
Table of contents
Other WebGate DVR manuals

WebGate
WebGate MD1600L eDVR User manual

WebGate
WebGate eDVR MD800M User manual

WebGate
WebGate Hybrid DVR Series User manual

WebGate
WebGate MH1600H Instruction Manual

WebGate
WebGate DS412 User manual

WebGate
WebGate EH1600L User manual

WebGate
WebGate HS1620F-PD User manual

WebGate
WebGate HDC400M User manual

WebGate
WebGate HD400H User manual

WebGate
WebGate MD1600L eDVR User manual