manuals.online logo
Brands
  1. Home
  2. •
  3. Brands
  4. •
  5. Westin
  6. •
  7. Automobile Accessories
  8. •
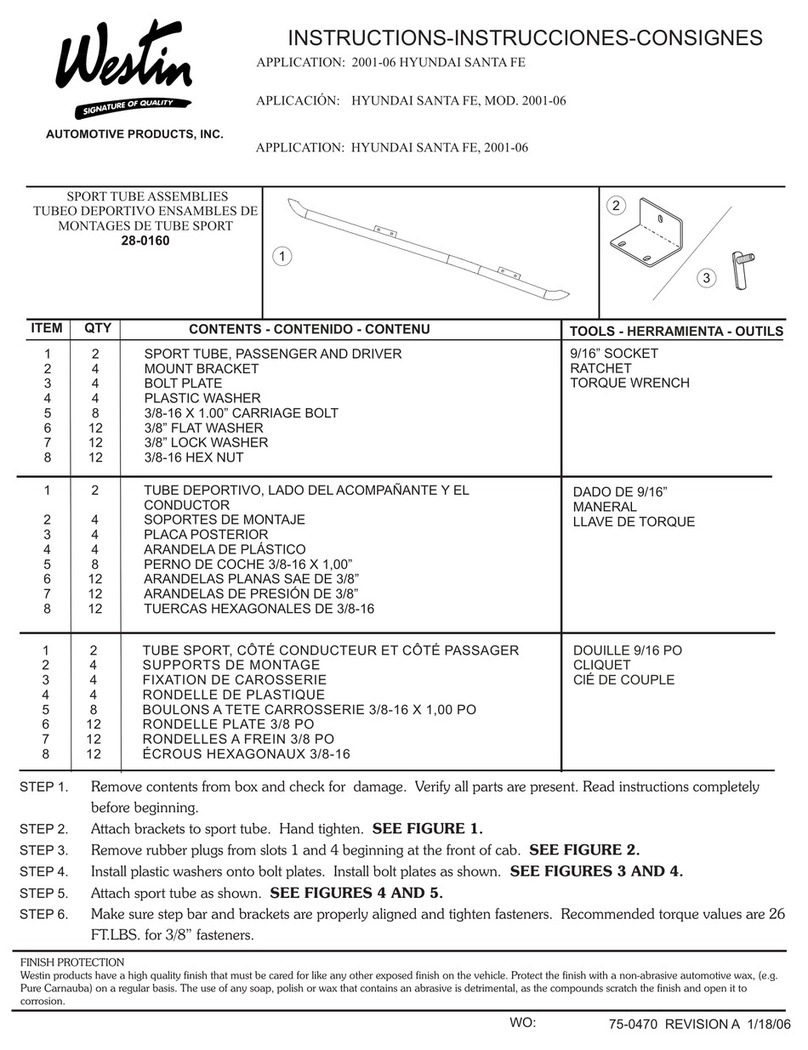
  9. Westin 22-1405 User manual

Westin 22-1405 User manual

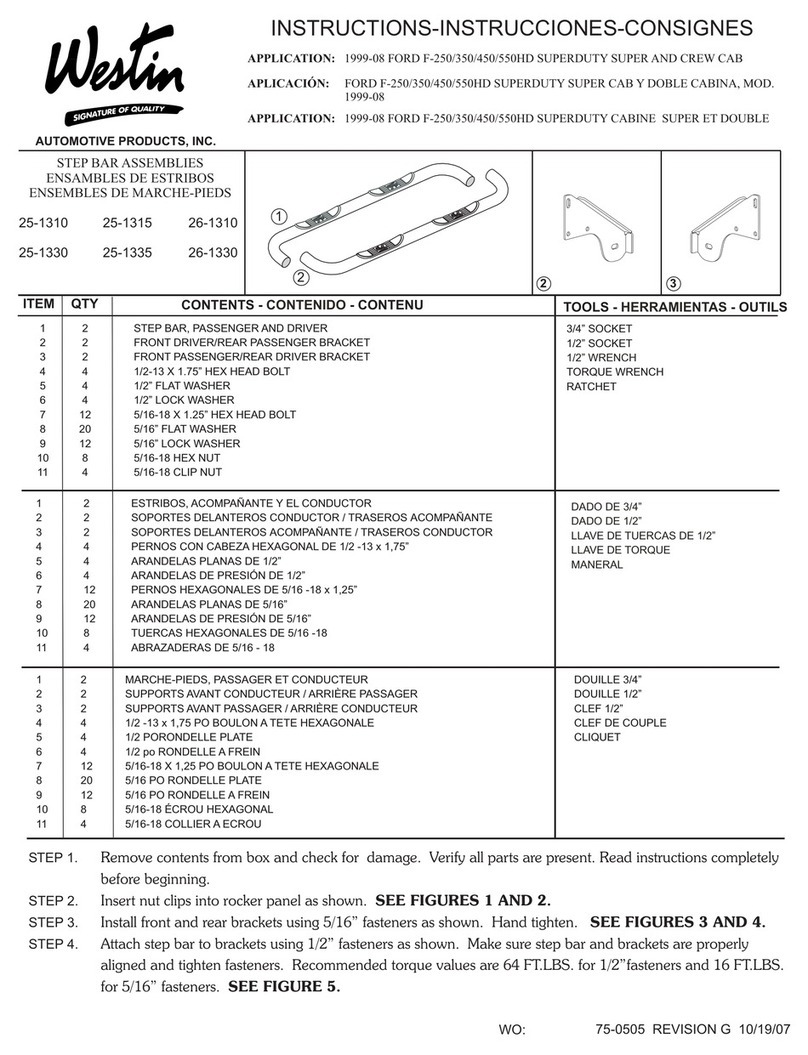
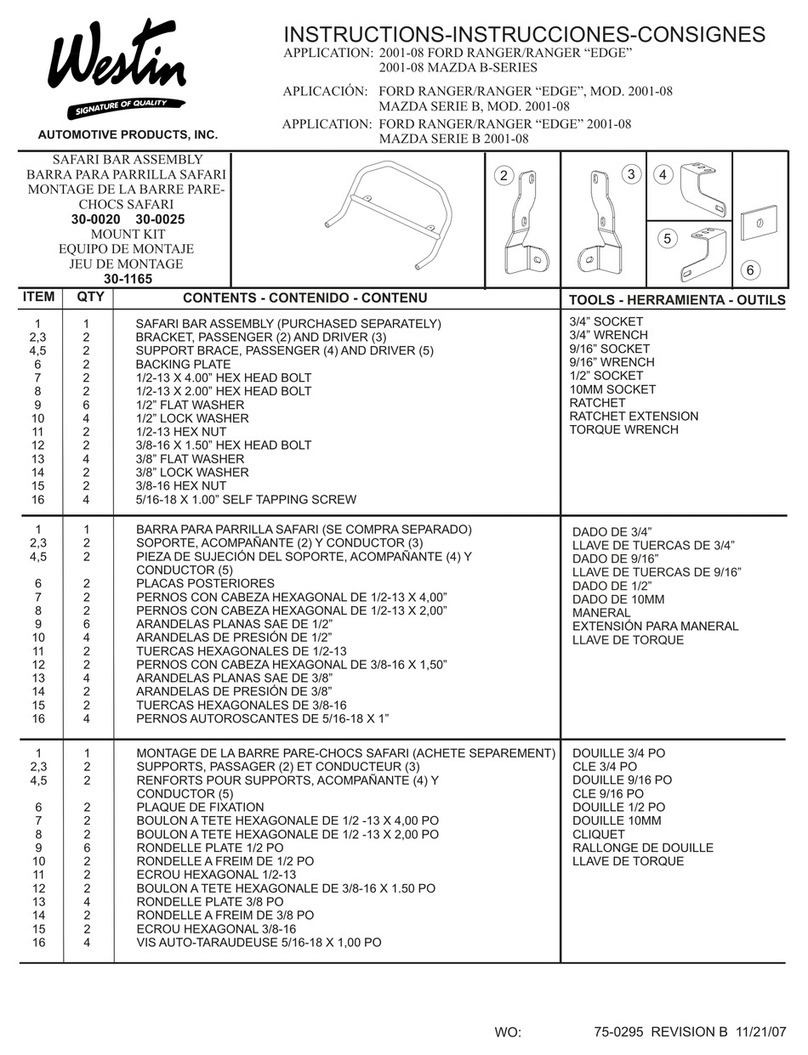
1 2 STEP BAR (PURCHASED SEPARATELY)
2 4 BRACKET
3 4 BOLT PLATE ASSEMBLY
4 4 3/8-16 X 1.00” HEX HEAD BOLT
5 8 3/8” FLAT WASHER
6 8 3/8” LOCK WASHER
7 4 3/8-16” HEX NUT
8 4 3/8-16 RIV NUT
9 4 M6 BOLT PLATES (INCLUDED WITH STEP TUBES )
10 16 M6 FLAT WASHERS (INCLUDED WITH STEP TUBES )
11 16 M6 LOCK NUTS (INCLUDED WITH STEP TUBES)
QTY CONTENTS - CONTENIDO - CONTENU TOOLS - HERRAMIENTA
- OUTILS
9/16” SOCKET
9/16" WRENCH
7/16” SOCKET
7/16" WRENCH
PLIERS
RATCHET
TORQUE WRENCH
ITEM
AUTOMOTIVE PRODUCTS, INC.
INSTRUCTIONS-INSTRUCCIONES-CONSIGNES
1 2 ESTRIBOS, (SE COMPRA SEPARADO)
2 4 SOPORTES
3 4 PLACAS DE PERNOS
4 4 PERNOS CON CABEZA HEXAGONAL 3/8-16 X 1,00”
5 8 ARANDELAS PLANAS DE 3/8”
6 8 ARANDELAS DE PRESIÓN DE 3/8”
7 4 TUERCAS HEXAGONALES DE 3/8-16
8 4
9 4 TORNILLO M6 PLACAS (INCLUIDO CON TUBOS STEP)
10 16 M6 ARANDELAS PLANAS (INCLUIDO CON TUBOS DE PASO)
11 16
TUERCA DE INSERCIÓN HEXAGONAL 3/8”
LAS TUERCAS M6 (INCLUIDO CON TUBOS DE PASO)
1 2 MARCHE-PIEDS, (ACHETE SEPAREMENT)
2 4 SUPPORTS
3 4 PLAQUES DE BOULON
4 4 BOULONS A TETE HEXAGONALE 3/8-16 X 1,00 PO
5 8 RONDELLES PLATES 3/8 PO
6 8 RONDELLES A FREIN 3/8 PO
7 4 ÉCROUS HEXAGONAUX 3/8-16
8 4
9 4 BOULON M6 PLAQUES (inclus avec TUBES STEP)
10 16 M6 RONDELLES PLATES (inclus avec TUBES STEP)
11 16 NUTS M6 LOCK (inclus avec TUBES STEP)
ÉCROU À SIX PANS 3/8 PO
DADO DE 9/16”
LLAVE DE TUERCAS 9/16"
DADO DE 7/16”
LLAVE DE TUERCAS 7/16"
ALICATES
MANERAL
LLAVE DE TORQUE
DOUILLE 9/16 PO
CLEF 9/16 PO
DOUILLE 7/16 PO
PINCES
CLIQUET
CLEF DE COUPLE
APPLICATION: 2004-10 DODGE DURANGO
APLICACIÓN: , DODGE DURANGO MOD. 2004-10
1238
MOUNT KIT
EQUIPO DE MONTAJE
TROUSSE DE MONTAGE
22-1405
CHROME/CROMADO/CHROME
22-0020, 22-5020
BLACK/NEGRO/NOIR
22-0025, 22-5025
75-0665 REVISION C 11/5/10
WO:
STEP 1. Remove contents from box and check for damage. Verify all parts are present. Read instructions com-
pletely before beginning.
STEP 2. Insert rivnuts as shown. SEE FIGURE 2.
STEP 3. Separate trim from rocker panel and insert bolt plates as shown. Leave loose. SEE FIGURES 1 AND 2.
STEP 4. Loosely attach brackets as shown. SEE FIGURE 3. Tighten top bolt to crimp rivnut until increased resis-
tance is felt. Verify rivnut is not loose in hole, otherwise re-tighten. Hold bolt plate parallel to rocker panel
and tighten bottom nut. SEE FIGURE 4.
PROTECCIÓN DEL ACABADO
Los productos Westin tienen un acabado de alta calidad que requiere del mismo cuidado que cualquier otro acabado expuesto del vehículo. Proteja el acabado con
una cera no abrasiva para automóviles (por ejemplo, Pure Carnauba) regularmente. El uso de cualquier jabón, pulidor o cera que contenga un abrasivo es nocivo,
PROTECTION DE LA FINISSION
Les produits Westin ont une finission de haute qualité qui requiert des soins, comme toute autre finission du véhicule exposée aux éléments. Protégez la finission à
l’aide d’une cire non-abrasive (par exemple, Pure Carnauba) de façon régulière. L’usage de tout savon, pâte à polir ou cire contenant un abrasif est nuisible, puisque
PASO 1. Retire el contenido de la caja y verifique que ninguna pieza se haya dañado. Verifique que no falte ninguna
pieza. Lea las instrucciones completamente antes de comenzar.
Instale los tuercas insercón hexagonal de 3/8" como se muestra. V
Separe el reborde del panel bajo la puerta e inserte las placas de pernos como se muestra. Deje sin
apretar.
PASO 4. Instale sin apretar los soportes como se muestra. VEA LA FIGURA 3. Apriete el perno superior para
encajar el inserto roscado hasta que sienta una mayor resistencia. Verifique que el inserto roscado no haya
quedado flojo en el agujero; si está floja, vuelva a apretarla. Mantenga la placa de pernos paralela al panel
bajo la puerta y apriete la tuerca de abajo. VEA LA FIGURA 4.
PASO 5. Vuelva a instalar el panel del reborde como se muestra. VEA LA FIGURA 4.
Asegúrese de que el estribo y los soportes estén alineados correctamente con el vehículo y que los
sujetadores estén apretados. Torque recomendado: 26 libras-pie para los sujetadores de 3/8” y 7 libras-pie
para los sujetadores de 1/4”.
PASO 2. EA LAS FIGURA 2.
PASO 3.
VEA LAS FIGURAS 1 Y 2.
PASO 6. ADJUNTAR BARRAS DE PASO PARA LOS SOPORTES DE MONTAJE UTILIZANDO EL HARDWARE M6
INCLUIDOS EN LAS BARRAS DE PASO
PASO 7.
ETAPE 1. Enlevez le contenu de la boîte et v’rifiez polur tout dommage. Vériiez que toutes les pièces y sont. Lisez les
instructions complètement avant de commencer.
Insérez les écrous sertis à six pans tel qu'illustré. VOIR FIGURE 2.
ETAPE 3. Soulevez la garniture du bas de caisse et insérez les plaques de boulon tel qu'illustré. Ne pas serrer. VOIR
FIGURES 1Y 2.
ETAPE 4. Montez sans serrer les supports de montage tel qu'illustré. VOIR FIGURE 3. Serrez le boulon supérieur
afin de sertir le l’écrou serti à six pans jusqu'à résistance. Vérifiez que le l’écrou serti à six pans n'est pas
lâche dans son trou, sinon reserrer. Tenez la plaque de boulon parallèle au bas de caisse et serrez l'écrou
inférieur. VOIR FIGURE 4.
ETAPE 5. Reposez le panneau de garniture tel qu’illustré. VOIR FIGURE 4.
Répétez le montage au côté passager.
ETAPE 2.
ETAPE 6. FIXEZ LES BARRES ÉTAPE POUR LES SUPPORTS DE MONTAGE EN UTILISANT LE MATÉRIEL FOURNI
AVEC LE M6 BARS ÉTAPE.
ETAPE 7.
piecs livres
piecs livres
Assurez-vous que le marchepied et les supports sont correctement alignés sur le véhicule et ensuite serrez
les attaches. Les valeurs de couple recommandées sont de 26 pour les boulons de 3/8 po. et 7
pour les attaches de 1/4 po.
ETAPE 8.
STEP 5. Re-attach trim panel as shown. SEE FIGURE 4.
Make sure step bar and brackets are properly aligned with vehicle and tighten fasteners. Recommended
torque values are 26 FT.LBS. for 3/8” fasteners and 7 FT. LBS for 1/4” fasteners.
STEP 6. Attach step bars to the mounting brackets using the M6 hardware included with the step bars.
STEP 7.
STEP 8. Repeat for passenger side.
FINISH PROTECTION
Westin products have a high quality finish that must be cared for like any other exposed finish on the vehicle. Protect the finish with a non-abrasive automotive wax,
(e.g. Pure Carnauba) on a regular basis. The use of any soap, polish or wax that contains an abrasive is detrimental, as the compounds scratch the finish and open it
Thank You for choosing Westin products
For additional installation assistance please call
Customer service (800) 793-7846 or (507) 375-3559
Westin Automotive Products, Inc.
5200 N. Irwindale Ave. Suite 220
Irwindale, Ca. 91706
FIGURE 4
FIGURA 4
FIGURE 3
FIGURA 3
FIGURE 1
FIGURA 1
3
FIGURE 2
FIGURA 2
8
3
2
4
7
6
6
5
5
8
3
FORWARD
DELANTERA
AVANT
NOTE: BRACKET MUST BE HELD
FLUSH AGAINST ROCKER PANEL
WHILE TIGHTENING TOP BOLT OR
NUTSERT WILL NOT SEAT PROPERLY.
NOTA: EL SOPORTE DEBE MANTEN
ERSE ALINEADO CON EL PANEL BAJO
LA PUERTA AL APRETAR EL PERNO
SUPERIOR, DE LO CONTRARIO
EL INSERTO ROSCADO NO SE
ENCAJARÁ CORRECTAMENTE.
NOTA : LE SUPPORT DOIT AFFLEURER
LE BAS DE CAISSE EN SERRANT LE
BOULON SUPERIEUR SINON LE NUTS
ERT SERA MAL POSE.
FIGURE 5
FIGURA 5
FIGURE 6
FIGURA 6
FIGURE 7
FIGURA 7
9
10
11

This manual suits for next models

4

Other Westin Automobile Accessories manuals

Westin 31-0190 User manual

Westin

Westin 31-0190 User manual

Westin FEY PERFECT MATCH BUMPER User manual

Westin

Westin FEY PERFECT MATCH BUMPER User manual

Westin 22-1815 User manual

Westin

Westin 22-1815 User manual

Westin 45-93880 User manual

Westin

Westin 45-93880 User manual

Westin 21-2350 User manual

Westin

Westin 21-2350 User manual

Westin 30-0020 User manual

Westin

Westin 30-0020 User manual

Westin 40-1245 User manual

Westin

Westin 40-1245 User manual

Westin 58-81085 User manual

Westin

Westin 58-81085 User manual

Westin 30-0000 User manual

Westin

Westin 30-0000 User manual

Westin 57-2330 User manual

Westin

Westin 57-2330 User manual

Westin OUTLAW NERF STEP BARS User manual

Westin

Westin OUTLAW NERF STEP BARS User manual

Westin 25-3440 User manual

Westin

Westin 25-3440 User manual

Westin 25-0560 User manual

Westin

Westin 25-0560 User manual

Westin 58-41165 User manual

Westin

Westin 58-41165 User manual

Westin PROMOD FRONT BUMPER User manual

Westin

Westin PROMOD FRONT BUMPER User manual

Westin 40-2405 User manual

Westin

Westin 40-2405 User manual

Westin 32-0220 User manual

Westin

Westin 32-0220 User manual

Westin 21-23290 User manual

Westin

Westin 21-23290 User manual

Westin SPORTSMAN 43-0140 User manual

Westin

Westin SPORTSMAN 43-0140 User manual

Westin 58-41025 User manual

Westin

Westin 58-41025 User manual

Westin 25-1310 User manual

Westin

Westin 25-1310 User manual

Westin 27-74715 User manual

Westin

Westin 27-74715 User manual

Westin 57-3950 User manual

Westin

Westin 57-3950 User manual

Westin 57-3965 User manual

Westin

Westin 57-3965 User manual

Popular Automobile Accessories manuals by other brands

MegaTrend SA-40 quick start guide

MegaTrend

MegaTrend SA-40 quick start guide

CrimeStopper CS-880.OEM install guide

CrimeStopper

CrimeStopper CS-880.OEM install guide

Thule 301841 User instructions

Thule

Thule 301841 User instructions

Front Runner SHOW013 manual

Front Runner

Front Runner SHOW013 manual

Cruz Evo Rack Alu A32-140 Assembly instructions

Cruz

Cruz Evo Rack Alu A32-140 Assembly instructions

Yakima Q41 instruction manual

Yakima

Yakima Q41 instruction manual

Tesland Powerlift instructions

Tesland

Tesland Powerlift instructions

Tronair 01-1202-0000 Operation & service manual

Tronair

Tronair 01-1202-0000 Operation & service manual

NORAUTO MOVING BIKE manual

NORAUTO

NORAUTO MOVING BIKE manual

Hyundai 600 manual

Hyundai

Hyundai 600 manual

Carefree FREEDOM WM AWNING installation manual

Carefree

Carefree FREEDOM WM AWNING installation manual

Camec Elite Pro2 EM305 user manual

Camec

Camec Elite Pro2 EM305 user manual

Whispbar WB751 manual

Whispbar

Whispbar WB751 manual

Whispbar K197W Fitting instructions

Whispbar

Whispbar K197W Fitting instructions

HOOKE ROAD BXG.4008 quick start guide

HOOKE ROAD

HOOKE ROAD BXG.4008 quick start guide

Thule Lift V16 3rd Rail Kit instructions

Thule

Thule Lift V16 3rd Rail Kit instructions

Metra Electronics 99-4644 installation instructions

Metra Electronics

Metra Electronics 99-4644 installation instructions

MTD 143-660 Supplement sheet

MTD

MTD 143-660 Supplement sheet

manuals.online logo
manuals.online logoBrands
  • About & Mission
  • Contact us
  • Privacy Policy
  • Terms and Conditions

Copyright 2025 Manuals.Online. All Rights Reserved.