WMF 800 User manual

WMF800
User Manual EN
Type 03 0400

Introduction and General Information
Parts of the machine
Control buttons:
C button
Care button
P button, Confirm
Plus button, Aroma button
Minus button, Aroma button
Removable drip tray with drip tray
grid
Water tank
Height-adjustable
All-in-One spout with
integral milk foamer
Coffee grounds container
Beverage buttons
Hot water spout
Hot water button
DisplayManual insert
Heated cup storage
Bean hopper
on/off-button
Timer
Milk hose
Refrigerated milk tank
(optional)
Brewer lid

The power of innovation, the quality that WMF is known for, and
years of experience have made WMF professional coffee machines so
successful.
Despite its compact size, the WMF800 has all the important
components of professional WMF coffee machines – the basis for
perfect coffee enjoyment.
The WMF800 has an appealing, clean design.
Its simple operation concept is an indication of technical superiority.
This is what makes the WMF800 so remarkable:
WMF Touch Concept: A simple touch is enough•
Seven coffee specialities, warm milk, and water for tea•
Just one spout for everything: WMF All-In-One•
Original technology from WMF professional coffee machines•
Simple milk system rinsing: WMF Connect & Clean•
24-month premium guarantee, with pick-up and delivery•

4
Introduction
Introduction and General Information 2
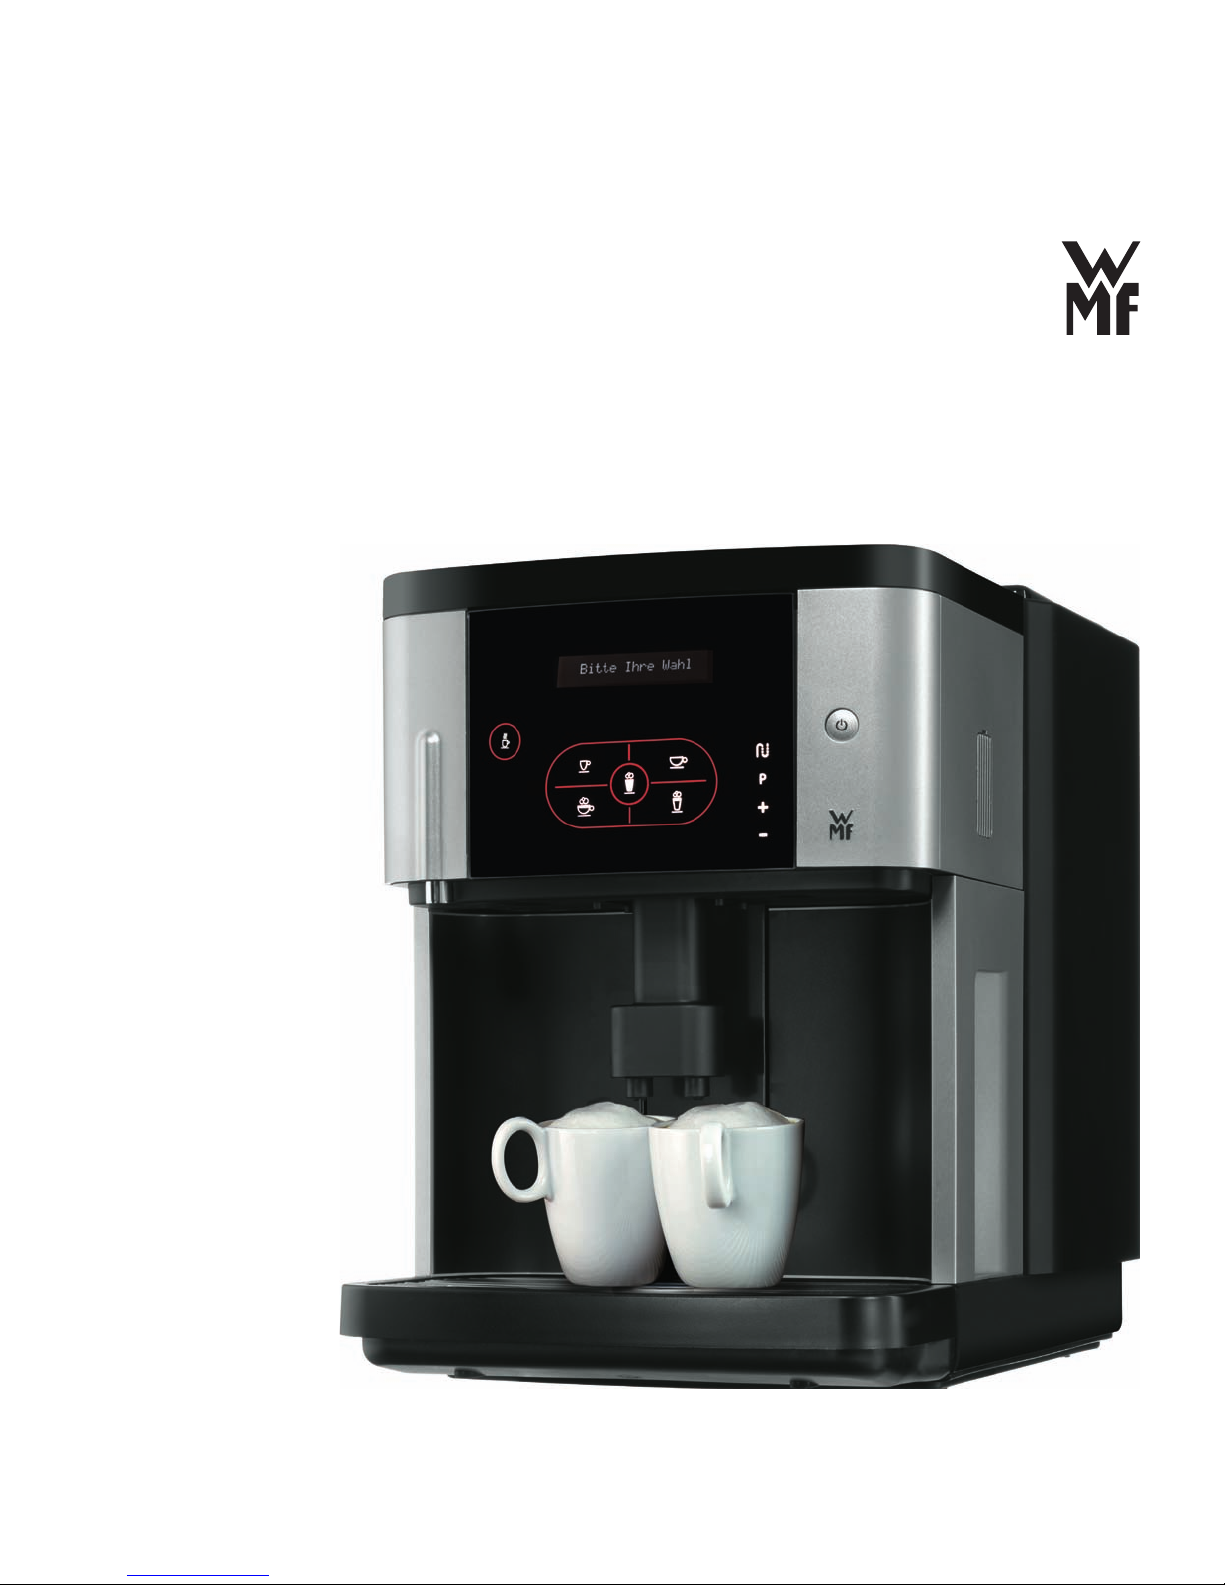
Parts of the machine 2
Before you begin 6
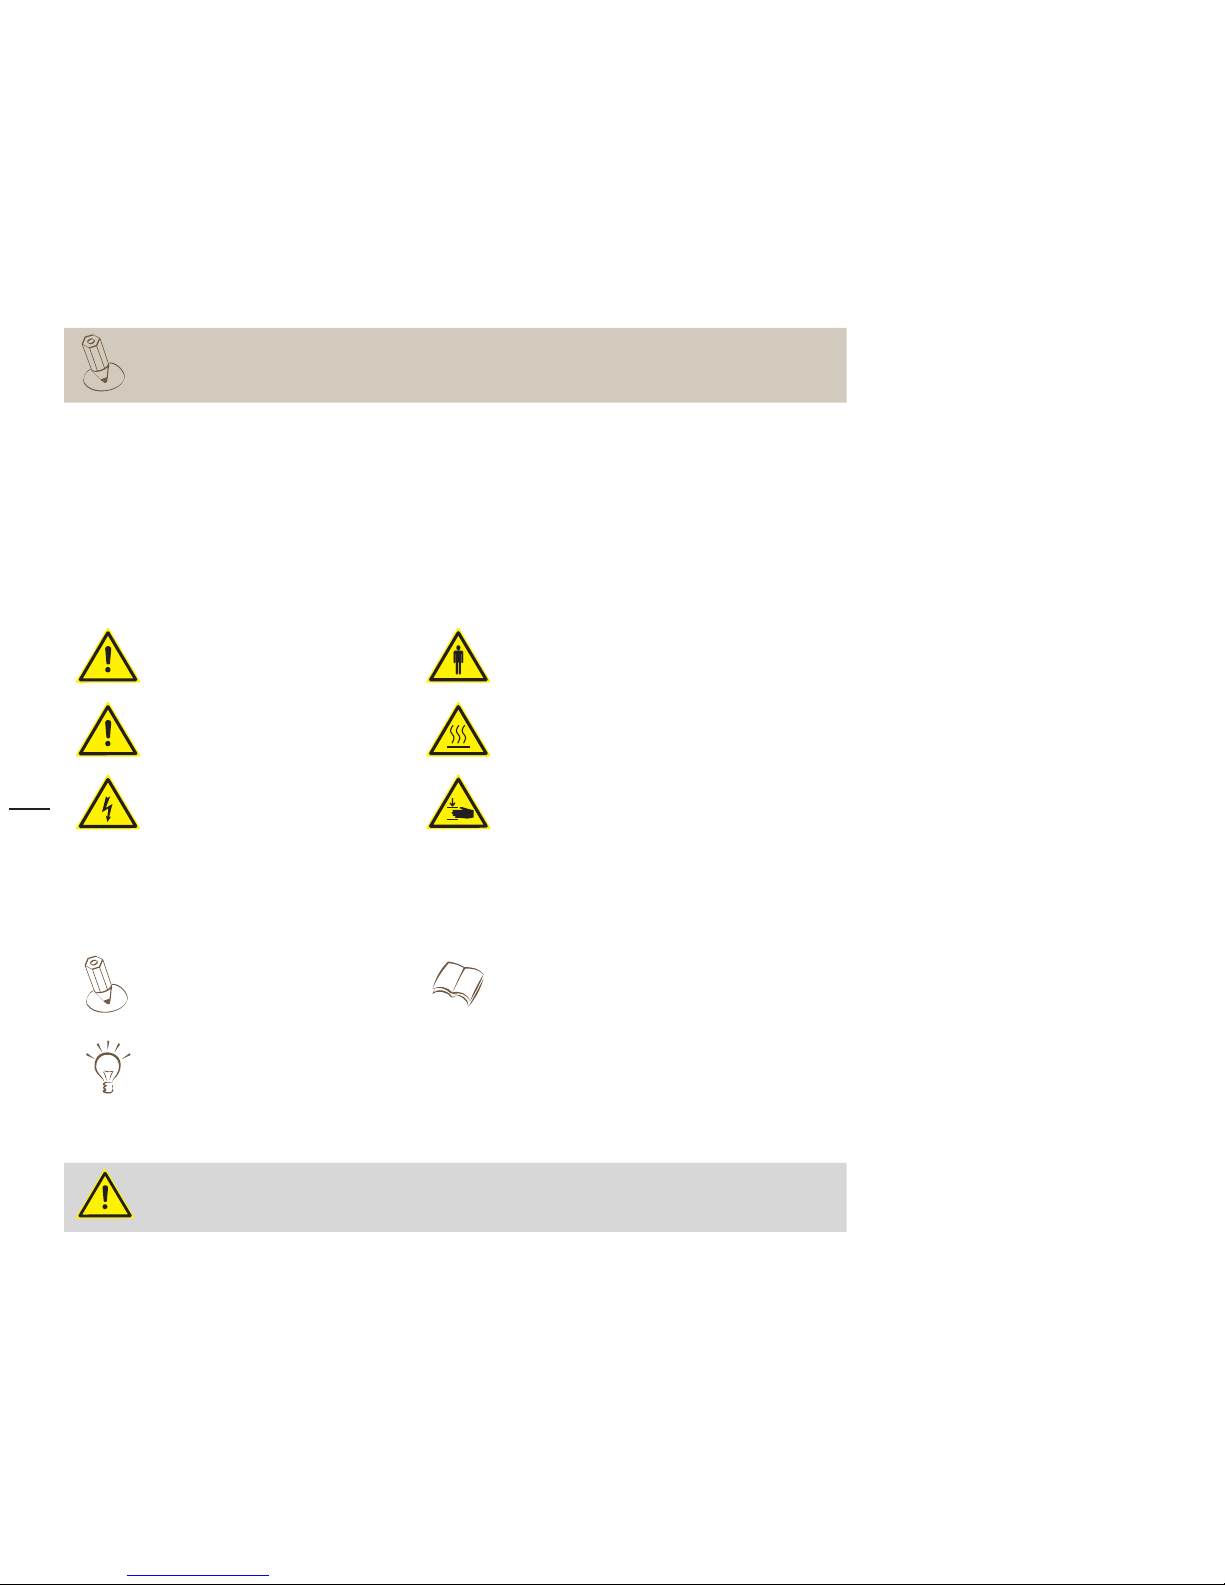
User manual signs and symbols 6
Start-up program 8
Unpacking and setting up 8
Test the water hardness 8
Prepare the water tank 8
Insert the WMF water filter 8
Fill the water tank 9
Install the milk hose 10
Connect the milk hose to the milk 10
Fill the coffee bean hopper 11
Start-up program 11
Basic settings 12
Operation 16
Preparation of coffee beverages 16
Beverage button overview 16
Example: Prepare a cup of Cappuccino 17
Increase coffee strength for the next beverage 18
Coffee preparation using the manual insert 18
Dispensing milk and milk foam 19
Dispensing hot water 20
General beverage preparation 20
Cancel beverage preparation 20
WMF All-in-One spout 21
Adjusting the height 21
Control buttons 22
Switching the coffee machine on and off 23
Switching on 23
Switching off 23
Switching the coffee machine on and off with the timer 24
Setting the automatic switch-on time 24
Display timer operation 24
Manual switch-on for timer operation 24
Manual switch-off for timer operation 24
Settings 26
Cup size (Cup volumes) 26
Beverage settings 27
Basic settings 30
Read counters 32
Other settings 33
Set the grinding degree 33
Care 35
Care overview 35
General care programs 36
Call up the care programs 36
Warm-up rinse/Coffee system rinse 37
WMF Connect & Clean milk system rinse 37
Cleaning the machine - Cleaning program 38
Replace water filter 40
Descale coffee machine 41

5
Introduction
Manual cleaning 43
Cleaning the milk system 43
Cleaning the brewing unit 45
General cleaning 47
Tips and Tricks for Perfect Coffee Beverages 48
Tips and tricks 48
International specialties at the touch of a button 51
Messages and Tips 52
Operating messages 52
Empty coffee grounds container 52
Refill water tank 52
Water tank lid is missing 52
Bean hopper is empty 53
Insert coffee grounds 53
Change filter 53
Brewer lid is open 54
Clean control panel 54
Error messages and malfunctions 55
Error messages on the display 55
Errors with no malfunction display 57
Safety 60
Safety instructions 60
Hazard instructions 62
Warranty/Guarantee 63
24 Month Premium Service Maintenance 64
WMF Service Center 64
Service ticket WMF 800 66
Transport and disposal of the coffee machine 67
Accessories and Spare parts 68
Scope of supply 68
Optional accessories and spare parts 68
Technical Data 69
Index 70

6
Introduction
Before you begin
Read this user manual before you begin dispensing coffee. Only then can you use all of the
functions, operate the machine safely and spoil yourself with a wonderful cup of coffee.
Additional components of the user manual:
Brief instruction for beverage dispensing / care•
User manual signs and symbols
Hazard notices
Caution
Risk to machine
General hazard
Caution
Risk to user
Caution
Hot liquid
Caution
Hot surface
Warning
Risk of electrocution
Caution
Risk of hand injuries
Tips and hints
Instruction Cross reference
Tip
Always follow the safety instructions in the “Safety” chapter, page 60.

7
Introduction
Ready to operate display
The descriptions in the user manual always assume that the coffee machine is ready to operate.
Glossary
Term Declaration
• Listings, selection options
>Individual actions, individual steps
Text in italics Description of coffee machine state and/or explanations of steps
carried out automatically
WMF All-in-One spout Combination coffee spout and milk foamer
WMF Connect & Clean Automatic milk system rinsing
Touch Concept Operator control panel with beverage buttons and operation buttons
your selection pls
08:15 25.08.2008

8
Start-up program
Start-up program
Unpacking and setting up
>Unpack coffee machine and set it up on a stable, horizontal surface
You must protect a sensitive installation surface against damage using a waterproof,
heat-resistant, non-slip mat.
Regularly check the coffee machine and keep the installation surface dry.
If liquid leaks regularly, this is a machine malfunction that must be checked immediately.
Always follow the safety instructions in the “Safety” chapter, starting on page 60.
Inspect the coffee machine for possible shipping damage
>
Connect the included power cord to the machine (connection on the rear of the machine)>
>Plug the cord into a grounded outlet
Place the drip tray grid into the drip pan
>
Place the drip tray in the machine>
Test the water hardness
Briefly dip a carbonate hardness test strip into water (approx. 1 second)>
One minute later, read the degree of hardness on the colour scale of the test strip package>
The water hardness is set during start-up.
Prepare the water tank
>Lift the water tank slightly and remove from the coffee machine
Remove all accessories from the water tank
>
Rinse the water tank thoroughly with clear water>
Insert the WMF water filter
The optional WMF water filter ensures the best coffee quality and protects the coffee machine from
calcium deposits.
For water hardness 0-4, do not use a water filter.
Power cord connection
Drip tray and drip tray grid
Water tank

9
Start-up program
Remove the built-in filter from the front of the water tank>[1]
Pull up the latch on the cartridge adapter
>[2]
Stick the cartridge adapter on the water outlet from the top
>[3]
Push down the latch on the cartridge adapter
>[3]
Unpack the water filter cartridge and place it on the cartridge adapter
>[4]
The sieve and water filter sit very securely.
Fill the water tank
Fill the water tank with cold tap water (max. 2.2 litres)>
Water can then be added, with the lid in place.
Place the lid on the water tank
>
The lid must be on the tank when it is put in place.
Slowly slide the water tank back into the machine
>
Fill the water tank only with fresh, cold water. Never use hot water, mineral water, milk or
other liquids.
1 2 3
4

10
Start-up program
Install the milk hose
The milk hose is already mounted on the All-in-One spout.
For refrigerated milk, use the brown milk nozzle (installed on delivery)•
For non-refrigerated milk, use the transparent milk nozzle from the accessories box•
The nozzle fits very tightly in the hose. The easiest way to remove it is to pull while twisting.
Remove the coffee grounds container
>
Move the All-in-One spout to the lowest position>[6]
Insert the milk hose into the guide
>[7] [8]
The milk hose must be in the lowest position without tension and must not run in front of the grounds
container.
Connect the milk hose to the milk
Place the refrigerated milk directly to the left of the machine>
Place the milk hose with the milk nozzle on it into the milk container>
The hose end with the milk nozzle should reach the bottom of the milk container.
Milk is a very sensitive food. When handling milk, always ensure cleanliness. Only open packs
with clean hands and utensils. Take care that no bacteria can be introduced into the milk.
67 8

11
Start-up program
Fill the coffee bean hopper
>Open the lid of the bean hopper
Pour in the coffee beans (max. 320 g)
>
Close the lid>
Once roasted coffee beans have been unpacked, they lose their aromatic components within
days.
Therefore, only pour as many beans into the coffee bean hopper as you expect to use in the
next few days; frequent topping off is better.
Ensure that no foreign bodies land in the coffee bean hopper. Such foreign bodies can
damage the grinders of the coffee mill. This damage is not covered under the warranty.
Do not reach into the bean opening of the mill.
Each coffee machine is thoroughly tested before shipment. Therefore, coffee grounds
residue may remain in the grinder. Your coffee machine is not used.
Start-up program
>Press the on/off button
The start-up program begins.
Press the
>+ button to set the desired language
Confirm with the P button
>
The machine is switched on, the start-up program leads you through the basic settings.
language: english
OK: P change: -/+
initial setup
of your WMF 800

12
Start-up program
Basic settings
>Press the – and + buttons to set the desired values
Press the P button to confirm the values and inputs
>
After confirmation, the program jumps to the next point of the settings.
The new values are saved when you exit the program.
Time of day
Set the current time here with the
>– and + buttons
hh= hour (two places) mm= minutes (two places) ss= seconds (two places)
Press the P button to confirm the values
>
After confirmation, the program jumps to the next point of the settings.
Date
Set the current date here with the
>– and + buttons
dd= day (two places) mm= month (two places) yyyy = year (four places)
Press the P button to confirm the values
>
After confirmation, the program jumps to the next point of the settings.
Switch off time (in minutes after the last beverage preparation)
Here you can set how many minutes after the last beverage preparation the coffee machine should
switch off automatically.
If set to “0 Minutes” the machine does not switch off.
The set values can be changed in the
“Basic Settings” program after start-up.
See page 30
time hh:mm:ss
OK: P change: -/+
Cancel operation
Care button
Select/confirm
Page forward
Increase value
Page backward
Reduce value
The new values are saved when you exit
the program.
date dd:mm:yyyy
OK: P change: -/+
sw. off time: 30 min
OK: P change: -/+
If timer operation is activated, the
machine switches on again at the set
switch-on time.

13
Start-up program
Water hardness
Set the result of the carbonate hardness test with the
>– and + buttons
Confirm the value with the P button
>
After confirmation, the program jumps to the next point of the settings.
Water filter
Enter here with the
>– and + buttons whether you are using a tank filter
(recommended for water hardness 5 °dKH and higher)
Press the P button to confirm the setting
>
If “water filter” is set, then the filter should be rinsed now.
>Set a container with approx. 3 litres capacity under the hot water spout
When rinsing the filter, you will hear unusual noises. This is normal. The noises will stop during the filter
rinse.
Fill the water tank with cold tap water
>
Place the lid on the water tank>
The lid must be on the tank when it is put in place.
Slowly slide the water tank back into the machine
>
The machine now heats up.
After the machine has heated up, there is a coffee system rinse. This warms up all the pipes.
After each brewing cycle, in the heating up phase and during the care programs, so-called release
water runs into the drip tray.
Place a container for the rinse water (approx. 120 ml) under the All-in-One spout
>
The coffee system rinse lasts approx. 40 seconds.
water hardn.: 13-16
OK: P change: -/+
Carbonate hardness test
See included accessories
water filter: no
OK: P change: -/+
place 3L container
under h. w. spout
Rinse filter:
Follow the display messages
Insert water filter
see Start up page 8
Change water filter
see “Care” page 40
heating up ...

14
Start-up program
At the end of the start-up program, a brewing test is carried out.
The espresso button flashes.
Place an appropriate cup under the All-in-One spout
>
Press the flashing espresso button briefly>
The brewing test begins.
The coffee grinder will be filled with coffee beans during the brewing test.
Discard this first cup of coffee. After this, the machine is ready to operate.
Start-up complete
Start-up is now complete. All settings can be changed now, or at a later time.
The following setting options are available:
Set cup size•
Beverage setting•
• Basic settings
Grinding degree setting•
For perfection in your preparation of coffee we have compiled a chapter of “Tips and Tricks”.
Switching on and off
When switching the machine on and off, an automatic coffee system rinse starts
automatically. This requires that sufficient water be in the tank at all times. Empty the drip
tray regularly, since the rinse water (approx. 120 ml) runs into the drip tray through the
All-in-One spout. You can place a container under the All-in-One spout to catch the rinse
water.
About the timer: Switching on and off
The coffee machine automatically switches itself off at a pre-set time. In this circumstance
also, the machine performs a coffee system rinse directly before switching off.
Empty the drip tray regularly, since the rinse water (approx. 120 ml) runs into the drip tray
through the All-in-One spout. You can place a container under the All-in-One spout to
catch the rinse water.
Cancel operation
Care button
Select/confirm
Page forward
Increase value
Page backward
Reduce value
The new values are saved when you exit
the program.
your selection pls
08:15 25.08.2008
Grinding degree setting
Other settings
see page 33
Tips and tricks
see page 48
Setting automatic switch off time after
last beverage dispensing
Basic settings
see page 31


16
Operation
Operation
This chapter explains all you need to know about simple preparation of coffee using the WMF 800.
Prepare coffee beverages•
Prepare milk and milk foam•
Dispense hot water•
All-in-One spout•
Control buttons•
Operating and lighting concept•
Switching on and off the coffee machine / timer operation•
Caution. Burning and scalding hazard.
The All-in-One spout and the hot water spout can get very hot.•
The beverages dispensed and the escaping steam are very hot.•
Never touch the spouts during or directly after dispensing beverages.•
Never touch the beverages, rinse and cleaning water or steam during or directly after•
dispensing beverages.
Preparation of coffee beverages
The WMF800 has an operator control panel with five beverage buttons. It covers seven international
coffee specialities, as well as milk and milk foam. Each of the buttons is assigned to several beverages.
Beverage button overview
Milk button in the center:
Milk = press briefly
briefly 1x espresso 1x café crème briefly
long 2x espresso 2x café crème long
briefly 1x cappuccino 1x latte macchiato briefly
long 2x cappuccino not used long
Milk button in the center:
Milk foam = press and hold
• Press briefly -> the symbol for the selected beverage lights up
Press long• -> the symbol for the selected beverage blinks (not for milk or hot water)
Always observe the safety instructions to
operate the WMF 800 safely.
Safety
see page 60
Hot water button
Set the height of the All-in-One spout
see page 21
Coffee preparation using the manual insert
see page 18
Preparing milk and milk foam
see page 19

17
Operation
Example: Prepare a cup of Cappuccino
Here is a step-by-step description of how to prepare a cup of cappuccino.
This description serves as an example for the preparation of all beverages. All steps are carried out for
the preparation of the other beverages according to the example.
If necessary, adjust the height of the All-in-One spout to the height of the cup
>
The All-in-One spout must not be in the top position.
Place an appropriate cup under the All-in-One spout
>
Press the cappuccino button briefly>
See beverage button overview.
The beverage button pressed lights up.
The display indicates:
Depending on the setting, the coffee beans are ground appropriately for the selected beverage.
The preparation occurs as specified in the beverage settings.
The beverage is prepared and dispensed into the cups underneath the spout.
The display indicates:
Dispense milk:
The All-in-One spout is at the
top position.
Dispense milk foam :
The All-in-One spout is not at the top
position.
If a beverage is selected and the
All-in-One spout is not in the appropriate
position, then a reminder is shown on the
display.
Preparing milk and milk foam,
see page 19
WMF All-in-One spout
see page 21
1x Cappuccino
your selection pls
08:15 25.08.2008

18
Operation
Increase coffee strength for the next beverage
Before each coffee preparation, you can decide how strong you want the next coffee beverage to be.
The following coffee strengths are available:
Mild• (approximately 15 % weaker than the saved setting)
Normal• (corresponds to your setting)
Strong• (approximately 15 % stronger than the saved setting)
Place an appropriate cup under the All-in-One spout
>
Select the desired coffee strength with the>– and + buttons
Select the beverage
>
The beverage button selected lights up and the beverage name is indicated on the display.
The selected beverage is prepared.
You can cancel the current beverage dispensing. Press the C button.
Coffee preparation using the manual insert
In addition to the coffee bean hopper, you can use the manual insert to make second type of coffee,
such as decaffeinated coffee.
Place an appropriate cup under the All-in-One spout
>
Remove the lid of the manual insert>
The display instructs:
Place the ground coffee for one brewing cycle in the manual insert
>
Close the lid>
Select the beverage with the beverage buttons (one cup)>
This procedure can be cancelled with the C button.
Always use ground coffee for the manual insert (max. 15 g per preparation).
The coffee machine gets soiled inside if too much ground coffee is put in at once.
Do not use water-soluble, freeze-dried instant coffee.
Each brewing cycle using the manual insert is measured separately.
Coffee ground too fine can cause malfunctions.
Preparing beverages
see page 17
Cancel beverage preparation
see page 20
insert coff. grounds
select beverage
Care > Cleaning brewing unit
see page 45

19
Operation
Dispensing milk and milk foam
At the touch of a button, the WMF800 also dispenses warm milk and milk foam.
press briefly press and hold
1 cup milk Milk foam on request
All-in-One spout in the top position All-in-One spout not all the way to the top
If a beverage is selected and the All-in-One spout is not in the appropriate position, then a reminder is
shown on the display. See WMF All-in-One spout page 21.
Milk or milk foam can drip out a bit after dispensing. It is best to leave the cup under the
All-in-One spout briefly after dispensing, or to place a small catch basin under the spout.
Milk can also drip out if the tetrapak is full and the All-in-One spout is in a lower position.
Slide the spout upward a little after dispensing a beverage.
Cup of warm milk
The All-in-One spout must be in the top position.
Place an appropriate cup under the All-in-One spout
>
Press the milk button 1x briefly>
Another press of the milk button ends dispensing prematurely.
After dispensing milk, the All-in-One spout should be slid downward slightly. The display prompts for
this.
Milk foam
The All-in-One spout must not be in the top position.
Place an appropriate cup under the All-in-One spout
>
Press and hold the milk button>
Milk foam is dispensed as long as the button is pressed.
Set cup size,
see
Settings chapter
page 26

20
Operation
Dispensing hot water
With the hot water function, you can dispense hot water, for instance for tea.
press briefly press and hold
1 glass hot water Hot water on request
Glass of hot water
Place a suitable glass under the hot water spout
>
Press the hot water button 1x briefly>
Another press of the hot water button ends dispensing prematurely.
Dispensing any quantity of hot water
Place a suitable glass under the hot water spout
>
Press the hot water button until the desired quantity has been dispensed>
General beverage preparation
Caution. Burning and scalding hazard.
The All-in-One spout and the hot water spout can get very hot.•
The beverages dispensed and the escaping steam are very hot.•
Never touch the spouts during or directly after dispensing beverages.•
Never touch the beverages, rinse and cleaning water or steam during or directly after•
dispensing beverages.
Cancel beverage preparation
You can cancel the current beverage dispensing.
Completely cancel beverage preparation:
Press the C button
>
For beverages with more than one component, such as coffee and milk:
For beverages with several components, active dispensing can be interrupted. The next component will
continue to be dispensed.
Press the beverage button again
>
Hot water button
C button
Other manuals for 800
1
Table of contents
Other WMF Coffee Maker manuals