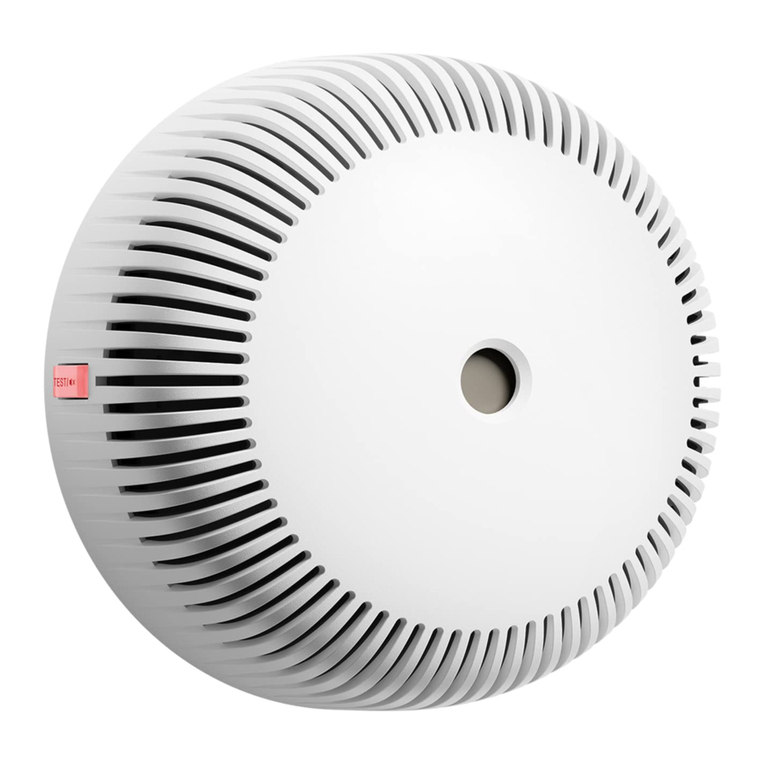
x-sense XS01-WT User manual


This
user
manual
contains
important
information
regarding
the
operation
of
your
X-Sense
smoke
alarm.
Ensure
you
read
this
user
manual
fully
before
installing
and
operating
the
alarm.
If
you
are
installing
this
smoke
alarm
for
use
by
others,
you
must
leave
this
manual
(or
a
copy
of
it)
with
the
end
user.
Package
Contents
1
x
Alarm
Unit
2
x
Anchor
Plugs
1
x
Mounting
Bracket
1x
Pin
2x
Screws
1
x
User
Manual
Safety
Information
A\
IMPORTANT
1.
DANGERS,
WARNINGS,
AND
CAUTIONS
ALERT
YOU
TO
IMPORTANT
OPERATING
INSTRUCTIONS
OR
TO
POTENTIALLY
HAZARDOUS
SITUATIONS.
PAY
SPECIAL
ATTENTION
TO
THESE
SITUATIONS.
2.
THIS
ALARM
IS
NOT
INTENDED
TO
ALERT
HEARING
IMPAIRED
INDIVIDUALS.
THE
USE
OF
ALCOHOL
OR
DRUGS
MAY
ALSO
IMPAIR
ONE'S
ABILITY
TO.
HEAR
THE
SMOKE
ALARM.
3.
FIRES
IN
CHIMNEYS,
WALLS, ROOFS,
DIFFERENT
LEVELS
OR
BEHIND
CLOSED
DOORS
MIGHT
NOT
BE
DETECTED.
4.
THIS
DEVICE
DOES
NOT
DETECT
FLAMES,
HEAT,
CARBON
MONOXIDE
OR
OTHER
HAZARDOUS
GASES.

ZA\
WARNING
1.
NEVER
IGNORE
ANY
ALARM.
FAILURE
TO
RESPOND
CAN
RESULT
IN
SERIOUS
INJURY
OR
DEATH.
2.
THE
SILENCE
FEATURE
IS
ONLY
FOR
YOUR
CONVENIENCE
AND
WILL
NOT
CORRECT
A
PROBLEM.
ALWAYS
CHECK
YOUR
HOME
FOR
A
POTENTIAL
PROBLEM
AFTER
ANY
ALARM.
FAILURE
TO
DO
SO
CAN
RESULT
IN
INJURY
OR
DEATH.
3.
TEST
THIS
SMOKE
ALARM
ONCE
A
WEEK.
IF
THE
ALARM
EVER
FAILS
TO
TEST
CORRECTLY,
REPLACE
IT
IMMEDIATELY!
IF
THE
ALARM
CANNOT
WORK
PROPERLY,
IT
WILL
NOT
ALERT
YOU
TO
A
PROBLEM.
Set
Up
and
Connect
Smoke
Alarms
to
Wi-Fi
Before
connecting
smoke
alarms:
1.
Make
sure
you
know
your
Wi-Fi
network
name
and
password.
2.
Make
sure
you
are
connecting
smoke
alarms
to
a
2.4
GHz
Wi-Fi
network
(incompatible
with
5
GHz
Wi-Fi
network).
NOTES
1.
The
following
user
interface
is
taken
from
an
iOS
device.
If
you
are
using
a
different
operating
system,
some
images
may
look
a
little
different,
but
the
basic
functions
are
still
the
same.
If
you
have
problems
connecting
your
device,
you
are
always
welcome
to
contact
our
customer
service.
2.
Some
contents
shown
in
the
App
user
interface
might
slightly
differ
from
those
in
the
user
manual
due
to
later
software
upgrades.
How
to
connect
via
EZ
mode
(Default
mode)
1.
Before
installing
the
alarm
to
a
wall
or
ceiling,
download
the
TuyaSmart/
Smart
Life
app
and
connect
the
alarm
to
your
Wi-Fi
via
the
app.
Search
for
TuyaSmart/Smart
Life
in
the
App
Store
or
Google
Play,
or
simply
scan
the
included
QR
code
to
install
the
TuyaSmart/Smart
Life
app.
You
will
also
need
to
register
an
account.
TuyaSmart
App
Smart
Life
App
@n)
2.
Remove
the
insulating
film
from
the
battery
compartment
to
turn on the
alarm.
The
LED
indicator
will
flash
red
and
then
continuously
flash
blue,
indicating
that
the
smoke
alarm
has
been
activated.

@
3.
Open
the
TuyaSmart/Smart
Life
app,
tap the
"+"icon
in
the
top
right
corner
of
the
“Home”
page,
or
directly tap
“Add
Device"
to
add
your
first
device.
4.
Go
to
“Sensors”-
>
Sensor/Alarm
-
>
Sensor/Alarm
(Wi-Fi)
on the
“Add
Manually” page
to
enter
the
Wi-Fi
connecting
page.
04
X-Sense
v
o
‘\.
Welcome
Home
TTS
Set
your
home
location
for
more
informa,
All
Devices
Living
Room
No
devices
Master
Bedroo!
**+
>
Entertainme
nt
Industry
&
Agriculture
Others
<
‘Add
Manually
Auto
Scan
oS
Electrical senso
Lighting
~ ~ =
cc
Sensor
Sensor
Sensor
WiFi
(iabee)
(ee)
Large
Home
a =
Appliances
= a
‘Small
Home
ss
ooo
sonences
(neon)
(other
&
Health
Alarm
Alarm
‘arm
Security
&
(wy
(Zigbee)
ae)
Video
Surv
Gateway
Control
Alarm
‘arm
(ne-ton)
(ether
Energy
Motion
Detector
Motion
Detector
Motion
Detector
Motion
Detector
(wD
Zigbee)
(ee)

5.
Enter
the
Wi-Fi
password.
NOTE:
If
your
home
Wi-Fi
router
is
a2.4and
5
GHz
dual-band
that
works
with
a
single
SSID
name,
please
refer
to
your
Wi-Fi
rotuer
manual
to
create
separate
SSIDs
for
the
2.4.
and
5
GHz
channels.
You can
also
select
“Common
router
setting
method”
on
the
TuyaSmart/Smart
Life
App
in
the
network
configuration
process
to
learn
about
the
corresponding
setting
method.
Cancel
Select
2.4
GHz
Wi-Fi
Network
and
enter
password.
IH
your
Wi-Flis
8GHz,
ploase
set
it
to
be
2.4GHz.
Sammon
router
setting
method
ae
u
B
2.bor:
@
Sone
FB
OOK
By
000000
06
6.
To
enable
the
smoke
alarm
to
enter
the
Wi-Fi
connection
mode,
hold
down
the
test/silence
button
for
3
seconds.
The
smoke
alarm
will
beep
once,
and
the
LED
indicator
will
rapidly
flash
blue.
7.
Select
“Confirm
the
indicator
is
blinking
rapidly"
in
the
app,
and
wait
for
it
to
connect
successfully.
07
Cancel
£2
Mode
Reset
the
device
first.
Posner
athe
device
ad
confirm
thal
tha
indicator
is
banking
rapa.
Note:
please
complete
the
network
dstroution
within
3
minutes
alter
msatting
the
device,
Perform
net
pairing
as
prompted.
>
©
Contin
the
incicator
is
blinking
rai.
@

8.
After
a
successful
connection,
the
LED
indicator
will
stop
flashing
blue.
Select
“Done”
The
added
device
will
now
be
displayed
on the
Home
page
in
the
app.
Cancel
Done
Adding
device...
nailed
Ensure
that
the
Wi-Fi
signal
is
good
7
@
x-sense
Wi-Fi
smoke
Alarm
#
Device
added
successfully
ing
Room
Master
Bedroo!
Ss
X-Sense
v
o
Oo
vt
27.
Welcome
Home
TTS
set
your
home
location
for
more
informa,
01:57
All
Devices
Living
Room
Master
Bedroor
+++
7
sean
(Ct
Sense
Wi-Fism..
4
I232
(08)
08
NOTES
1.
The
LED
indicator
will
flash
blue
rapidly
for
up
to
2
minutes
during
configuration.
If
connection
is
unsuccessful,
the
smoke
alarm
will
need
to
be
reconnected.
Remove
the
battery
for
a
short
period
and
start
again
from
step
2.
2.
Unsuccessful
connection
may
be
because
your
router,
mobile phone,
and
alarm
are
not
as
close
to
each
other
as
possible,
or
that
you
have
incorrectly
entered
your
Wi-Fi
password.
9.
After
the
installation
is
complete,
you
will
see the
start
screen
(Image
9)
for
the
app
displayed
for
a
short
time.
Then,
the
app
will
move
to
the
device's
home
screen
(Image
10).
Here
you
can
see
the
battery
level
and
status
of
the
device
(“No
smoke
alarm’
is
shown
in
the
Image
10).
10.
Once
you
have
successfully
connected
your
device
to
the
app,
you
can
continue
to
the
“Settings”
section
to
set
up
push
notifications
and
change
various
settings
for
the
app
and
device.
However,
if
the
device
still
cannot
connect
to
the
app,
you
can
try
to
set
up
the
device
using
the
following
AP
mode.
09

My
Home
v
od
><
Welcome
Home
“;
1
‘Set
your
home
location
for
more
informa...
>
All
Devices
c
Living
Room
—
Master
Bedroo!
+++
%-Sense
Wi-Fi
Smoke
Alarm
No
smoke
alarm
w
Mel
Said
How
to
connect
via
AP
mode
Some
mobile
phones
and
devices
are
not
compatible
with
the
EZ
mode,
so
you
will
need
to
switch
to
the
AP
mode.
cancel
£2
Mode
~
Reset
the
device
firs
“
F*
Mode
2
Paver
an
the
device
a
cont
‘blinking
rapielly.
apiece
Note:
please
compete
the
net,
rmieutes
alter
msetting
the devier.
Perform
net
pairing
as
prompted.
>
©
Confirm
the
indicator
is
blinking
rapiclly.
1.
Tap
the
“EZ
Mode"
in
the
top
right
corner
of
the
network
configuration
page
to
switch
to
the
“AP
Mode’,
then
insert
a
pin
into
the
device
pinhole
on
the
back
of
the
alarm
and
press
down
the
inside
button.
The alarm
will
beep
once
and
the
LED
indicator
will
flash
blue
slowly,
indicating
that
the
alarm
has
entered
the
AP
mode.

2.
Select
“Confirm
the
indicator
is
blinking
slowly"
in
the
app
and
tap “Next”,
Tap “Go
to
Connect”
to
jump
to
the Wi-Fi
setup
page
in
the
phone,
and
then
select
the
device's
hotspot
with
the
default
name
“SmartLife-XXXX
or“SL-XXXx"
After
successfully
connecting
to
the
Wi-Fi,
return
to
the
app
and
start
network
configuration.
Cancel
AP
Mode
ancl
Reset
the
device
first.
Connect
your
mobile
phone
to
the
Pease
poner
an
th
dvi
and
cori
tha
the
device's
hotspot
inate
istekng
sont.
1.
Connect
the
phone
to
the
hotspot
Note:
plese
compete
the network
dletibuton
within
3
shown
below
rte
ate
mating
ten,
°
SSrartite
04x
=@
S100
-®
Perform
not
pairing
as
prompted.
>
2.
Go
back
to
the
app
and
continue
to
‘add
devices.
Local
Network
AccessDevice
might
not be
able
to
be
connected
if
the
access
if
not
enabled,
©
Contr
the
indicator
is
blinking
slomty
a
i$$$§|
&»
Settings
Airplane
Mode
WLAN
Bluetooth
Cellular
Personal
Hotspot
@
ven
@
votications
©
sounds
&
Haptics
Do
Not
Disturs
®
screen time
©
ceneral
®
controt
center
Display
&
Brightness
BB
Home
screen
<
Settings
WLAN
ChinaNet-F39r
ChinaNet-mMaF
ChinaNet-vn3R
ChinaNet-w4z7
ChinaNet-wwhp
DeLingTestaS
DeLingTestaS_5G
DeLingTestNG
DeLingTestNG-5G
DeLingTestTPSP
DeLingTestTPSP_5G
iKang-internal
MIszo
Yuoyooo
Yuoyooo-5G
Other.

2.
Select
“Confirm
the
indicator
is
blinking
slowly"
in
the
app
and
tap “Next”,
Tap “Go
to
Connect”
to
jump
to
the Wi-Fi
setup
page
in
the
phone,
and
then
select
the
device's
hotspot
with
the
default
name
“SmartLife-XXXX
or“SL-XXXx"
After
successfully
connecting
to
the
Wi-Fi,
return
to
the
app
and
start
network
configuration.
Cancel
AP
Mode
ancl
Reset
the
device
first.
Connect
your
mobile
phone
to
the
Pease
poner
an
th
dvi
and
cori
tha
the
device's
hotspot
inate
istekng
sont.
1.
Connect
the
phone
to
the
hotspot
Note:
plese
compete
the network
dletibuton
within
3
shown
below
rte
ate
mating
ten,
°
SSrartite
04x
=@
S100
-®
Perform
not
pairing
as
prompted.
>
2.
Go
back
to
the
app
and
continue
to
‘add
devices.
Local
Network
AccessDevice
might
not be
able
to
be
connected
if
the
access
if
not
enabled,
©
Contr
the
indicator
is
blinking
slomty
a
i$$$§|
&»
Settings
Airplane
Mode
WLAN
Bluetooth
Cellular
Personal
Hotspot
@
ven
@
votications
©
sounds
&
Haptics
Do
Not
Disturs
®
screen time
©
ceneral
®
controt
center
Display
&
Brightness
BB
Home
screen
<
Settings
WLAN
ChinaNet-F39r
ChinaNet-mMaF
ChinaNet-vn3R
ChinaNet-w4z7
ChinaNet-wwhp
DeLingTestaS
DeLingTestaS_5G
DeLingTestNG
DeLingTestNG-5G
DeLingTestTPSP
DeLingTestTPSP_5G
iKang-internal
MIszo
Yuoyooo
Yuoyooo-5G
Other.

3.
After
successful
connection,
the
LED
indicator
will
stop
flashing
blue
and
the
added
device
will
be
displayed
on the
“Home”
page
in
the
app.
Cancel
X-Sense
v
0 Oo
Oe
Welcome
Home
TTS
set
your
home
location
for
more
informa...
>
Adding
device...
Ensure
that
the
Wi-Fi
signal
is
good
AllDevices
Living
Room
Master
Bedroot
*++
7
(i
%Sense
Wi-Fi
Sm..
4
3523
01:57
@
sean
App
Settings
Notifications
Settings
Under
Settings
(the
gear
wheel
on
the
unit's
home
screen) you
can
adjust
the
type
of
notifications
you
want
the
smoke
alarm
to
send.
This
can
apply
to
both
what
is
displayed
on the
screen
and
what
is
stored
in
the
log.
One
thing
to
keep
in
mind
is
that
if
you
turn
on
many
notifications,
it
may
seem
as
if
the
device
“alerts”
about
something
constantly.
For
example,
if
you
turn on
“Device
Self-Check
Notification’,
you
will
receive
a
notification
every
time
the
unit
performs
a
test
after
the
test/silence
button
is
pressed.
The
more
information
you
activate, the
more
power
the
device
will
consume,
as
it
creates
more
need
for
the
device
to
transmit
information,
which
means
that
the
intervals
for
battery
replacement
will
become
shorter
than
the
advertised
one
year.
Historical
Data
(Log)
To
access
historical
data
or
the
log,
click
the
“Click
for
more”
button
located
at
the
bottom
of
the
Home
screen
for
the
unit.

=
4
Low
Battery
Warning
6686888
Battery
Power
Recovery
Notification
Sett-Check
Resuits
Silence
Offline
Notification
If
you
have
an
unstable
network,
it
may
be
good
to
know
how
often
the
alarm
loses
connection
and
to
perhaps
improve
the
placement
of
your
Wi-Fi
router
or
change
Internet
provider. Alternatively,
you
may
wonder
why
the
XSO1-WT
loses
contact
with
the
Wi-Fi
router
or
cloud
server
and
flashes
blue
from
time
to
time.
Therefore,
it
is
recommended
to
turn on the “Offline
Notifications’
so
that
you
will
receive
a
push
notification
if
your
device
cannot
connect
to
the
app.
16
Turn
on
“Offline
Notification”
and
a
text
will
appear
describing
that
if
the
device
is
battery
powered,
updates
are
made
every
8
hours.
This
information
will
then
be
sent
from
the
cloud
server
due
to
the
device
not
having
made
contact
within
a
specified
time
span.
This
does
not
mean
that the
device
or
your
Wi-Fi
router
does
not
work
properly,
but
for
some
reason
the
smoke
alarm
cannot
reach
the
cloud
server
at
regular
intervals
and then
the
warning
is
sent
out.
NOTE:
XS01-WT
is
a
low-power
device.
<
(sense
‘
bev
nmaon
Tap-to-Run
and
Automation
Ofine
Nottication
oe
To
avoid
constant
reminders,
notification
wil
be
sen
if
the
device
stayed
offing
Share
Device
‘over
30
minutes.
(8
hours
for
low-power
FAQ
&
Feedback
‘Ads
to
Home
Sereen
‘Check
Device
Network
Check
Now
Device
Update
Ne
uodates
avaiable
Remove
Device

Alarm
Test
1.
Always
make
sure
to
test
your
smoke
alarm
when
it
is
turned
on
for
the
first
time,
or
whenever
you
change
the
battery
or
reconfigure
the
device.
You
should
also
test
the
device weekly,
or
whenever
you
have
been
away
from
home
for
a
long
time.
2.
Briefly
press
the
test/silence
button.
NOTE:
if
you
hold
down
the
button
for
more
than
three
seconds,
the
smoke
alarm
will
enter
a
connection
mode
in
the
app
and
the
previous
settings
will
be
cleared.
3.
The
unit
beeps
3
times.
4.
If
your
device
has
successfully
connected
to
router,
the
LED
indicator
will
flash
red
and then
flash
blue
rapidly
for
several
seconds,
indicating
it
has
been
connected.
5.When
the
test
is
finished,
the
alarm
will
automatically
enter
standby
mode.
NOTES
1,
The
test
function
accurately
tests
the
alarm’s
smoke
sensing
circuit
without
the
need
of
test
smoke.
If
your
smoke
alarm
fails
to
deliver
an
audible
test
signal,
immediately
refer
to
the
troubleshooting
guide
at
the
end
of
this
manual.
Never
use
an
open
flame
to
test
this
device.
2.
If
the
LED
indicator
flashes
blue
for
2
minutes
during
the
test,
then
the
connection
was
not
successful
and
the
alarm
needs
to
be
reconnected
(repeat
the
steps
in
the
section
“Set
Up
and
Connect
Smoke
Alarms
to
Wi-Fi”).
18
Installation
Positioning
Study
GH)
& &
Bedroom
Bedroom
Garage
Living
Room
Kitchen
@
LOE
Basement
@®
Gs)
Smoke
Alarm
Smoke
&
Carbon
Monoxide
Alarms:
Carbon
Monoxide
Alarms
@)
Fire
Extinguishers
NOTE:
If
a
smoke
alarm
is
installed
in
a
kitchen,
ensure
it
has
an
easily
accessible
silence
button
and
install
the
alarm
as
far
away
from
the
stove
and
sink
as
possible
to
avoid
false
alarms.
19

Alarm
Test
1.
Always
make
sure
to
test
your
smoke
alarm
when
it
is
turned
on
for
the
first
time,
or
whenever
you
change
the
battery
or
reconfigure
the
device.
You
should
also
test
the
device weekly,
or
whenever
you
have
been
away
from
home
for
a
long
time.
2.
Briefly
press
the
test/silence
button.
NOTE:
if
you
hold
down
the
button
for
more
than
three
seconds,
the
smoke
alarm
will
enter
a
connection
mode
in
the
app
and
the
previous
settings
will
be
cleared.
3.
The
unit
beeps
3
times.
4.
If
your
device
has
successfully
connected
to
router,
the
LED
indicator
will
flash
red
and then
flash
blue
rapidly
for
several
seconds,
indicating
it
has
been
connected.
5.When
the
test
is
finished,
the
alarm
will
automatically
enter
standby
mode.
NOTES
1,
The
test
function
accurately
tests
the
alarm’s
smoke
sensing
circuit
without
the
need
of
test
smoke.
If
your
smoke
alarm
fails
to
deliver
an
audible
test
signal,
immediately
refer
to
the
troubleshooting
guide
at
the
end
of
this
manual.
Never
use
an
open
flame
to
test
this
device.
2.
If
the
LED
indicator
flashes
blue
for
2
minutes
during
the
test,
then
the
connection
was
not
successful
and
the
alarm
needs
to
be
reconnected
(repeat
the
steps
in
the
section
“Set
Up
and
Connect
Smoke
Alarms
to
Wi-Fi”).
18
Installation
Positioning
Study
GH)
& &
Bedroom
Bedroom
Garage
Living
Room
Kitchen
@
LOE
Basement
@®
Gs)
Smoke
Alarm
Smoke
&
Carbon
Monoxide
Alarms:
Carbon
Monoxide
Alarms
@)
Fire
Extinguishers
NOTE:
If
a
smoke
alarm
is
installed
in
a
kitchen,
ensure
it
has
an
easily
accessible
silence
button
and
install
the
alarm
as
far
away
from
the
stove
and
sink
as
possible
to
avoid
false
alarms.
19
Other manuals for XS01-WT
2
Table of contents
Other x-sense Smoke Alarm manuals

x-sense
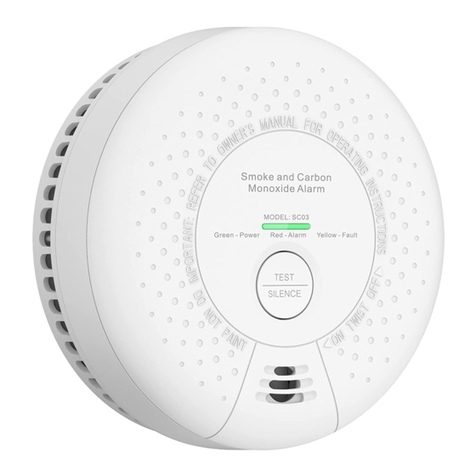
x-sense SC03 User manual
x-sense
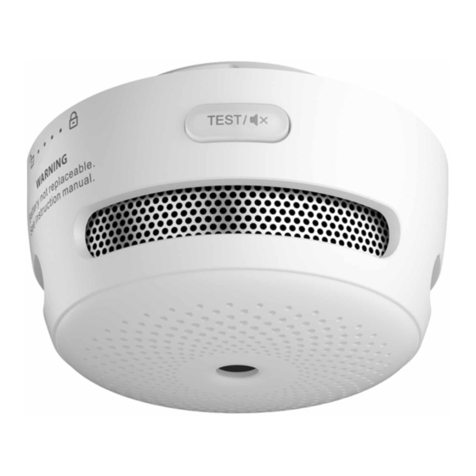
x-sense XS01-W User manual

x-sense
x-sense SCO6-W User manual

x-sense
x-sense XP01 User manual

x-sense
x-sense XS03 User manual

x-sense
x-sense XS03-iWX User manual

x-sense
x-sense XP01 User manual

x-sense
x-sense XS01-WT User manual

x-sense
x-sense XS03 User manual

x-sense
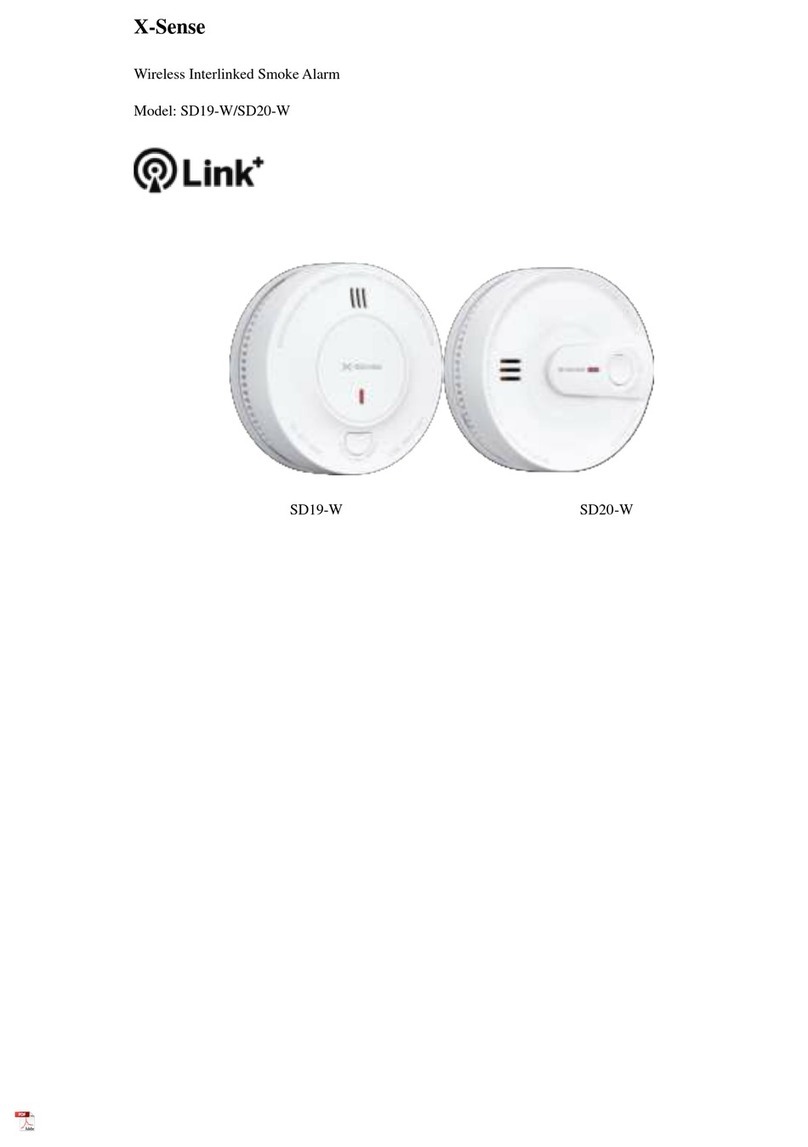
x-sense SD19-W User manual

x-sense
x-sense XS01-WR User manual

x-sense
x-sense SC03 User manual

x-sense
x-sense XP01 User manual

x-sense
x-sense XSO1-WX User manual

x-sense
x-sense XS01-WT User manual

x-sense
x-sense SD19-W User manual

x-sense
x-sense XS01-WR User manual

x-sense
x-sense XS01-W User manual
x-sense
x-sense XS01 User manual

x-sense
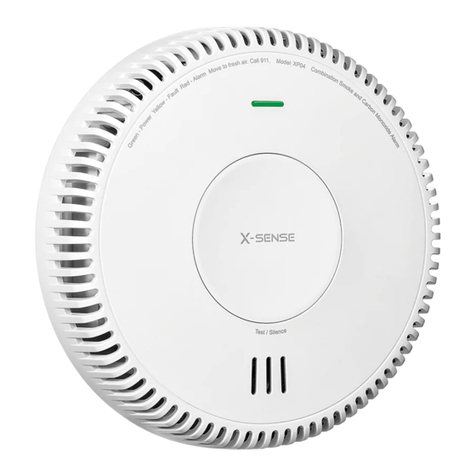
x-sense XP04 User manual