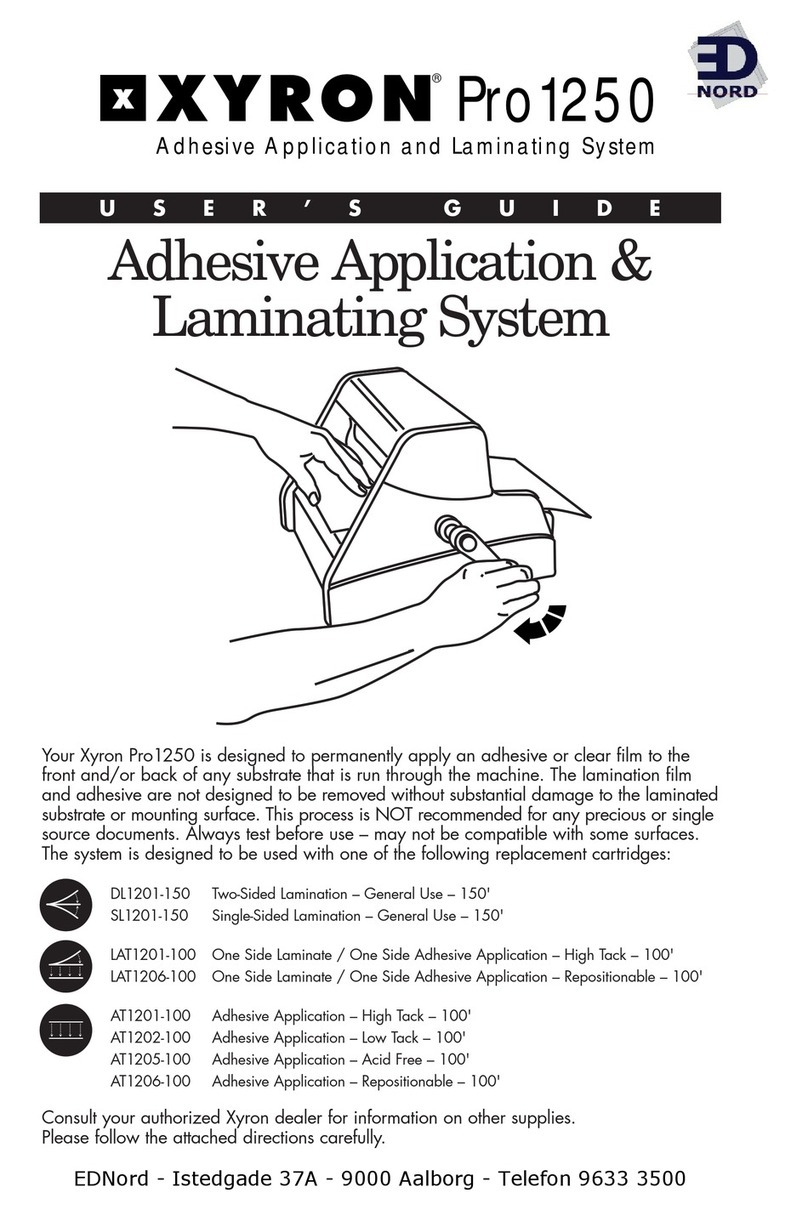
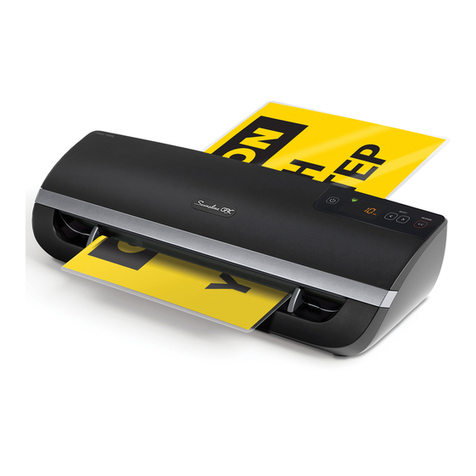
Xyron PRO 1255 XM1255 User manual

The XM1255 is an economical and easy to use document finishing system.
This versatile and non-electric system has been designed to laminate or apply
mounting adhesive to a variety of media. The same system is capable of laminating,
selectively applying adhesive or applying laminate and adhesive at the same time.
With the XM1255, documents are easily laminated or can be transformed into signs,
stickers or labels instantly. The machine and supplies are compatible with all types
of computer-printed media including laser, inkjet, color and thermal in a wide
range of material sizes and thickness.
Adhesive Application &
Laminating System
USER’S GUIDE
1255

Features & Functions
Input Tray
Used to guide items into
the machine. Leading
edge of document should
slide underneath paddle
for best results. Tray has
extendable "arm" for use
when loading long items.
Arm is shown closed.
Top Cover
Opens up for cartridge
replacement (see label
when open).
Paddle
Used to provide back
tension on delicate or
long items to ensure
wrinkle-free results.
Crank Handle
Used to advance
cartridge supplies
and item when
rotated clockwise.
Cut Blade
Used to cut items after
they have exited
machine. To use, press
downward and slide to
the left or right.
Top Cover
Shown open for cartridge
removal/installation.
Input Tray
Shown removed
for cartridge
removal/installation.
Replaceable Supply Cartridge
(see various types of Refill
Cartridge section).
Input Side
Output Side
Lifting Points
Areas located on both
sides of the machine for lifting.

Input
Tray
1
5
Remove the XM1255 and crank the handle from the packaging. 1. (1) 6” Piece
of Corrugate Box material [Use a piece of the supply cartridge carton flap]
2. Tools included – None required
Assembly Instructions
1. When ready to assemble the Crank Handle onto the XM1255 machine, insert
the threaded stud of the handle into the Crank side hole and rotate the handle
until the nip rollers begin to rotate.
2. Next place a folded over 6” piece of corrugate box material into the nip
rollers and apply a medium force / pressure to crank handle as shown in figure
1. Warning: Excessive force applied to the handle during this process may
cause damage to the threads of the handle. The nip roller may elevate slightly
during the handle assembly process, this is normal. DO NOT OVER TIGHTEN.
Setting Up
Loading Supply Rolls
Slide inputtray out of machine
by pressing tabs on each side.
With top cover open, lift
out used cartridge completely.
Replace cartridge
with new one.
Make sure label
is up and view-
able from top
input side of
machine.
2
From the input side, insert
starter card into machine
between the
substrates to
start material
through the
rollers. Turn the
handle of the
machine in a
clockwise direction. This will advance
the material.
3Advance the film through the
machine until the film is
aligned
and wrinkle
free. This
may take 6
– 10 inches.
Reinsert the
tray. Be sure it
"snaps" into
place.
Press down the orange blade holder and
slide it in either direction to trim excess film.
Figure 1: Place the place a folded over 6” piece of
corrugate box material into the nip rollers and apply
a medium force / pressure to crank handle
4

Basic Operation
Trim to desired length using
the cut blade at the roller exit.
Apply downward pressure on the orange
blade holder and slide to the left or
right. TIP To save a later trimming operation,
turn the crank to advanced the document
until the leading edge is aligned with the
upper blade bar supporting the cut blade.
Trim excess material from the leading edge of
the document. Continued to crank document
through machine and trim when finished.
Before inserting your document,
turn crank handle clockwise one
revolution to ensure film is wrinkle-free.
Insert and align document on feed tray.
Extend the document underneath the
paddle on the feed tray and completely
into the cartridge opening until it touches
the film/adhesive.
Gently guide the document
forward while turning the crank
handle clockwise. TIP: To save a later
trimming operation, trim off any excess
material on the leading edge of the output
(with cut blade) before advancing completely
through the dispenser.
2
3
How to remove document from adhesive backing
Proper Technique
•Remove the protective clear mask layer
and discard.
•Always remove the liner from the media as
shown.
1

Available Supply Roll
Adhesive Application Roll Set
Lamination Cartridges
Combination One Side Laminate / One Side Adhesive Application
Cutter
Permanent High-Tack Adhesive: Extremely aggressive adhesive instantly creates a
permanent bond on most surfaces. Sets instantly and will not peel. Acid-Free.
Permanent Standard Adhesive: Moderately aggressive adhesive creates a permanent
bond on most surfaces. Can be touched to surface, peeled back quickly, and replaced.
Acid-Free.
Repositionable Adhesive: Allows items to be repositioned over and over. Easy removal
from glass, walls, paper, and most other surfaces. Acid-Free.
Standard Use Laminate: High gloss film suitable for use on a variety of substrates.
Superior adhesion. Compatible with most media. Acid-Free.
Combination–Laminate/Adhesive: One of the laminate products described on
the top surface and one of the Acid-Free adhesives described on the bottom surface.
Acid-Free.
AT1251-100 Permanent High-Tack 100’ 12” N/A 0.6mil Acid-Free 10 Yes
(30.5m) (30.5cm) (15.2mic)
AT1255-100 Permanent Standard 100’ 12” N/A 0.6mil Acid-Free 8 Yes
(30.5m) (30.5cm) (15.2mic)
AT1256-100 Repositionable 100’ 12” N/A 1.1mil Acid-Free 3 Yes
(30.5m) (30.5cm) (27.9mic)
DL1251-150 2-Sided Standard Use Laminate 150’ 12” 2.7mil N/A Acid-Free N/A Yes
(95.7m) (30.5cm) (67.5mic)
LAT1251-100 1 Side Standard Use Laminate 100’ 12” 2.7mil 0.6mil Acid-Free 10 Yes
1 Side High-Tack Adhesive (30.5m) (30.5cm) (67.5mic) (15.2mic)
LAT1256-100 1 Side Standard Use Laminate 100’ 12” 2.7mil 1.1mil Acid-Free 3 Yes
1 Side Repositionable Adhesive (30.5m) (30.5cm) (67.5mic) (27.9mic)
2342.01 Replaceable Cutter Bar and Blade Assembly
2343.01 Replacement Tray
Laminate &
Adhesive Mounting
Combination Mounting Adhesive
Material Material Thickness Adhesive Strength PAT
Part Number Product Description Length Width (per side) Thickness Adhesive pH (1:10; 10-high) Approved
Product Supply Description
Product Specifications
Footprint 10.5” x 13” x 15” (26.7cm x 33cm x 38.1cm)
Weight/Packed Weight 14.75lbs (6.6kg) / 18.25lbs (8.2kg)
Document Thickness (max.) 0.125” (3.2mm)
Finished Document Width (max.) 11.75” (29.8cm)
Power Requirements None
Cutter Removable, replaceable cutter

Cut blade does not cutAdhesive build-up on Use caution and follow cleaning
smoothly. cutting mechanism. procedure listed below.
Film does not exitMaterial is curled or Remove material and clean
dispenser between upperadhesive has been trans-adhesive from rollers if necessary.
and lower blade bars.ferred to the nip rollerReposition material between
causing the film to stickblade bars.
Film wrinkles don’t Adhesive build-up on Apply adhesive cleaner to
go away as crank is roller bars. remove build-up on roller.
turned clockwise.
Material will notMaterial is not positionedReinstall cartridge. Slide input tray
advance when crankbetween rollers or laminate outward to release film and turn
handle is turned.is adhered to input tray. handleto assure laminate is
wrinkle-free. Slide input tray back
into machine.
Document wrinkles or Adhesive build-up on frontRemove adhesive from front edge
exits machine crooked.edge of input tray. of input tray.
Document peels from Improper peel technique Use the proper peel technique
mounting surface at introduces curl in document. of peeling the liner from the
ehtnonwohssatnemucod.srenrocetisoppo previous page.
Troubleshooting
noituloSesuaCmotpmyS
How to Change & Maintain your Cut System
Using the finger tab of the cut bar spring, pull in and carefully remove the cut bar assembly from
the machine (be cautions of exposed). Using caution, apply adhesive cleaner to all surfaces of bar
blade. Once adhesive build-up is removed, return the cut assembly to the machine, guiding the
location pins into the holes in the side plates.
Warranty Information
Xyron, Inc warrants that the XM1255 is free from defects inmaterial and workmanship for a period
of one (1) year from the date of purchase. Xyron, Inc. will repair or replace a defective product or
part without charge, with proof of purchase. If the product is damaged by neglect or misuse, the
warranty is null and void.
To register your product online, please go to www.xyronpro.com and click on the product
registration tab.
*If you purchased this product outside the United States Xyron will warrant this product in accor-
dance with the purchasing country’s laws.
Customer Service
We want you to be happy with your purchase of a Xyron product. If for any reason you have a
problem or a question, please contact Xyron Customer Service toll-free at 1-800-793-3523 or
For customer service outside of the U.S.
Europe 44 845 67801801
Asia 813 5719 6450
©2009 Xyron, Inc.
8465 N. 90th St. Suite 6
Pima Center
Socttsdale, AZ 85258
Visit www.xyronpro.com for more information
# 1445.03
This manual suits for next models
2
Table of contents
Other Xyron Laminator manuals

Xyron
Xyron ezLaminator User manual

Xyron
Xyron ezLaminator User manual

Xyron
Xyron PRO 2500 User manual

Xyron
Xyron PRO 1250 User manual

Xyron
Xyron Creative Station Home User manual

Xyron
Xyron 850 User manual

Xyron
Xyron 1200 User manual

Xyron
Xyron Xyron ezLaminator User manual

Xyron
Xyron Pro 1255 User manual

Xyron
Xyron 4400 User manual

Xyron
Xyron 2500 User manual

Xyron
Xyron XM4400 User manual

Xyron
Xyron XM2500 User manual

Xyron
Xyron XRN4400 User manual

Xyron
Xyron XM1200 User manual

Xyron
Xyron XM1255 User manual

Xyron
Xyron XRN510ATP User manual

Xyron
Xyron Glaminator Guide

Xyron
Xyron Creative Station User manual

Xyron
Xyron Creative Station User manual