manuals.online logo
Brands
  1. Home
  2. •
  3. Brands
  4. •
  5. Yaesu
  6. •
  7. Repeater
  8. •
  9. Yaesu C4FM User manual

Yaesu C4FM User manual

Glenada Hill Yaesu C4FM UHF Repeater Features & Settings
IMRS (Internet-Linked Multi-Site Repeater System):
Currently our Glenada Hill UHF repeater system can be linked to a similar repeater which is operating in Coos Bay
on 147.320 MHz under callsign K7REA. The link is controlled by the DG-ID setting in your radio and the audio link
is completed from our repeater thru the internet to the repeater in Coos Bay. While this link is active any digital
C4FM user in Florence can communicate with other digital C4FM users in the Coos Bay area. Once established the
link remains open for thirty (30) seconds from the end of the most recent digital transmission.
There are some informative “beeps” that occur as follows:
1 beep: Connection to remote repeater established
2 beeps: Link has been dropped
3 beeps: Connection failed on one or more repeaters
Additionally, we have a third repeater (Sherwood) which can be accessed during our testing phase. This repeater is
actually located SOB at AC0WN’s QTH and will eventually be installed in Sherwood, OR. The Sherwood repeater is
on a test frequency pair at 440.275 +5mhz
To use the IMRS system you set your transceiver’s TX DG-ID as follows:
Florence Repeater Only: 00
Florence Repeater and Coos Bay Repeater: 02
Florence Repeater and Sherwood Repeater: 03
All linkable repeaters (currently 3): 99
IMPORTANT: Once you are done with the link please remember to return your transceiver’s TX DG-ID back to 00.
To set TX DG-ID on a FT3DR:
Press GM button for 2 seconds
Press GM button briefly
Turn DIAL to set desired TX DG-ID
Press BACK button twice
GM Button
To set TX DG-ID on a FT2DR:
Press GM button for 2 seconds
Press GM button briefly
Turn DIAL to set desired TX DG-ID
Press BACK button twice
GM Button
To set TX DG-ID on a FTM-400:
Press GM button for 2 seconds
Press GM button briefly
Turn DIAL to set desired TX DG-ID
Press BACK button twice
To set TX DG-ID on a FTM100D:
Long press GM
Short press GM
Turn dial to desired DG-ID
Press Back button twice
WIRES-X (New setting required to use Wires-X):
While we are using IMRS it is important that we NOT allow IMRS traffic on the Wires-X network. In an effort to meet
this goal we are trying the following:
To access Wires-X thru the Glenada Hill repeater set your Wires-X DG-ID to 70. The Wires-X DG-ID is in a different
location than the GM DG-ID. Please see directions below on how to configure the Wires-X DG-ID. This is a “set it
and forget it” step as you can leave it in this configuration whether or not you are engaging Wires-X. Once the
Wires-X DG-ID is set to 70 you can connect to Wires-X at any time by pressing the red X button on your radio. On
the FT2DR and FT3DR this is a quick press, while on the FTM-400 it is approximately a 2 second hold.
Once Wires-X is engaged thru the Glenada Repeater, any digital C4FM radio in Wires-X mode and on frequency
can transmit and contribute to the Wires-X conversation. Any other radio not in Wires-X mode will hear both Wires-
X and local traffic on the repeater, but when transmitting will only be heard on the local repeater (and not on the
Wires-X internet link).
IMPORTANT: Once you set Wires-X DG-ID you can leave it on “70” as long as you are just using our local Wires-X
node. J If you travel and use some other Wires-X node you will most likely need to return this setting to “Auto”.
To set Wires-X DG-ID on a FT3DR:
Press DISP button for 2 seconds
Press Wires-X soft button briefly
Turn DIAL to select 5. DG-ID
Press 5. DG-ID
Turn DIAL to select 70
Press BACK button three (3) times
To set Wires-X DG-ID on a FT2DR:
Press DISP button for 2 seconds
Press Wires-X soft button briefly
Turn DIAL to select 5. DG-ID
Press 5. DG-ID
Turn DIAL to select 70
Press BACK button three (3) times
To set Wires-X DG-ID on a FTM-400:
Press DISP button for 2 seconds
Press Wires-X soft button briefly
Turn and press DIAL to select DG-ID TX
Turn DIAL to select 70
Press DIAL to save change
Press BACK button two (2) times
To set Wires-X DG-ID on a FTM100D:
Long press DISP
Turn DIAL to Wires-X #7
Short press DISP
Turn dial to DG-ID #2
Short press DISP
Press Back button twice

Other Yaesu Repeater manuals

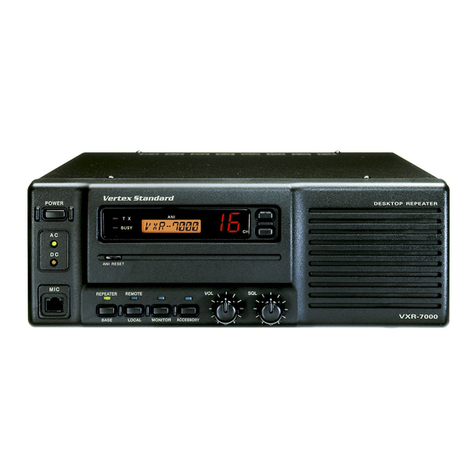
Yaesu VXR-7000U User manual

Yaesu

Yaesu VXR-7000U User manual

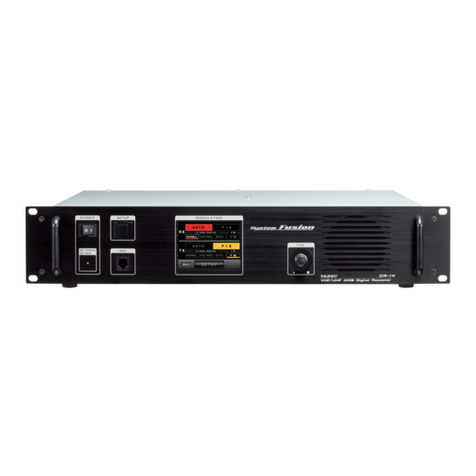
Yaesu DR-1X User manual

Yaesu

Yaesu DR-1X User manual

Yaesu Wires-X User manual

Yaesu

Yaesu Wires-X User manual

Yaesu DR-2X User manual

Yaesu

Yaesu DR-2X User manual

Yaesu DR-1X User manual

Yaesu

Yaesu DR-1X User manual

Yaesu DR-1X User manual

Yaesu

Yaesu DR-1X User manual

Yaesu DR-1X User manual

Yaesu

Yaesu DR-1X User manual

Yaesu DR-1X Manual

Yaesu

Yaesu DR-1X Manual

Yaesu DR-1X FR User manual

Yaesu

Yaesu DR-1X FR User manual

Yaesu DR-1 User manual

Yaesu

Yaesu DR-1 User manual

Yaesu DR-2X User manual

Yaesu

Yaesu DR-2X User manual

Yaesu WIRES-X TM-400FT5D Installation and operation manual

Yaesu

Yaesu WIRES-X TM-400FT5D Installation and operation manual

Yaesu VXR-9000 User manual

Yaesu

Yaesu VXR-9000 User manual

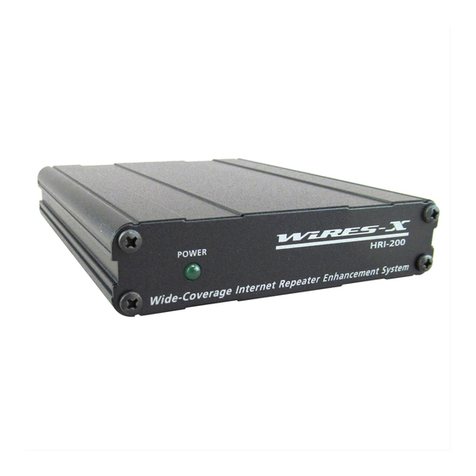
Yaesu WIRES-X HRI-200 User manual

Yaesu

Yaesu WIRES-X HRI-200 User manual

Yaesu DR2XLAN User manual

Yaesu

Yaesu DR2XLAN User manual

Yaesu DR-2X Manual

Yaesu

Yaesu DR-2X Manual

Yaesu WIRES-X FT3D User manual

Yaesu

Yaesu WIRES-X FT3D User manual

Yaesu FTR-710A User manual

Yaesu

Yaesu FTR-710A User manual

Yaesu WIRES-X HRI-200 User manual

Yaesu

Yaesu WIRES-X HRI-200 User manual

Yaesu DR-1 User manual

Yaesu

Yaesu DR-1 User manual

Popular Repeater manuals by other brands

Loopcomm 1t1r user manual

Loopcomm

Loopcomm 1t1r user manual

Futurecom PDR8000 Programming guide

Futurecom

Futurecom PDR8000 Programming guide

Compaq Netelligent 1124 user guide

Compaq

Compaq Netelligent 1124 user guide

Panasonic VL-FAN1BX operating instructions

Panasonic

Panasonic VL-FAN1BX operating instructions

Icom UR-FR5000 instructions

Icom

Icom UR-FR5000 instructions

Kramer PT-4iREX quick start guide

Kramer

Kramer PT-4iREX quick start guide

Kenwood TKR-851 Service manual supplement

Kenwood

Kenwood TKR-851 Service manual supplement

Kenwood NEXEDGE NXR-800 Service manual

Kenwood

Kenwood NEXEDGE NXR-800 Service manual

JTL NR110 user guide

JTL

JTL NR110 user guide

Klark Teknik DN9610 AES50 user manual

Klark Teknik

Klark Teknik DN9610 AES50 user manual

GoMax Electronics CV-55AZ user manual

GoMax Electronics

GoMax Electronics CV-55AZ user manual

COBHAM MBF-40 Americas user manual

COBHAM

COBHAM MBF-40 Americas user manual

Coiler Pisces product manual

Coiler

Coiler Pisces product manual

Fiplex nanoSAW Series user manual

Fiplex

Fiplex nanoSAW Series user manual

Renkforce 2373322 operating instructions

Renkforce

Renkforce 2373322 operating instructions

CallingSYS ZZQ8 user manual

CallingSYS

CallingSYS ZZQ8 user manual

DEC PORTswitch 900FP Installation and configuration

DEC

DEC PORTswitch 900FP Installation and configuration

Collingwood Lighting PR3002 Wiring diagrams

Collingwood Lighting

Collingwood Lighting PR3002 Wiring diagrams

manuals.online logo
manuals.online logoBrands
  • About & Mission
  • Contact us
  • Privacy Policy
  • Terms and Conditions

Copyright 2025 Manuals.Online. All Rights Reserved.