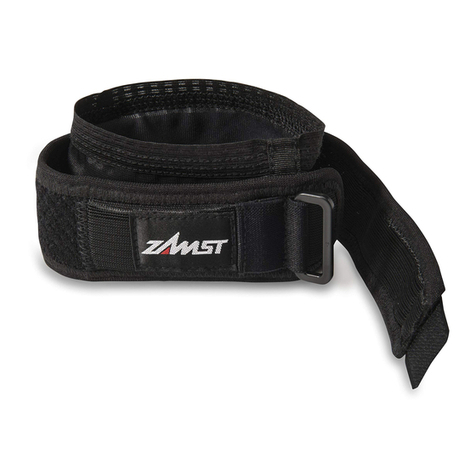
ZAMST A2-DX User manual

ZAMST A2-DX (ANKLE SUPPORT) INSTRUCTIONS FOR USE EN
Thank you for purchasing this product. For safety reasons, be sure to read this user manual before use. Also, store it in a location where you can
refer to it at any time.
Read this first:
• This product is side (left or right) specic and is not interchangeable.
• Support may not be provided by this product under certain usage conditions.
• This product is not designed to treat ankle disorders.
• Check that the product size is correct before use.
When using the product:
• Due to the characteristics of the materials used in this product, the color may change depending on storage conditions.
• When storing the product, avoid applying excessive weight to the hook-and-loop fastener or raised fabric. Otherwise, the hook-and-loop fastener
may not work effectively.
• Do not wear the product while driving. Doing so may have an adverse effect on your driving ability.
Precautions for use - Be sure to read this:
Safety precautions are divided into the following sections, according to the level of danger involved.
WARNING: Indicates a potentially hazardous situation, which may result in serious personal injuries if not avoided.
CAUTION: Indicates a potentially hazardous situation, which may result in minor personal injuries and/or property damage if not avoided.
WARNING
• To prevent abnormalities or worsening of symptoms, people who suffer from the following conditions should refrain from using the product:
- Those predisposed to allergies or with sensitive skin.
- Those who have a fracture, cut, numbness, swelling, eczema, rash or other abnormalities in the area where the product will be worn.
• If the product is not used correctly, it may cause circulatory problems or injury. Be sure to follow the warnings below and use the product correctly:
- The product should only be used on ankles.
- Be sure to use the correct size product.
- Do not use the product while sleeping.
- If wearing the product for a long period of time, readjust it as necessary. The application of constant pressure for a long period of time may
cause skin and/or circulatory problems.
- When using the product, be sure to put it on in the correct orientation (top/bottom, inside/outside, front/back).
- Follow the attachment steps in order to use this product correctly.
- Do not wrap the main body of the product or the straps too tightly.
- If the product loosens or comes off during use, be sure to refasten it correctly by following the noted steps from the beginning.
- If the product shows any signs of wear or damage, or the hook-and-loop fastener no longer works well, do not use the product.
- Do not attempt to modify or repair the product.
• The original guard of the product is made of plastic. To prevent personal injury, do not use the product in the following situation:
- Where contact with the product may injure others.
• If any of the following abnormalities occur when using this product, immediately stop using it, and consult a physician. Continued use may
worsen symptoms:
- If this product causes discomfort.
- If an injury, fracture, cut, pain, numbness, swelling, eczema, rashes, etc. occurs in the area where the product is worn.
CAUTION
• Hard materials are used for the hook-and-loop fastener. In certain rare instances, ngers or skin may be damaged, so use the product carefully.
• Be sure to wear the product over a sock. Do not wear it directly on your skin.
• Sweat and friction may cause the color of this product to fade or be transferred to other materials.
• Make sure the hook-and-loop fastener does not attach to clothing. If it does, clothing may become frayed or be damaged.
Care and cleaning
CAUTION
• Do not wash this product with light colored items. By doing so, color may fade or be transferred to other materials.
• If washing the product together with clothing, etc., be sure to use a laundry net. If the hook-and-loop fastener becomes attached to
clothing, it may cause the clothing to become frayed or be damaged.
• The product is hand washable. Gently press wash and pat dry using a towel, and line dry in the shade.
• When washing this product, attach the hook-and-loop fastener to the main body. Attempting to wash this product without closing the hook-and-
loop fastener may weaken its fastening capability.
• Do not use an iron or chlorine bleach, however, oxygen bleach can be used.
• Do not tumble dry. Doing so may damage the product.
• This product cannot be dry cleaned. Wet cleaning is allowed, however, avoid tumble drying.
A2-DX
2020.02 165101
NIPPON SIGMAX CO., LTD
33rd Floor Shinjuku Oak Tower
6-8-1 Nishi-Shinjuku, Shinjuku-ku,
Tokyo 163-6033 Japan
Phone: +81 3 5326 3229
The video on how to apply the product,
and the Instructions for Use in other
languages are available at
https://zamst.com/products/a2-dx/
EMERGO EUROPE
Prinsessegracht 20 2514
AP
The Hague, The Netherlands

How to apply
• Before attaching this product, carefully read through the “Precautions for use - Be sure to read this” section. Then follow the steps provided to
ensure the product is correctly attached.
• The steps below use the right foot for reference. Follow the same steps for the left foot.
1. Unfasten all hook-and-loop fasteners of the product. Conrm the top/bottom, inside/outside, and front/back of the
product.
Cross strap
Original guard
Cross strap
Rivet
Guard strap
Hook-and-loop
fastener A
Tag
Strap loop
<Inside ankle view>
Guard loop
Hook-and-loop fastener B
<Outside ankle view>
Top
Bottom
Front Back
Make sure that the guard strap is passed
through the guard loop.
* You do not need to detach the guard strap
from the guard loop when attaching or
removing the product.
2. Position your ankle at right angle, open the rear entry of the product and slide your foot into the opening from the back.
Ankle
Center of your foot
Center of the product
With the original guards folded to the back,
slide your foot into the product from the
back until your ankle is aligned with the area
indicated by the dashed line which is directly
above the rivet on the original guard.
3. Fasten hook-and-loop fastener A.
Hook-and-loop
fastener A
Hold hook-and-loop fastener A with your left hand and hold the
product end with your right hand so that they crisscross. Place
your feet on the oor with your ankle at a 90 degree angle. Wrap
the support around your ankle by pulling hook-and-loop fastener A
diagonally and fastening it.
4. Fasten hook-and-loop fastener B.
Hook-and-loop
fastener B
Tab Hold hook-and-loop fastener B with your right hand and hold the
tab with your left hand so that they crisscross. Wrap the product
around your ankle by pulling hook-and-loop fastener B diagonally and
fastening it.
5. Fasten the cross straps.
Cross strap
Cross both cross straps while pulling them in opposing directions in
front of your foot and attach the hook-and-loop fasteners above the
ankle on opposite sides.

EN
6. Attach the original guards to the main body of the product.
Ankle area
Correct position of guard
Raise the original guards in the upright
position. Position them so that the raised
area on the guard (directly above the rivet)
comes over the ankle indicated by the
dashed circle by adjusting the length of the
rear position of the upper strap. Fasten the
hook-and-loop fasteners on the inner side
of each original guard to the main body of
the product.
7. Wrap the guard straps.
Guard strap Strap loop
Use one hand to prevent the guards from
moving. Wrap the guard strap around your
ankle and pass the strap through the strap
loop. Fold the strap backward and fasten it
with the hook-and-loop fastener.
* Do not overtighten the straps as doing so
may cut off blood circulation to the foot or
lead to skin and/or circulatory problems.
8. Ensure the product ts securely. If you feel any discomfort, repeat the steps from the beginning to reattach the product.
The product correctly fastened (right foot)
* In the illustration, the logo is facing
frontward. The logo does not always come
in the center. Its position may differ with
each individual user.
* Adjust the strap bearing the logo as
necessary to ensure a snug t.
<Front view> <Inner side view> <Back view>
Two soft spacers are provided with the product. Attach them if the original guards or rivets are pressed against your feet and are making you
uncomfortable.
1 2 3
Soft spacer
Soft spacer
Soft spacer
1 If the location being pressed is on the
upper part of your foot, attach the soft
spacer on the upper part of the guard.
2 If the location being pressed is on your
ankle, attach the spacer on the upper part
of your ankle.
3 If a rivet is pressing against your foot,
attach the spacer inside the plate.
Disclaimer:
* The product specications and appearance are subject to change without notice for the purpose of improvement.
* When disposing of this product, be sure to follow all disposal ordinances and regulations as specied by the local government.
* We take all possible measures to ensure product quality, however, if you nd any defects, etc. in our products, please contact Nippon Sigmax Co., Ltd.
“ZAMST” and “ZAMST logo” are trademarks or registered trademarks of Nippon Sigmax Co., Ltd in Japan, the United States and other countries.

ZAMST A2-DX (CHEVILLÈRE) – INSTRUCTIONS D’UTILISATION CA
Merci d’avoir acheté cet article. Pour des raisons de sécurité, veuillez lire attentivement le présent manuel de l’utilisateur avant de vous servir de
l’article. Aussi, conservez-le en lieu sûr pour référence ultérieure.
À lire en priorité :
• Cet article se porte sur un côté (droit ou gauche) et n’est pas inversable.
• Il se peut que, dans certaines conditions d’utilisation, cet article n’offre pas le soutien prévu.
• Cet article n’est pas conçu pour traiter les problèmes de cheville.
• Assurez-vous que la taille de la chevillère est appropriée avant de l’utiliser.
Lorsque vous utilisez ce produit :
• En raison des propriétés des matériaux qui composent cet article, il se peut qu’il change de couleur dans certaines conditions d’entreposage.
• Lorsque vous rangez cette chevillère, n’appliquez pas trop de poids sur sa fermeture autoagrippante ou sur le tissu gratté. Cela pourrait pour
nuire au fonctionnement de la fermeture autoagrippante.
• Ne portez pas l’article lorsque vous conduisez. Il pourrait nuire à votre conduite.
Précautions d’emploi – Lisez attentivement les consignes suivantes :
Selon le niveau de risque, les mesures de sécurité sont réparties entre les deux catégories suivantes.
AVERTISSEMENT : Indique une situation possiblement dangereuse qui pourrait entraîner de graves blessures si on ne l’évite pas.
MISE EN GARDE : Indique une situation possiblement dangereuse qui pourrait entraîner des blessures mineures ou des dégâts matériels si
on ne l’évite pas.
AVERTISSEMENT
• An de prévenir toute anomalie et d’éviter d’aggraver les symptômes, les personnes souffrant des conditions suivantes ne devraient pas utiliser
l’article :
- Personnes prédisposées aux allergies ou dont la peau est sensible.
- Personnes présentant une fracture, une coupure, des engourdissements, des gonements, de l’eczéma, des irritations ou d’autres problèmes
à l’endroit où devrait être porté l’article.
• Si vous n’utilisez pas cet article correctement, vous pourriez développer des problèmes circulatoires ou subir des blessures. Suivez bien les
avertissements d’utilisation ci-dessous :
- L’article doit être porté sur la cheville uniquement.
- Vériez que la taille de l’article vous convient.
- Ne portez pas le produit pour dormir.
- Si vous portez l’article depuis un certain temps, réajustez-le selon les besoins. L’application d’une pression constante sur une longue période
peut entraîner des problèmes circulatoires ou cutanés.
- Lorsque vous utilisez ce produit, assurez-vous de le porter dans l’orientation appropriée (haut/bas, intérieur/extérieur et avant/arrière).
- Suivez les instructions an d’utiliser ce produit correctement.
- Ne serrez pas trop le corps principal de l’article ou ses sangles.
- Si l’article se desserre ou glisse pendant l’utilisation, assurez-vous de le réajuster correctement en reprenant les étapes indiquées à partir du
début.
- Si vous constatez une détérioration de l’article ou si la fermeture autoagrippante ne fonctionne plus correctement, cessez d’utiliser I’article.
- Ne tentez jamais de modier ou de réparer cet article.
• La protection intégrée de cet article est fabriquée en plastique. Pour éviter toute blessure, n’utilisez pas l’article dans les situations suivantes :
- Si le contact avec l’article pourrait blesser les autres.
• Si l’une ou l’autre des anomalies suivantes se produit à l’utilisation de l’article, arrêtez immédiatement de l’utiliser et consultez un médecin. Le fait
de continuer l’utilisation peut aggraver les symptômes si :
- Le port de l’article est inconfortable.
- Vous souffrez d’une blessure, d’une fracture, d’une coupure, d’une douleur, d’engourdissements, de gonements, d’eczéma, d’éruption
cutanée ou d’un autre problème à l’endroit où vous portez l’article.
MISE EN GARDE
• Des matériaux durs sont utilisés pour la fermeture autoagrippante. Dans certains cas, vous pourriez vous blesser aux doigts ou vous couper.
Veuillez utiliser cet article avec précaution.
• Assurez-vous de porter cet article par-dessus une chaussette. Ne le portez pas directement sur votre peau.
• En raison de la sueur et du frottement, l’article pourrait se décolorer ou déteindre sur d’autres tissus.
• Vériez que la fermeture autoagrippante ne s’accroche pas dans vos vêtements. Cela pourrait les eflocher ou les endommager.
Nettoyage et entretien
MISE EN GARDE
• Ne lavez pas cet article avec des éléments de couleurs claires. Cela risque de le faire décolorer ou déteindre sur les autres tissus.
• Si vous lavez l’article à la machine avec des vêtements, etc., assurez-vous d’utiliser un let de lavage. Si la fermeture autoagrippante
s’accroche à vos vêtements, elle risque de les eflocher ou de les endommager.
• Cet article se lave à la main. Lavez-le délicatement avec pressage. Pour le sécher, tapotez-le à l’aide d’une serviette et laissez-le sur une corde à
l’ombre.
• Lorsque vous lavez cet article, xez la fermeture autoagrippante au corps principal. Si vous tentez de laver cet article sans xer la fermeture
autoagrippante, vous risquez d’affecter sa fonction agrippante.
• Ne repassez pas cet article et n’utilisez pas d’agent de blanchiment au chlore. Cependant, vous pouvez utiliser un agent de blanchiment à
l’oxygène.
• Ne le séchez pas par culbutage. Cela endommagerait l’article.
• Cet article ne peut pas être lavé à sec. Vous pouvez le laver à la machine, mais évitez de le sécher par culbutage.

Comment appliquer le produit
• Avant de porter cet article, lisez attentivement la section « Précautions d’emploi – Lisez attentivement les consignes suivantes ». Ensuite, suivez
les étapes fournies pour vous assurer qu’il est correctement xé.
• Elles expliquent comment mettre l’article au pied droit. Suivez les mêmes étapes pour le porter au pied gauche.
1. Détachez les fermetures autoagrippantes de la chevillère. Vériez l’orientation haut/bas, intérieur/extérieur et avant/arrière
du produit.
Sangle croisée
Protection intégrée
Sangle croisée
Rivet
Sangle de la
protection
Fermeture
autoagrippante A
Étiquette
Boucle de sangle
<Vue de l’intérieur de la cheville>
Boucle de la protection
Fermeture
autoagrippante B
<Vue de l’extérieur de la cheville>
Haut
Bas
Avant Arrière
Assurez-vous que la sangle de la protection
passe dans la boucle de la protection.
* Vous n’avez pas besoin de sortir la sangle
de la protection de la boucle de la protection
lorsque vous attachez ou retirez le produit.
2. Placez votre cheville en angle droit, ouvrez l’ouverture arrière de l’article et glissez-y votre pied.
Cheville
Centre du pied
Centre de la chevillère
Les protections intégrées repliées vers
l’arrière, glissez votre pied dans la chevillère à
partir de l’arrière jusqu’à ce que votre cheville
s’aligne sur la zone indiquée par la ligne
rayée, qui se trouve directement au-dessus
du rivet de la protection intégrée.
3. Serrez la fermeture autoagrippante A.
Fermeture
autoagrippante A
Tenez la fermeture autoagrippante A dans votre main gauche et
l’extrémité de l’article dans votre main droite de façon à les croiser.
Posez vos pieds au sol et placez votre cheville à un angle de
90 degrés. Enroulez la chevillère autour de votre cheville en tirant la
fermeture autoagrippante A à la diagonale et en la serrant.
4. Serrez la fermeture autoagrippante B.
Fermeture
autoagrippante B
Languette Tenez la fermeture autoagrippante B dans votre main droite
et la languette dans votre main gauche de façon à les croiser.
Enroulez la chevillère autour de votre cheville en tirant la fermeture
autoagrippante B à la diagonale et en l’attachant.
5. Serrez les sangles croisées.
Sangle croisée
Enroulez les deux sangles croisées en les tirant dans des
directions opposées à l’avant de votre pied et serrez les fermetures
autoagrippantes au-dessus de la cheville sur les côtés opposés.
Table of contents
Languages:
Other ZAMST Medical Equipment manuals

ZAMST
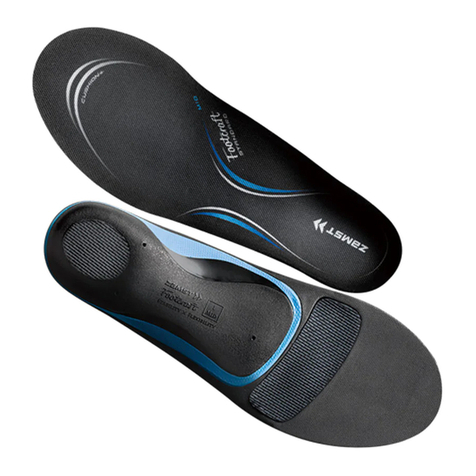
ZAMST Footcraft User manual

ZAMST
ZAMST ZW-5 User manual

ZAMST
ZAMST ICE BAG User manual

ZAMST
ZAMST RK-1 Plus User manual

ZAMST
ZAMST JK BAND User manual

ZAMST
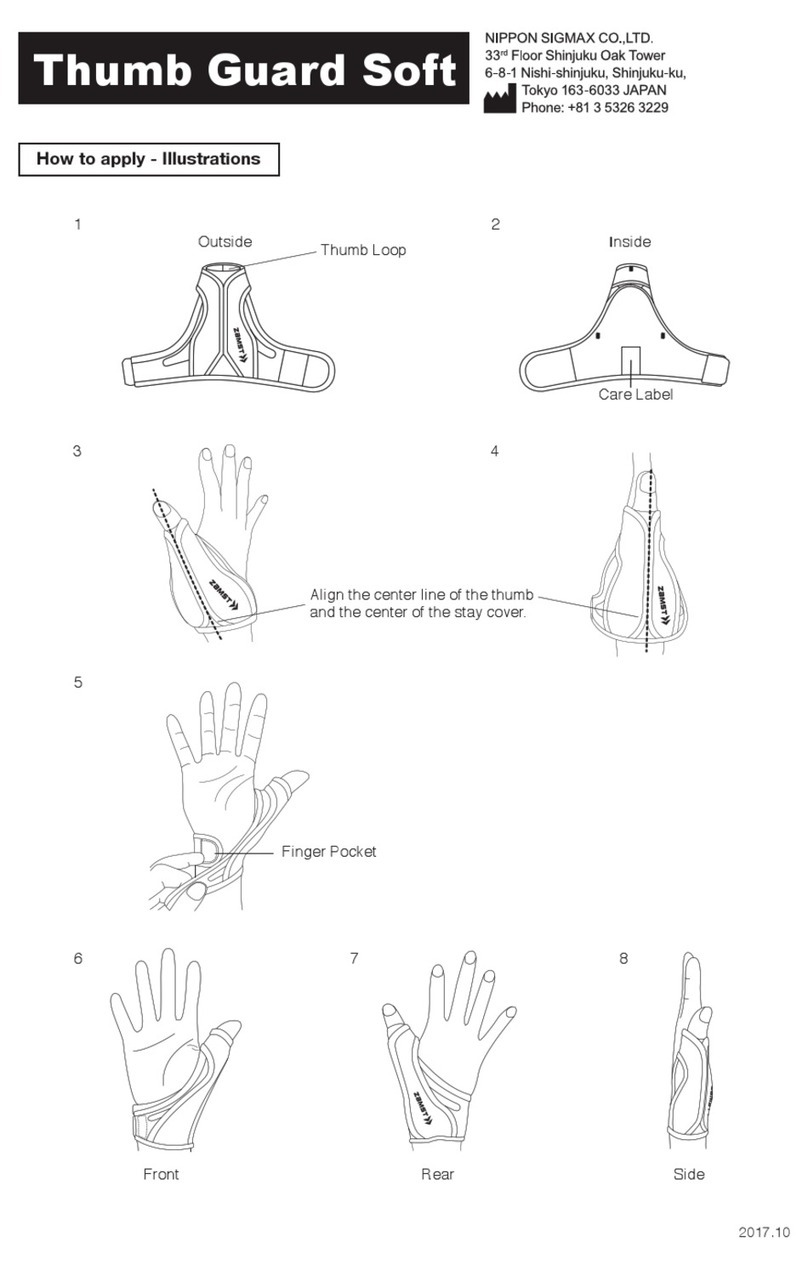
ZAMST Thumb Guard Soft User manual

ZAMST
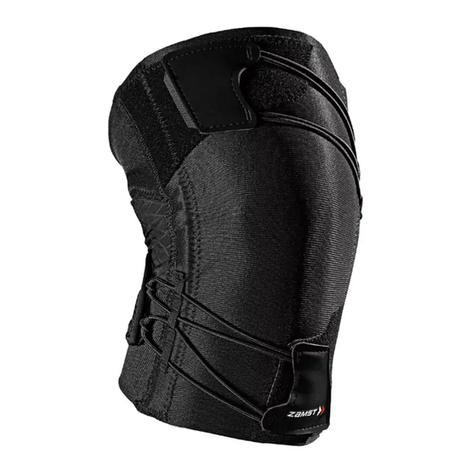
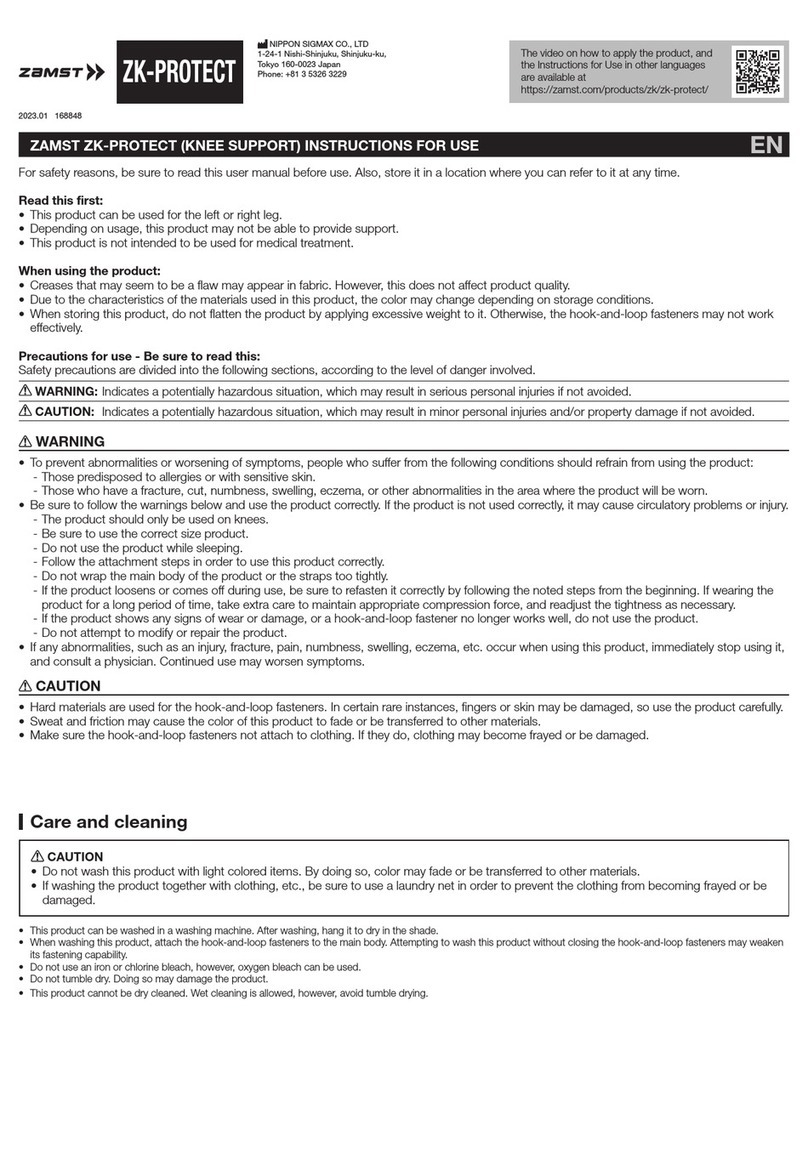
ZAMST ZK-PROTECT User manual

ZAMST
ZAMST FILMISTA WRIST User manual

ZAMST
ZAMST EK-1 User manual

ZAMST
ZAMST Shoulder Wrap User manual
Popular Medical Equipment manuals by other brands

Getinge
Getinge Arjohuntleigh Nimbus 3 Professional Instructions for use

Mettler Electronics
Mettler Electronics Sonicator 730 Maintenance manual

Pressalit Care
Pressalit Care R1100 Mounting instruction

Denas MS
Denas MS DENAS-T operating manual

bort medical
bort medical ActiveColor quick guide

AccuVein
AccuVein AV400 user manual