Version 9.2
Page 6 G-30-1720-en
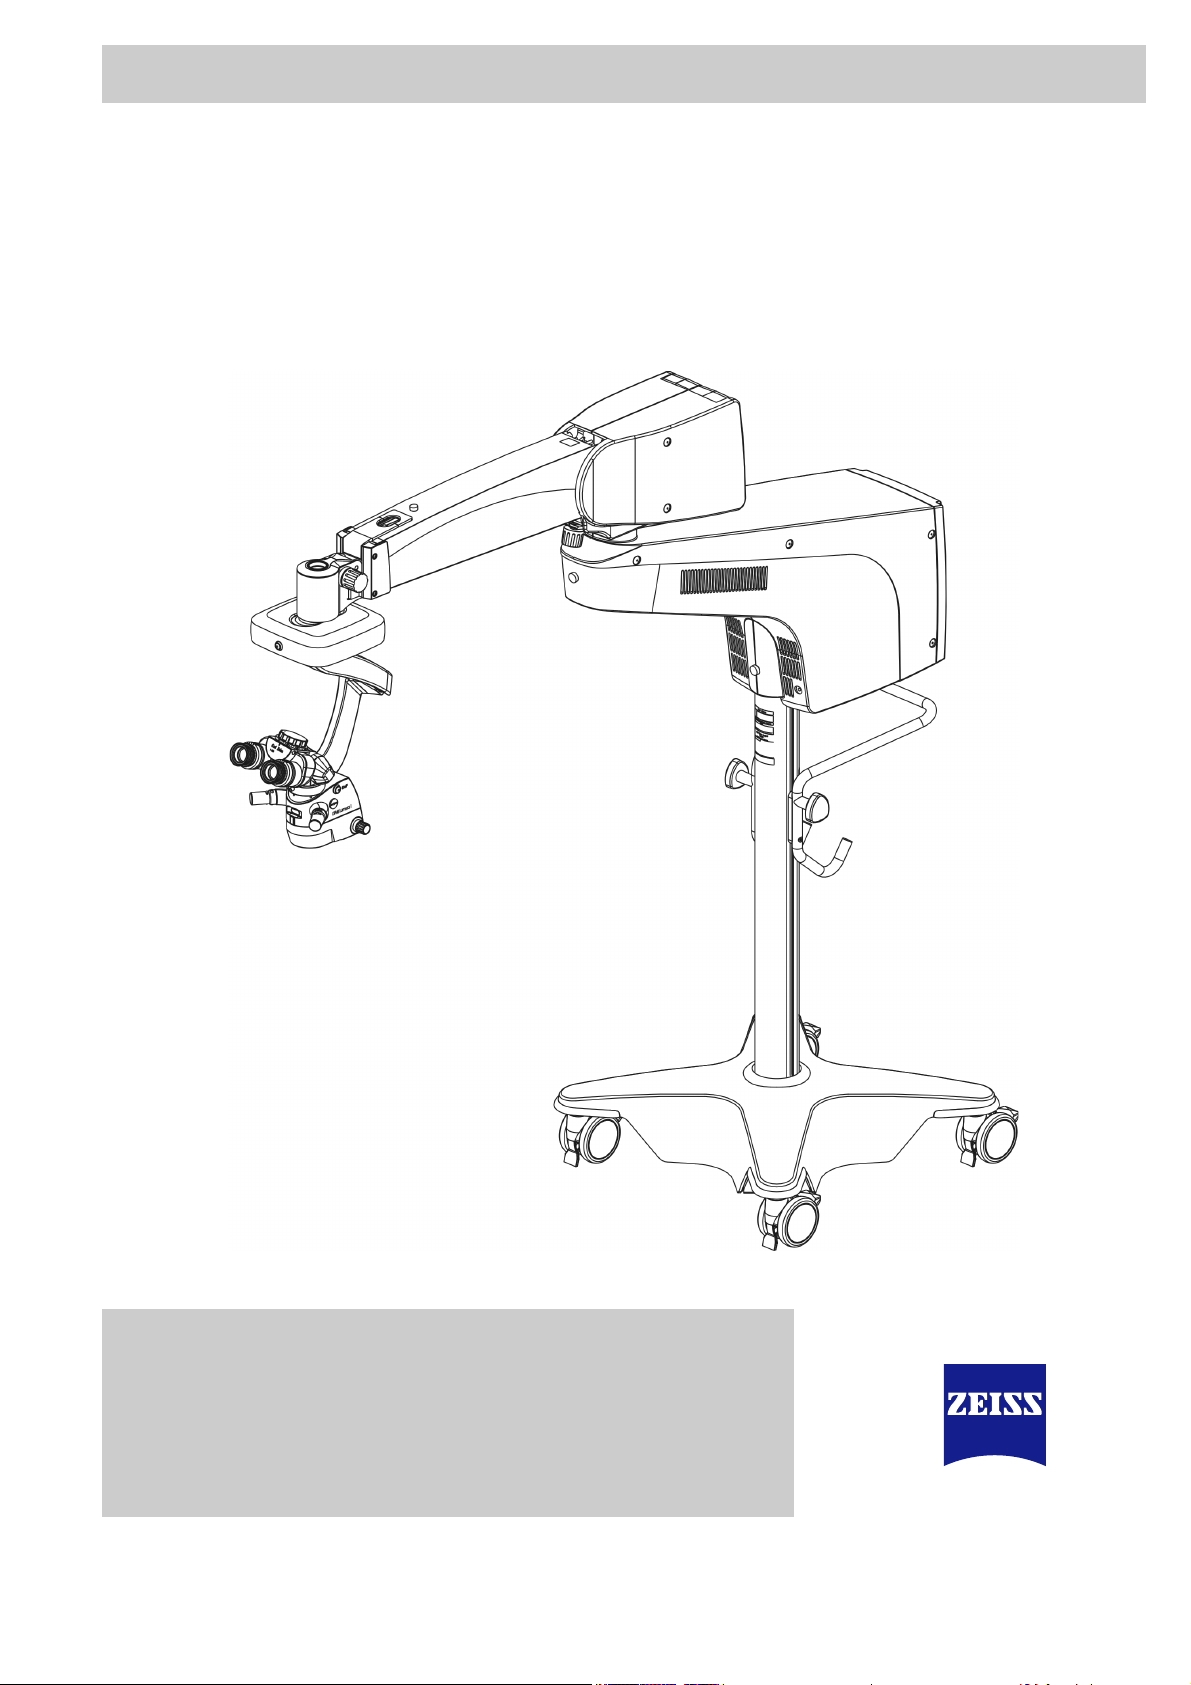
OPMI Lumera®i on floor stand
Menu structure ..............................................................................100
Controls on the 5.7″control panel with touchscreen functionality .......... 102
Managing user data.......................................................................104
Creating new user................................................................................... 104
Selecting users ........................................................................................ 105
Changing user name............................................................................... 105
Setting language..................................................................................... 106
Deleting users ......................................................................................... 106
Setting light source........................................................................107
Switching light source on/off .................................................................. 107
Setting start value of light source............................................................ 109
Setting magnification ....................................................................110
Setting start value of zoom system.......................................................... 110
Display of overall magnification .............................................................. 111
Zoom/focus link ...................................................................................... 111
Configuring foot control panel ......................................................112
Preconfigured button assignment ........................................................... 112
Changing button assignment.................................................................. 113
System settings..............................................................................114
Configure XY reset button ...................................................................... 114
Configuring parking position................................................................... 115
Setting speeds ........................................................................................ 116
Setting parameters for overall magnification........................................... 117
System information................................................................................. 117
Pairing with wireless foot control panel .................................................. 117
Typical procedure ..........................................................................119