English 8
Measurements
Model UA-767 is designed to detect the pulse and to inflate the cuff
to a systolic pressure level automatically.
If your systolic pressure is expected to exceed 230 mmHg or you use the
optional small cuff, read "Measurement with the desired systolic
pressure" on next page.
Normal Measurement
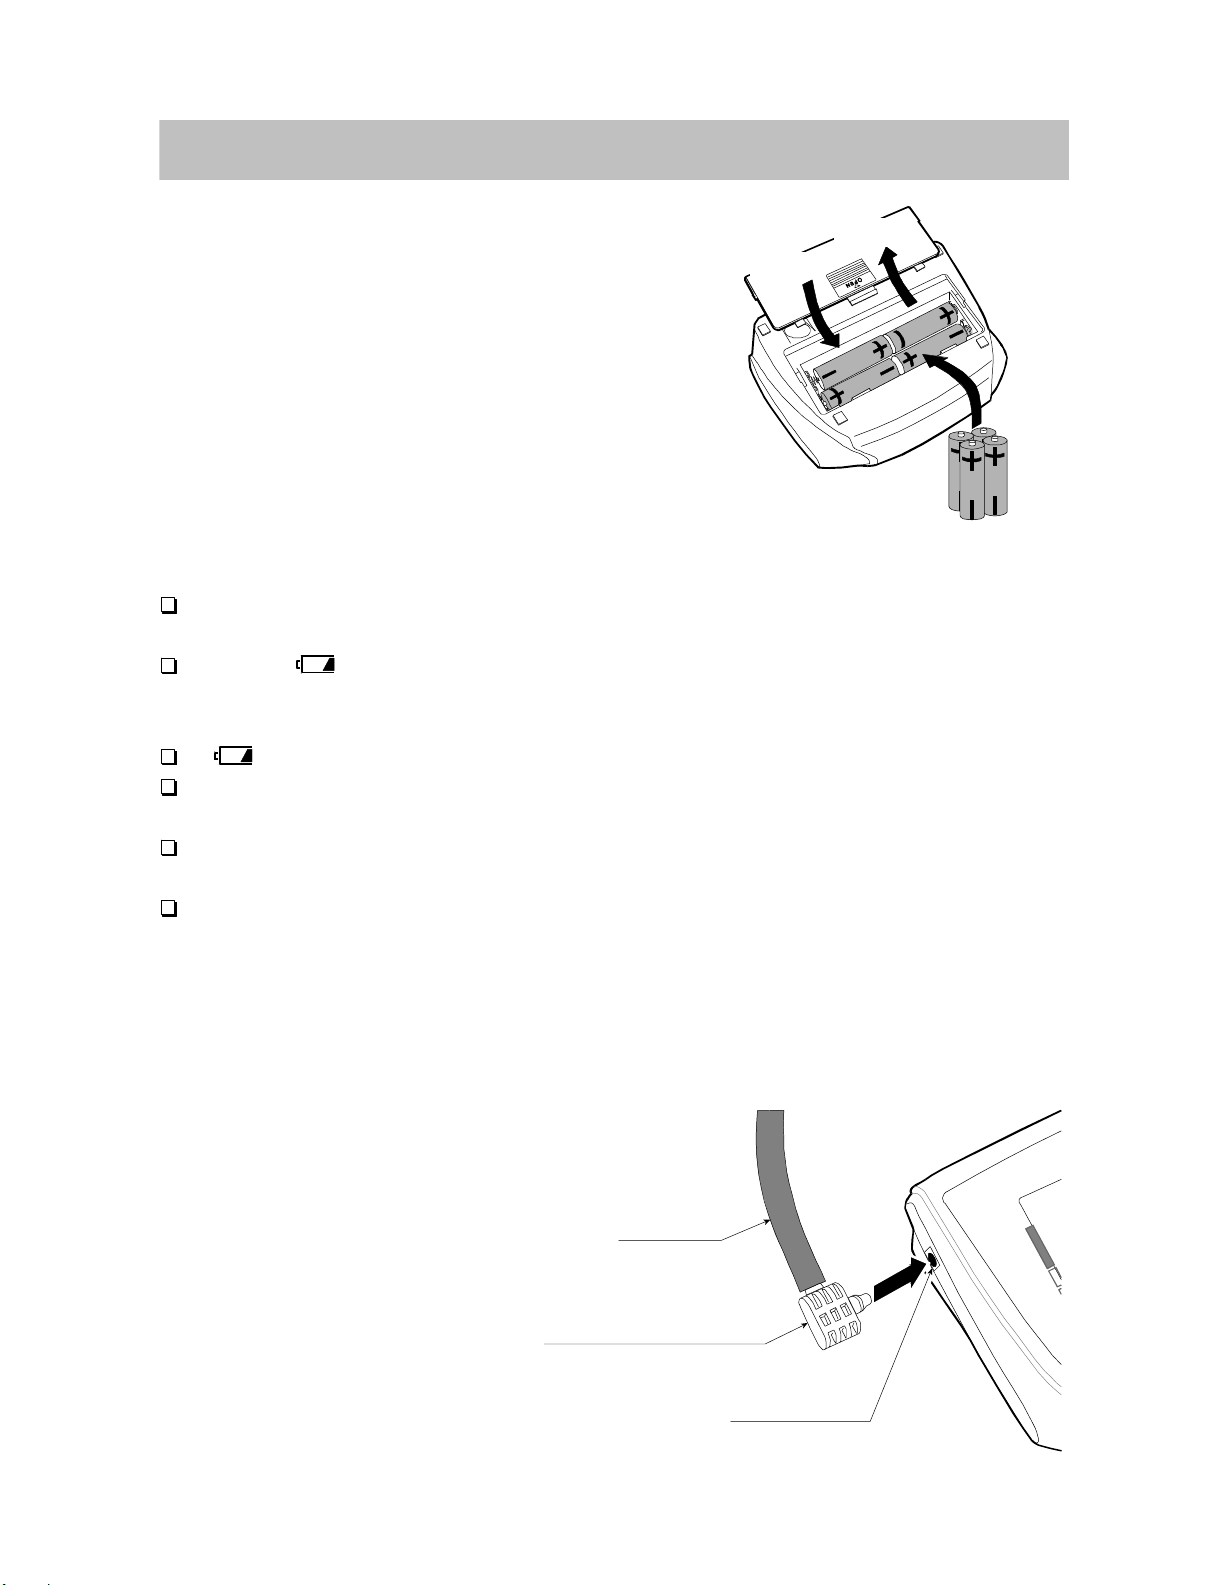
1. Place the cuff on the arm (preferably the left arm).
Sit quietly during measurement.
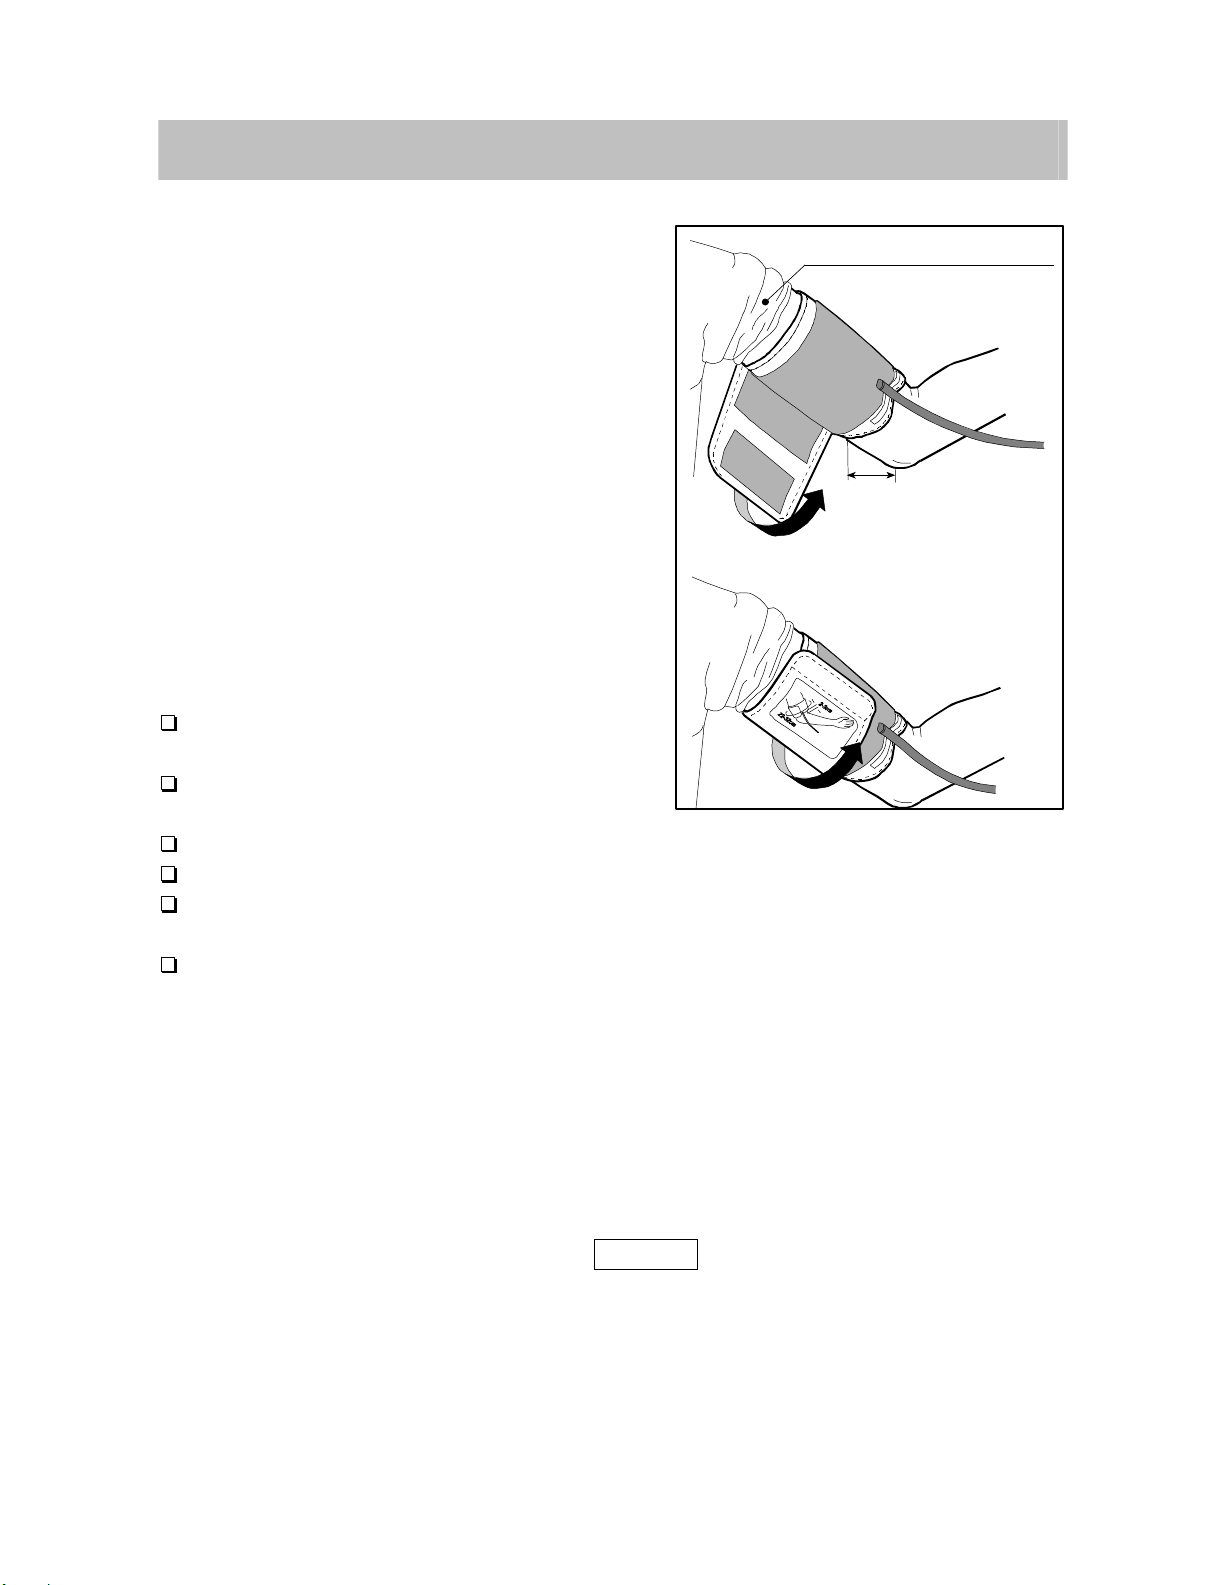
2. Press the START button.
The last data of systolic and diastolic
pressure and pulse rate are displayed
briefly.Then the display changes,as
indicated in the figure at the right,as the
measurement begins. The cuff starts to
inflate. It is normal for the cuff to feel very
tight. A pressure bar indicator is displayed,
as in the figure at the right, during inflation.
Note: If you wish to stop inflation at any time,
press the START button again.
3. When inflation is complete, deflation starts
automatically and the (heart mark)
blinks, indicating that the measurement is
in progress. Once the pulse is detected,
the mark flashes with each pulse beat.
Note: If an appropriate pressure is not
obtained, the device starts to inflate
again automatically.
4. When the measurement is complete, the
systolic and diastolic pressure readings and
pulse rate are displayed. The cuff exhausts
the remaining air and deflates completely.
5. Press the START button again to turn
off the power.
Note: Model UA-767 is provided with an automatic power shut-off
function. Allow at least ten minutes between measurements on
the same person.
At heart level
The last data
at initial display
Starts inflation
Pressurizing
in progress
Systolic pressure
Diastolic pressure
WHO classification
Pulse rate
air automatically
START button