Configuration with Software Rev 1.1 and lower
(see other side for Software Rev 2.xx and higher)
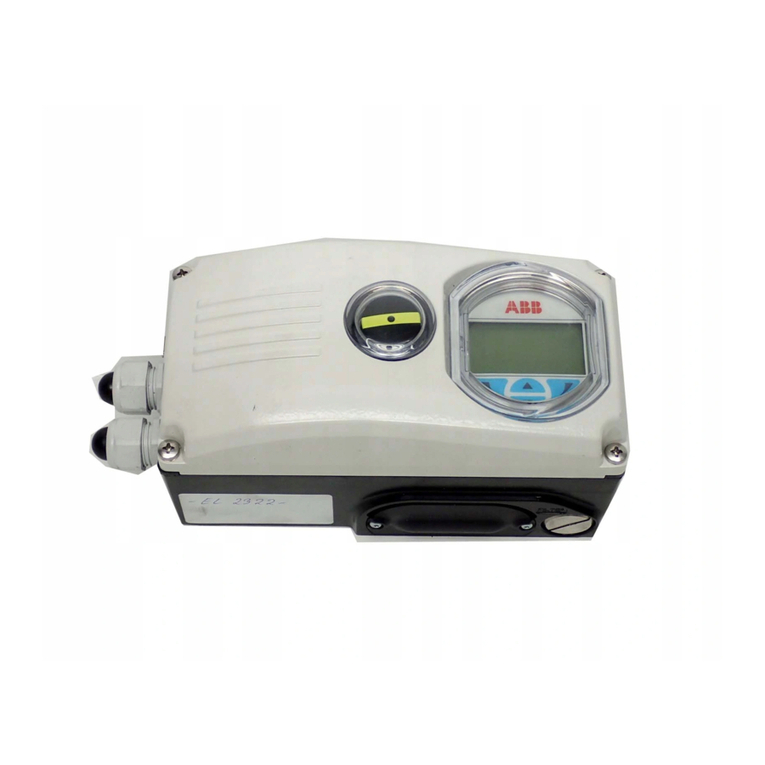
5. Switch to the configuration level:
• Press and hold down ↑and ↓then briefly press and release ENTER.
• Wait until the countdown from 3 to 0 is completed.
• Release ↑and ↓.
The device will automatically go to program level “P1.0”
6. Select the actuator type “ROTARY” or “LINEAR” using .
Note: Step 6 must be done prior to Autoadjust (Step 7).
7. Start Autoadjust. Note: the actuator moves during autoadjust; take necessary precautions & take valve out
of service.
• Press and hold MODE then briefly press ↑until "P1.1" is indicated.
• Release MODE.
• Press ENTER and keep it pressed until the countdown from 3 to 0 is finished.
• Release ENTER Autoadjust is now activated; the complete process will take a few minutes.
• When the message "COMPLETE" displays to indicate successful Autoadjust, briefly press ENTER to
acknowledge. It is also possible that Autoadjust cancels due to errors detected during this procedure; in this
case, the positioner displays the applicable error message. Refer to Instruction manual for error codes and
details.
8. Save the settings:
• Press and hold MODE then briefly press ↑until P1.4 “EXIT” is indicated.
• Release MODE.
• Select NV_SAVE using .
• Press and hold ENTER until the countdown from 3 to 0 completes, then release ENTER. The settings are
saved in the non-volatile memory, and the positioner returns to the last previous operating mode. To change
operating mode, see Selecting the Operating Mode section.
Selecting the Operating Mode
Mode 1.1: Fixed control
• Press and hold MODE then briefly press ↑as often as required until level 1.1 “CTRL_FIX” displays.
• Release MODE.
• Positioner is now active in the FIXED control mode.
Use Fixed control as the normal operating mode. Fixed control uses the control parameters determined during
the autoadjustment procedure. Note that the positioner does not perform any actuator leakage detection while
in fixed operating mode.
Mode 1.2: Adaptive Control
• Press and hold MODE then briefly press ↑as often as required until level 1.2 “CTRL_ADP” is displayed.
• Release MODE
• Positioner is now active in the ADAPTIVE control mode.
Use Adaptive control if fixed control does not deliver acceptable results. Adaptive control adjusts positioner
control parameters during operation as the positioner monitors its control performance at every valve travel
except for near each end of travel. The TZID-C in adaptive control minimizes position deviation from signal.
Note, ABB recommends running in adaptive control for several hours, then switching to fixed control. Note also
that the positioner performs actuator leakage detection only when in adaptive control.
Footnote 1. The zero position is automatically determined and saved by the standard autoadjustment function:
turning counter-clockwise (CTCLOCKW) for linear and clockwise (CLOCKW) for rotary actuators.
Copyright 2006 ABB, All Rights Reserved [May, 2006] PN25114
ABB


