Palm Style Model: 804N
Legacy Connector: Assemble the supplied luer slip
connector into the connector port on top of palm gauge,
rubber gasket side down. Make sure connector is fully
seated in the connector port. Slide cuff tubing over the
barbed end of the connector. Connector will friction fit
onto the tubing of most commercially available one-tube
cuff and bladder systems (Figure 1).
New 804N Connector: Insert metal HP connector
into metal receiver until it clicks (Figure 2).
To Release: Slide receiver collar downward toward
gauge until connector releases.
WARNING: Do NOT remove metal receiver
from gauge.
WARNING: The palm-style manometer is designed
for use with one-tube systems.
WARNING: To avoid damage to the instrument,
do not force connector into port.
Clock Style Model: 805
The barb at the bottom of the manometer will friction fit onto
most commercially available coiled tubing.
WARNING: The clock style manometer is designed for use
with TWO-tube systems where one tube connects to the coiled
tubing attached to the manometer, and the other the inflation
source (bulb and valve).
CAUTION: For all blood pressure systems that can be wall
mounted, ensure that the unit is securely mounted prior to use to
avoid damage to the instrument and potential patient injury.
Manometer Maintenance
The manometer may be cleaned with a soft cloth but should not be dismantled under
any circumstances. Should the indicator needle of the manometer rest outside of the
oval calibration mark, then the
manometer must be re-calibrated to within ±3 mmHg
when compared to a reference device that has been
certified to national or international measurement
standards. No manometers that have their indicator
needle resting outside of this mark are acceptable for
use (Figure 3). The manufacturer recommends a
calibration check every 2 years.
Manometer Quality Control
A serial number and lot number are automatically
assigned to every aneroid during manufacturing,
ensuring every item is controlled.
This serial number can be located on the
faceplate of each aneroid (Figure 8).
The lot number is located on the outside
label of all accessory packaging
(Figure 9).
Bladder Model: 815 Series
Intended Use
ADCUFF™ bladders are noninvasive inflation bags designed to be used with ADC and
compatible blood pressure cuffs. They are intended for use with manual and automated
noninvasive blood pressure measurement devices.
Assembling the Convertible Bladder
Build a 1- or 2-tube bladder connection depending upon your requirements.
One simple connection is all that is necessary:
• Pocket or clock aneroids require a 2-tube bladder.
• Palm or multicuff aneroids require a 1-tube bladder.
What is included:
(1) Bladder Shell with 1-tube
attached and an open barb
(1) Cap: To close off open barb
for 1-tube bladder use
(1) Tube: To connect to open barb
for 2-tube bladder use
160
140
120
100
80
60
20
40
300
280
260
240
220
200
180
SPHYGMOMANOMETER
Lifetime Certified
0197
mmHg
(Figure 4)
(Figure 5)
(Figure 6)
NOTE: Store gauge with
valve in full exhaust position.
(Figure 3)
Convertible Bladder
Adult Size 11
p/n 815-11A
100
%
LEAK
TESTED
Bladder Shell
Tube
Cap
(Figure 1)
(Figure 2)
(Figure 9)
Convertible Bladder Connections (1- or 2-tube)
1 tube - Securely attach enclosed cap to exposed barb on bladder shell.
2 tube - Securely attach enclosed second tube to exposed barb on bladder shell.
NOTE: Rubbing alcohol or soapy water can facilitate connections. Make sure
connection is secure.
WARNING: Connections are not designed to be converted back and forth
on a regular basis.
Convertible Bladder
Adult Size 11
p/n 815-11A
100
%
LEAK
TESTED
1-Tube Connection
Convertible Bladder
Adult Size 11
p/n 815-11A
100
%
LEAK
TESTED
2-Tube Connection
Inserting Bladder into Cuff
To insert the bladder into the cuff:
1. Roll bladder into a tube starting from
long edge opposite tubing (Figure 4).
2. Insert left edge of bladder into cuff opening
(at bottom edge of cuff) until it is completely
inside. Shake cuff until bladder fully unravels.
(Figure 5).
3. Thread tubes through smaller openings
(from inside of cuff out) and tuck flap in
to secure bladder. To make sure that
bladder fills compartment, inflate before
initial use. (Figure 6).
Adcuff: 845 Series
Intended Use
ADC blood pressure cuffs are non-
invasive blood pressure cuffs that
are intended for use with manual
and automated noninvasive blood
pressure measurement devices.
Contraindications
Aneroid sphygmomanometers are
contraindicated for neonate use. Do
not use with neonatal cuffs or
neonate patients. Review the size
chart for proper age and limb
range usage (right).
Size GuideTM Marking System
ADC’s Size Guide marking system assures use of correct cuff size and proper cuff
alignment. Printed Index and Range markings and applicable limb range (in cm)
allow easy identification of the correct cuff size. An artery mark printed on both sides
indicates bladder midpoint for correct cuff positioning. A convenient nylon hang tag
permits flexible use with either pocket aneroids or mercury manometers. Hook-and-
loop adhesive surface provides a snug, infinitely variable fit and is designed to with-
stand a minimum of 30,000 open/close cycles.
Applying Cuff
Place the cuff over the bare upper arm with
the artery mark positioned directly over the
brachial artery. The bottom edge of the cuff
should be positioned approximately one inch
(2-3cm) above the antecubital fold.
Wrap the end of the cuff NOT containing the
bladder around arm snugly and smoothly and engage adhesive strips. To verify a
correct fit, check that the INDEX line falls between the two RANGE lines (Figure 7).
Cuff Cleaning and Disinfecting
Use one or more of the following methods and allow to air dry:
• Use one or more of the following methods and allow to air dry
• Wipe with mild detergent and water solution (1:9 solution). Rinse.
• Wipe with Enzol per manufacturer’s instructions. Rinse.
• Wipe with .5% bleach and water solution. Rinse.
• Wipe with 70% isopropyl alcohol.
• Launder with mild detergent in warm water, normal wash cycle.
Remove bladder first. Cuff is compatible with 5 wash cycles.
Low-Level Disinfection
Prepare Enzol enzymatic detergent according to the manufacturer’s instructions. Spray
detergent solution liberally onto cuff and use a sterile brush to agitate the detergent
solution over entire cuff surface for five minutes. Rinse continuously with distilled
water for five minutes. To disinfect, first follow the cleaning steps above, then spray
cuff with 10% bleach solution until saturated, agitate, with a sterile brush over entire
cuff surface for five minutes. Rinse continuously with distilled water for five minutes.
Wipe off excess water with sterile cloth and allow cuff to air dry.
Cuff Size Limb Range
Inches CM
Infant 7 3.5 to 5.5 9 to 14
Child 9 5.1 to 7.6 13 to 19.5
Sm. Adult 10 7.4 to 10.6 19 to 27
Adult 11 9 to 15.7 23 to 40
Lg. Adult 12 13.3 to 19.6 34 to 50
Thigh 13 15.7 to 25.9 40 to 66
Bariatric 12 17.32 to 25.9 44 to 66
Size Chart
Range Lines
Index Line Artery Mark
Gauge Hang Tab
Bladder FlapArtery Mark
Size Icons
Hook & Loop
Closure Adhesive
Left Arm
Tube
(Figure 7)
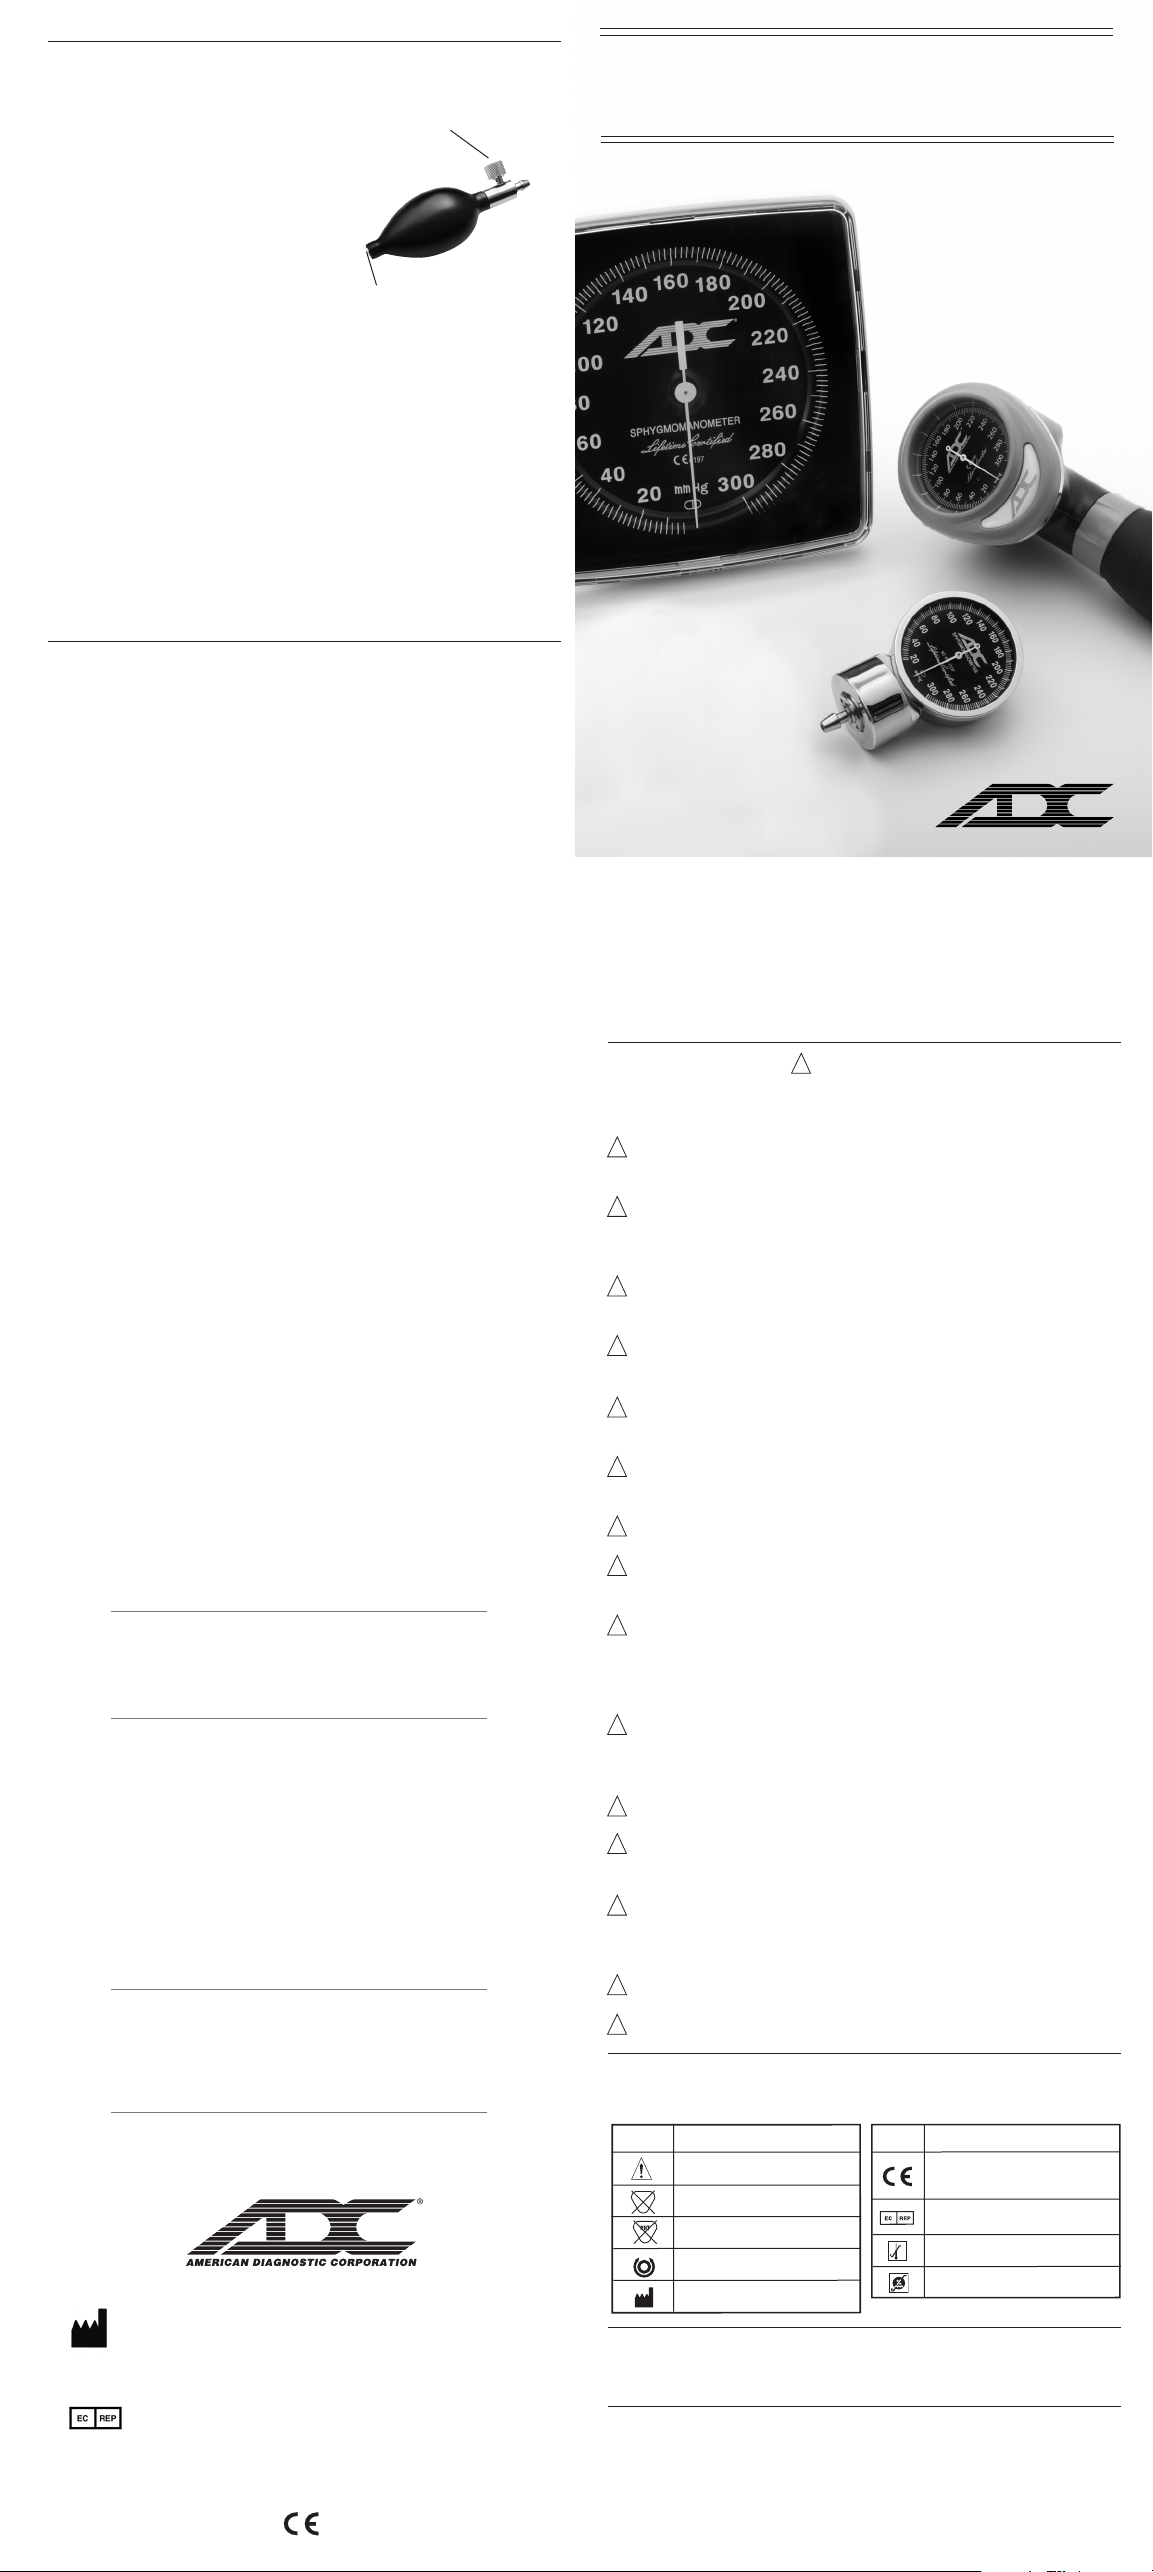
Manometers: Pockets, Palm, and Clock
Intended Use
ADC blood pressure manometers are designed to
be used with ADC and compatible noninvasive
blood pressure cuffs. They are intended for use with
compatible inflation systems and in conjunction
with a stethoscope to obtain manual blood pressure
readings.
Connecting the manometer to the inflation system
Pocket Style Models: 800, 802, 808N, 809N
The barb at the bottom of the manometer will friction fit onto the tubing
of most commercially available two-tube cuff and bladder systems.
WARNING: The pocket-style manometer is designed for use with
two-tube systems where one tube connects to the manometer and
the other connects to the inflation source (bulb and valve).
Lifetime Certified
AMERICANDIAGNOSTIC CORPORATION
0197
mmHg
140 180
200
120
220
100
240
80
260
60
280
40
300
20
160
(Figure 8)
Serial Number
9355N-00 rev 7.qxp_Layout 1 6/17/21 2:33 PM Page 2