manuals.online logo
Brands
  1. Home
  2. •
  3. Brands
  4. •
  5. Agora Models
  6. •
  7. Motorized Toy Car
  8. •
  9. Agora Models 1965 SHELBY COBRA 427 S/C Manual

Agora Models 1965 SHELBY COBRA 427 S/C Manual

1
AGORAMODELS SHELBY COBRA 427 S/C
STAGE 16: LEFT LATERAL CHASSIS MAIN
FRAME BOTTOM SECTION
Cross-members 3 & 4 bottom section
STAGE 17: RIGHT LATERAL CHASSIS MAIN
FRAME BOTTOM SECTION
Cross-members 1 & 2 bottom section
STAGE 18: FRONT SUSPENSION SUPPORT
Cross-member No. 4 Top, Left Horn, Right Horn
STAGE 19: LEFT LATERAL CHASSIS MAIN
FRAME TOP SECTION
STAGE 20: RIGHT LATERAL CHASSIS MAIN
FRAME TOP SECTION
Cross-members 2 & 3 bottom top section
STAGE 21: REAR CHASSIS PART &
WISHBONE MOUNTING
STAGE 22: RIGHT FRONT INNER & OUTER
WHEEL RIM
STAGE 23: TIRE & OUTER RIM
Pack 03 |Build Instructions
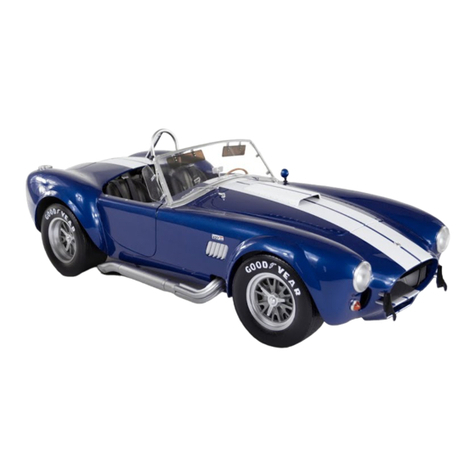
In the 1960s, Carroll Shelby’s Cobras dominated racetracks worldwide, first winning races coast to coast
across North America, then in 1965, winning the World Manufacturer’s GT Championship, achieving the
ultimate goal of defeating Ferrari. The Semi-Competitions were modified from full competition models
just enough to make them street legal. Only 29 models were produced, making them one of the most
sought-after American sports cars by collectors.
Your 1:8 model replicates the original 1965 Semi-Competition Cobra in intricate detail. From the detail on
the dashboard dials to the writing on the wheels, every piece is precisely reproduced.
In your 03 model pack, you will start to assemble the chassis and the right front wheel :
2
AGORAMODELS SHELBY COBRA 427 S/C
Name Quantity
Left Lateral Chassis Main Frame Bottom (‘L’) 1
Cross-member No. 3 Bottom 1
Cross-member No. 4 Bottom 1
Screws TYPE OD05 3
STAGE 16 PARTS LIST
In stage 16, you will start to fix the
cross-members to the left lateral
main frame.
Stage 16: Left Lateral Chassis Main Frame Bottom Section
Left Lateral Chassis Main Frame Bottom (‘L’)
Cross-member No. 3 Bottom Cross-member No. 4 Bottom
Screws
3
AGORAMODELS SHELBY COBRA 427 S/C
STEP 1
STEP 2
1
2
1
2
ATTACH CROSSMEMBER NO. 4
Take the Main Frame section and align the
projecting screw hole (marked No. 4 at one end)
with the screw hole on Cross-member No. 4. Fix
together using a TYPE OD05 screw.
ATTACH CROSSMEMBER NO. 3
Next, align the screw hole marked No. 3 on the
Main Frame section with Cross-member No. 3
in the position shown. Fix together using a TYPE
OD05 screw.
Stage 16: Left Lateral Chassis Main Frame Bottom Section
EXPERT TIP
Note: When constructing the Cross-
members on the chassis, check you
have the part number printed on the
reverse of each component in the correct
orientation. i.e. upright.
EXPERT TIP
Adding a drop of oil or similar lubricant to
the screw holes in the chassis will make it
easier to fully tighten the screws.
!
!
4
AGORAMODELS SHELBY COBRA 427 S/C
Stage 16 complete!
Stage 16: Left Lateral Chassis Main Frame Bottom Section
5
AGORAMODELS SHELBY COBRA 427 S/C
Name Quantity
Right Lateral Chassis Main Frame Bottom ‘R’ 1
Cross-member No. 1 Bottom 1
Cross-member No. 2 Bottom 1
Screws TYPE OD05 7
STAGE 17 PARTS LIST
In stage 17 you will continue to fix
the cross-members to the lateral
main frame.
Stage 17: Right Lateral Chassis Main Frame Bottom Section
Right Lateral Chassis Main Frame Bottom ‘R’
Cross-member No. 1 BottomCross-member No. 2 Bottom
Screws
6
AGORAMODELS SHELBY COBRA 427 S/C
STEP 1
STEP 2
1
2
1
2
ATTACH CROSSMEMBER NO. 2
Take the Left (‘L) Lateral Chassis Main Frame from
stage 16 once again and align the projecting screw
hole marked No. 2 with Cross-member No. 2.
THIS PART MUST BE FIXED IN THE ORIENTATION
SHOWN, WITH THE MIDDLE SCREW HOLES
SLIGHTLY OFFSET towards the front of the chassis,
as indicated by the inset picture. Fix together
using a TYPE OD05 screw.
ATTACH CROSSMEMBER NO. 1
Align screw hole No. 1 on the Left Main Frame with
Cross-member No. 1 in the same way. Fix in place
using a TYPE OD05 screw.
Stage 17: Right Lateral Chassis Main Frame Bottom Section
7
AGORAMODELS SHELBY COBRA 427 S/C
STEP 3
1
2
ATTACH THE RIGHT LATERAL MAIN
FRAME TO THE CROSSMEMBERS
Next, take the Right Lateral Chassis Main Frame
and align the four projecting screw holes with the
free ends of each of the four Cross-members. Fix
in place using 4 x TYPE OD05 screws.
Stage 17: Right Lateral Chassis Main Frame Bottom Section
Stage 17 complete!
EXPERT TIP
If cross member No. 2 doesn't fit easily, check
you have it in the correct orientation. The
numbers marked on the reverse side should
be upright. If necessary, remove it and fit the
other way round.
!
8
AGORAMODELS SHELBY COBRA 427 S/C
Name Quantity
Front Suspension Support 1
Cross-member Support No. 4 Top 1
Left Horn 1
Right Horn 1
Screws TYPE OD05 7
STAGE 18 PARTS LIST
In stage 18, you will add the front
suspension support to the chassis
main frame.
Stage 18: Front Suspension Support
Front Suspension Support
Cross-member Support No. 4 Top
Left Horn
Right Horn
Screws
9
AGORAMODELS SHELBY COBRA 427 S/C
STEP 1
STEP 2
1
2
1
2
ATTACH CROSSMEMBER NO. 4 TOP
Take Cross-member No 4 Top and check the
orientation of the number ‘4’ is upright (matching
the number on the chassis). Position it on top of
Cross-member No. 4 bottom. Fix together using 2
x TYPE OD05 screws.
ATTACH THE HORNS
Take the Front Suspension Support and note there
is a left ‘L’ and a right ‘R’ side. Note that there is
also a left and a right horn, marked L and R. Push
the tiny hole on the Left Horn over the lug on the
left side of the Suspension Support. Push the tiny
hole on Right Horn over the lug on the right side
of the Suspension Support. Note: there is only one
way to fit the horns, determined by the shape.
Stage 18: Front Suspension Support
10
AGORAMODELS SHELBY COBRA 427 S/C
Stage 18 complete!
Stage 18: Front Suspension Support
11
AGORAMODELS SHELBY COBRA 427 S/C
STAGE 19 PARTS LIST
Left Lateral Chassis Main Frame Top
Screws
Name Quantity
Left Lateral Chassis Main Frame Top 1
Screws TYPE OD05 3
In stage 19, you will continue to
build the chassis main frame.
Stage 19: Left Lateral Chassis Main Frame Top Section
12
AGORAMODELS SHELBY COBRA 427 S/C
STEP 1
1
2
ATTACH THE FRONT SUSPENSION
SUPPORT TO THE LEFT LATERAL
CHASSIS MAIN FRAME TOP SECTION
Take the Lateral Chassis Main Frame Top and
place it on your work surface with the rounded
side facing upwards. Mount the left side of the
Front Suspension Support from stage 18 in the
recessed screw holes. Fix together using 2 x OD05
screws.
Stage 19 complete!
Stage 19: Left Lateral Chassis Main Frame Top Section
13
AGORAMODELS SHELBY COBRA 427 S/C
Name Quantity
Right Lateral Chassis Main Frame Top 1
Cross-member No. 3 Top 1
Cross-member No. 2 Top 1
Screws TYPE 0D05 13
STAGE 20 PARTS LIST
In stage 20, you will continue to
build the chassis main frame.
Stage 20: Right Lateral Chassis Main Frame Top Section
Right Lateral Chassis Main Frame Top
Cross-member No. 3 Top Cross-member No. 2 Top
Screws
14
AGORAMODELS SHELBY COBRA 427 S/C
STEP 1
STEP 2
1
2
1
2
ATTACH THE FRONT SUSPENSION
SUPPORT TO THE RIGHT LATERAL
CHASSIS MAIN FRAME
Mount the right side of the Front Suspension
Support onto the Right Lateral Chassis Main
Frame as shown. Fix in place using 2 x TYPE OD05
screws.
ATTACH THE TOP AND BOTTOM
SECTIONS OF THE MAIN FRAME
TOGETHER
Lower the assembly from step 1 on top of the
chassis assembly from stage 17, locating the
screw holes correctly (circled in red). Fix together
using 6 x TYPE OD06 screws.
Stage 20: Right Lateral Chassis Main Frame Top Section
15
AGORAMODELS SHELBY COBRA 427 S/C
STEP 3
STEP 4
1
2
1
2
ATTACH CROSSMEMBER NO. 3 TOP
Align Cross-member No. 3 Top over Cross-member
No. 3 Bottom (check the orientation of the number
mark on the underside). Fix in place with 2 x TYPE
OD05 screws.
ATTACH CROSSMEMBER NO. 2 TOP
Repeat in the same way to attach the Cross-
member No. 2 Top.
Stage 20: Right Lateral Chassis Main Frame Top Section
16
AGORAMODELS SHELBY COBRA 427 S/C
Stage 20 complete!
Stage 20: Right Lateral Chassis Main Frame Top Section
17
AGORAMODELS SHELBY COBRA 427 S/C
Name Quantity
Rear Suspension Wishbone Mounting 1
Rear Chassis Part 1
Screws TYPE OD05 9
STAGE 21 PARTS LIST
In stage 21, you will attach
the rear chassis part and the
wishbone mounting to the
chassis main frame.
Stage 21: Rear Chassis Part & Wishbone Mounting
Rear Suspension Wishbone MountingRear Chassis Part
Screws
18
AGORAMODELS SHELBY COBRA 427 S/C
STEP 1
STEP 2
1
2
1
2
ATTACH THE REAR CHASSIS PART TO
THE CHASSIS ASSEMBLY
Place the Rear Chassis Part on top of the assembly
as shown. Fix together using 4 x TYPE OD05
screws.
ATTACH THE WISHBONE MOUNTING
Turn the chassis assembly over. Place the
Wishbone Mounting on to the end of the
assembly, checking you have it the correct way
up (the projecting struts should point down). Fix
together using 4 x TYPE OD05 screws.
Stage 21: Rear Chassis Part & Wishbone Mounting
19
AGORAMODELS SHELBY COBRA 427 S/C
Stage 21 complete!
Stage 21: Rear Chassis Part & Wishbone Mounting
20
AGORAMODELS SHELBY COBRA 427 S/C
Name Quantity
Front Right Inner Rim 1
Front Right Outer Rim 1
Screws TYPE OP03 5
STAGE 22 PARTS LIST
In stage 22, you will start to build
the front right wheel.
Stage 22: Right Front Inner & Outer Wheel Rim
Front Right Inner Rim
Front Right Outer Rim
Screws

Other Agora Models Motorized Toy Car manuals
Agora Models SHELBY COBRA 427 SEMI-COMPETITION 1965 Manual

Agora Models

Agora Models SHELBY COBRA 427 SEMI-COMPETITION 1965 Manual

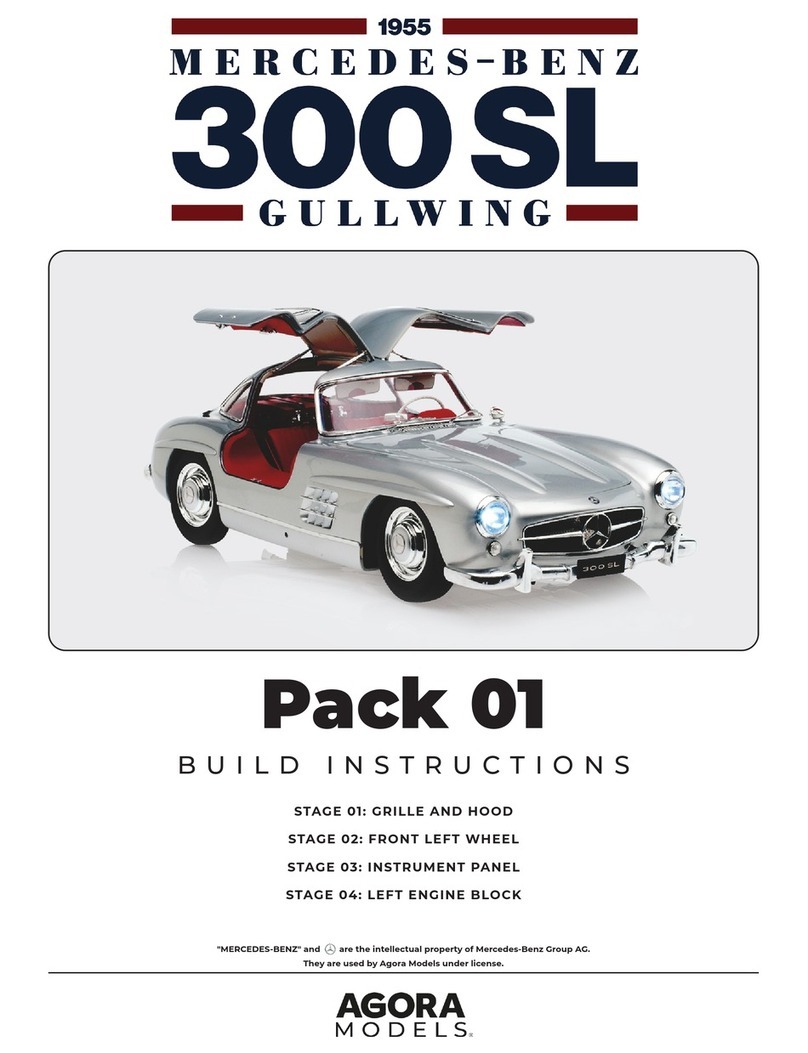
Agora Models MERSEDES-BENZ 300SL GULLWING 1955 Pack 03 Manual

Agora Models

Agora Models MERSEDES-BENZ 300SL GULLWING 1955 Pack 03 Manual

Agora Models SHELBY COBRA 427 S/C User manual

Agora Models

Agora Models SHELBY COBRA 427 S/C User manual

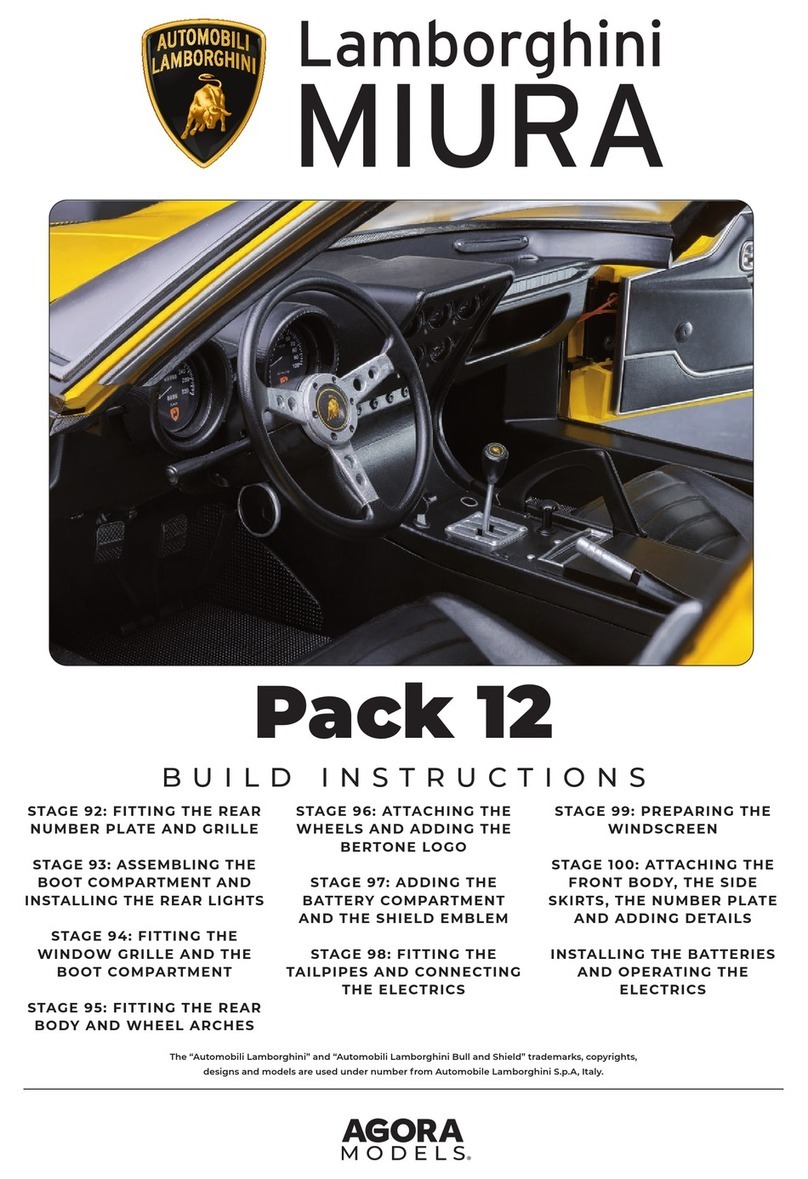
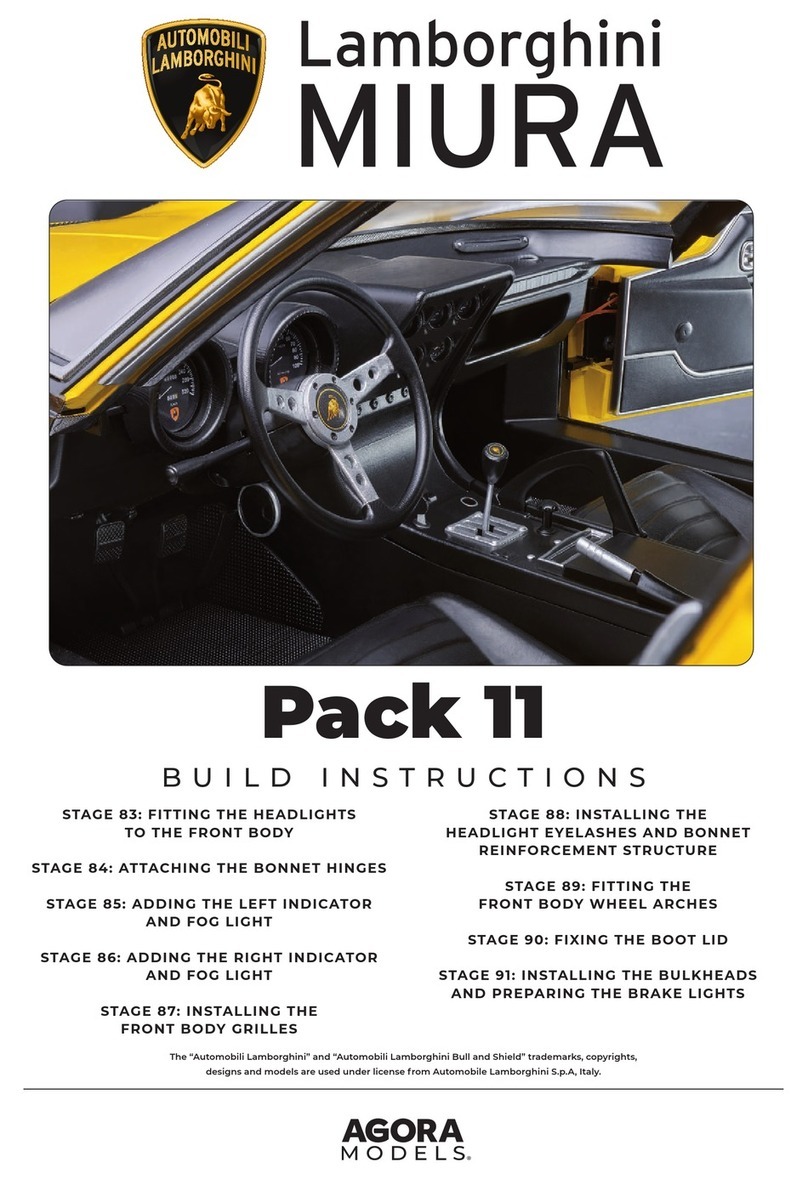
Agora Models Lamborghini MIURA Pack 11 Manual

Agora Models

Agora Models Lamborghini MIURA Pack 11 Manual

Agora Models JAGUAR E-TYPE Pack 01 Manual
Agora Models

Agora Models JAGUAR E-TYPE Pack 01 Manual

Agora Models Steve McQueen's Iconic Porsche 917KH Pack 01 Manual

Agora Models

Agora Models Steve McQueen's Iconic Porsche 917KH Pack 01 Manual

Agora Models LAMBORGHINI MIURA Pack 01 Manual

Agora Models

Agora Models LAMBORGHINI MIURA Pack 01 Manual

Agora Models LAMBORGHINI MIURA Pack 12 Manual

Agora Models

Agora Models LAMBORGHINI MIURA Pack 12 Manual

Agora Models SHELBY COBRA 427 SEMI-COMPETITION 1965 Manual

Agora Models

Agora Models SHELBY COBRA 427 SEMI-COMPETITION 1965 Manual

Agora Models JAGUAR E-TYPE Manual

Agora Models

Agora Models JAGUAR E-TYPE Manual

Agora Models MERCEDES-BENZ W196R Manual

Agora Models

Agora Models MERCEDES-BENZ W196R Manual

Agora Models FDNY FIRE TRUCK TOWER LADDER 9 Manual

Agora Models

Agora Models FDNY FIRE TRUCK TOWER LADDER 9 Manual

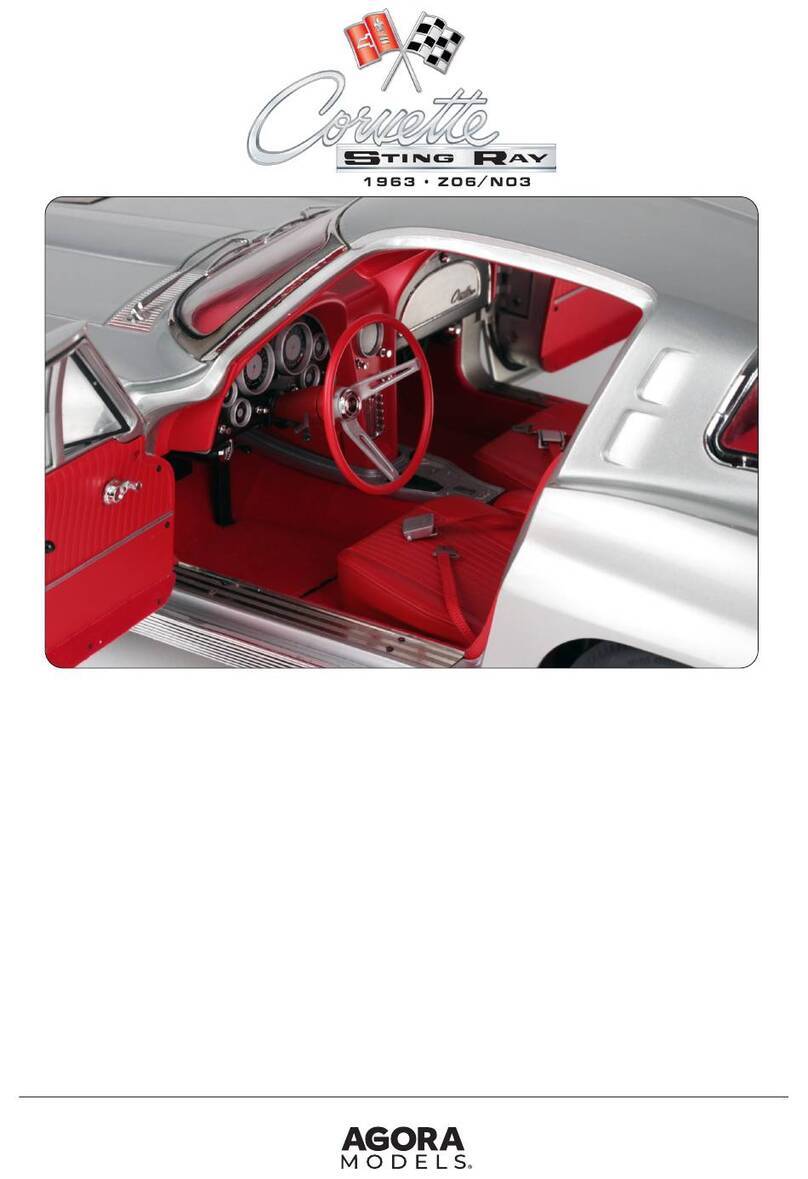
Agora Models Corvette Sting Ray Z06 N03 1963 Pack 03 Manual

Agora Models

Agora Models Corvette Sting Ray Z06 N03 1963 Pack 03 Manual

Agora Models JAGUAR E-TYPE Manual

Agora Models

Agora Models JAGUAR E-TYPE Manual

Agora Models STEVE MCQUEEN'S ICONIC PORSCHE 917KH Pack 05 Manual

Agora Models

Agora Models STEVE MCQUEEN'S ICONIC PORSCHE 917KH Pack 05 Manual

Agora Models JAGUAR E-TYPE Manual

Agora Models

Agora Models JAGUAR E-TYPE Manual

Agora Models LONDON TRANSPORT ROUTEMASTER BUS Manual

Agora Models

Agora Models LONDON TRANSPORT ROUTEMASTER BUS Manual

Agora Models Hachette Mitsubishi A6MZERO FIGHTER User manual

Agora Models

Agora Models Hachette Mitsubishi A6MZERO FIGHTER User manual

Agora Models Pack 07 Manual

Agora Models

Agora Models Pack 07 Manual
Agora Models SHELBY COBRA 1965 Manual

Agora Models

Agora Models SHELBY COBRA 1965 Manual

Agora Models STEVE MCQUEEN'S ICONIC PORSCHE 917KH Pack 02 Manual

Agora Models

Agora Models STEVE MCQUEEN'S ICONIC PORSCHE 917KH Pack 02 Manual

Agora Models Mercedes 300SL Gullwing 1955 Manual

Agora Models

Agora Models Mercedes 300SL Gullwing 1955 Manual

Agora Models FDNY Fire Truck Manual

Agora Models

Agora Models FDNY Fire Truck Manual

Agora Models RM 857 Manual

Agora Models

Agora Models RM 857 Manual

Popular Motorized Toy Car manuals by other brands

Fisher-Price Power Wheels Barbie Volkswagen New Beetle Owner's manual with assembly instructions

Fisher-Price

Fisher-Price Power Wheels Barbie Volkswagen New Beetle Owner's manual with assembly instructions

Capricorn Lab-C03 instruction manual

Capricorn

Capricorn Lab-C03 instruction manual

Jamara Audi R8 Spyder V10 performance quattro Instruction

Jamara

Jamara Audi R8 Spyder V10 performance quattro Instruction

Carson X-24 instruction manual

Carson

Carson X-24 instruction manual

Peg-Perego Adventure FI000202G33 Use and care guide

Peg-Perego

Peg-Perego Adventure FI000202G33 Use and care guide

GM-Racing Low Rider Monster Truck 4WD instruction manual

GM-Racing

GM-Racing Low Rider Monster Truck 4WD instruction manual

Yokomo YZ-4 manual

Yokomo

Yokomo YZ-4 manual

ECX Circuit ECX03011 instruction manual

ECX

ECX Circuit ECX03011 instruction manual

FMS TOYOTA LC80 Land Cruiser instruction manual

FMS

FMS TOYOTA LC80 Land Cruiser instruction manual

REVELL '67 Chevelle SS 396 Assembly manual

REVELL

REVELL '67 Chevelle SS 396 Assembly manual

Supertrax Warrior Assembly and operation instructions

Supertrax

Supertrax Warrior Assembly and operation instructions

REVELL KIT 1938 Assembly manual

REVELL

REVELL KIT 1938 Assembly manual

Radio Shack XMODS 60-437 user guide

Radio Shack

Radio Shack XMODS 60-437 user guide

MST XXX-R RTR OWNERS MANUAL, PARTS LIST & EXPLODED VIEW

MST

MST XXX-R RTR OWNERS MANUAL, PARTS LIST & EXPLODED VIEW

WEDICO Mercedes ACTROS Driving model C Assembly instructions

WEDICO

WEDICO Mercedes ACTROS Driving model C Assembly instructions

Excalibur Hummer Radio-Controlled Vehicle 9455Y instruction manual

Excalibur

Excalibur Hummer Radio-Controlled Vehicle 9455Y instruction manual

Eduard Sd.Kfz 222 quick start guide

Eduard

Eduard Sd.Kfz 222 quick start guide

Minicars Volvo S60 Polestar STCC manual

Minicars

Minicars Volvo S60 Polestar STCC manual

manuals.online logo
manuals.online logoBrands
  • About & Mission
  • Contact us
  • Privacy Policy
  • Terms and Conditions

Copyright 2025 Manuals.Online. All Rights Reserved.