manuals.online logo
Brands
  1. Home
  2. •
  3. Brands
  4. •
  5. Agora Models
  6. •
  7. Motorized Toy Car
  8. •
  9. Agora Models STEVE MCQUEEN'S ICONIC PORSCHE 917KH Pack 10 Manual

Agora Models STEVE MCQUEEN'S ICONIC PORSCHE 917KH Pack 10 Manual

Porsche, the Porsche shield and the distinctive design of Porsche cars are trademarks and trade dress of Porsche AG. Permission granted.
Personality rights of Steve McQueen are used with permission of Chadwick McQueen and The Terry McQueen Testamentary Trust.
Represented exclusively by Greenlight.
Pack 10
BUILD INSTRUCTIONS
STAGE 73: MOUNTING THE FUEL PUMP ON
THE RIGHT CHASSIS PLATE
STAGE 74: FITTING THE BATTERY ON THE
RIGHT CHASSIS PLATE
STAGE 75: ATTACHING THE FUEL FILLER NECK
AND THE SECOND FUEL PUMP
STAGE 76: FITTING THE RIGHT REAR
WHEEL ARCH
STAGE 77: ASSEMBLING AND INSTALLING
THE SPARE WHEEL
STAGE 78: INSTALLING THE FRONT BRAKE
COOLING JACKETS
STAGE 79: FITTING THE FRONT WHEEL
ARCHES TO THE FRONT FLOOR PANEL
STAGE 80: PREPARING THE FRONT BODY
22
AGORAMODELS PORSCHE 917KH
Spare screws are included with each part. Occasionally, you may be instructed to keep spare or
unused screws for a later stage. Keep these spares in a safe place and label them correctly.
Please make sure you don’t mix up the screws. They look quite similar, but the threads do vary slightly.
Using the wrong screws may damage the parts.
When securing parts together using multiple screws, fit each screw loosely to ensure all the parts are
correctly aligned before gently tightening them firmly, but not overtight, in the order in which you
placed them.
The screwdriver can be magnetized by stroking it with a magnet (fridge magnet, etc.) enabling it to
hold the screws and make assembly easier.
If a screw is tight going into a metal part, do not force it as you may shear the head off. Remove it and
put a tiny smear of Vaseline, soap or light oil on the thread. That will lubricate it and make it easier to
drive home.
During the course of this build, you will receive many pieces that you will assemble immediately –
following the instructions in the corresponding stage – and other pieces that you should store safely
to one side, for use in future assembly stages.
Left and Right! When building your Porsche 917KH, the left or right hand side refers to each side as
you are sitting in the car.
!
WARNING: Some parts are assembled using magnets. These magnets can cause serious injury if they
are swallowed. Keep away from children. If you suspect a magnet has been swallowed, seek medical
help straight away.
Advice from the experts
73A Right chassis plate
73B Fuel pump
73C Protective shield
73D Pump fitting
73E Connector
73F Braided fuel line
73G Fuel line
ASSEMBLY DIAGRAM
33
AGORAMODELS PORSCHE 917KH
STAGE 73: MOUNTING THE FUEL PUMP
ON THE RIGHT CHASSIS PLATE
Take the fuel line (73G) and
cut two sections from it:
one measuring 50 mm in
length (73G-1) and the other
measuring 90 mm (73G-2).
Press the fuel pump (73B)
into the D-shaped hole of the
protective shield (73C). Bend
and then connect one end of
the shorter fuel line (73G-1)
onto the pin at the bottom of
the fuel pump.
Take the longer fuel line
(73G-2) and fit the ends onto
the indicated pins of the right
chassis plate (73A).
STEP 1
STEP 2
44
AGORAMODELS PORSCHE 917KH
STAGE 73: MOUNTING THE FUEL PUMP
ON THE RIGHT CHASSIS PLATE
Fit the protective shield (73C)
onto the right chassis plate
(73A) by pressing it into the
D-shaped hole, then connect
the loose end of the shorter
fuel line (73G-1) onto the
protruding pin of the plate.
The right chassis plate should
look like this with the fuel
pump and fuel lines installed.
Fit one end of the braided fuel
line (73F) into the connector
(73E), then press the connector
onto the pin of the pump
fitting (73D).
STEP 3
55
AGORAMODELS PORSCHE 917KH
STAGE 73: MOUNTING THE FUEL PUMP
ON THE RIGHT CHASSIS PLATE
Fit the pump fitting (73D)
onto the pin of the fuel pump
(73B) as shown.
STEP 4
66
AGORAMODELS PORSCHE 917KH
STAGE 73: MOUNTING THE FUEL PUMP
ON THE RIGHT CHASSIS PLATE
STAGE COMPLETE
74A Battery
74B Battery holder
74C Battery cover
74D Battery terminal (x2)
74E Support rod
74F Protective shield
LP Screws 1.2 x 3.5 mm (x3)
ASSEMBLY DIAGRAM
77
AGORAMODELS PORSCHE 917KH
STAGE 74: FITTING THE BATTERY ON
THE RIGHT CHASSIS PLATE
Position the two battery terminals (74D) onto the top of the battery (74A) and secure them in
place with two LP screws. Once the terminals are secure, fit the battery cover (74C) on top by
pressing the two pins of the cover into the holes of the battery.
Press the battery holder (74B) into the holes of the right chassis plate (73A), located behind the
fuel pump shield. Then fit the pins of the battery (74A) into the holes of the holder as shown.
STEP 1
STEP 2
88
AGORAMODELS PORSCHE 917KH
STAGE 74: FITTING THE BATTERY ON
THE RIGHT CHASSIS PLATE
STAGE COMPLETE
99
AGORAMODELS PORSCHE 917KH
STAGE 74: FITTING THE BATTERY ON
THE RIGHT CHASSIS PLATE
75A Fuel filler neck
75B Fuel filler neck
75C Fuel filler cap
75D Handle
75E Tray
75F Breather pipe
75G Breather pipe
75H Fuel pump
75I Connector (x3)
75J Fuel pump fitting
75K Fuel line
75L Braided fuel line
BM Screws 2.0 x 4 mm (x3)
AP Screws 1.7 x 4 mm (x4)
ASSEMBLY DIAGRAM
10 10
AGORAMODELS PORSCHE 917KH
STAGE 75: ATTACHING THE FUEL FILLER
NECK AND THE SECOND FUEL PUMP
ASSEMBLY DIAGRAM
Fit the two halves of the fuel
filler neck (75A and 75B)
together and secure them
using two AP screws. Fit
them onto the tray (75E) and
position onto the right chassis
plate (73A) as shown. Secure
the fuel filler neck and the tray
to the plate using an AP screw.
STEP 1
Connect the breather pipes
(75F and 75G) to the fuel
filler neck (75A) and the right
chassis plate (73A) as shown.
11 11
AGORAMODELS PORSCHE 917KH
STAGE 75: ATTACHING THE FUEL FILLER
NECK AND THE SECOND FUEL PUMP
Push the handle (75D) into
the fuel filler cap (75C), then
press the cap into the top of
the fuel filler neck (75A). Fit
the fuel pump (75H) into the
shaped hole of the protective
shield (74F) and position it on
the right chassis plate (73A).
Once in place, take the fuel
line (75K) and connect it to
the pins of the fuel pump and
plate as shown.
STEP 2
Once assembled, position the
right chassis plate (73A) onto
the crossbar of the chassis
(25A) and the right fuel tank
top (33A).
Carefully turn the assembly
over while holding the plate in
place, then secure together by
driving two BM screws through
the chassis (25A) and right
fuel tank top (33A) into the
right chassis plate (73A).
STEP 3
12 12
AGORAMODELS PORSCHE 917KH
STAGE 75: ATTACHING THE FUEL FILLER
NECK AND THE SECOND FUEL PUMP
Turn the assembly back over
and locate the two shielded
fuel lines (70G) running
through from the left chassis
plate. Fit the connectors (75I)
onto the ends of the two fuel
lines as shown.
STEP 4
Bend the shielded fuel lines
(70G) and fit the connectors
(75I) onto the pins of the fuel
filler neck (75B).
Now take the braided fuel line
(75L) and fit one end into the
remaining connector (75I),
then press the connector into
the fuel pump fitting (75J).
13 13
AGORAMODELS PORSCHE 917KH
STAGE 75: ATTACHING THE FUEL FILLER
NECK AND THE SECOND FUEL PUMP
STEP 5
Detach the Y branch (39B) from the right side frame (39A) to help with fitting the lines, as shown
by the red arrow. Fit the braided fuel line (75L), highlighted in green, into the bottom connection
of the branch and bend it into shape as shown, then attach the fuel pump fitting (75J) onto the
pin of the fuel pump (75H). Take the end of the other braided fuel line (73F), highlighted in red,
and bend it into shape to fit into the top of the branch. Once the lines are in place, reattach the Y
branch (39B) – take care when refitting the branch, as you may need to bend the lines further.
Finally, fit the support rod (74E) into the right
chassis plate (73A) and the upper frame (47A).
14 14
AGORAMODELS PORSCHE 917KH
STAGE 75: ATTACHING THE FUEL FILLER
NECK AND THE SECOND FUEL PUMP
STAGE COMPLETE
15 15
AGORAMODELS PORSCHE 917KH
STAGE 75: ATTACHING THE FUEL FILLER
NECK AND THE SECOND FUEL PUMP
76A Right rear wheel arch
76B Rear brake cooling duct
IM Screws 1.7 x 3.5 mm (x6)
BM Screws 2.0 x 4 mm (x4)
ASSEMBLY DIAGRAM
16 16
AGORAMODELS PORSCHE 917KH
STAGE 76: FITTING THE RIGHT REAR
WHEEL ARCH
Fit the rear brake cooling
duct (76B) into the right rear
wheel arch (76A). Position the
wheel arch onto the upper
frame (47A) while fitting its
front section under the right
chassis plate (73A).
STEP 1
Secure the right rear wheel
arch (76A) to the upper frame
(47A) using five IM screws.
Turn the assembly over and fix
the front of the wheel arch
to the right chassis plate
(76A) using three BM screws.
STEP 2
17 17
AGORAMODELS PORSCHE 917KH
STAGE 76: FITTING THE RIGHT REAR
WHEEL ARCH
STAGE COMPLETE
18 18
AGORAMODELS PORSCHE 917KH
STAGE 76: FITTING THE RIGHT REAR
WHEEL ARCH
77A Spare wheel tyre
77B Spare wheel outer rim
77C Spare wheel inner rim
77D Spare wheel strap
BM Screws 2.0 x 4 mm (x4)
ASSEMBLY DIAGRAM
19 19
AGORAMODELS PORSCHE 917KH
STAGE 77: ASSEMBLING AND
INSTALLING THE SPARE WHEEL
Take the spare wheel outer
rim (77B) and press it into the
spare wheel tyre (77A).
STEP 1
Position the spare wheel inner
rim (77C) into the tyre, aligning
the screw holes with the outer
rim. Secure in place using
three BM screws.
Take the spare wheel strap
(77D). There is a quick release
lever which will attach to the
spare wheel when fitted. As
shown by the arrows, the lever
must face up (red arrow) once
in place over the spare wheel,
while the flat section will face
down (green arrow).
STEP 2
20 20
AGORAMODELS PORSCHE 917KH
STAGE 77: ASSEMBLING AND
INSTALLING THE SPARE WHEEL

Other Agora Models Motorized Toy Car manuals

Agora Models SHELBY COBRA 427 S/C User manual

Agora Models

Agora Models SHELBY COBRA 427 S/C User manual

Agora Models SHELBY COBRA 1965 Manual

Agora Models

Agora Models SHELBY COBRA 1965 Manual

Agora Models Corvette Sting Ray Z06 N03 1963 Pack 03 Manual

Agora Models

Agora Models Corvette Sting Ray Z06 N03 1963 Pack 03 Manual

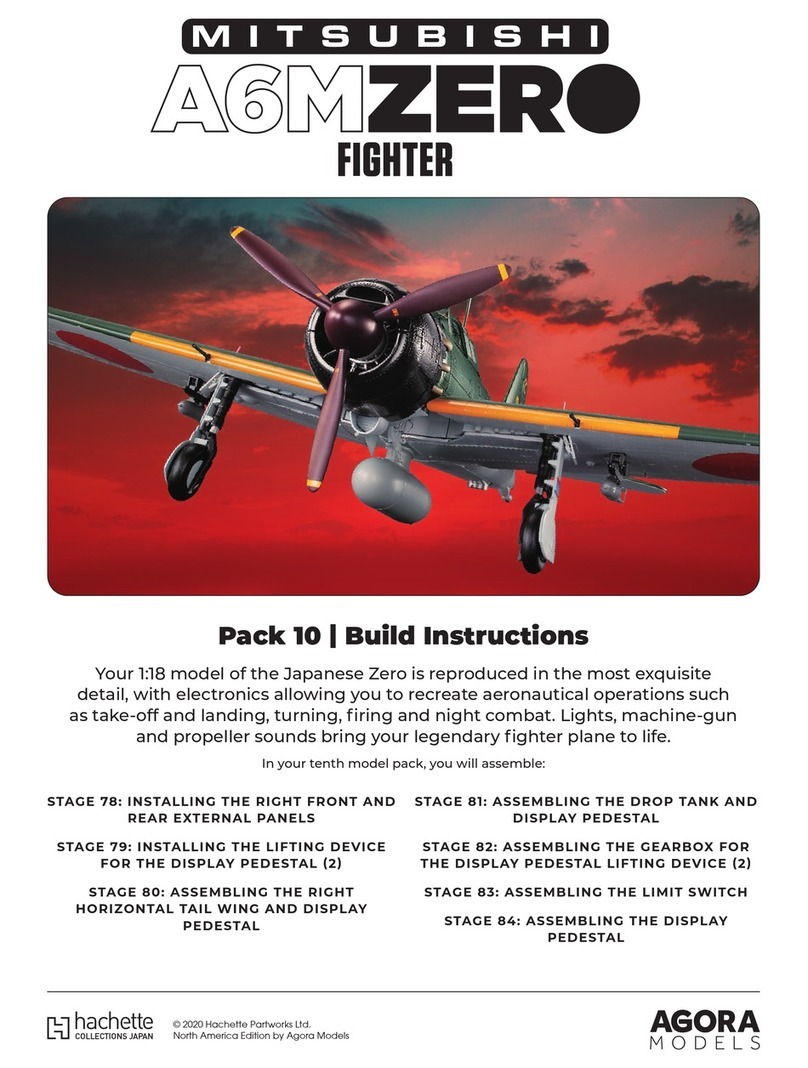
Agora Models Hachette Mitsubishi A6MZERO FIGHTER User manual

Agora Models

Agora Models Hachette Mitsubishi A6MZERO FIGHTER User manual

Agora Models 1965 SHELBY COBRA 427 S/C Manual

Agora Models

Agora Models 1965 SHELBY COBRA 427 S/C Manual

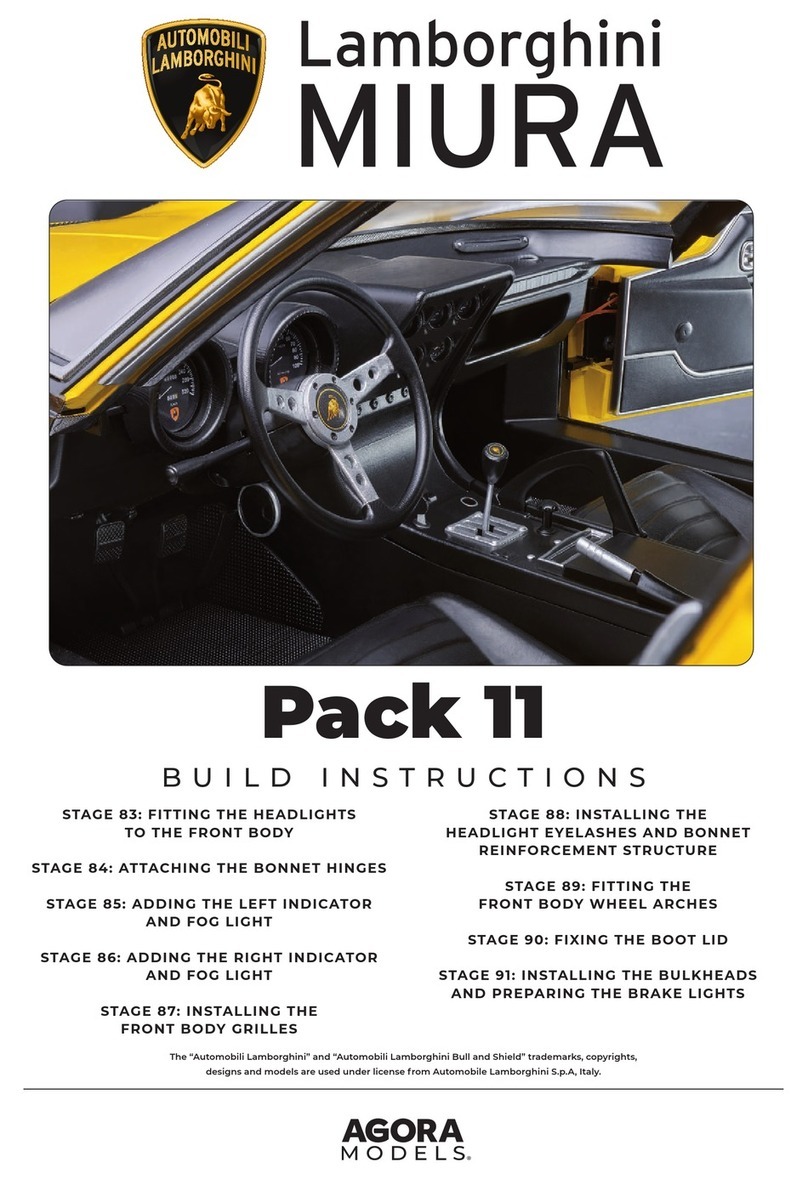
Agora Models Lamborghini MIURA Pack 11 Manual

Agora Models

Agora Models Lamborghini MIURA Pack 11 Manual

Agora Models MERSEDES-BENZ 300SL GULLWING 1955 Pack 03 Manual

Agora Models

Agora Models MERSEDES-BENZ 300SL GULLWING 1955 Pack 03 Manual

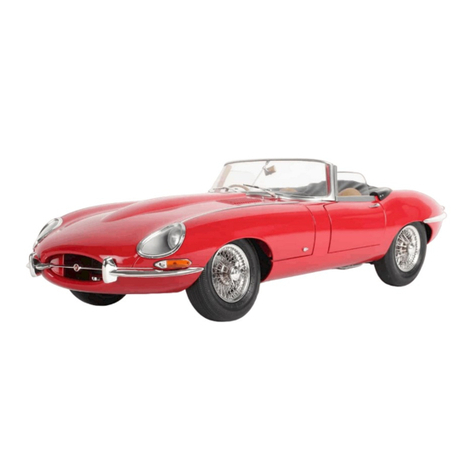
Agora Models JAGUAR E-TYPE Manual

Agora Models

Agora Models JAGUAR E-TYPE Manual

Agora Models JAGUAR E-TYPE Manual

Agora Models

Agora Models JAGUAR E-TYPE Manual

Agora Models STEVE MCQUEEN'S ICONIC PORSCHE 917 KH Pack... Manual
Agora Models

Agora Models STEVE MCQUEEN'S ICONIC PORSCHE 917 KH Pack... Manual

Agora Models STEVE MCQUEEN'S ICONIC PORSCHE 917KH Pack 05 Manual

Agora Models

Agora Models STEVE MCQUEEN'S ICONIC PORSCHE 917KH Pack 05 Manual

Agora Models JAGUAR E-TYPE Pack 01 Manual

Agora Models

Agora Models JAGUAR E-TYPE Pack 01 Manual

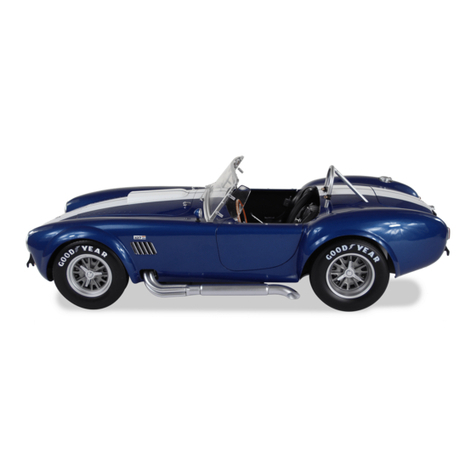
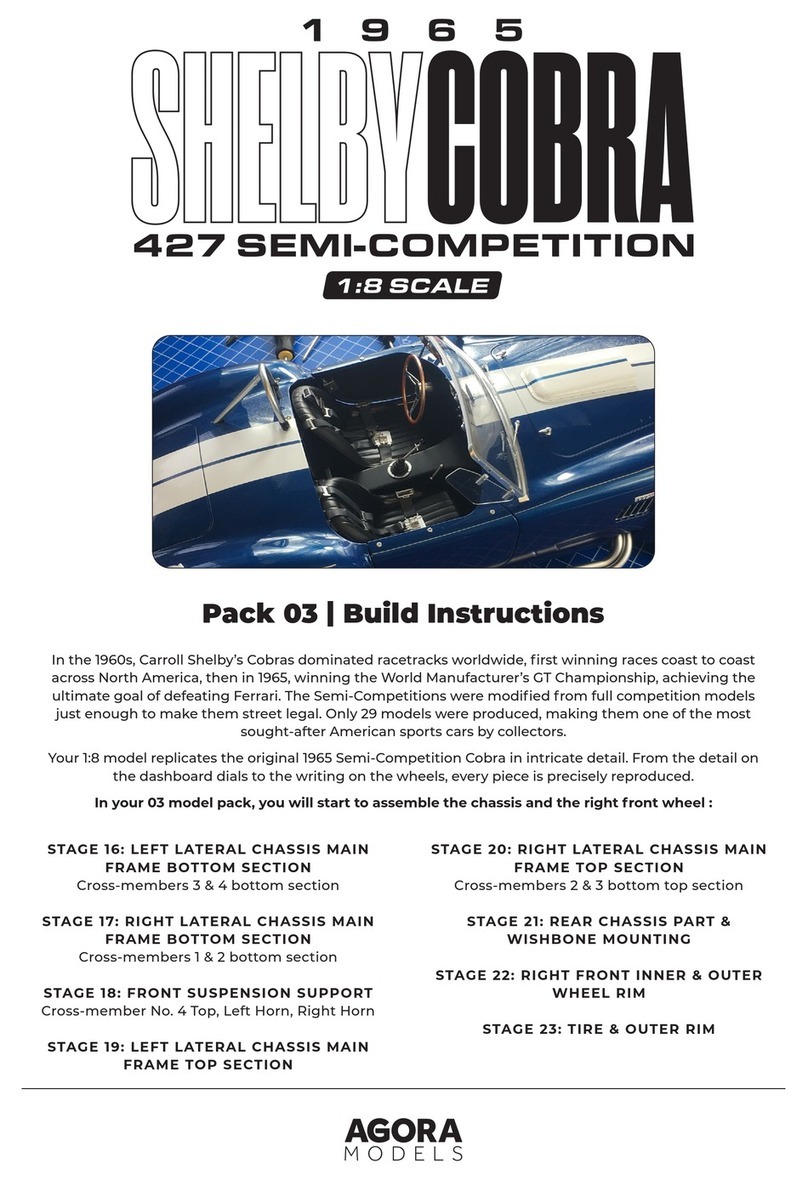
Agora Models SHELBY COBRA 427 SEMI-COMPETITION 1965 Manual

Agora Models

Agora Models SHELBY COBRA 427 SEMI-COMPETITION 1965 Manual

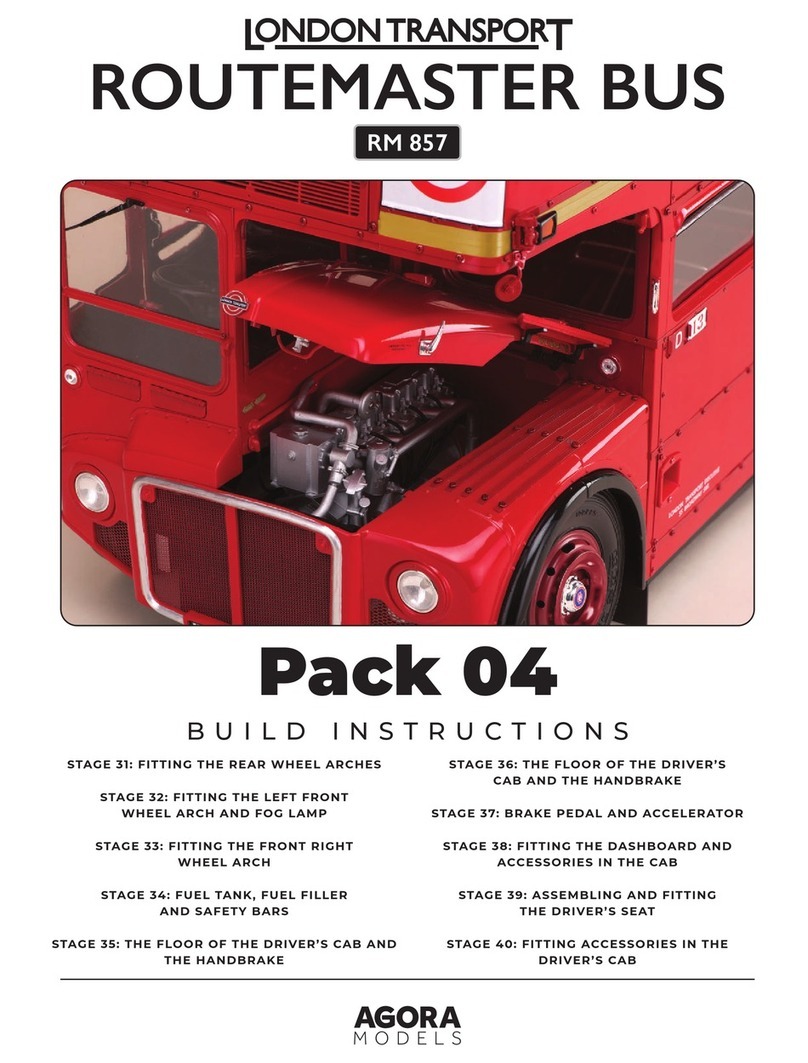
Agora Models LONDON TRANSPORT ROUTEMASTER BUS Manual

Agora Models

Agora Models LONDON TRANSPORT ROUTEMASTER BUS Manual

Agora Models MERCEDES-BENZ W196R Manual

Agora Models

Agora Models MERCEDES-BENZ W196R Manual

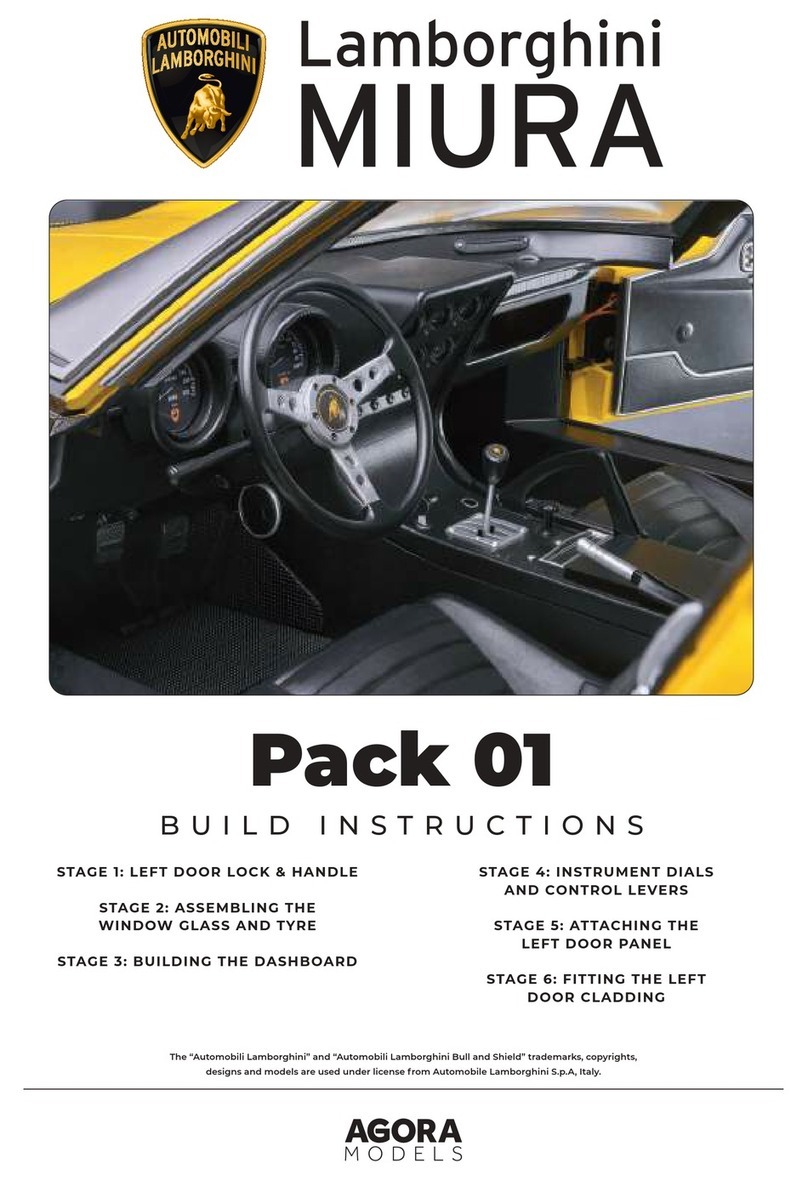
Agora Models LAMBORGHINI MIURA Pack 01 Manual

Agora Models

Agora Models LAMBORGHINI MIURA Pack 01 Manual

Agora Models FDNY Fire Truck Manual

Agora Models

Agora Models FDNY Fire Truck Manual

Agora Models Shelby GT500 1967 Super Snake Manual

Agora Models

Agora Models Shelby GT500 1967 Super Snake Manual

Agora Models Pack 07 Manual

Agora Models

Agora Models Pack 07 Manual

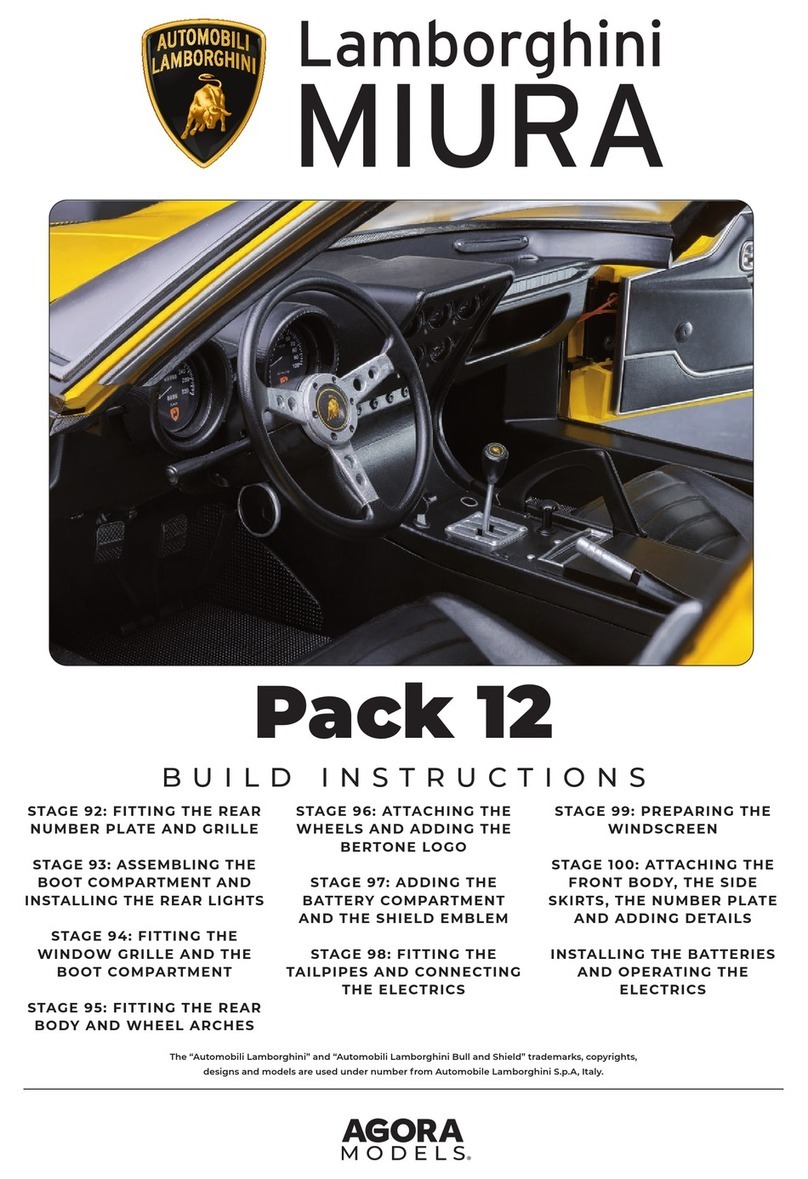
Agora Models LAMBORGHINI MIURA Pack 12 Manual

Agora Models

Agora Models LAMBORGHINI MIURA Pack 12 Manual

Agora Models Jaguar E-Type Pack 10 Manual

Agora Models

Agora Models Jaguar E-Type Pack 10 Manual

Agora Models JAGUAR E-TYPE Manual

Agora Models

Agora Models JAGUAR E-TYPE Manual

Agora Models STEVE MCQUEEN'S ICONIC PORSCHE 917KH Pack 02 Manual

Agora Models

Agora Models STEVE MCQUEEN'S ICONIC PORSCHE 917KH Pack 02 Manual

Agora Models FDNY FIRE TRUCK TOWER LADDER 9 Manual

Agora Models

Agora Models FDNY FIRE TRUCK TOWER LADDER 9 Manual

Popular Motorized Toy Car manuals by other brands

Jamara J-ROCK instructions

Jamara

Jamara J-ROCK instructions

Carson Nano Racer instruction manual

Carson

Carson Nano Racer instruction manual

Team Losi JRXSR owner's manual

Team Losi

Team Losi JRXSR owner's manual

Reely Micro Carbon Fighter operating instructions

Reely

Reely Micro Carbon Fighter operating instructions

Chuck & Friends ROLLIN' RACER RC CHUCK user guide

Chuck & Friends

Chuck & Friends ROLLIN' RACER RC CHUCK user guide

Radio Shack Turmoil owner's manual

Radio Shack

Radio Shack Turmoil owner's manual

Team Losi Micro Rock Crawler Operation guide

Team Losi

Team Losi Micro Rock Crawler Operation guide

Jamara Ferrari F40 instructions

Jamara

Jamara Ferrari F40 instructions

Kenner Air Devil owner's manual

Kenner

Kenner Air Devil owner's manual

Serpent S411 Team Edition Instruction manual & reference guide

Serpent

Serpent S411 Team Edition Instruction manual & reference guide

Xray RX8 instruction manual

Xray

Xray RX8 instruction manual

Kyosho Turbo Optima Mid manual

Kyosho

Kyosho Turbo Optima Mid manual

Power Wheels FLM96 owner's manual

Power Wheels

Power Wheels FLM96 owner's manual

Hunter Products ZP5251 Service guide

Hunter Products

Hunter Products ZP5251 Service guide

Excalibur 9442-CC user guide

Excalibur

Excalibur 9442-CC user guide

Jamara Ultra BL 8 2,4 GHz Instruction

Jamara

Jamara Ultra BL 8 2,4 GHz Instruction

MTHTrains Railking FA-2 AA Operator's manual

MTHTrains

MTHTrains Railking FA-2 AA Operator's manual

Team Losi EIGHT instruction manual

Team Losi

Team Losi EIGHT instruction manual

manuals.online logo
manuals.online logoBrands
  • About & Mission
  • Contact us
  • Privacy Policy
  • Terms and Conditions

Copyright 2025 Manuals.Online. All Rights Reserved.