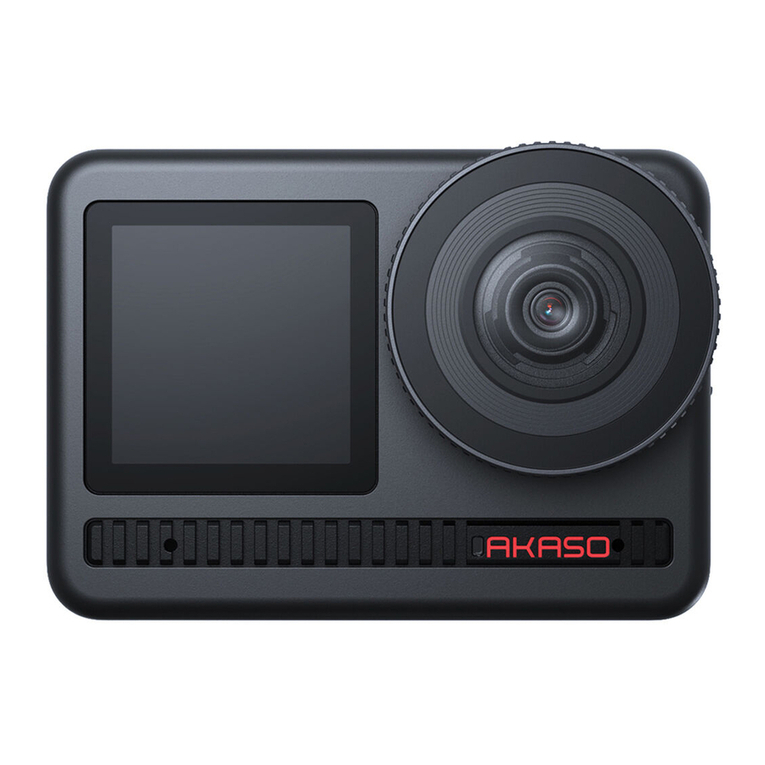
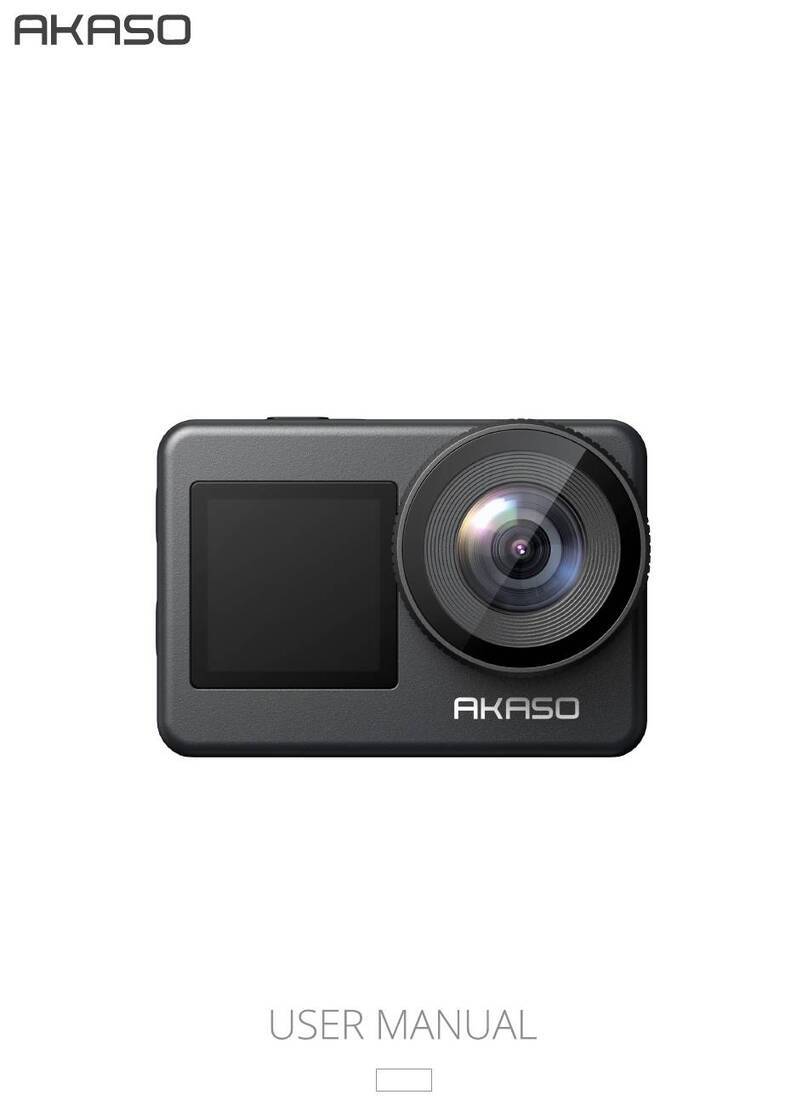
Akaso V50X User manual

V2.2
ACTION CAMERA
V50 X
01 02 03 04
05 06 07 08 09 10
11 12 13 14 15 16
17 18 19 20 21 22 23
24 25 26 27 28 29 30
31 32 33 34 35
Contents
Camera Specification --------------------------------------------------------------------- 01
Important Notes --------------------------------------------------------------------------- 02
What’s in the Box -------------------------------------------------------------------------- 03
Your V50 X------------------------------------------------------------------------------------ 04
Getting Started ----------------------------------------------------------------------------- 06
Using Memory Cards ------------------------------------------------------------------ 06
Charging the Camera------------------------------------------------------------------ 07
Button Operation & Indicators ----------------------------------------------------- 08
Operation Instructions---------------------------------------------------------------- 09
Overview of Modes------------------------------------------------------------------------ 11
Photo Modes----------------------------------------------------------------------------- 11
Video Modes ----------------------------------------------------------------------------- 13
Wifi Mode --------------------------------------------------------------------------------- 16
Customizing Your V50 X ----------------------------------------------------------------- 17
Photo Settings --------------------------------------------------------------------------- 17
Video Settings --------------------------------------------------------------------------- 19
System Settings ------------------------------------------------------------------------- 21
Connecting to AKASO GO App -------------------------------------------------------- 24
Playing Back Your Content ------------------------------------------------------------- 26
Offloading Your Content ---------------------------------------------------------------- 28
Remote Control----------------------------------------------------------------------------- 29
Maintaining Your Camera--------------------------------------------------------------- 32
Maximizing Battery Life------------------------------------------------------------------ 32
Battery Storage and Operation ------------------------------------------------------- 32
Mounting Your Camera------------------------------------------------------------------ 33
Contact Us------------------------------------------------------------------------------------ 35
EN
01 02 03 04
05 06 07 08 09 10
11 12 13 14 15 16
17 18 19 20 21 22 23
24 25 26 27 28 29 30
31 32 33 34 35

Camera Specification
Model V50 X
LCD 2.0-inch touchscreen
Port USB Port / Micro HDMI Port
External Mic
Supported but sold separately.
Note: Be sure to purchase external microphones compatible with
this camera.
Battery
About 120mins of recording time in 4K.
Note: The actual battery life may vary based on the environment
and usage.
Remote control Supported
Video/Photo format MOV / JPG
Gyroscope 6-axis gyroscope
EN
01 02 03 04
05 06 07 08 09 10
11 12 13 14 15 16
17 18 19 20 21 22 23
24 25 26 27 28 29 30
31 32 33 34 35
Important Notes
Congratulations on your new AKASO V50 X Action Camera! You must be excited to
use your new camera, but please spend some time familiarizing yourself with this
manual first so that you get the most out of your camera’s features.
CAUTION!
1. This camera is a precise product. Please protect it from falling or colliding in
case it’s badly damaged.
2. Please place this camera away from machines or matters rich in strong
magnetic fields or power, such as motors or magnets.
3. Please make sure the camera work at its operating temperature. Do not leave it
exposed to high or low-temperature areas for a long period of time in case its
service life is shortened.
4. Please make sure to securely attach the action camera to the waterproof case
before diving in case water leaks in, causing malfunction on it.
5. Please do not charge the battery for a long period of time. Keep it away from
kids and pets in case of any incident.
6. Please take the battery out of the camera if you do not use it for a long period
of time.
7. Please store this camera away from any sharp metals and wet compartments
Warm Tip: In case your camera does not work normally or encounters any
photo or video quality issues, please feel free contact customer support for
help by sending emails to our official email address [email protected].
EN
01 02 03 04
05 06 07 08 09 10
11 12 13 14 15 16
17 18 19 20 21 22 23
24 25 26 27 28 29 30
31 32 33 34 35

What’s in the Box
AKASO V50 X
x 1
Waterproof
Housing x 1
Battery Charger
x 1
Battery
x 2
USB Cable
x 1
Remote Control
x 1
Remote Control
Strap x 1
Clip 1
x 1
Protective
Backdoor x 1
Clip 2
x 1
C Mount
x 1
Buckle Mount
x 1
J-Hook Mount
x 1
A Mount
x 1
D Mount
x 1
Spanner
x 1
E Mount
x 1
H Mount
x 1
Helmet Mount
x 2
F Mount
x 1
Bandage
x 4
Tether
x 5
Lens Cloth
x 1
Double-Sided
Adhesive Tape x 2
Quick Start
Guide x 1
EN
01 02 03 04
05 06 07 08 09 10
11 12 13 14 15 16
17 18 19 20 21 22 23
24 25 26 27 28 29 30
31 32 33 34 35

Welcome to your AKASO V50 X action camera. To capture videos and photos, you
will need a memory card (sold separately).
Using Memory Cards
Please use brand name memory cards that meet these requirements:
• U3
• Capacity up to 64GB
Note:
1. Please format the memory card in this camera before using it for bettercompatibility.
2. Memory cards larger than the specified maximum capacity can cause issues like
non-recognition or even camera malfunctions like unresponsiveness or firmware
failure.
3. To keep your memory card in good condition, regularly reformat your memory
card for optimal performance. Remember, reformatting erases all data, so
transfer your photos and videos before reformatting. With FAT32, the card will
stop recording and create a new file if the file size of a recording reaches 4GB.
Formatting the memory card
1. Turn on the camera.
2. Tap the Settings icon in the bottom right corner to enter the camera settings
screen.
3. Scroll down to locate the "Format Card" option and tap on it.
4. Select the "Confirm" option to complete the formatting process.
Getting Started
Normal
4K30fps
00:00:00 03:21:11
Power Frequency
Format Card
Reset
Cancel
Confirm
EN
01 02 03 04
05 06 07 08 09 10
11 12 13 14 15 16
17 18 19 20 21 22 23
24 25 26 27 28 29 30
31 32 33 34 35

Installing the memory card
To install the memory card, first press the charging cover to reveal the memory
card slot, then insert the memory card in the orientation shown and close the
cover. To remove the card, press down on it till you hear a sound indicating it’s
inserted, the memory will then pop out and make another sound.
Notes:
1. Be sure to turn off the camera before installation or removal.
2. Insert the card into the card slot with the correct orientation.
3. Avoid using the card in areas with strong currents or magnetic fields.
4. Refrain from allowing the card to come into contact with metal objects, and
avoid using any metal tools that could cause it to be squeezed, bent, or fall.
5. Store the card in dry locations, away from corrosive substances.
6. Always ensure that no foreign items are inserted into the card slot.
Charging the Camera
We recommend you fully charge the camera before using it for the first time.
To charge the camera, insert the battery into the camera's battery slot, connect it
to a USB adapter or computer using the USB cable. Once fully charged,
disconnect the cable and ensure the battery cover is securely fastened.
You can also charge the battery separately. To do this, insert it into the battery
charger, then connect the charger to a USB outlet using the USB cable.
To install the battery, press the buckle of the battery cover to open it, then place
the battery into its slot and close the battery cover. If you wish to remove the
battery, simply pull the battery strip.
Memory Card Slot
Memory Card
EN
01 02 03 04
05 06 07 08 09 10
11 12 13 14 15 16
17 18 19 20 21 22 23
24 25 26 27 28 29 30
31 32 33 34 35

Note: Charging your device using a computer USB port may take longer than
using a power adapter, as the output of USB ports is usually lower. It will take
approximately three hours to fully charge the battery, so please be patient. Once
the battery is fully charged, it can last about 120 minutes of 4K video recording.
Nevertheless, it's important not to overcharge the battery, so please unplug the
device from the power source once it's fully charged.
The indicator light will remain blue when powering on, and go out
when off. It will flash when capturing photos or videos.
Status indicator
Shutter button
Power button
Press the Shutter button to confirm the option.
Long press the Shutter button to access the setting menu.
Press the Power button to enter the camera mode menu.
Long press the Power button to turn on or off the camera.
Up button
Press the Up button to turn on or off Wifi.
Long press to zoom in. The camera supports up to 4X.
Down button
Press the Down button to enter the playback screen.
Long press to zoom out. The camera support up to 4X.
Buttons/
Indicator lights
Operation/Status
Button Operation & Indicators
The indicator light will remain red while charging, and go out when
fully charged.
Charging indicator
The Wifi indicator will flash red when Wifi is turned on, and will stay
on when connected. It will go out when Wifi is off.
Wifi indicator
EN
01 02 03 04
05 06 07 08 09 10
11 12 13 14 15 16
17 18 19 20 21 22 23
24 25 26 27 28 29 30
31 32 33 34 35
Operation Instructions
Powering on or off
To turn on the camera, press and hold the Power button for 3 seconds. You'll
hear a beep and see the status light come on. Once information appears on the
display screen, you'll know that your camera is powered on.
To power off the camera, press and hold the Power button for 3 seconds. You will
hear a beep and the status light will turn off.
Turning Wifi on or off
To turn on Wifi, first turn on your camera, then press the Up button, or tap the
Wifi icon in the mode menu. The camera will enter Wifi mode and display Wifi
information in seconds.
To turn off Wifi, simply press the Up button again, or tap the "X" icon on the Wifi
screen.
Switching Shooting Modes
To switch shooting modes, first tap the mode icon at the bottom of the screen, or
press the Power button to enter the mode menu. Then, tap the "Video" or "Photo"
option to access the video or photo mode menu. You will be able to select the
desired video or photo mode from the available options. On the mode menu, you
can also press the Up or Down button followed by the Shutter button to select the
mode you want.
Tip: To exit the mode menu, tap the "X" icon in the upper right corner or press the
Power button.
SlowMotion FastMotion Wifi
TimeLapse
Loop
Record
Normal
Video Photo
Single
4K30fps
00:00:00 03:21:11
EN
01 02 03 04
05 06 07 08 09 10
11 12 13 14 15 16
17 18 19 20 21 22 23
24 25 26 27 28 29 30
31 32 33 34 35
Zooming in or out
On the preview screen, press and hold the Down button, or tap the “+” or “-” icon
to adjust the zoom level. V50 X action camera supports up to 4X.
Entering the settings screen
On the preview screen, press and hold the Shutter button, or tap the Settings icon
in the bottom right corner to enter the settings screen. Then, you're free to
configure the photo or video, and system settings.
Using the shutter button
In Photo or Video mode, press the Shutter button to capture photos or start video
recording. To stop recording in Video mode, press the Shutter button again.
Entering the playback screen
On the preview screen, press the Down button, or tap the Playback icon in the
bottom left corner to enter the playback screen. You will be able to access the
video or the photo set to playback or delete files. To exit the playback screen,
simply tap the “X” icon in the upper right corner.
EN
01 02 03 04
05 06 07 08 09 10
11 12 13 14 15 16
17 18 19 20 21 22 23
24 25 26 27 28 29 30
31 32 33 34 35
There are 10 modes for the V50 X action camera: Photo, Burst photo, Time Lapse
Photo, Long Exposure, Self-Timer, Video, Loop Record, Time Lapse Video, Slow
Motion, and Fast Motion.
Photo Modes
Single Photo Mode
In this mode, press the Shutter button to take a photo. The working indicator light
will be flashing.
Burst Photo Mode
In this mode, when you press the Shutter button, the camera will continuously
capture photos at the set shot. This mode is ideal for capturing fast-moving scenes.
Overview of Modes
Burst
20M
0000 9220
Single
20M
0000 9220
EN
01 02 03 04
05 06 07 08 09 10
11 12 13 14 15 16
17 18 19 20 21 22 23
24 25 26 27 28 29 30
31 32 33 34 35
Time Lapse Photo Mode
In this mode, when you press the Shutter button, the camera will take a series
of photos at the set interval. This mode is suitable for taking photos in
changeable scenes.
Long Exposure Mode
In this mode, when you press the Shutter button, the camera will keep taking
photos until the exposure time comes to the end. This mode is suitable for use in
dark, light, and water scenes.
LongExp
20M
0000 9220
Time Lapse
20M
0000 9220
EN
01 02 03 04
05 06 07 08 09 10
11 12 13 14 15 16
17 18 19 20 21 22 23
24 25 26 27 28 29 30
31 32 33 34 35
Self-Timer Mode
In this mode, the camera takes photos at the set interval, giving a delay between
pressing the shutter release and the shutter's firing. It is most commonly used to
let photographers to take a photo of themselves.
Video Modes
Normal Video Mode
The camera is in Video mode by default when turned on. In this mode, when you
press the Shutter button, the camera will record video at the set resolution and
frame rate. You can press and hold the Up or Down button, or press the "+" / "-"
icon to adjust the zoom level. The camera supports up to 4X.
Normal
4K30fps
00:00:00 03:21:11
Self-Timer
20M
0000 9220
EN
01 02 03 04
05 06 07 08 09 10
11 12 13 14 15 16
17 18 19 20 21 22 23
24 25 26 27 28 29 30
31 32 33 34 35

Loop Record Mode
In this mode, when you press the Shutter button, the camera will record videos of
the specific length. When the memory card is full, old files will be overwritten by
new ones.
Time Lapse Video Mode
In this mode, when you press the Shutter button, the camera will capture a
sequence of video frames at the set interval to condense long events into shorter
videos.
Note: Time Lapse Videos are captured without audio.
Time Lapse
4K30fps
00:00:00 03:21:11
Loop Record
4K30fps
00:00:00 03:21:11
EN
01 02 03 04
05 06 07 08 09 10
11 12 13 14 15 16
17 18 19 20 21 22 23
24 25 26 27 28 29 30
31 32 33 34 35
Fast Motion Mode
In this mode, when you press the Shutter button, the camera will capture steady
and smooth fast-motion videos that appear to be moving faster than in real-time,
making it ideal for use in fast-moving scenes.
Fast Motion
4K30fps
00:00:00 03:21:11
Slow Motion Mode
In this mode, when you press the Shutter button, the camera will record videos at
the set resolution and slow motion speed. However, the video footage will be saved
at a playback speed of 30 frames per second (fps). As a result, when the video is
played back, it will appear to be slowed down, creating a visually captivating effect.
Slow Motion
2.7K 2X
00:00:00 03:21:11
EN
01 02 03 04
05 06 07 08 09 10
11 12 13 14 15 16
17 18 19 20 21 22 23
24 25 26 27 28 29 30
31 32 33 34 35
Wifi Mode
The camera Wifi works to connect the camera to the AKASO GO app to preview or
transfer files. When the camera is in Wifi mode, connect your camera to the
AKASO GO app. To exit Wifi mode, tap the "X" icon on the Wifi screen.
Note: The camera can't be operated when it's in Wifi mode.
For further details regarding the app connection, please refer to Connecting to
AKASO GO App starting from Page 24.
SlowMotion FastMotion Wifi
TimeLapse
Loop
Record
Normal
Video Photo SSID: AKASO_V50 X_****
PWD: 1234567890
Press Up key to turn off Wifi
Waiting for Wifi Connection...
EN
01 02 03 04
05 06 07 08 09 10
11 12 13 14 15 16
17 18 19 20 21 22 23
24 25 26 27 28 29 30
31 32 33 34 35

Photo Settings
1. Resolution
20MP/12M/8M/5M/3M (Default setting is 20MP.)
This camera is capable of capturing 20MP photos, with higher resolution offering
greater clarity and detail due to the increased number of pixels. However, higher
resolution photo also results in larger file sizes.
2. Output Format
JPEG/JPEG+DNG. (Default setting is JPEG.)
This setting allows you to choose the image format you want.
3. Self-Timer
1 Sec/3 Sec/5 Sec/10 Sec/30 Sec (Default setting is 3 Sec.)
This option lets you specify the duration of the countdown before the camera takes
a photo. The camera will initiate the timer upon pressing the shutter release button
and capture a photo automatically once the countdown concludes.
Note: This option is available only in Self-Timer mode.
4. Time Lapse Photo
3 Sec/5 Sec/10 Sec/30 Sec/1 Min (Default setting is 3 Sec.)
This option allows you to specify the frequency at which photos are captured and
compiled in Time Lapse Photo mode. The camera will take a series of photos at
the set interval.
Note: This option is available only in Time Lapse Photo mode only.
5. Burst Photo
3 shots/5 shots/10 shots(Default setting is 3shots.)
This option sets the number of photos to be taken in Burst mode. It's perfect for
capturing fast-moving activities.
Note: This option is available only in Burst mode.
Customizing Your V50 X
EN
01 02 03 04
05 06 07 08 09 10
11 12 13 14 15 16
17 18 19 20 21 22 23
24 25 26 27 28 29 30
31 32 33 34 35

6. Long Exposure
1Sec/2Sec/5Sec/8Sec/30Sec/60Sec ( Default setting is 1Sec.)
In this mode, when your press the Shutter button, the camera keeps taking
photos until the exposure time comes to the end. This mode is suitable for use in
dark, light, and water scenes.
Note: Long Exposure is available only in LongExp mode.
7. Exposure Value
-2/-1.7/-1.5/-1.3/-1/-0.5/-0.3/0/+0.3/+0.5/+1/+1.3/+1.5/+1.7/+2 (Default setting is 0.)
By default, your camera uses the entire image to determine the appropriate exposure
level. However, Exposure lets you select an area that you want the camera to
prioritize when determining exposure. This setting is particularly useful in shots
where an important region might otherwise be over- or underexposed.
8. ISO
Auto/400/800/1600/3200 (Default setting is Auto.)
ISO determines the camera’s sensitivity to light and creates a trade-off between
brightness and resulting image noise. Image noise refers to the degree of graininess
in the image. In low light, higher ISO values result in brighter images, but with
greater image noise. Lower values result in lower image noise, but darker images.
9. Meter
Center/Average/Spot (Default setting is Average.)
This option allows you to select the desired metering mode for different scenes.
10. Photo Quality
Fine/Normal/Economy (Default setting is Fine. )
This feature determines the level of detail in your photos.
EN
01 02 03 04
05 06 07 08 09 10
11 12 13 14 15 16
17 18 19 20 21 22 23
24 25 26 27 28 29 30
31 32 33 34 35
Other manuals for V50X
7
Table of contents
Other Akaso Action Camera manuals

Akaso
Akaso Brave 6 Plus User manual

Akaso
Akaso Brave 6 User manual

Akaso
Akaso EK7000 User manual

Akaso
Akaso EK7000 User manual

Akaso
Akaso Brave 4 Elite User manual

Akaso
Akaso Keychain User manual

Akaso
Akaso V50 Pro SE User manual

Akaso
Akaso Brave 6 User manual

Akaso
Akaso Brave 6 Plus User manual

Akaso
Akaso Brave 4 User manual

Akaso
Akaso Brave 7 User manual

Akaso
Akaso BRAVE 4 PRO User manual

Akaso
Akaso V50X User manual

Akaso
Akaso EK7000 User manual

Akaso
Akaso V50X User manual

Akaso
Akaso V50 Pro SE User manual

Akaso
Akaso Brave 6 Plus User manual

Akaso
Akaso V50 Elite User manual

Akaso
Akaso Brave 4 User manual

Akaso
Akaso Brave 7 LE User manual