AKG C 430 User manual

Bedienungshinweise . . . . . . . . . . . . . . . . . . S. 2
Bitte vor Inbetriebnahme des Gerätes lesen!
User Instructions . . . . . . . . . . . . . . . . . . . . p. 10
Please read the manual before using the equipment!
Mode d’emploi . . . . . . . . . . . . . . . . . . . . . . p. 18
Veuillez lire cette notice avant d’utiliser le système!
Istruzioni per l’uso . . . . . . . . . . . . . . . . . . . p.26
Prima di utilizzare l’apparecchio, leggere il manuale!
Modo de empleo . . . . . . . . . . . . . . . . . . . . p. 34
Antes de utilizar el equipo, sírvase leer el manual!
Instruções de uso . . . . . . . . . . . . . . . . . . . p. 42
S.f.f. leia este manual antes de usar o equipamen
to!
C 430

2
1.1 Sicherheits-
hinweis
1.2
Lieferumfang
1.3 Besondere
Merkmale
1.4 Kurz-
beschreibung
Überprüfen Sie bitte, ob das Gerät, an das Sie das
Mikrofon anschließen möchten, den gültigen Si-
cherheitsbestimmungen entspricht und mit einer
Sicherheitserdung versehen ist.
Kontrollieren Sie bitte, ob die Verpackung alle
oben angeführten Teile enthält. Falls etwas fehlt,
wenden Sie sich bitte an Ihren AKG-Händler.
• Robustes Kondensatormikrofon für Instrumen-
talabnahme auf der Bühne.
• Linearer Frequenzgang, daher speziell für die
Overheadabnahme von Becken und Hi-Hat
geeignet.
• Integrierter Windschutz zur wirkungsvollen Un-
terdrückung von Luftgeräuschen.
• Elastische Lagerung des Wandlersystems zur
wirkungsvollen Körperschallunterdrückung.
• Hohe Rückkopplungssicherheit durch fre-
quenzunabhängige nierenförmige Richt-
charakteristik.
Das C 430 ist ein Kondensator-Richtmikrofon
(Druckgradientenempfänger). Es wurde speziell
als Instrumentalmikrofon für den harten Büh-
neneinsatz entwickelt. Als Kondensatormikrofon
mit linearem Frequenzgang liefert es einen beson-
ders klaren, ausgewogenen Sound und eignet
sich daher optimal als Overhead-Mikrofon für die
Abnahme von Becken und Hi-Hats. Durch seine
1 Sicherheitshinweis/Beschreibung
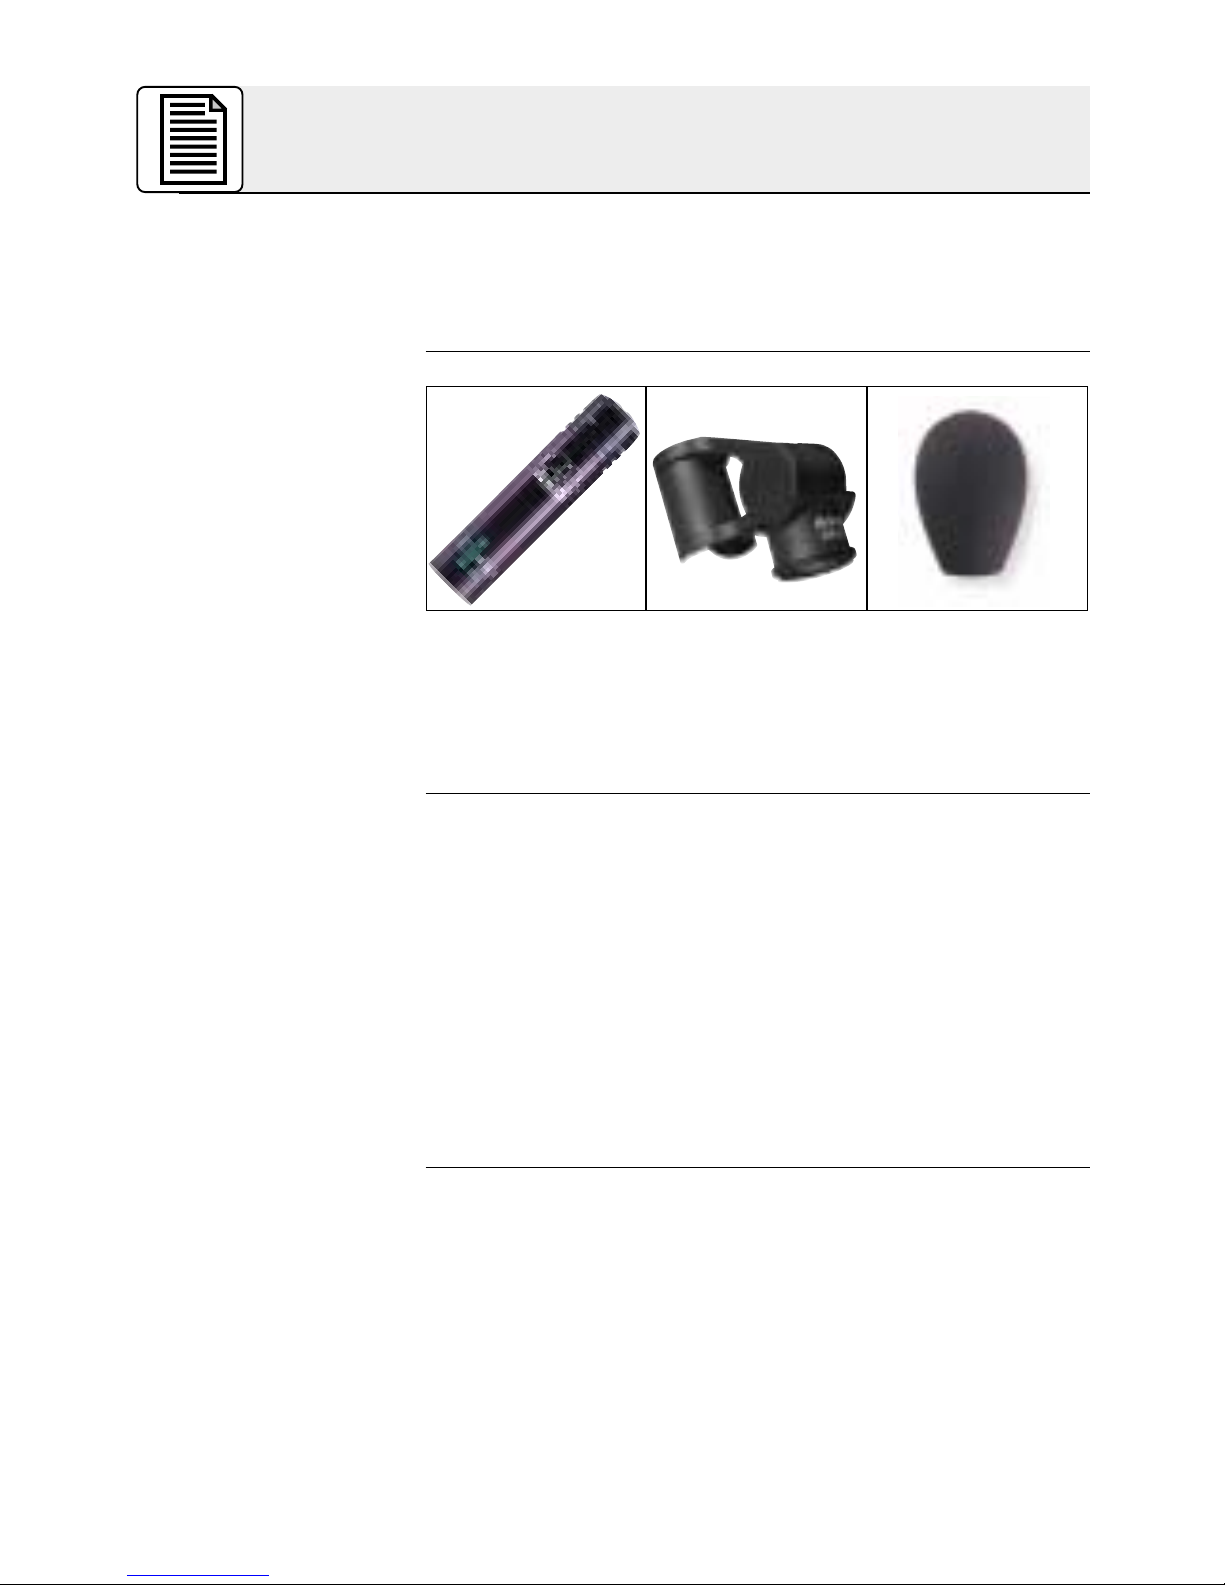
1 C 430 1 SA 40 1 W 32

3
1.5 Empfohlenes
Zubehör
1.6 ”Mikrofon-
Praxis”
nierenförmige, frequenzunabhängige Richtcha-
rakteristik ist das C 430 besonders unempfindlich
gegen Rückkopplungen. Durch eine spezielle ela-
stische Lagerung des Wandlersystems ist das Mi-
krofon weitgehend unempfindlich gegen Tritt-
schall und andere durch das Stativ übertragene
Störgeräusche. Das massive Metallgehäuse
schützt das System zusätzlich. Ein eingebauter
Windschutz schaltet Luftgeräusche, wie sie z.B.
das Hi-Hat verursacht, zuverlässig aus.
Wenn Sie mehr über Mikrofone und ihre Anwen-
dung wissen wollen, empfehlen wir Ihnen das
Buch ”Mikrofon-Praxis” von Norbert Pawera.
Norbert Pawera, selbst Gitarrist, wendet sich spe-
ziell an Musiker und beschreibt die verschiedenen
Arten von Mikrofonen, raumakustische Grundla-
gen, klangspezifische Eigenschaften der Musikin-
strumente und welche Mikrofone für welche
Instrumente am besten geeignet sind. Selbstver-
ständlich finden Sie darin auch Tipps zur optima-
len Mikrofonaufstellung auf der Bühne und im
Studio.
1 Beschreibung
• Mikrofonkabel MK 9/10: 10 m 2-polig
geschirmtes Kabel mit XLR-Stecker
und XLR-Kupplung
• Bodenstative
ST 102A, ST 200,
ST 305
• Batteriespeisegerät B 15
• Phantomspeise-
geräte N 62 E,
N 66 E, B 18 E,

4
2.1 Allgemeines
Siehe Kapitel 2.2
und 2.3.
2.2 Eingang mit
Phantom-
speisung
Siehe Abb. 1.
2.3 Eingang
ohne Phantom-
speisung
Siehe Abb. 1.
Das C 430 ist ein Kondensatormikrofon und
benötigt daher eine Stromversorgung.
Das Mikrofon besitzt einen symmetrischen Aus-
gang mit 3-poligem XLR-Stecker:
Stift 1 = Masse
Stift 2 = Tonader (inphase)
Stift 3 = Tonader
Sie können das Mikrofon sowohl an symmetrische
Mikrofoneingänge mit oder ohne Phantomspei-
sung als auch an asymmetrische Mikrofonein-
gänge anschließen.
1. Schließen Sie das Mikrofon mit einem XLR-Mi-
krofonkabel (z.B. dem optionalen MK 9/10 von
AKG) an einen symmetrischen XLR-Mikro-
foneingang mit Phantomspeisung an.
2. Schalten Sie die Phantomspeisung ein. (Lesen
Sie dazu in der Betriebsanleitung des jeweili-
gen Gerätes nach.)
Abb. 1: Anschluss an symmetrischen Eingang
1. Wenn Ihr Mischpult keine Phantomspeisung
besitzt, schalten Sie zwischen Mikrofon und
Mischpulteingang ein AKG-Phantomspeise-
gerät (N 62 E, N 66 E, B 18 E, B 15 - optional).
2 Anschluss
2.2
2.3

5
Wichtig!
2.4
Asymmetrischer
Eingang
Siehe Abb. 2.
Hinweis:
Wenn Sie andere als die von AKG empfoh-
lenen Speisegeräte verwenden, kann das
Mikrofon beschädigt werden und erlischt
die Garantie.
Die Phantomspeisegeräte von AKG können Sie
auch an einen asymmetrischen Eingang an-
schließen.
Abb. 2: Anschluss an asymmetrischen Eingang
Verwenden Sie dazu ein Kabel mit XLR-Stecker
(weiblich) und Mono-Klinkenstecker:
1. Verbinden Sie im XLR-Stecker mittels einer
Drahtbrücke Stift 1 mit Stift 3 und mit der
Abschirmung.
2. Verbinden Sie die innere Ader des Kabels mit
Stift 2 des XLR-Steckers und der Spitze des
Klinkensteckers.
Beachten Sie, dass asymmetrische Kabel Ein-
streuungen aus Magnetfeldern (von Netz- und
Lichtkabeln, Elektromotoren usw.) wie eine An-
tenne aufnehmen können . Bei Kabeln, die länger
als 5 m sind, kann dies zu Brumm- und ähnlichen
Störgeräuschen führen.
2 Anschluss

6
3.1 Einleitung
3.2 Becken
(Overhead)
Abb. 3: Mikrofon-
aufstellung für
Overhead-
Abnahme von
Becken
Siehe Abb. 3.
Um den ”richtigen” Sound zu finden, müssen Sie
in jedem Fall mit der Mikrofonaufstellung experi-
mentieren. Als Ausgangspunkt dafür sind in den
folgenden Kapiteln bewährte Mikrofontechniken
beschrieben.
1. Montieren Sie das Mikrofon auf einem Ausle-
gerstativ (z.B. dem optionalem ST 102A von
AKG).
2. Positionieren Sie das Mikrofon oberhalb des
Beckens in einem Abstand, der etwa dem Ra-
dius des Beckens entspricht.
3. Richten Sie das Mikrofon auf den äusseren
Beckenrand aus.
3 Anwendung
7
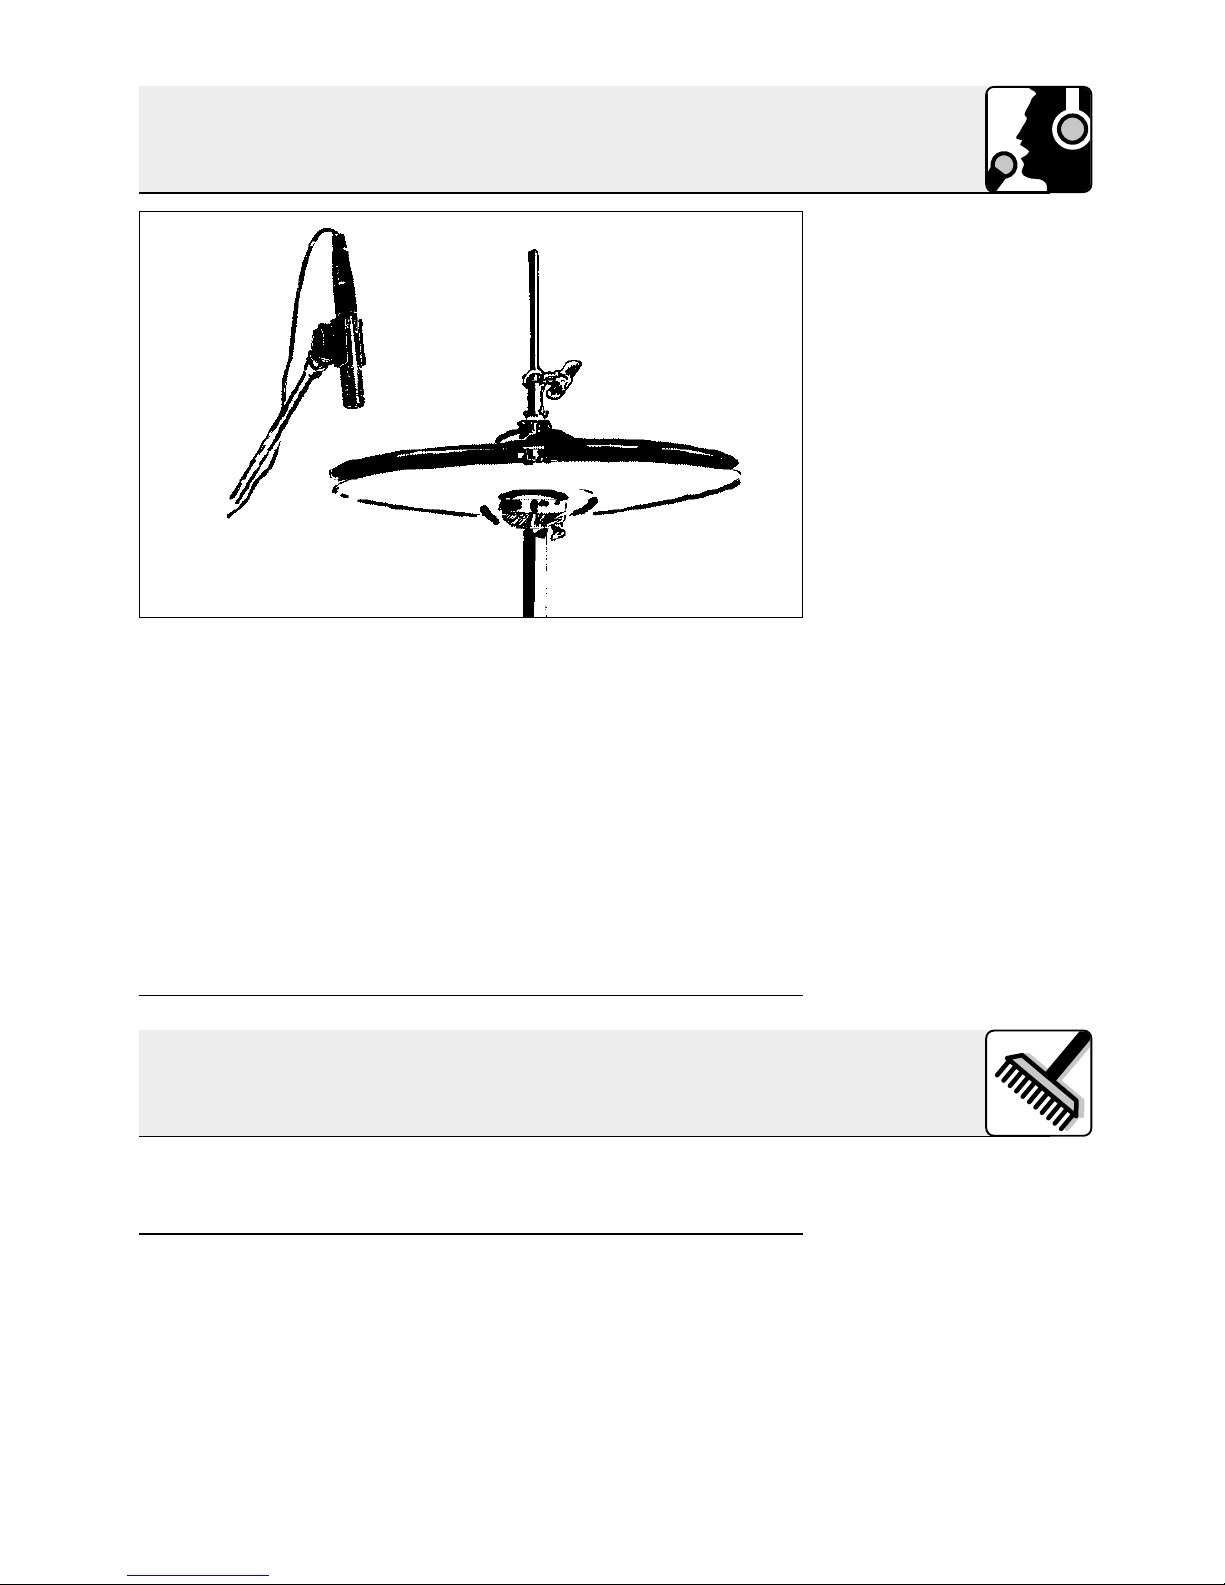
3.3 Hi-Hat
Abb. 4: Abnahme
der Hi-Hat.
Siehe Abb. 4.
1. Montieren Sie das Mikrofon auf einem Ausle-
gerstativ (z.B. dem optionalem ST 102A von
AKG).
2. Positionieren Sie das Mikrofon ca. 5 cm über
der geöffneten Hi-Hat.
3. Richten Sie das Mikrofon auf den Rand der
Becken aus.
Achten Sie darauf, dass das Mikrofon von der
Snare-Drum weg zeigt, damit eine gute akusti-
sche Entkopplung gewährleistet ist.
Reinigen Sie das Gehäuse des Mikrofons mit ei-
nem mit Wasser befeuchteten Tuch.
3 Anwendung
4 Reinigung

8
5 Fehlerbehebung
Fehler
Kein Ton:
Verzerrungen:
Mögliche Ursache
1. Mischpult und/oder
Verstärker ausge-
schaltet.
2. Kanal-Fader oder
Summenpegelregler
am Mischpult oder
Lautstärkeregler des
Verstärkers steht auf
Null.
3. Mikrofon nicht an
Mischpult oder
Verstärker ange-
schlossen.
4. Kabelstecker nicht
richtig angesteckt.
5. Kabel defekt.
6. Keine Speise-
spannung.
1. Gain-Regler am
Mischpult zu weit
aufgedreht.
2. Mischpulteingang zu
empfindlich.
Abhilfe
1. Mischpult und/oder
Verstärker ein-
schalten.
2. Kanal-Fader oder
Summenpegelregler
am Mischpult oder
Lautstärkeregler des
Verstärkers auf ge-
wünschten Pegel
einstellen.
3. Mikrofon an Misch-
pult oder Verstärker
anschließen.
4. Kabelstecker
nochmals an-
stecken.
5. Kabel überprüfen
und falls nötig er-
setzen.
6. Phantomspeisung
einschalten.
Phantomspeise-
gerät: ans Netz
anschließen bzw.
Batterie(n) einlegen.
Kabel überprüfen
und falls nötig er-
setzen.
1. Gain-Regler zurück-
drehen.
2. 10-dB-Vorab-
schwächung zwi-
schen Mikrofonkabel
und Eingang
stecken.

9
6 Technische Daten
Arbeitsweise: Kondensatormikrofon mit
Permanentladung
Richtcharakteristik: Niere
Übertragungsbereich: 20-20.000 Hz
Empfindlichkeit: 7 mV/Pa (-43 dBV bez. auf 1 V/Pa)
Elektrische Impedanz bei 1000 Hz: 200 Ω
Empfohlene Lastimpedanz: >2000 Ω
Grenzschalldruckpegel für 1% / 3% Klirrfaktor: 126 / 130 dB SPL
Äquivalentschalldruckpegel: 33 dB (A) (nach DIN 45412)
Speisespannung: 9-52 V Universalphantomspeisung
Stromaufnahme: ca. 2 mA
Steckerart: XLR 3-polig
Oberfläche: mattschwarz
Abmessungen: L: 79 mm, ø: 19 mm
Netto/Bruttogewicht: 32 g /192 g
Dieses Produkt entspricht der Norm EN 50 082-1, vorausgesetzt, dass nachge-
schaltete Geräte CE-konform sind.
Frequenzgang Polardiagramm
10
1.1 Precaution
1.2 Unpacking
1.3 Features
1.4 Brief
Description
Please make sure that the piece of equipment
your microphone will be connected to fulfills the
safety regulations in force in your country and is
fitted with a ground lead.
Check that the packaging contains all of the com-
ponents listed above. Should anything be miss-
ing, please contact your AKG dealer.
• Rugged condenser microphone for instrument
miking on stage.
• Flat frequency response ideally suited for
overhead miking of cymbals and hi-hat.
• Integrated windscreen for efficient suppres-
sion of wind noise.
• Transducer shock mount reduces handling and
cable noise.
• Frequency-independent cardioid polar
response for high gain before feedback.
The C 430 is a unidirectional condenser micro-
phone (pressure gradient microphone). It has
been designed primarily as an instrument micro-
phone for rough onstage use. Being a condenser
microphone, it delivers an exceptionally clear,
well-balanced sound and is therefore an ideal
overhead microphone for use on cymbals and hi-
hats. The frequency independent cardioid pickup
pattern of the C 430 ensures high gain before
1 Precaution/Description
1 C 430 1 SA 40 1 W 32
Other manuals for C 430
2
Table of contents
Languages:
Other AKG Microphone manuals


