manuals.online logo
Brands
  1. Home
  2. •
  3. Brands
  4. •
  5. Argos
  6. •
  7. Indoor Furnishing
  8. •
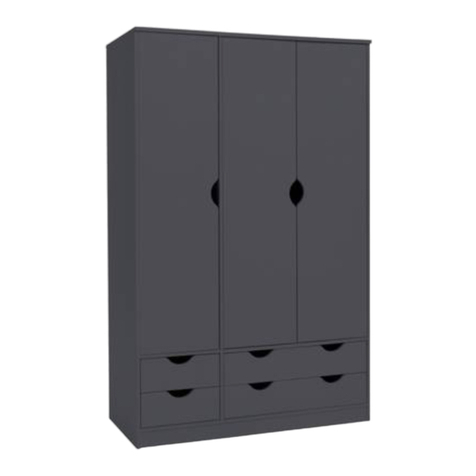
  9. Argos Chunky 418/5897 User manual

Argos Chunky 418/5897 User manual

Assembly Instructions - Please keep for future reference
Dimensions
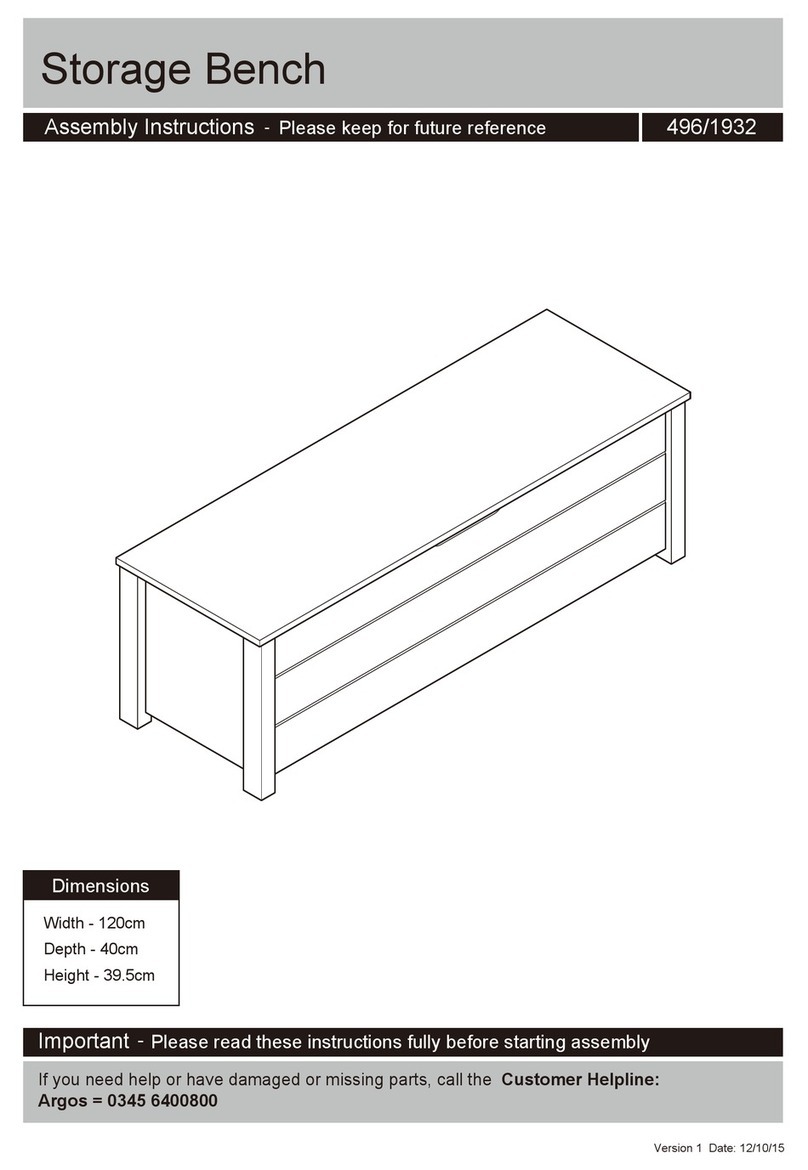
Width - 120cm
Depth - 40cm
Height - 58cm
Important - Please read these instructions fully before starting assembly
If you need help or have damaged or missing parts, call the Customer Helpline: 0345 6400800
Chunky TV Unit
issue1 - 18/03/15
418/5897
A
B
C
2
b: Fit Shelf onto the
unit, then screw in Legs
a .
B
1
C
B
B
Note: It would be useful to
ask someone to help you
at this stage.
Fitting the runners
Step 1
Note: It would be useful to
ask someone to help you
at this stage.
Step 1
B
To reduce
the likelihood of
damaging your
product please
ensure that your
power drill is set on a low torque
setting.
During assembly children
should be kept away from the
product due to the potential risk of
injury.
Assembly to be carried out by
the competent adult only.
Do not use this item if any
components are missing or
damaged.
Warning: The unit weighs
approximately kgs.17
Please lift with care.
Dispose of all packaging carefully
and responsibly.
b:
d: Screw in Legs into
Top panel .
Note: It would be useful to
ask someone to help you
at this stage.
B
1
2
2
2
C
c: Screw in Foot into
Shelf panel .
1
We do not
recommend the use
of power drill/ drivers
for inserting screws,
as this could damage
the unit. Only use hand
screwdrivers.
Safety and Care Advice
Important - Please read these instructions fully before starting assembly
Check you have all the
components and tools listed on
the following pages.
plastic bags and separate them
into their groups.
Remove all fittings from the
Keep children and animals
away from the work area, small
parts could choke if swallowed.
Make sure you have enough
space to layout the parts before
starting.
During assembly do not stand
or put weight on the product,
this could cause damage.
Assemble the item as close
to its final position (in the same
room) as possible.
Assemble on a soft level
surface to avoid damaging the
unit or your floor.
Parts of the assembly will be
easier with 2 people.
Handy Hints
• Assemble all parts and bolts
loosely during assembly, only
once the product is complete
should you fully tighten the bolts
Regularly check and ensure
•
that all bolts and fittings are
tightend properly.
●Only clean using a damp cloth
and mild detergent, do no use
bleach or abrasive cleaners.
●From time to time check that
there are no loose screws on
this unit.
●This product should not be
discarded with household waste.
Take to your local authority
waste disposal centre.
Care and maintenance
A
B
C
2
b: Fit Shelf onto the
unit, then screw in Legs
a .
B
1
C
B
B
Note: It would be useful to
ask someone to help you
at this stage.
Fitting the runners
Step 1
Note: It would be useful to
ask someone to help you
at this stage.
Step 1
B
To reduce
the likelihood of
damaging your
product please
ensure that your
power drill is set on a low torque
setting.
During assembly children
should be kept away from the
product due to the potential risk of
injury.
Assembly to be carried out by
the competent adult only.
Do not use this item if any
components are missing or
damaged.
Warning: The unit weighs
approximately kgs.17
Please lift with care.
Dispose of all packaging carefully
and responsibly.
b:
d: Screw in Legs into
Top panel .
Note: It would be useful to
ask someone to help you
at this stage.
B
1
2
2
2
C
c: Screw in Foot into
Shelf panel .
Components - Panels
Please check you have all the panels listed below
2
Top (120 x 40cm)
1
Shelf (120 x 40cm) X 2
2
If you have damaged or missing components,
call the Customer Helpline:0345 6400800
Through hole
A
B
C
2
b: Fit Shelf onto the
unit, then screw in Legs
a .
B
1
C
B
B
Note: It would be useful to
ask someone to help you
at this stage.
Fitting the runners
Step 1
Note: It would be useful to
ask someone to help you
at this stage.
Step 1
B
To reduce
the likelihood of
damaging your
product please
ensure that your
power drill is set on a low torque
setting.
During assembly children
should be kept away from the
product due to the potential risk of
injury.
Assembly to be carried out by
the competent adult only.
Do not use this item if any
components are missing or
damaged.
Warning: The unit weighs
approximately kgs.17
Please lift with care.
Dispose of all packaging carefully
and responsibly.
b:
d: Screw in Legs into
Top panel .
Note: It would be useful to
ask someone to help you
at this stage.
B
1
2
2
2
C
c: Screw in Foot into
Shelf panel .
Post with short bolt x 4
Foot x 4
Components - Fittings
Please check you have all the fittings listed below
AB
3
Note: The quantities below are the correct amount to complete the assembly. In some cases more fittings
may be supplied than are required.
BC
Post with long bolt x 4
A
B
C
2
b: Fit Shelf onto the
unit, then screw in Legs
a .
B
1
C
B
B
Note: It would be useful to
ask someone to help you
at this stage.
Fitting the runners
Step 1
Note: It would be useful to
ask someone to help you
at this stage.
Step 1
B
To reduce
the likelihood of
damaging your
product please
ensure that your
power drill is set on a low torque
setting.
During assembly children
should be kept away from the
product due to the potential risk of
injury.
Assembly to be carried out by
the competent adult only.
Do not use this item if any
components are missing or
damaged.
Warning: The unit weighs
approximately kgs.17
Please lift with care.
Dispose of all packaging carefully
and responsibly.
b:
d: Screw in Legs into
Top panel .
Note: It would be useful to
ask someone to help you
at this stage.
B
1
2
2
2
C
c: Screw in Foot into
Shelf panel .
Assembly Instructions
Step 1
Fitting the legs
4
a:
B
C
2
Step 1
a: Screw in the post with
short bolt into Top
panel .
b:
b: Put the shelf panel
onto unit.
Note: It would be useful to
ask someone to help you
at this stage.
B
B
1
B
1
2
B
B
B
B
B
B
B
B
2
c: Fit Shelf onto the
unit, by screw in the post
with long bolt .
2
C
c:
C
B
2
C
A
B
C
2
b: Fit Shelf onto the
unit, then screw in Legs
a .
B
1
C
B
B
Note: It would be useful to
ask someone to help you
at this stage.
Fitting the runners
Step 1
Note: It would be useful to
ask someone to help you
at this stage.
Step 1
B
To reduce
the likelihood of
damaging your
product please
ensure that your
power drill is set on a low torque
setting.
During assembly children
should be kept away from the
product due to the potential risk of
injury.
Assembly to be carried out by
the competent adult only.
Do not use this item if any
components are missing or
damaged.
Warning: The unit weighs
approximately kgs.17
Please lift with care.
Dispose of all packaging carefully
and responsibly.
b:
d: Screw in Legs into
Top panel .
Note: It would be useful to
ask someone to help you
at this stage.
B
1
2
2
2
C
c: Screw in Foot into
Shelf panel .
Assembly Instructions
Step 1Step 1
d: Put the shelf panel
onto unit again.
e: Screw in Foot into
Shelf panel .
2
d:
A
2
e:
2
A
2
5
C
A
2
A
B
C
2
b: Fit Shelf onto the
unit, then screw in Legs
a .
B
1
C
B
B
Note: It would be useful to
ask someone to help you
at this stage.
Fitting the runners
Step 1
Note: It would be useful to
ask someone to help you
at this stage.
Step 1
B
To reduce
the likelihood of
damaging your
product please
ensure that your
power drill is set on a low torque
setting.
During assembly children
should be kept away from the
product due to the potential risk of
injury.
Assembly to be carried out by
the competent adult only.
Do not use this item if any
components are missing or
damaged.
Warning: The unit weighs
approximately kgs.17
Please lift with care.
Dispose of all packaging carefully
and responsibly.
b:
d: Screw in Legs into
Top panel .
Note: It would be useful to
ask someone to help you
at this stage.
B
1
2
2
2
C
c: Screw in Foot into
Shelf panel .
Assembly Instructions
Turn the unit upright and
place in the desired
location.
Step 2
Finishing the unit
Note: Before use always
make sure the unit is
secure.
Assembly is complete.
If you need help or have damaged or missing parts, call the Customer Helpline : 0345 6400800
6
A
B
C
2
b: Fit Shelf onto the
unit, then screw in Legs
a .
B
1
C
B
B
Note: It would be useful to
ask someone to help you
at this stage.
Fitting the runners
Step 1
Note: It would be useful to
ask someone to help you
at this stage.
Step 1
B
To reduce
the likelihood of
damaging your
product please
ensure that your
power drill is set on a low torque
setting.
During assembly children
should be kept away from the
product due to the potential risk of
injury.
Assembly to be carried out by
the competent adult only.
Do not use this item if any
components are missing or
damaged.
Warning: The unit weighs
approximately kgs.17
Please lift with care.
Dispose of all packaging carefully
and responsibly.
b:
d: Screw in Legs into
Top panel .
Note: It would be useful to
ask someone to help you
at this stage.
B
1
2
2
2
C
c: Screw in Foot into
Shelf panel .

Other Argos Indoor Furnishing manuals

Argos Venice Entertainment Unit User manual

Argos

Argos Venice Entertainment Unit User manual

Argos 274/9668 User manual

Argos

Argos 274/9668 User manual

Argos Sywell 615/8482 User manual

Argos

Argos Sywell 615/8482 User manual

Argos Normandy 428/2611 User manual

Argos

Argos Normandy 428/2611 User manual

Argos Kensington Installation guide

Argos

Argos Kensington Installation guide

Argos Walton 143/6886 User manual

Argos

Argos Walton 143/6886 User manual

Argos SKYE WOOD 476/7538 User manual

Argos

Argos SKYE WOOD 476/7538 User manual

Argos Camden 305/0710 User manual

Argos

Argos Camden 305/0710 User manual

Argos 617/1799 User manual

Argos

Argos 617/1799 User manual

Argos Habitat hygena Square+ 4 x 2 620/2493 User manual

Argos

Argos Habitat hygena Square+ 4 x 2 620/2493 User manual

Argos avignon 544/2687 User manual

Argos

Argos avignon 544/2687 User manual

Argos Ellie 257/8028 User manual

Argos

Argos Ellie 257/8028 User manual

Argos 600/3575 User manual

Argos

Argos 600/3575 User manual

Argos New Sywell 355/9510 User manual

Argos

Argos New Sywell 355/9510 User manual

Argos Abigail 3 User manual

Argos

Argos Abigail 3 User manual

Argos Kids Scandinavia XL Storage Box User manual

Argos

Argos Kids Scandinavia XL Storage Box User manual

Argos Seattle 4Ft6 User manual

Argos

Argos Seattle 4Ft6 User manual

Argos 402/8583 User manual

Argos

Argos 402/8583 User manual

Argos Puerto Rico User manual

Argos

Argos Puerto Rico User manual

Argos CANVAS 214/6601 User manual

Argos

Argos CANVAS 214/6601 User manual

Argos Habitat Thornbury 343766 User manual

Argos

Argos Habitat Thornbury 343766 User manual

Argos Winchester 656/7004 User manual

Argos

Argos Winchester 656/7004 User manual

Argos Swanley 120 307/0013 User manual

Argos

Argos Swanley 120 307/0013 User manual

Argos 309/1951 User manual

Argos

Argos 309/1951 User manual

Popular Indoor Furnishing manuals by other brands

Hillsdale Furniture 2311-4555 manual

Hillsdale Furniture

Hillsdale Furniture 2311-4555 manual

Ave Six WALLSTREET WST51N Assembly instructions

Ave Six

Ave Six WALLSTREET WST51N Assembly instructions

Ovela APLINE OVALPINSBBA user guide

Ovela

Ovela APLINE OVALPINSBBA user guide

B. JORGSEN & CO MALIBU WHITE DC312WH Assembly instructions

B. JORGSEN & CO

B. JORGSEN & CO MALIBU WHITE DC312WH Assembly instructions

Furniture of America CM6613-CH Assembly instructions

Furniture of America

Furniture of America CM6613-CH Assembly instructions

Dacri Home Magnetic Poster Hanger Frame Product user guide

Dacri Home

Dacri Home Magnetic Poster Hanger Frame Product user guide

BALTON BIII 151 120 quick start guide

BALTON

BALTON BIII 151 120 quick start guide

Therma-Tru Door Specifications

Therma-Tru

Therma-Tru Door Specifications

&Tradition Shuffle table User instructions

&Tradition

&Tradition Shuffle table User instructions

AmazonBasics B07FFW2YH9 Welcome guide

AmazonBasics

AmazonBasics B07FFW2YH9 Welcome guide

Bedz King BK906ST manual

Bedz King

Bedz King BK906ST manual

Habitat GALA 365139 Assembly instructions

Habitat

Habitat GALA 365139 Assembly instructions

SANTA LUCIA HOMY Night Assembly instructions

SANTA LUCIA

SANTA LUCIA HOMY Night Assembly instructions

Lanaform LED mirror X10 Instructions for use

Lanaform

Lanaform LED mirror X10 Instructions for use

Fores MAX020 Assembling instructions

Fores

Fores MAX020 Assembling instructions

Home Decorators Collection BF-22418 Assembly instructions

Home Decorators Collection

Home Decorators Collection BF-22418 Assembly instructions

Powell 15D8153B quick start guide

Powell

Powell 15D8153B quick start guide

Rauch M2554 Assembly instructions

Rauch

Rauch M2554 Assembly instructions

manuals.online logo
manuals.online logoBrands
  • About & Mission
  • Contact us
  • Privacy Policy
  • Terms and Conditions

Copyright 2025 Manuals.Online. All Rights Reserved.