manuals.online logo
Brands
  1. Home
  2. •
  3. Brands
  4. •
  5. Argos
  6. •
  7. Indoor Furnishing
  8. •
  9. Argos Merrick 184/6335 User manual

Argos Merrick 184/6335 User manual

Dimensions
Merrick
Assembly Instructions -Pleasekeepforfuture reference
Sideboard
184/6335
Important –Pleasereadtheseinstructions fully before starting assembly
Width-130cm
Depth-40cm
Height-72,7cm
Issue 1- 14/06/19
Ifyouneedhelporhavedamagedormissingparts, call the Customer Helpline: 08450778888
14-3E-177_02
183/8587
Important –Please read these instructionsfully before starting assembly
• Checkyouhaveall the
componentsandtoolslisted on
the followingpages.
•Removeallfittingsfrom the
plasticbags andseparatethem
intotheirgroups.
• Keepchildrenandanimals
awayfromtheworkarea, small
partscouldchokeif swallowed.
• Make sureyouhaveenough
spacetolayoutthepartsbefore
starting.
• Donotstand orputweight on
the product, thiscouldcause
damage.
•Assembletheitemas close to
itsfinalposition (-inthe same
room)as possible.
• Assembleonasoft levelsurface
toavoiddamagingthe unit or your
floor.
• Partsof the assemblywill be
easierwith2people.
Care and maintenance
• Onlyclean using adampcloth
and milddetergent, do no use
bleach or abrasive cleaners.
• Fromtimetotimecheck that
there are no loose screwson
thisunit.
• Thisproduct shouldnot be
discarded withhouseholdwaste.
Take toyour local authority
wastedisposal centre.
1
SafetyandCareAdvice
• Toreducethe
likelihoodof
damaging your
product please
ensurethat your
powerdrillisset
onalowtorque
setting.
HandyHints
• Assembleall partsand bolts
looselyduring assembly, only
once the product iscomplete
shouldyou fullytighten bolts.
• Regularlycheckand ensure
that all boltsand fittings are
tightened properly.
13
46
Components- Panels
Please check you have all the panels listed below
If you havedamagedormissing commponents,
callthe Customer Helpline: 08450778888
2
Rightsidepanelx1
(40 x53,7cm) Toppanelx1
(130x40cm)
Base x1
(130 x40cm)
78
Rightdrawersidex2
(35 x11cm) Leftdrawersidex2
(35 x11cm) Drawerbackx2
(24,8 x11cm)
Drawerfrontx2
(28,6 x13cm) Drawerbasex3
(33,9 x25,4cm)
9
10 12
Verticalpartitionpanelx1
(39,6 x53,7cm)
18
Legx4
(4,6x15,7cm)
2Leftsidepanelx1
(40 x53,7cm)
Backpanel x1
(55,8 x31,2cm)
5
13 Shelfx1
(95,1 x34,5cm) 15 Rightdoorx1
(48,6 x53cm)
Leftdoorx1
(48,6 x53cm) Backpanel x2
(48,6 x55,8cm)
19 20
11
23
21
22
Drawerfrontx1
(28,6 x26,4cm)
Rightdrawersidex1
(35 x16cm)
Leftdrawersidex1
(35 x16cm) Drawerbackx1
(24,8 x16cm) 24 Bracex2
(95 x5cm)
Components-Fittings
Please check you have all the fittingslisted below
3
Note:Thequantitiesbelowarethecorrectamounttocompletetheassembly.Insomecasesmorefittings may
besuppliedthanarerequired.
Toolsrequired
Ruler-Use this rulerto help correctly identifythe screws
Phillipsscrewdriver
(medium&large)
Flatblade screwdriver
(medium)
Hammer
Ruler/tape
measure
The screwslengthismeasuredfromtheheadtothepoint (30mm screw shown)
ABC
DE F
8/30mmWoodendowelx18 6/30mmWoodendowelx6
Nailx55 Screwx32 9mmScrewx18
Spanner13mmx1
G
HJ
KLM
NR
S
Z
Largelockingnut x20
UT V
Nutx4 Washer x4 Self-adhesivecap x6
I
Smalllockingnutx12 Knobx5 Plasticdowelx14
20mmScrewx12 RunnerleftA x3 RunnerleftB x3
RunnerrightB x3 RunnerrightA x3
22mmBoltx5
13mmScrewx6
Shelf support x4
P
O
X
Washer x1
Y
12mmScrewx1
Wallstrap(12x145)x1
Lowerslidingfittingx4 Upperslidingfittingx4
16mmScrewx28
Y1
Y2 Y3
Step 1
Step 2
4
U
6
4
Repeatassembly forthe
remaining legs.
InsertscrewsEintothe
drilledholesofthebasa4
andtoppanel3andfix
them.
Preparationforthe
attaching of side
panels and vertical
partitionpanel
Insertscrewsintothe
drilledholesof the
baseandtoppanel
andfixthem
Attachinglegs
Positionthelegas
shownonthepicture,
placethe washer and
fixthe nutTusingthe
spanner.
6
43
T
AssemblyInstructions
U
E
T
T
6
4
E
E
43
EE
5
Step 4
1
1
Side panels and
vertical partitionpanel
assembly
Top panel assembly
InsertwoodendowelsB
Intotheholesinside
panels1,andvertical
partitionpanel18 .
Placethe toppanel3
ontothesidepanels,
.andverticalpartition
panel18.
Insertlargelockingnuts
Gintothedrilledholes
in sidepanels,and
verticalpartitionpanel
18andturnclockwise
tolock.
Step 3
InsertwoodendowelsB
intothedrilledholesin
sidepanels,and
verticalpartitionpanel
18andplacetheside
panels1,andvertical
partitionpanel18onto
the base4.
Insertlargelockingnuts
Gintothedrilledholesin
sidepanels,and
verticalpartitionpanel
18andturn them
clockwisetolock.
1
4
1
1
B
3
B
G
G
AssemblyInstructions
18
118
18
18
18
18
B
G
B
B
G
18
1
4
G
BB
G
B
2
2
2
2
2
2
2
4
18
1
2
3
2
6
Step 5
AssemblyInstructions
Step 6
Note: Youmustensure
the sideboardis
squarebefore attaching
the backpanel.
5
20
20
1
3
D
D
Attaching back panel
Positionbackpanels,
inpositionontheback of
sideboard.Positionnails
5mminfromsideedgeof
thebackpanels,with
distance100mmbetween
eachother.Fixthem using
thehammer.
5
5
20
20
Positionleftrunnerand
rightrunnerontothe
drilledholesoftheside
panelsandvertical
partitionpanel .
Fixthroughholesshown
usingscrews .
Fix the runners ,using
screws .
ZRL
F
L
R
Attaching runners
18
2
L
18
R
F
L
F
RF
ZF
L
1
1
D
D
77
Stickthe self-adhesive
capsVontothe holesas
shownonthepicture.
v
AssemblyInstructions
V
G
Step 7
Step 8
218
V
1
Fixing to wall
Itisrecomendedthatthe
sideboardisfixed toa
wall.
Markfixingholeontowall.
Drillaholeandinserta
suitablewallplug.Fixwall
strapusingasuitable
screw.
Warning:
Beforedrilling,
checkwallfor
hiddenpipes and
cables.
Withhelp,movesideboard
intoposition.
Fixwallstrapto topof
wardrobeusing screw
andunderlay .
X
X
OYNote: Wallfixingsarenot
suppliedwiththisunit.
Thecorrecttypeoffixing must
beusedforyourwall, seek
professionaladviceifindoubt.
X
X
Y
O
X
E
J
J
E
J
J
J
J
C
C
Drawerassembly
a: Insertscrewsinto
drawer fronts,.
b: Insertwooden dowels
intoleftandright
drawer sides, , , .
c: Insertplasticdowels
intoleftdrawer
side,anddrawer back
,andfixittogether
usingthehammer.
d: Insertplasticdowels
intorightdrawer
side,anddrawer back
,andfixittogether
usingthehammer.
a:
b:
c:
d:
f:
e:
e: Slidedrawerbase
intothegrooves.
f: Placedrawerfront,
ontosides.
continuedon nextpage
8
10
8
7
9
7
7
8
9
9
9
7
7
8
8
12
12
10
10
7 8
8
9
9
7
11
12
AssemblyInstructions
E
Step 9
11
11
21
21
22
22
21
23
23
23
11
21
22
22
21
23
21 22
21
23
21
23
10
9
H
K
N
MK
N
M
K
K
K
H
S
g: Aligncorrectly and
insertsmalllockingnuts
intoleftandright
drawer sides
andturnthemclockwise
tolock.
h: Positionleftandright
runners,on
toleftandrightdrawer
sides, fix using
screws.
i: Attachknob
todrawerfronts
usingbolt.
Repeatassembly for
the remaining drawers.
h:
g:
i:
7
8
9
12
10
7 8
7 8
Step9-continued
I
AssemblyInstructions
I
S
11
23
21
22
21 22
21 22
10 11
Step10
Preparation for the
attaching ofbraces E
Insertscrewsintothe
drilledholesof theshelf
andfixthem
13
E13
P
P
13
10
AssemblyInstructions
Placing shelf
Positionshelfsupports
andplacetheshelf . P
13
Step11
Step12
Braces assembly
G
B
B
G
B
InsertwoodendowelsB
intothedrilledholesin
bracesandplace
themontothe shelf.
Insertlargelockingnuts
intothedrilledholesin
bracesandturn them
clockwisetolock.
13
24 24
24
24
13
B
G
11
AssemblyInstructions
19
15
Y2
Y1
Y1 Y1
Y1
Y2
Y3 Y3
Y2
Y3
Y1
Attaching sliding
fittings
Fittheupper and lower
.slidingfittingtodoor
panelwithscrew.
Donot tightenboth
fittingsfully!
Y3
Y2 15 19 Y1
Setting up the door
Startwithrightdoor.
Fit lowerslidingfitting
intothegrooveinthe
base,cover theupper
partof the door as
pictured,theninsertupper
slidingfitting intothe
grooveinthetoppanel
and tighten.
Y1 Y3
15
15
3
4
15Y2
415
Y3 3
Step13
Step14
12
AssemblyInstructions
Door adjusting
Followthepictures-adjust
thelevelofthedoor.
Oncethedooradjusted,
secure withscrews.
Repeatthesteps12and
13fortheleftdoor.
15
Y1
15
Y2 Y2
Y2 Y2
15
Y2
Y1
Y1
Y3
19
Step15
Step16
13
AssemblyInstructions
15 19
Backstop instalation
CAREFUL!Insertthe
woodendowelbintothe
backsideoftheleftdoor
19.
19
BB
19 15
B
19
Knob attaching
Attachknobto both
doorsusing bolt .
ISI
I
19 15
S
Step17
AssemblyInstructions
R
L
Inserting drawers
Insertthedrawers
movingupanddown as
shownandensure that
wheelsfitontoleftand
rightrunners, .
If you needhelporhave damagedor missingparts, call the Customer Helpline: 0845 077 8888
Home Retail GroupPlc, 489 -499 Avebury Boulevard, MiltonKeynes, MK9 2NW
Assembly is complete.
14
Step18

This manual suits for next models

1

Other Argos Indoor Furnishing manuals

Argos Messina Steel User manual

Argos

Argos Messina Steel User manual

Argos Foley 360/3679 Datasheet

Argos

Argos Foley 360/3679 Datasheet

Argos Dalton 246/6422 User manual

Argos

Argos Dalton 246/6422 User manual

Argos Solid Wood Storage Box User manual

Argos

Argos Solid Wood Storage Box User manual

Argos Atlas User manual

Argos

Argos Atlas User manual

Argos 244/9315 User manual

Argos

Argos 244/9315 User manual
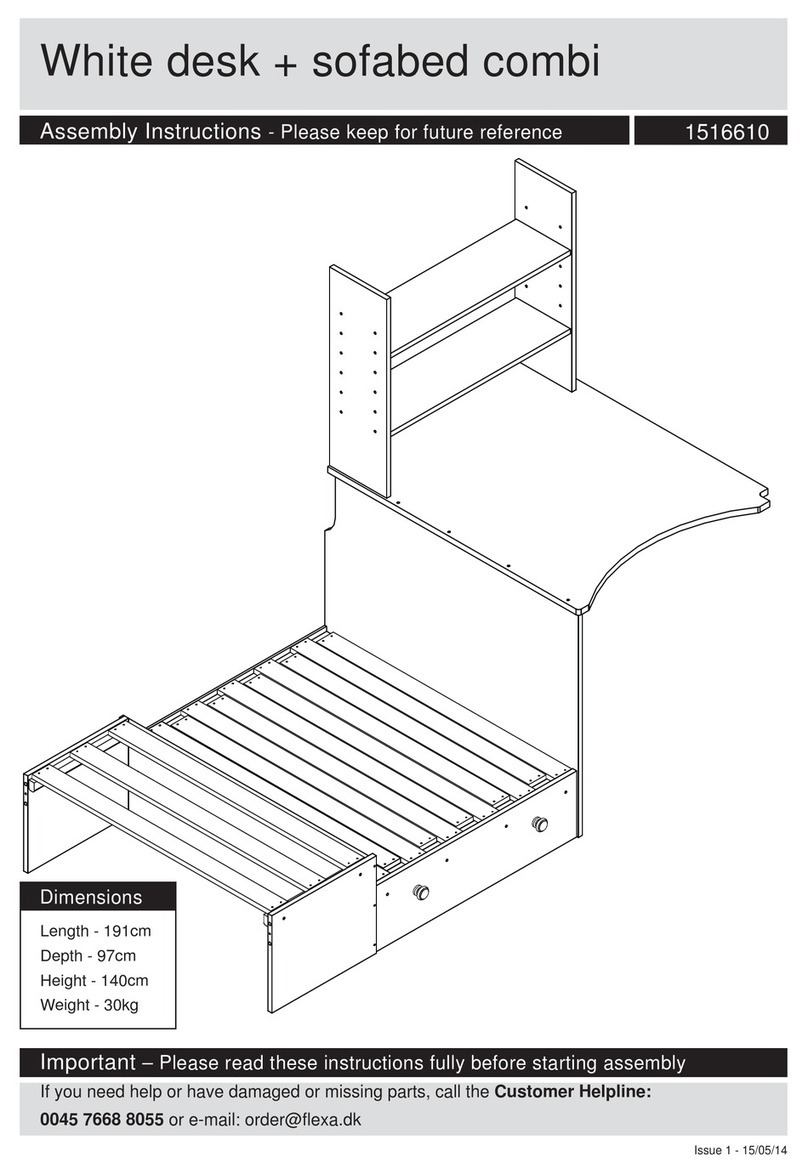
Argos Mia 8573429 User manual

Argos

Argos Mia 8573429 User manual

Argos Le Marais Double Unit Grey 502/6797 User manual

Argos

Argos Le Marais Double Unit Grey 502/6797 User manual

Argos 709/2592 User manual

Argos

Argos 709/2592 User manual

Argos Paolo 5432941 User manual

Argos

Argos Paolo 5432941 User manual

Argos Amy white bunk Trundle User manual

Argos

Argos Amy white bunk Trundle User manual

Argos Cheval 147/5634 User manual

Argos

Argos Cheval 147/5634 User manual

Argos Amersham 881/4968 User manual

Argos

Argos Amersham 881/4968 User manual

Argos Malibu 238/7154 User manual

Argos

Argos Malibu 238/7154 User manual

Argos 906/4638 User manual

Argos

Argos 906/4638 User manual

Argos Matrix Glass Nest Table User manual

Argos

Argos Matrix Glass Nest Table User manual

Argos 2FT6 Josie Shorty Bunk Bed 436/6733 User manual

Argos

Argos 2FT6 Josie Shorty Bunk Bed 436/6733 User manual

Argos 459/4598 User manual

Argos

Argos 459/4598 User manual

Argos AH MAINE 609/2555 User manual

Argos

Argos AH MAINE 609/2555 User manual

Argos ASTON 152/5546 User manual

Argos

Argos ASTON 152/5546 User manual

Argos Jenson 937/8032 User manual

Argos

Argos Jenson 937/8032 User manual

Argos Nordic 4x2 Drawer Chest User manual

Argos

Argos Nordic 4x2 Drawer Chest User manual

Argos Adult Malibu 532/9717 User manual

Argos

Argos Adult Malibu 532/9717 User manual

Argos Islington Installation guide

Argos

Argos Islington Installation guide

Popular Indoor Furnishing manuals by other brands

Regency LWMS3015 Assembly instructions

Regency

Regency LWMS3015 Assembly instructions

Furniture of America CM7751C Assembly instructions

Furniture of America

Furniture of America CM7751C Assembly instructions

Safavieh Furniture Estella CNS5731 manual

Safavieh Furniture

Safavieh Furniture Estella CNS5731 manual

PLACES OF STYLE Ovalfuss Assembly instruction

PLACES OF STYLE

PLACES OF STYLE Ovalfuss Assembly instruction

Trasman 1138 Bo1 Assembly manual

Trasman

Trasman 1138 Bo1 Assembly manual

Costway JV10856 manual

Costway

Costway JV10856 manual

moss DESIGN Caisson Credenza Assembly instructions

moss DESIGN

moss DESIGN Caisson Credenza Assembly instructions

Aquaglide FULL DECK 15.0 owner's manual

Aquaglide

Aquaglide FULL DECK 15.0 owner's manual

AREBOS AR-HE-SW30 user manual

AREBOS

AREBOS AR-HE-SW30 user manual

Till-Hilft Fulda 87005.330 Assembly instructions

Till-Hilft

Till-Hilft Fulda 87005.330 Assembly instructions

Twoey Outside 2010 quick start guide

Twoey Outside

Twoey Outside 2010 quick start guide

Hettich Easys 200 operating instructions

Hettich

Hettich Easys 200 operating instructions

The bedboss RELAX 404 Series owner's manual

The bedboss

The bedboss RELAX 404 Series owner's manual

Oeseder Möbelindustrie Bern 991 720 Assembly instructions

Oeseder Möbelindustrie

Oeseder Möbelindustrie Bern 991 720 Assembly instructions

Costway HW68469 user manual

Costway

Costway HW68469 user manual

Next ALIX A27743 Assembly instructions

Next

Next ALIX A27743 Assembly instructions

BROSA Hans Assembly guide

BROSA

BROSA Hans Assembly guide

Prodigg MINIKA PBA015T-FUR installation manual

Prodigg

Prodigg MINIKA PBA015T-FUR installation manual

manuals.online logo
manuals.online logoBrands
  • About & Mission
  • Contact us
  • Privacy Policy
  • Terms and Conditions

Copyright 2025 Manuals.Online. All Rights Reserved.