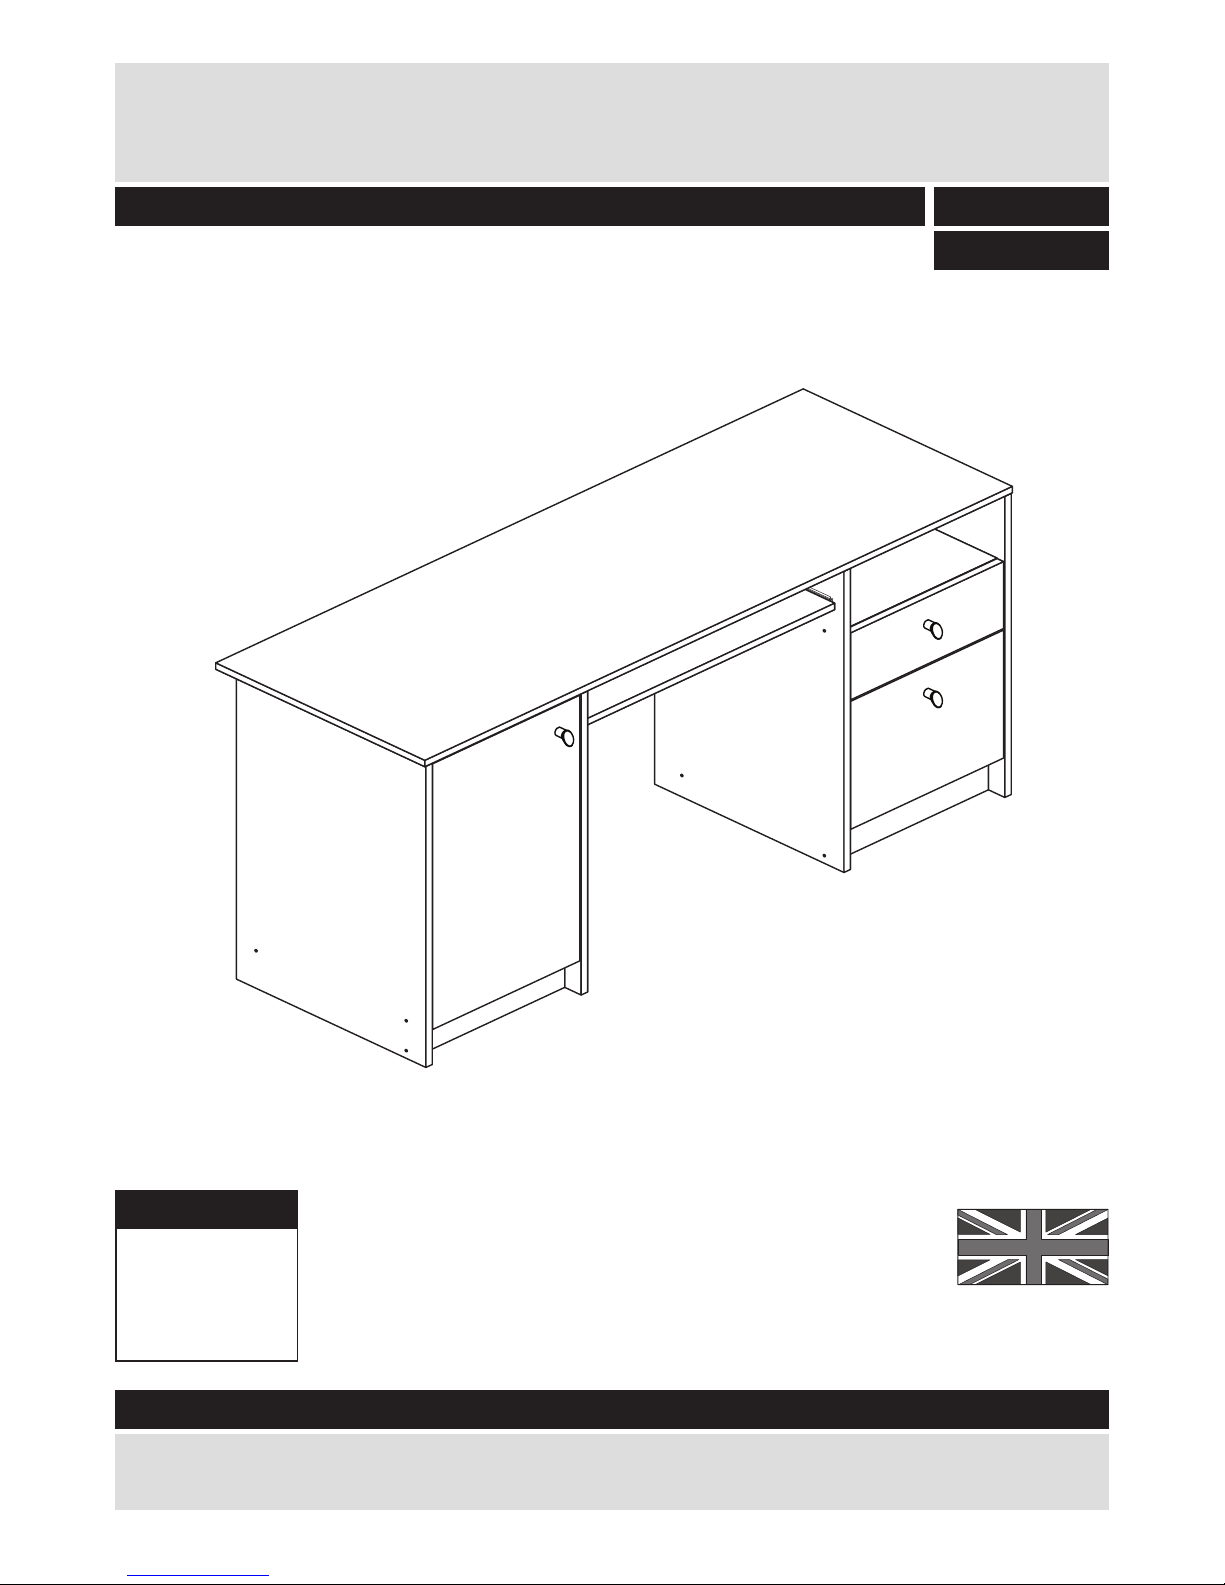
Argos Malibu User manual
Other Argos Indoor Furnishing manuals

Argos
Argos Calgary 476/7978 User manual

Argos
Argos 0845 6400800 User manual

Argos
Argos 06006170 User manual

Argos
Argos 464/4084 User manual

Argos
Argos Tolga 497/2309 User manual

Argos
Argos Fairfield 852/5800 User manual

Argos
Argos Curve 377/3530 User manual

Argos
Argos Star 7607729 User manual

Argos
Argos 456/2764 User manual

Argos
Argos Scandinavia 630/2001 User manual

Argos
Argos New Hallingford 346/9727 User manual

Argos
Argos Amy white bunk Trundle User manual

Argos
Argos 900/2566 User manual

Argos
Argos Malibu 256/0029 User manual

Argos
Argos Malibu 259/7937 User manual

Argos
Argos Atlas 157/3309 User manual

Argos
Argos New Charlie TV Unit User manual

Argos
Argos Habitat Thornbury 343766 User manual

Argos
Argos Anderson Coffee Table 290/8021 User manual

Argos
Argos Marcell 4ft6 Frame User manual


Popular Indoor Furnishing manuals by other brands


Coaster
Coaster 4799N Assembly instructions

Stor-It-All
Stor-It-All WS39MP Assembly/installation instructions

Lexicon
Lexicon 194840161868 Assembly instruction

Next
Next AMELIA NEW 462947 Assembly instructions

impekk
impekk Manual II Assembly And Instructions

Elements
Elements Ember Nightstand CEB700NSE Assembly instructions