LMB-25 OVERVIEW
4
5
3
7
9
2
6
10
11
1
8
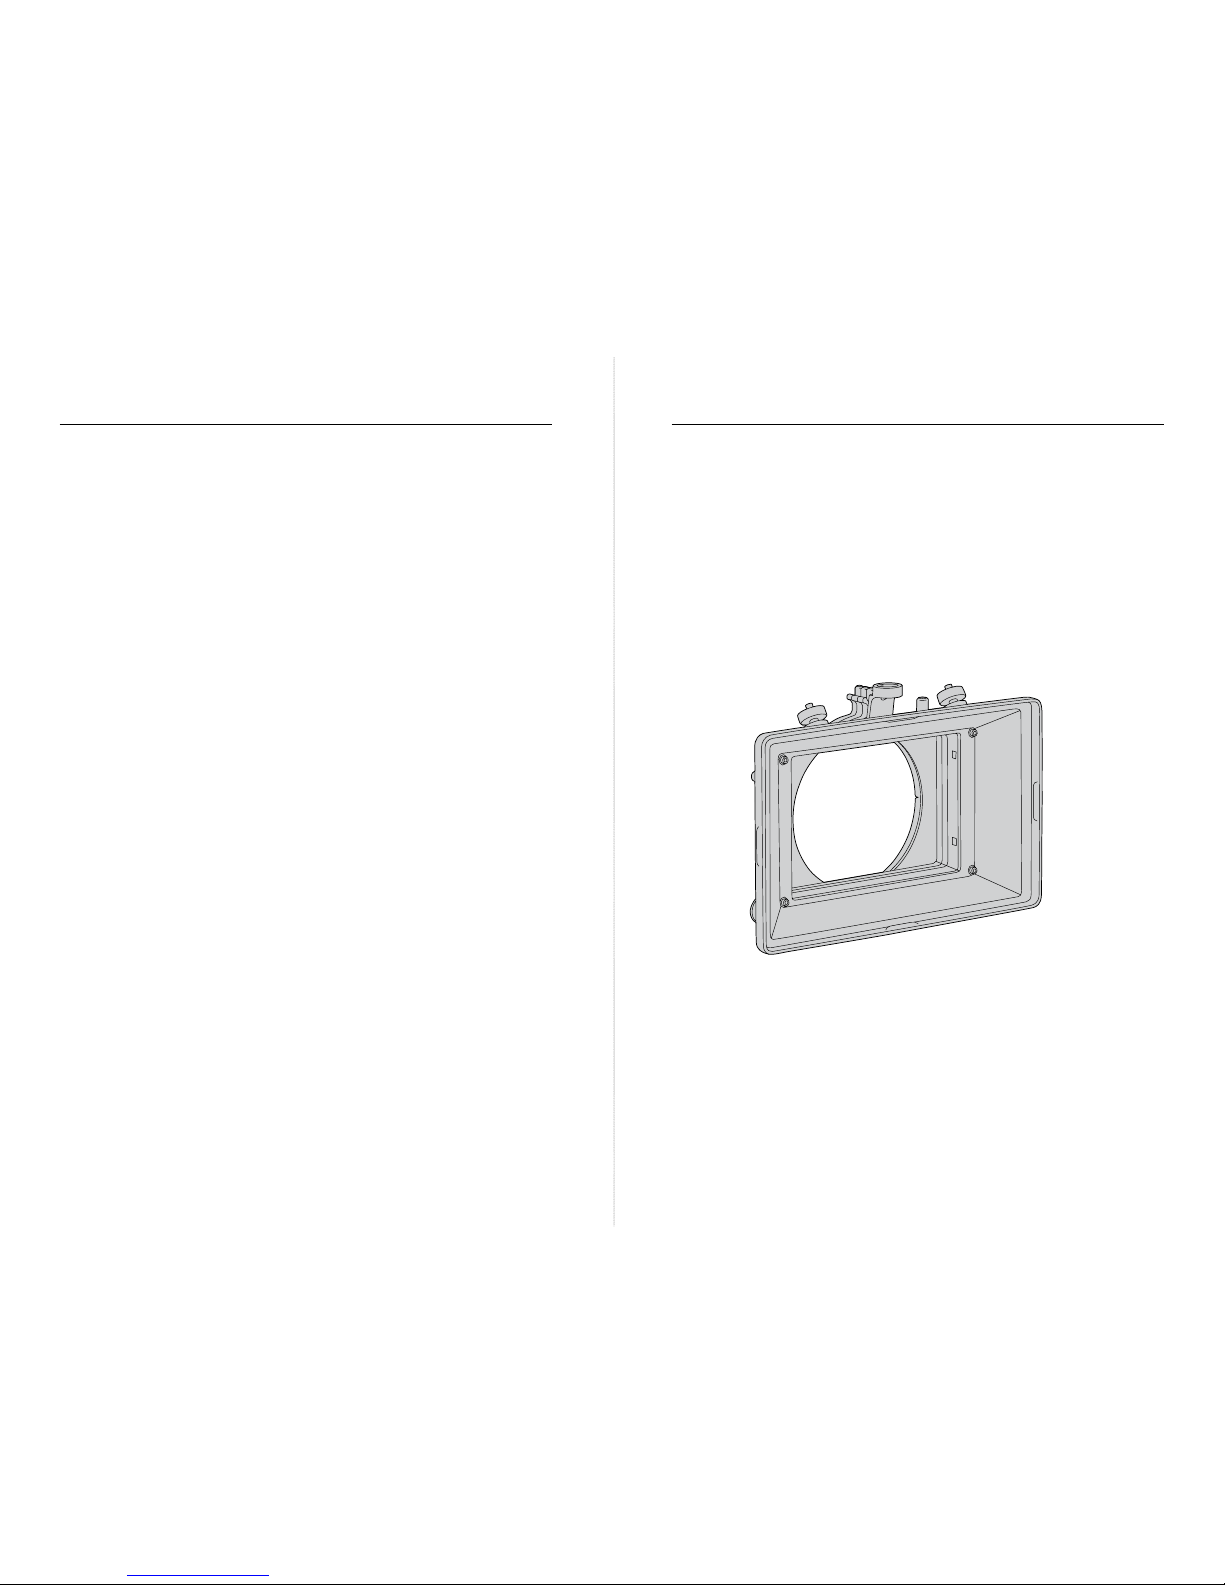
MAIN UNIT
1 LMB-25 Basic Module ...................... K2.66177.0
Includes pair top/bottom flag holders (K2.66179.0)
ACCESSORIES
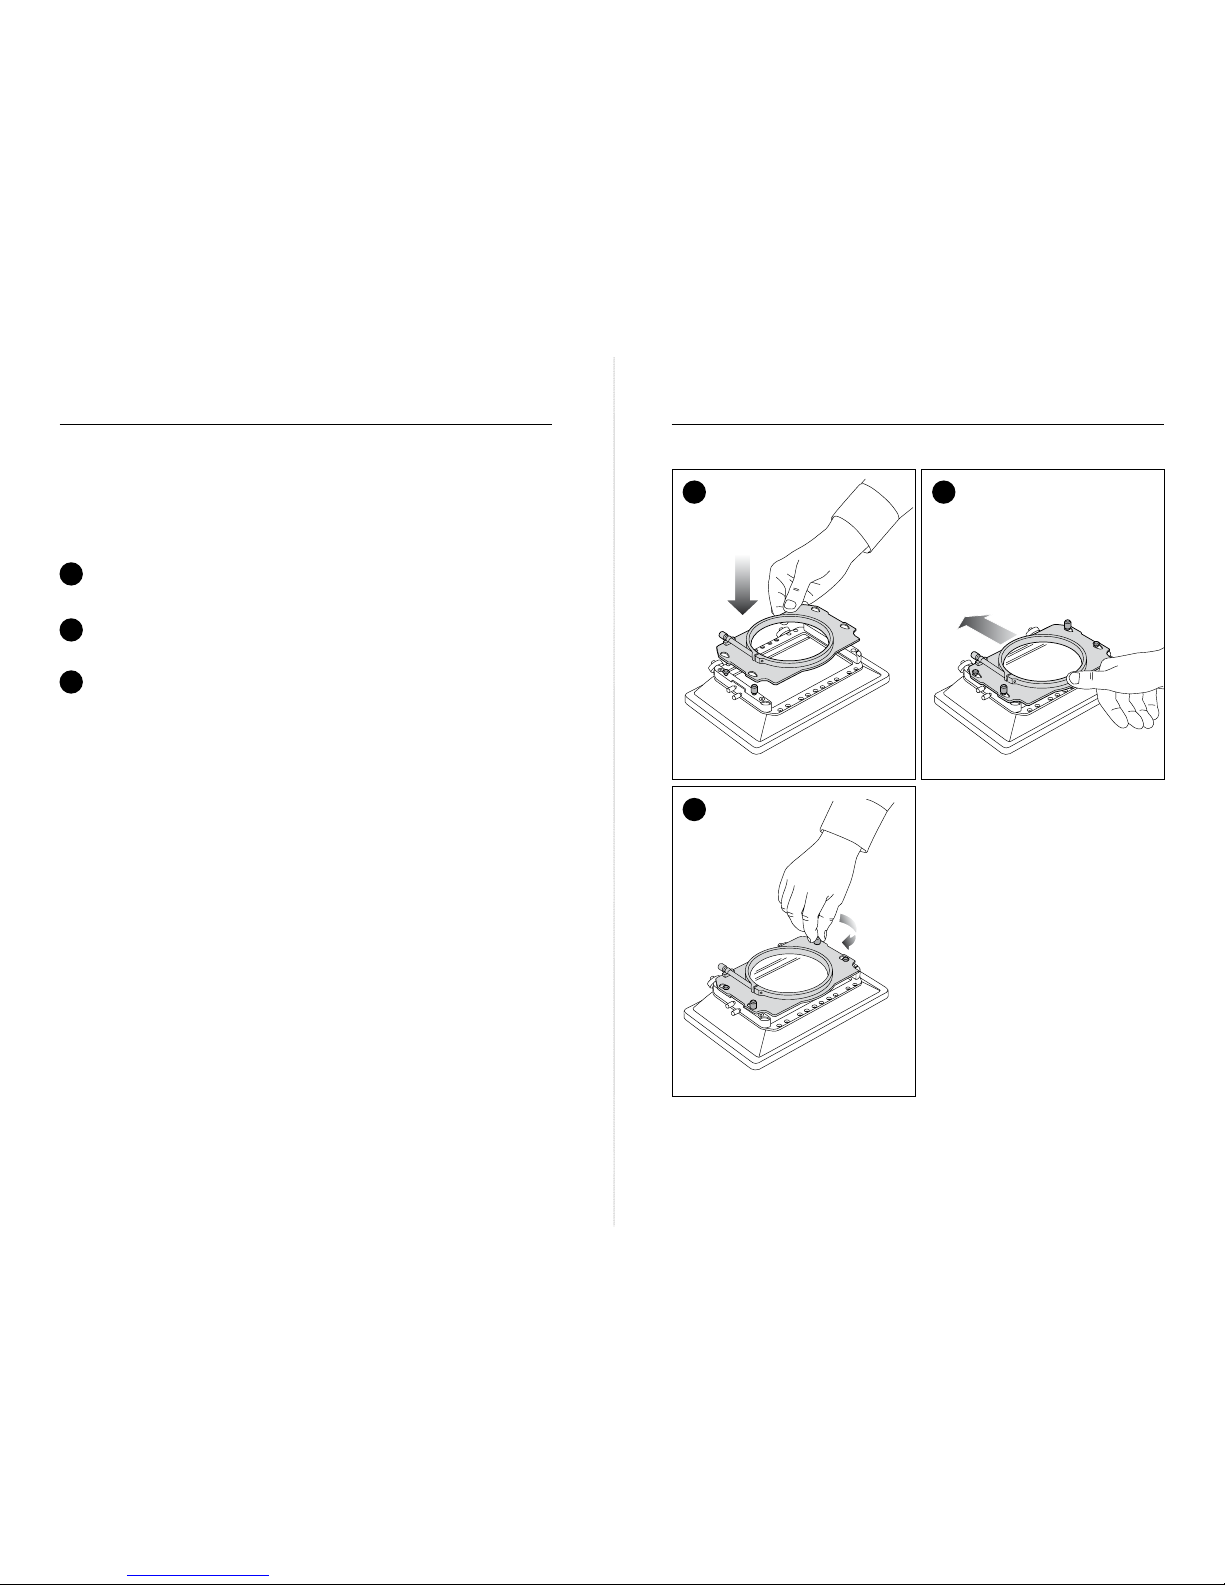
2 2-Filter Stage Guide ........................ K2.66176.0
3 3-Filter Stage Guide ........................ K2.66175.0
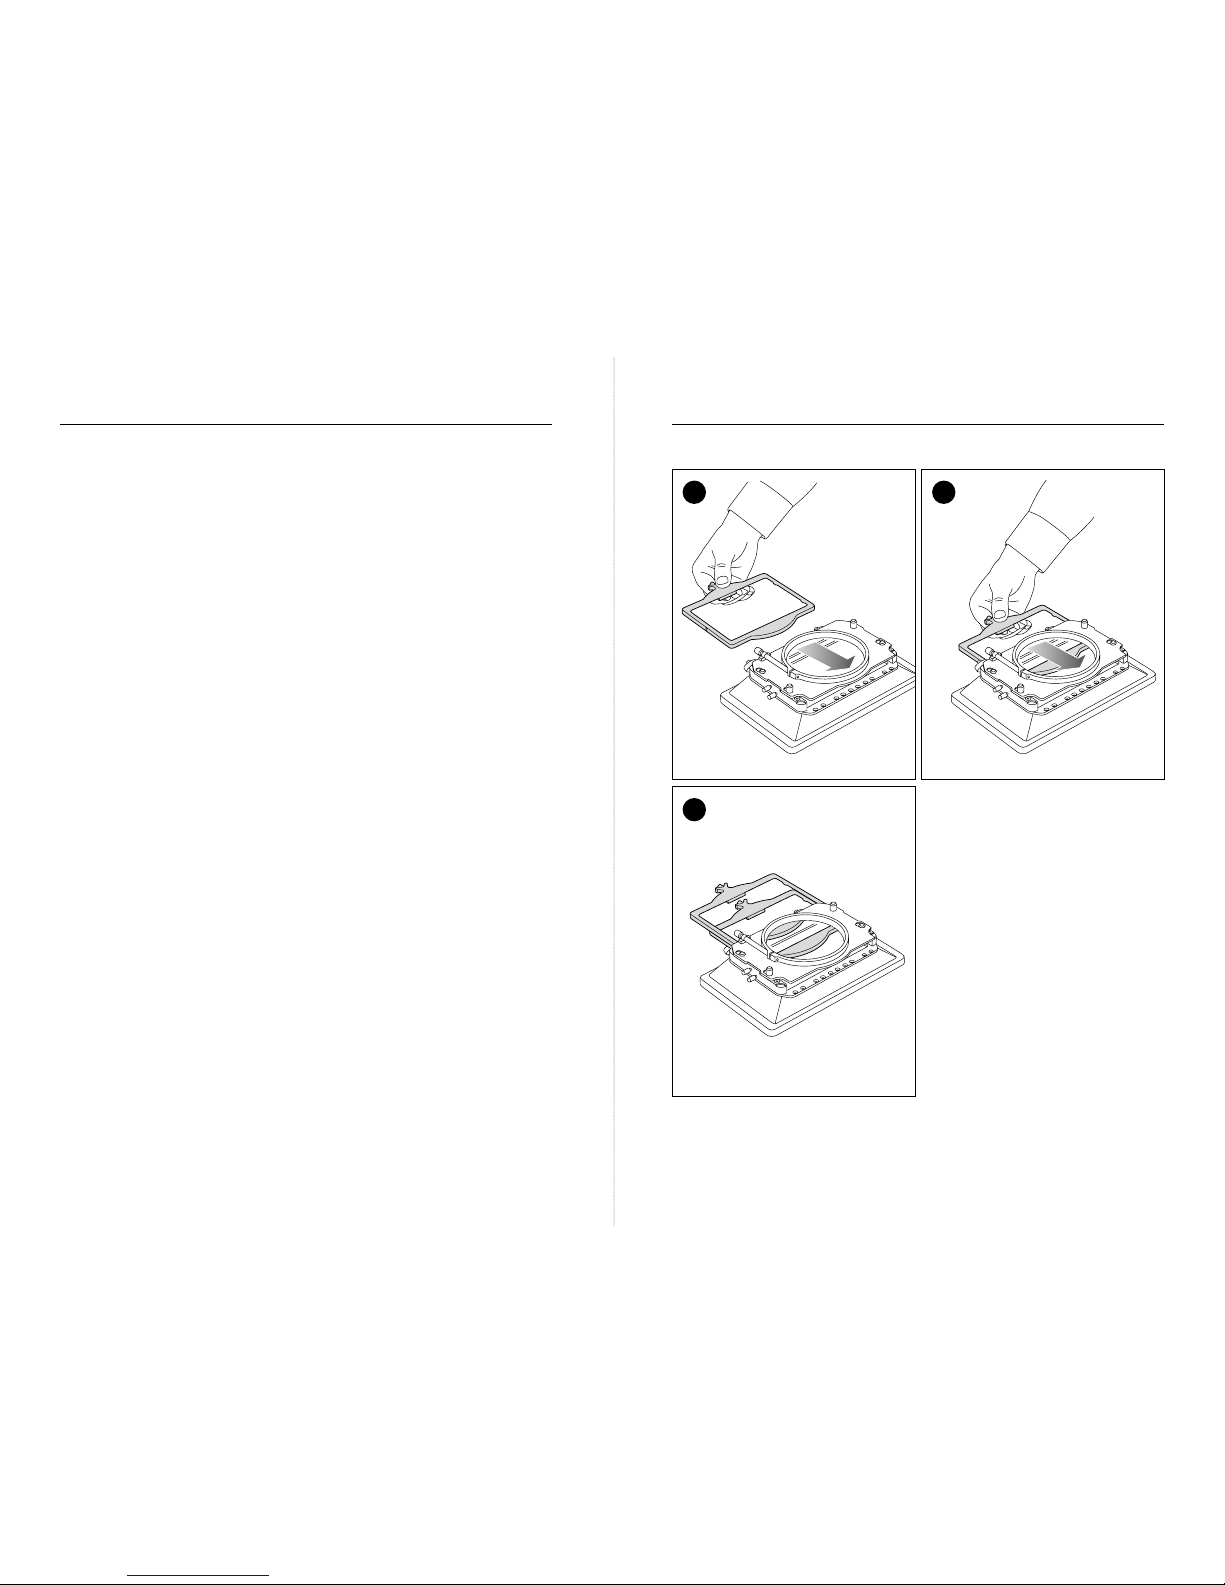
4 Filter Frame 4“ x 5.65“ / 4“ x 4“ ............... K2.66133.0
5 Filter Frame 5“ x 5“ ........................ K2.65183.0
6 Light Shield ............................... K2.47244.0
7 Top/Bottom Flag Holders (pair) ................ K2.66179.0
8 3/8“ Accessory Attachment .................. K2.66178.0
9 Tray Catcher .............................. K2.66202.0
10 Set of Masks for LMB-25 (5x) ................. K2.66022.0
11 LMB-5/15/25 Clamp Adapters - All cross compatible
n Clamp Adapter Ø 143mm .................. K2.65223.0
(Compatible with R9 Clamp-On Rings)
n Clamp Adapter Ø 136mm .................. K2.66218.0
n Clamp Adapter Ø 134mm .................. K2.66217.0
n Clamp Adapter Ø 130mm .................. K2.65103.0
(Compatible with R7 Clamp-On Rings)
n Clamp Adapter Ø 125mm .................. K2.66219.0
n Clamp Adapter Ø 114mm .................. K2.47240.0
n Clamp Adapter Ø 110mm .................. K2.52097.0
n Clamp Adapter Ø 104mm .................. K2.47253.0
n Clamp Adapter Ø 95mm ................... K2.47241.0
n Clamp Adapter Ø 87mm ................... K2.47242.0
n Clamp Adapter Ø 80mm ................... K2.47243.0
COMPATIBLITY
The LMB-25 is compatible with various existing ARRI
filter frames, filter stage guides and clamp adapters.
* Filter Frame 4“ x 5.65“ / 4“ x 4“ ............. K2.66133.0
* Filter Frame 4“x 4“ ....................... K2.47104.0
* LMB-15 Matte Set (4x) HD 16x9 and 16mm .... K2.66021.0
* LMB-15 Matte Set (4x) 35mm ............... K2.66022.0
9
* Discontinued items. Not available for sale from ARRI.
* Item has been updated while carrying on the same item number.
87
*
*