manuals.online logo
Brands
  1. Home
  2. •
  3. Brands
  4. •
  5. Assa Abloy
  6. •
  7. Lock
  8. •
  9. Assa Abloy Corbin Russwin FE6800 Series User manual

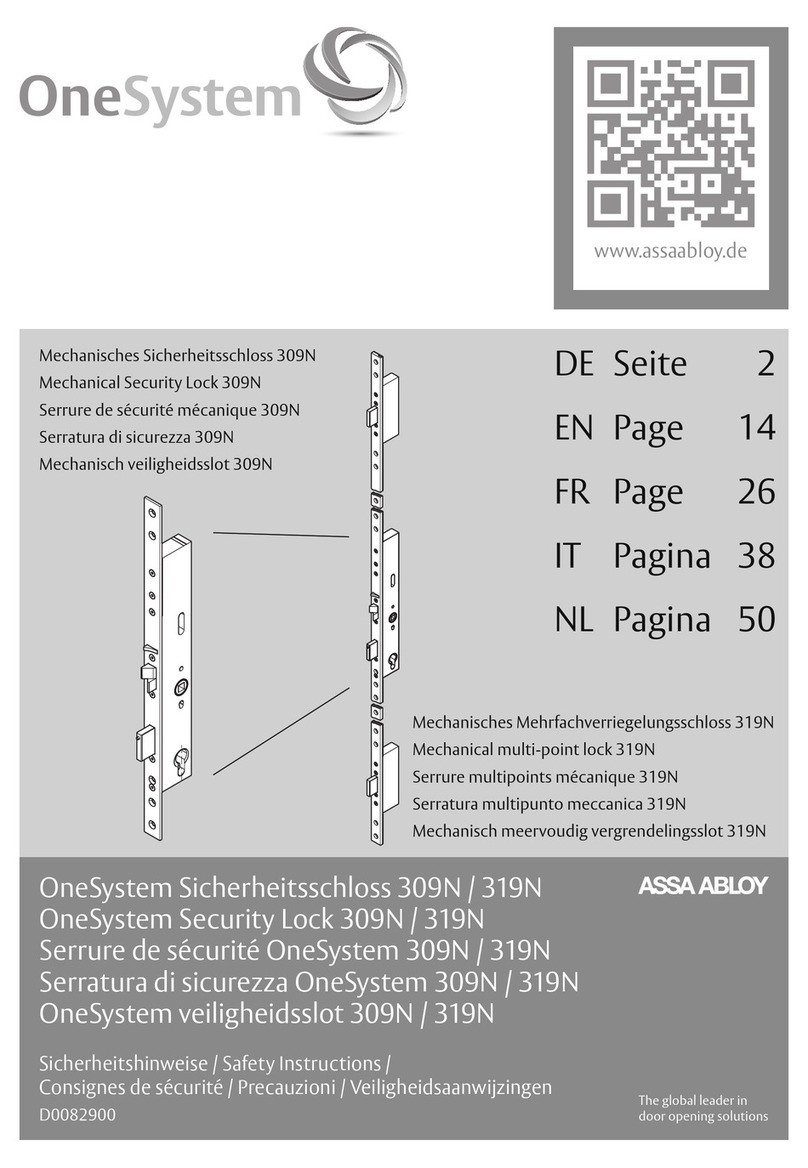
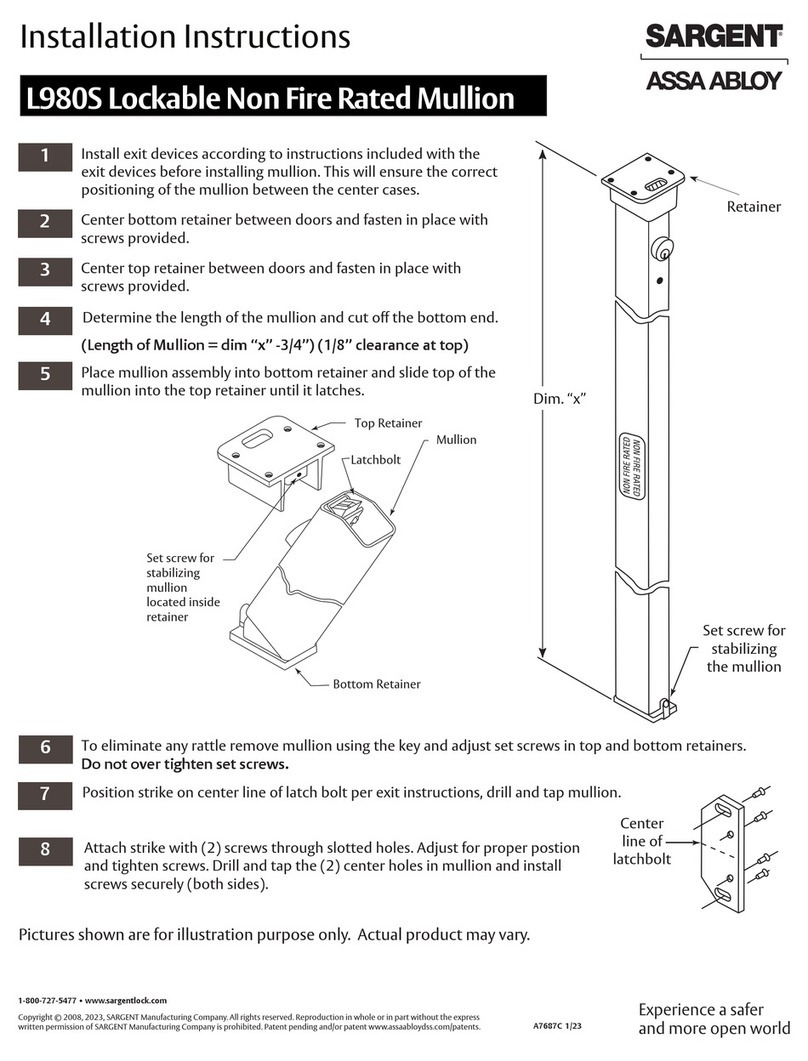
Assa Abloy Corbin Russwin FE6800 Series User manual

FM276 03/22
Installation Instructions
FE6800 Series
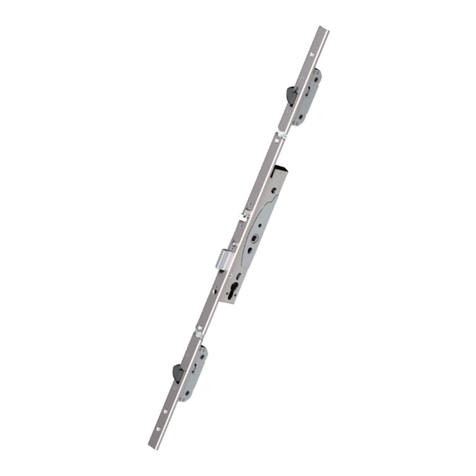
Multi-Point Lock
For installation assistance contact Corbin Russwin
1-800-543-3658 • techsupport.corbinrusswin@assaabloy.com
Copyright © 2016, 2022, ASSA ABLOY Access and Egress Hardware Group, Inc. All rights reserved. Reproduction in whole
or in part without the express written permission of ASSA ABLOY Access and Egress Hardware Group, Inc. is prohibited.
RH Door Shown
RIGHT HAND (RH) RIGHT HAND REVERSE (RHR) LEFT HAND REVERSE (LHR)
LEFT HAND (LH)
INSIDE
OUTSIDE
INSIDE
OUTSIDE
INSIDE
OUTSIDE
INSIDE
OUTSIDE
2
FE6800 Series
Installation Instructions
Multi-Point Lock
FM276 03/22
For installation assistance contact Corbin Russwin
1-800-543-3658 • techsupport.corbinrusswin@assaabloy.com
Copyright © 2016, 2022, ASSA ABLOY Access and Egress Hardware Group, Inc. All rights reserved. Reproduction in whole
or in part without the express written permission of ASSA ABLOY Access and Egress Hardware Group, Inc. is prohibited.
Tools Needed
1
This device is intended to be part of an integrated door, frame and hardware assembly UL-approved for both FEMA P-361
(2014), FEMA P-320 (2015) & ICC 500 (2014) guidelines for both in-swing and out-swing doors.
Mounting Hardware (Full Scale)
2
(3)
Flat Head Hex Socket
12-24x1"
(10)
Flat Head He x Socket
1/4-20x1"
(4)
Oval Head Phillips
12-24x1 1/2"
(2)
Flat Head Socket
5/16-18x1”
(2)
Drive Pin
(1 Spare)
(2)
Drop-in
Anchor
5/32 Hex5/64 Hex 3/16 He
x
1/8 Hex
Supplied:
Flat
Head
Phillips
Head Marker Chisel Drill
Tape Measure
Anchor
Set Tool Flashlight Mallot
Hollow
Tip Dr iver
9/16" &11/16"
Wrench
Required:
(2)
Push-on
Retaining
Ring
(1 Spare)
3
Installation Instructions
FE6800 Series
Multi-Point Lock
FM276 03/22
For installation assistance contact Corbin Russwin
1-800-543-3658 • techsupport.corbinrusswin@assaabloy.com
Copyright © 2016, 2022, ASSA ABLOY Access and Egress Hardware Group, Inc. All rights reserved. Reproduction in whole
or in part without the express written permission of ASSA ABLOY Access and Egress Hardware Group, Inc. is prohibited.
Verify Handing
3
Right Hand Door Shown
Left Hand Door Shown
INSIDE OUTSIDE
Verify Door Dimensions
4
LOCK IN condition can occur and EMERGENCY EGRESS will be prevented if critical dimensions are not met.
Device will not operate, if door cutouts are not within the dimensions below.
Right Hand Door Shown
42" - 42-3/4"
40 41 42 43 44 45 46
37-1/2" - 38-1/4"
36 37 38 39 40 41 42 43
INSIDE OUTSIDE
4
FE6800 Series
Installation Instructions
Multi-Point Lock
FM276 03/22
For installation assistance contact Corbin Russwin
1-800-543-3658 • techsupport.corbinrusswin@assaabloy.com
Copyright © 2016, 2022, ASSA ABLOY Access and Egress Hardware Group, Inc. All rights reserved. Reproduction in whole
or in part without the express written permission of ASSA ABLOY Access and Egress Hardware Group, Inc. is prohibited.
Install Deadbolt Assembly
5
Deadbolt must be retracted before moving to
the next step.
(2)
Flat Head Hex Socket
1/4-20x1" Right Hand Door Shown
FM7100
Install Bottom Bolt Assembly
6
(3)
Flat Head Hex Socket
12-24x1"
2
1
Right Hand Door Shown
FM7100
5
Installation Instructions
FE6800 Series
Multi-Point Lock
FM276 03/22
For installation assistance contact Corbin Russwin
1-800-543-3658 • techsupport.corbinrusswin@assaabloy.com
Copyright © 2016, 2022, ASSA ABLOY Access and Egress Hardware Group, Inc. All rights reserved. Reproduction in whole
or in part without the express written permission of ASSA ABLOY Access and Egress Hardware Group, Inc. is prohibited.
Align Bottom Bolt Assembly
7
1
3
Right Hand Door Shown
UP
DOWN
2OR 2
PUSH
PUSH
FM7100
6
FE6800 Series
Installation Instructions
Multi-Point Lock
FM276 03/22
For installation assistance contact Corbin Russwin
1-800-543-3658 • techsupport.corbinrusswin@assaabloy.com
Copyright © 2016, 2022, ASSA ABLOY Access and Egress Hardware Group, Inc. All rights reserved. Reproduction in whole
or in part without the express written permission of ASSA ABLOY Access and Egress Hardware Group, Inc. is prohibited.
Prep Top Assembly
8
5
Right Hand Door Shown
MARK
CLOSEST HOLE
LA Y TOP ROD
ON DOOR
1
4
2
THREAD ON FULLY
AND TIGHTEN 3
IMPORTANT
!
7
Installation Instructions
FE6800 Series
Multi-Point Lock
FM276 03/22
For installation assistance contact Corbin Russwin
1-800-543-3658 • techsupport.corbinrusswin@assaabloy.com
Copyright © 2016, 2022, ASSA ABLOY Access and Egress Hardware Group, Inc. All rights reserved. Reproduction in whole
or in part without the express written permission of ASSA ABLOY Access and Egress Hardware Group, Inc. is prohibited.
Install Top Assembly
9
Right Hand Door Shown
FM7100
FM7100
(2)
Flat Head Socket
5/16-18x1”
8
FE6800 Series
Installation Instructions
Multi-Point Lock
FM276 03/22
For installation assistance contact Corbin Russwin
1-800-543-3658 • techsupport.corbinrusswin@assaabloy.com
Copyright © 2016, 2022, ASSA ABLOY Access and Egress Hardware Group, Inc. All rights reserved. Reproduction in whole
or in part without the express written permission of ASSA ABLOY Access and Egress Hardware Group, Inc. is prohibited.
Align Top & Bottom Pinning Holes
10
1
2
Right Hand Door Sho wn
GO TO STEP 11
GO TO STEP 10a OR 10b
PUSH
Bottom
Rod
Top
Rod
FM7100
9
Installation Instructions
FE6800 Series
Multi-Point Lock
FM276 03/22
For installation assistance contact Corbin Russwin
1-800-543-3658 • techsupport.corbinrusswin@assaabloy.com
Copyright © 2016, 2022, ASSA ABLOY Access and Egress Hardware Group, Inc. All rights reserved. Reproduction in whole
or in part without the express written permission of ASSA ABLOY Access and Egress Hardware Group, Inc. is prohibited.
Adjust Misaligned Pinning Holes Up
10a
1
2
Right Hand Door Sho wn
PUSH
=
3 4
GO TO STEP 11
Bottom
Rod
Top
Rod
FM7100
10
FE6800 Series
Installation Instructions
Multi-Point Lock
FM276 03/22
For installation assistance contact Corbin Russwin
1-800-543-3658 • techsupport.corbinrusswin@assaabloy.com
Copyright © 2016, 2022, ASSA ABLOY Access and Egress Hardware Group, Inc. All rights reserved. Reproduction in whole
or in part without the express written permission of ASSA ABLOY Access and Egress Hardware Group, Inc. is prohibited.
Adjust Misaligned Pinning Holes Down
10b
4
=
3
1
2
Right Hand Door Shown
PUSH
Bottom
Rod
Top
Rod
GO TO STEP 11
FM7100
11
Installation Instructions
FE6800 Series
Multi-Point Lock
FM276 03/22
For installation assistance contact Corbin Russwin
1-800-543-3658 • techsupport.corbinrusswin@assaabloy.com
Copyright © 2016, 2022, ASSA ABLOY Access and Egress Hardware Group, Inc. All rights reserved. Reproduction in whole
or in part without the express written permission of ASSA ABLOY Access and Egress Hardware Group, Inc. is prohibited.
Pin Three Assemblies
11
12
Right Hand Door Sho wn
(1)
Drive Pin
(1)
Push-on
Retaining
Ring
INSIDE OUTSIDE
FM7100
FM7100
Mount Door to Frame
12
TO FRAME
Right Hand
Door Shown
Do not trim
door if door
rubs along
floor!
!
FM7100
12
FE6800 Series
Installation Instructions
Multi-Point Lock
FM276 03/22
For installation assistance contact Corbin Russwin
1-800-543-3658 • techsupport.corbinrusswin@assaabloy.com
Copyright © 2016, 2022, ASSA ABLOY Access and Egress Hardware Group, Inc. All rights reserved. Reproduction in whole
or in part without the express written permission of ASSA ABLOY Access and Egress Hardware Group, Inc. is prohibited.
Check for Hold Open
13
3
2
1
GO B ACK TO
PUSH
GO TO STEP 14
FM7100
FM7100
FM7100
1
13
Installation Instructions
FE6800 Series
Multi-Point Lock
FM276 03/22
For installation assistance contact Corbin Russwin
1-800-543-3658 • techsupport.corbinrusswin@assaabloy.com
Copyright © 2016, 2022, ASSA ABLOY Access and Egress Hardware Group, Inc. All rights reserved. Reproduction in whole
or in part without the express written permission of ASSA ABLOY Access and Egress Hardware Group, Inc. is prohibited.
Adjust Device
14
1
3x
2
=
!
Hand
Tighten
Device Must
Be In HOLD
OPEN Before
Adjusting
Device
!
Must
Rotate
Exactly 3
Re volutions
!
14
FE6800 Series
Installation Instructions
Multi-Point Lock
FM276 03/22
For installation assistance contact Corbin Russwin
1-800-543-3658 • techsupport.corbinrusswin@assaabloy.com
Copyright © 2016, 2022, ASSA ABLOY Access and Egress Hardware Group, Inc. All rights reserved. Reproduction in whole
or in part without the express written permission of ASSA ABLOY Access and Egress Hardware Group, Inc. is prohibited.
Trigger Device & Final Check
15
2
PUSH
3
GO B ACK TO STEP 14 GO B ACK TO STEP 14
PUSH
FM7100
FM7100
FM7100
FM7100
1
15
Installation Instructions
FE6800 Series
Multi-Point Lock
FM276 03/22
For installation assistance contact Corbin Russwin
1-800-543-3658 • techsupport.corbinrusswin@assaabloy.com
Copyright © 2016, 2022, ASSA ABLOY Access and Egress Hardware Group, Inc. All rights reserved. Reproduction in whole
or in part without the express written permission of ASSA ABLOY Access and Egress Hardware Group, Inc. is prohibited.
Assemble Cylinder into Outside Trim
16
Mount Outside and Inside Trim
17
TRIM
(4)
Oval Head Phillips
12-24x1 1/2"
INSIDE OUTSIDE
16
FE6800 Series
Installation Instructions
Multi-Point Lock
FM276 03/22
For installation assistance contact Corbin Russwin
1-800-543-3658 • techsupport.corbinrusswin@assaabloy.com
Copyright © 2016, 2022, ASSA ABLOY Access and Egress Hardware Group, Inc. All rights reserved. Reproduction in whole
or in part without the express written permission of ASSA ABLOY Access and Egress Hardware Group, Inc. is prohibited.
Install Top Latch into Door Frame
18
Attach Deadbolt Strike Plate to Frame
19
(4)
Flat Head Hex Socket
1/4-20x1"
FM7100
(2)
Flat Head Hex Socket
1/4-20x1"
FM7100
17
Installation Instructions
FE6800 Series
Multi-Point Lock
FM276 03/22
For installation assistance contact Corbin Russwin
1-800-543-3658 • techsupport.corbinrusswin@assaabloy.com
Copyright © 2016, 2022, ASSA ABLOY Access and Egress Hardware Group, Inc. All rights reserved. Reproduction in whole
or in part without the express written permission of ASSA ABLOY Access and Egress Hardware Group, Inc. is prohibited.
Prepare Floor for Bottom Strike
20
2
1-1/8" Dia.
x 7/8" Deep
3
1
(2)
Flat Head Hex Socket
1/4-20x1"
c
1 2
e
1 2
d
b
9
12
a
18
FE6800 Series
Installation Instructions
Multi-Point Lock
FM276 03/22
For installation assistance contact Corbin Russwin
1-800-543-3658 • techsupport.corbinrusswin@assaabloy.com
Copyright © 2016, 2022, ASSA ABLOY Access and Egress Hardware Group, Inc. All rights reserved. Reproduction in whole
or in part without the express written permission of ASSA ABLOY Access and Egress Hardware Group, Inc. is prohibited.
Install Bottom Strike
21
2
3/8" Dia. x 1-1/2" Deep
1
1/4" MAX
1/8" Deep
3
Bottom Of Door
To Top of Strike
Chisel as required
19
Installation Instructions
FE6800 Series
Multi-Point Lock
FM276 03/22
For installation assistance contact Corbin Russwin
1-800-543-3658 • techsupport.corbinrusswin@assaabloy.com
Copyright © 2016, 2022, ASSA ABLOY Access and Egress Hardware Group, Inc. All rights reserved. Reproduction in whole
or in part without the express written permission of ASSA ABLOY Access and Egress Hardware Group, Inc. is prohibited.
Test Installation
22
5/64 Hex
Tighten after
door is adjusted
and works proper ly.
IMPORTANT
!
WARNING
This product can expose you to
lead which is known to the state of
California to cause cancer and birth
defects or other reproductive harm.
For more information go to www.
P65warnings.ca.gov.
For installation assistance contact Corbin Russwin
1-800-543-3658 • techsupport.corbinrusswin@assaabloy.com
Copyright © 2016, 2022, ASSA ABLOY Access and Egress Hardware Group, Inc. All rights reserved. Reproduction in whole
or in part without the express written permission of ASSA ABLOY Access and Egress Hardware Group, Inc. is prohibited. FM276 03/22

Other Assa Abloy Lock manuals

Assa Abloy OneSystem 519N User manual

Assa Abloy

Assa Abloy OneSystem 519N User manual

Assa Abloy HES 8500 Series User manual

Assa Abloy

Assa Abloy HES 8500 Series User manual

Assa Abloy MUL-T-LOCK SC110 User manual

Assa Abloy

Assa Abloy MUL-T-LOCK SC110 User manual

Assa Abloy Abloy EL590 User manual

Assa Abloy

Assa Abloy Abloy EL590 User manual

Assa Abloy 9800 TCNE1 Series User manual

Assa Abloy

Assa Abloy 9800 TCNE1 Series User manual

Assa Abloy EMTEK EMTouch Classic Style Operating instructions

Assa Abloy

Assa Abloy EMTEK EMTouch Classic Style Operating instructions

Assa Abloy Effeff 519 User manual

Assa Abloy

Assa Abloy Effeff 519 User manual

Assa Abloy Corbin Russwin BLSS ML2000 Series User manual

Assa Abloy

Assa Abloy Corbin Russwin BLSS ML2000 Series User manual

Assa Abloy ML20900 Series User manual

Assa Abloy

Assa Abloy ML20900 Series User manual

Assa Abloy High Security Deadbolt 6000 User manual

Assa Abloy

Assa Abloy High Security Deadbolt 6000 User manual

Assa Abloy ABLOY EL574 User manual

Assa Abloy

Assa Abloy ABLOY EL574 User manual

Assa Abloy Corbin Russwin BLSS ML2000 Series User manual

Assa Abloy

Assa Abloy Corbin Russwin BLSS ML2000 Series User manual

Assa Abloy Yale YM Series User manual

Assa Abloy

Assa Abloy Yale YM Series User manual

Assa Abloy G-S Instruction manual

Assa Abloy

Assa Abloy G-S Instruction manual

Assa Abloy ELECTRIC LOCK User manual

Assa Abloy

Assa Abloy ELECTRIC LOCK User manual

Assa Abloy Interlock IEGL User manual

Assa Abloy

Assa Abloy Interlock IEGL User manual

Assa Abloy Corbin Russwin IN120 User manual

Assa Abloy

Assa Abloy Corbin Russwin IN120 User manual

Assa Abloy Lockwood Pentagon 3P70 User manual

Assa Abloy

Assa Abloy Lockwood Pentagon 3P70 User manual

Assa Abloy Yale Doorman User manual

Assa Abloy

Assa Abloy Yale Doorman User manual

Assa Abloy Yale inTouch Technical specifications

Assa Abloy

Assa Abloy Yale inTouch Technical specifications

Assa Abloy 8037...UL-91E91 Series User manual

Assa Abloy

Assa Abloy 8037...UL-91E91 Series User manual

Assa Abloy Sargent L980S User manual

Assa Abloy

Assa Abloy Sargent L980S User manual

Assa Abloy Sargent KP Series Installation manual

Assa Abloy

Assa Abloy Sargent KP Series Installation manual

Assa Abloy RIXSON FM9930 User manual

Assa Abloy

Assa Abloy RIXSON FM9930 User manual

Popular Lock manuals by other brands

Renkforce 1359883 operating instructions

Renkforce

Renkforce 1359883 operating instructions

Burg sPinLock 410 operating manual

Burg

Burg sPinLock 410 operating manual

Kaba Mauer Varios E 70171 Mounting instructions

Kaba Mauer

Kaba Mauer Varios E 70171 Mounting instructions

KM Thomas TA-5223 Quick start instructions

KM Thomas

KM Thomas TA-5223 Quick start instructions

TEEHO TE006 installation guide

TEEHO

TEEHO TE006 installation guide

Honeywell 8712009 Installation & operation guide

Honeywell

Honeywell 8712009 Installation & operation guide

Kuryakyn 4232 manual

Kuryakyn

Kuryakyn 4232 manual

XLOCK 100 installation guide

XLOCK

XLOCK 100 installation guide

Roto Safe Installation, maintenance and operation instructions

Roto

Roto Safe Installation, maintenance and operation instructions

Nauta miniK10 user manual

Nauta

Nauta miniK10 user manual

Siemens VT630 operating instructions

Siemens

Siemens VT630 operating instructions

Gianni Industries EB-200N Specifications

Gianni Industries

Gianni Industries EB-200N Specifications

Trimco UHF 212 installation guide

Trimco

Trimco UHF 212 installation guide

Kaba Mas X-10 operating instructions

Kaba Mas

Kaba Mas X-10 operating instructions

M-LOCKS Rotobolt EM2050 Mounting instructions

M-LOCKS

M-LOCKS Rotobolt EM2050 Mounting instructions

M-LOCKS Rotobolt EM2050 user manual

M-LOCKS

M-LOCKS Rotobolt EM2050 user manual

ROFU 2400 Kit installation instructions

ROFU

ROFU 2400 Kit installation instructions

Mesa Safe MH Series operating manual

Mesa Safe

Mesa Safe MH Series operating manual

manuals.online logo
manuals.online logoBrands
  • About & Mission
  • Contact us
  • Privacy Policy
  • Terms and Conditions

Copyright 2025 Manuals.Online. All Rights Reserved.