6. Operation Manual
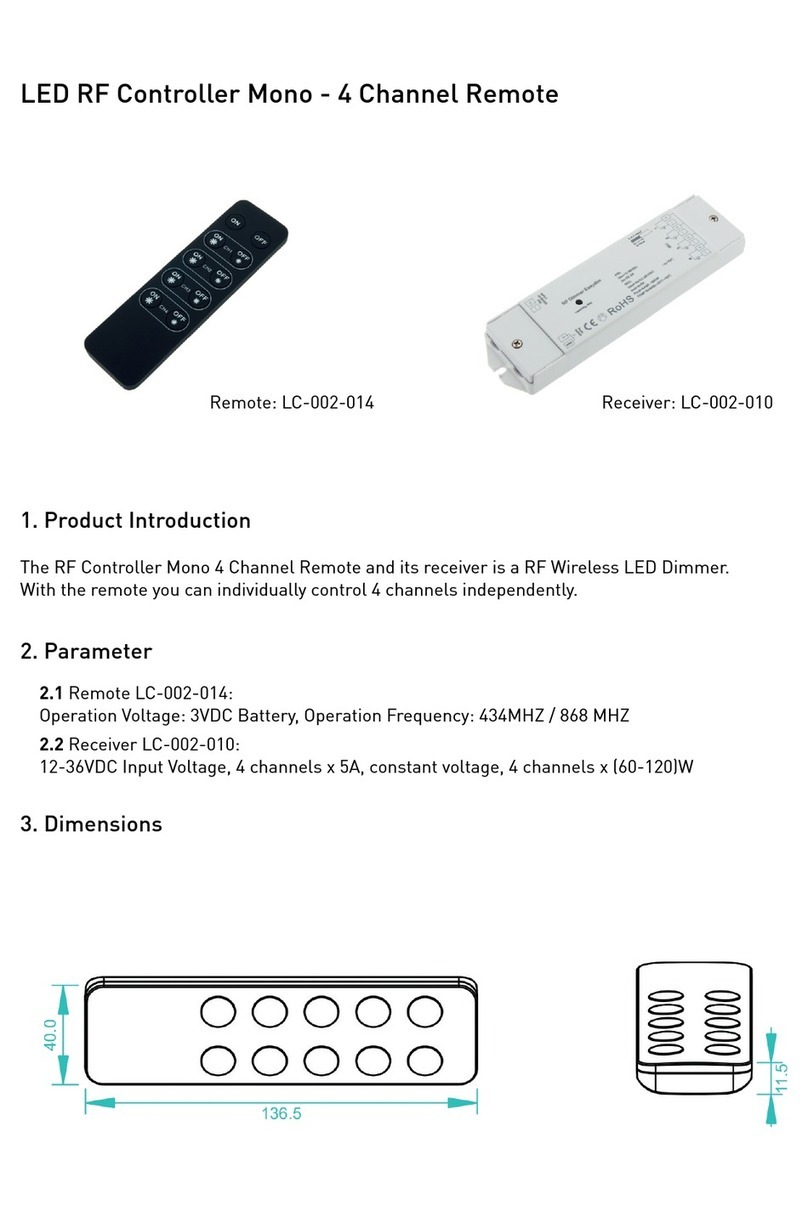
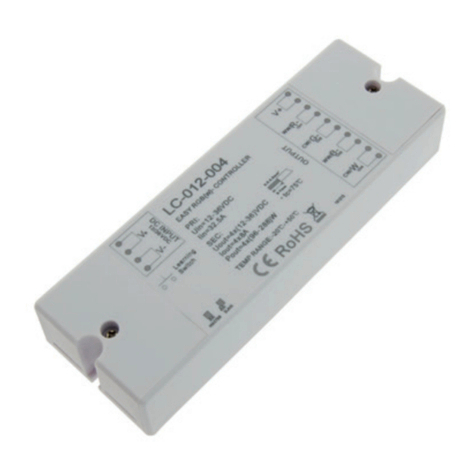
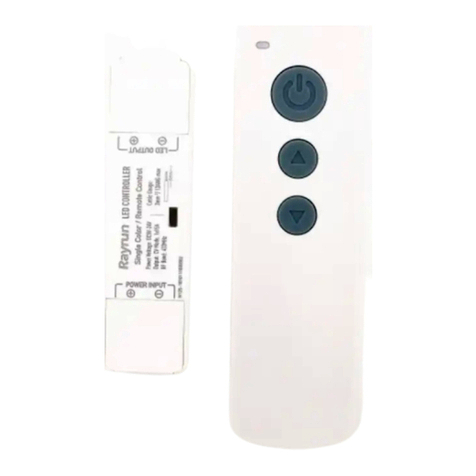
After you have wired all the receivers according to Figure illustration you need to do the following:
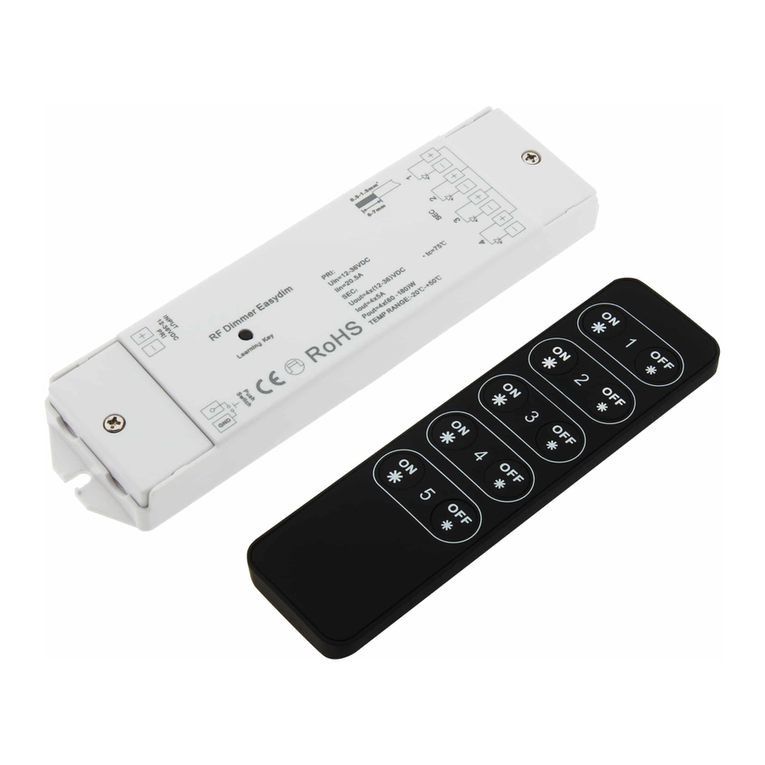
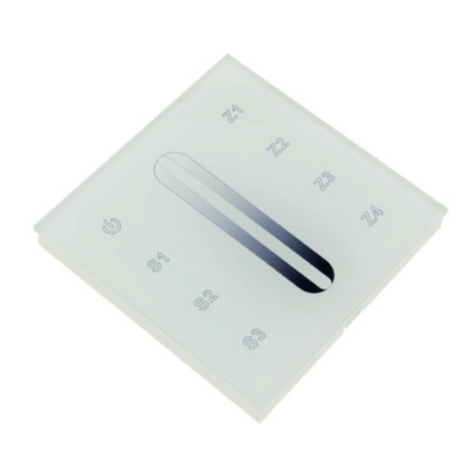
1. Pull off the plastic film cover of the battery at the back of remote.
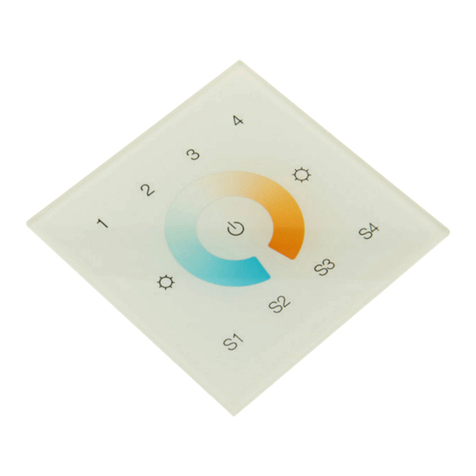
2. In order for each receiver to know what Zone it belongs to, you will need to “pair” it to the zone
you wish to use: short press the Learning Key on the receiver, then immediately short press the
from the zone you wish to use. Once you do that, the LED lights will blink once. Now your remote
and receiver are paired! Short press to turn ON/OFF, long press to turn UP/DOWN.
3. Do the same for the other receivers if you use them.
This wireless receiver can work in any of the 10 zones. It has a special “Learning Key” that will
enable you to pair it to any of the 10 zones in the wireless remote control. You can add as many
optional receivers as you wish, to create up to 10 different control zones. Each zone can have an
endless number of receivers.
Memory Reset:
In case you want to reset the memory of the receiver, press the learning function button for 10
seconds while the unit is being powered. The unit will then reset to factory defaults.
Re-Assign Zone:
Re assigning the receiver to a different zone is easy,just press for less than 1 second the learning
button on the receiver and then press ON/OFF buttion of the zone that you would like to re-assign
the receiver(Zone 1-10).
short press for ON/OFF
long press for
dim UP/DOWN
10 zones
independently control
