6. Operation Manual
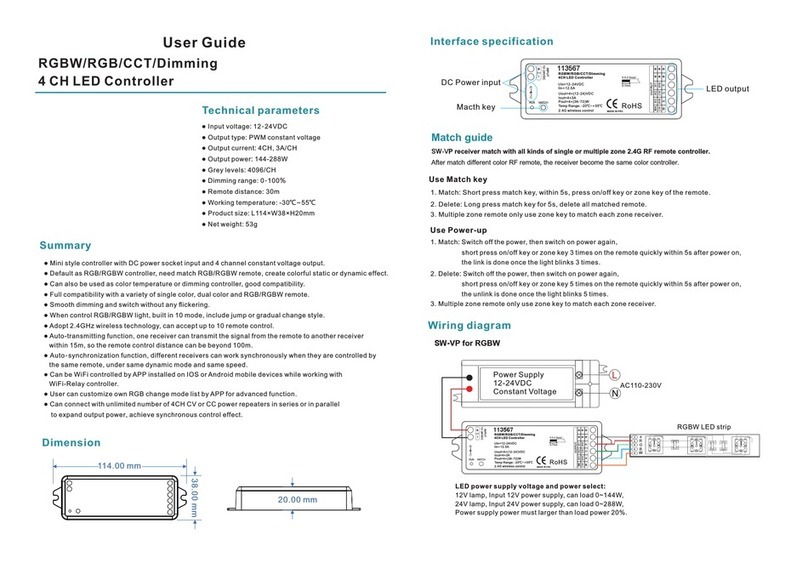
Connect as per point number 4. Wiring Diagram the touch panel and the controller to the power
supply and the LED lights to the receiver. Connect then controller and receiver as follows:
Press and release the Learning Key-button on the receiver and then briefly press one of the
zone buttons Z1-Z4. Then slide just above the rotary valve on the touch panel. If the LED light
flashes once, you have the pairing successful completed.
Repeat the process with the other receivers, if you need them also. You can connect any number
of receivers in the respective zone.
Press the zone button Z1-Z4 more than 2 seconds, the respective zone switch ON or OFF.
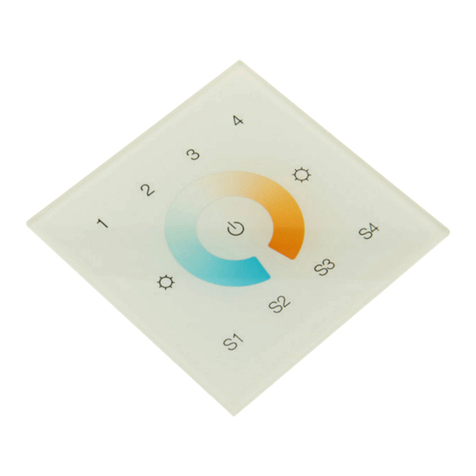
The blue indicator light on the touch panel means the zone is switched ON, the yellow indicator
light means that the zone is turned OFF.
Saving light scenes in different zones:
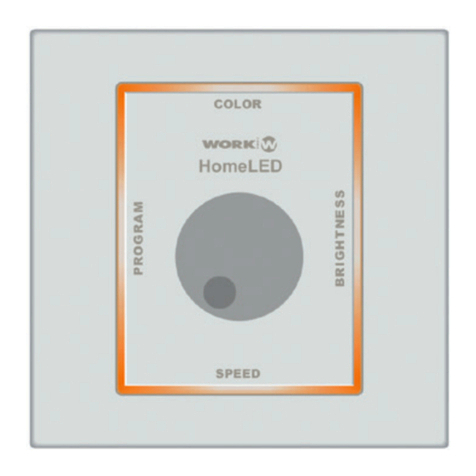
Adjust the required light effect with sliding over the rotary valve. Thereafter hold one of the three
scene buttons (S1-S3) over 2 seconds. If the LED light flashes once, you have saved the scene
successful.
Recall of the saved scene:
Briefly press the desired scene button (S1-S3), the stored light setting is recalled in the
respective zone.
Memory (address) delete:
If you want to erase the memory of the receiver, hold the learning key-button for 10 seconds,
while the receiver is powered up. Through the brief lighting of the LED‘s the deletion is
confirmed. The receiver is thus reset to factory settings and thereby loses its adressing.
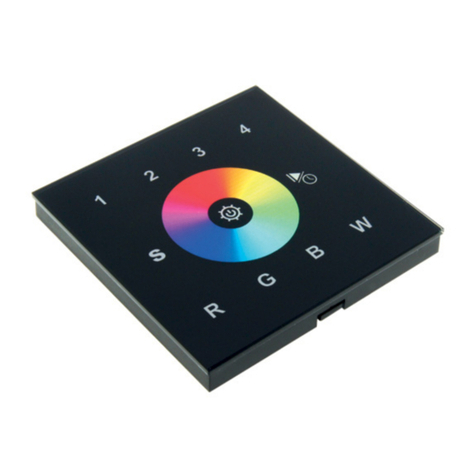
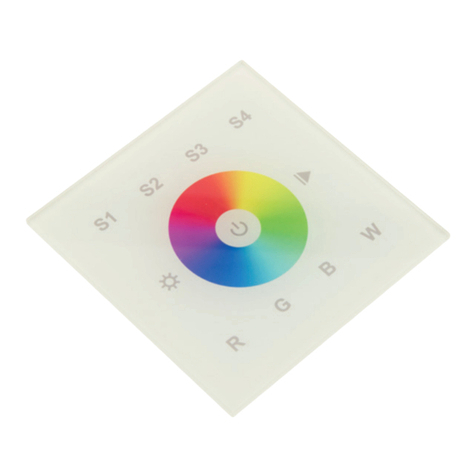
ON/OFF Button
Scene Button
Zone Button
