manuals.online logo
Brands
  1. Home
  2. •
  3. Brands
  4. •
  5. Avaya
  6. •
  7. Conference System
  8. •
  9. Avaya Scopia XT Executive 240 User manual

Avaya Scopia XT Executive 240 User manual

Quick Setup Guide
Avaya XT Executive 240
Package Content:
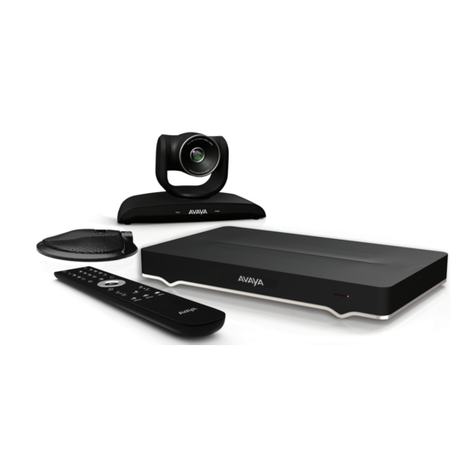
• Avaya XT Executive 240, including codec, camera,
microphone and display
• LAN cable 4m
• Power supply included. Note: Power cord to be
included depending on your region and order
configuration Guidelines. Guidelines are described
in the Power Cord table in your XT Offer Definition
document.
• DVI-I to DVI-I cable
• Video input adapters: DVI-I to VGA, DVI-I to DVI-D
• Remote control with batteries
• Audio cable for PC
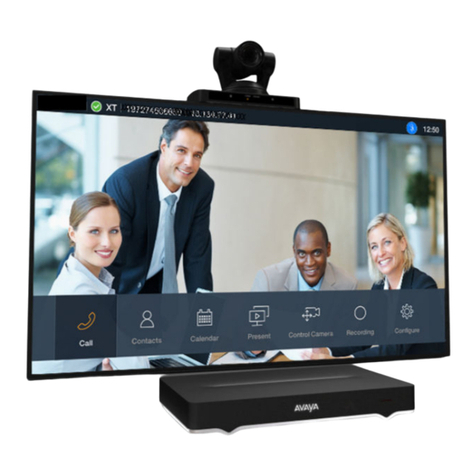
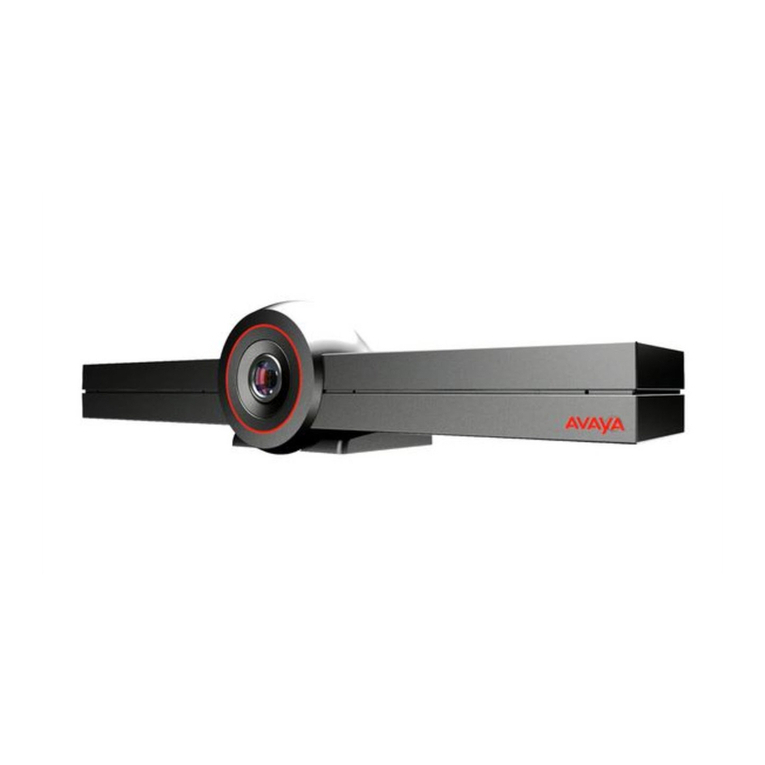
The Avaya XT Executive 240 integrates the advanced
Avaya Video Conferencing XT Series with a high
resolution 24-inch LED display. The Avaya XT Executive
provides:
• 24” full HD LED display
• HD camera
• High fidelity speakers
• Echo canceling microphones
It is an advanced video conferencing platform for
desktop video conferencing and PC display.
Setting Up this Device
Connect the cables as detailed in the diagram enclosed, then follow the steps below to
complete the setup of Avaya XT Executive 240. avaya.com
Install Avaya XT Control application on PC or Mac
You can optionally control your Avaya XT Executive either from the infrared remote
control or from the keyboard and mouse of a connected computer, using the Avaya XT
Control tool. Please refer to the User Guide on the Avaya Support Site
(https://support.avaya.com) for more details if needed.
Step 1. System Installation and Activation
1. Connect all cables to the Avaya XT Executive 240 Unit (see diagram enclosed). The
Power supply must be connected after all other connections have been established.
2. Turn on the TV monitors. The monitor on HDMI1 is mandatory, the monitor on HDMI2
is optional.
3. Ensure the remote control has batteries.
4. Check that the LED on the front panel of the codec unit is turned on.
5. Press the Power button on the remote control if the codec unit does not turn on
automatically.
The menu appears on the monitor.
Step 2. Product Licensing
1. Locate your License Authentication Code (LAC) in your Customer Letter.
2. Access the Product Licensing Delivery System (PLDS):
HTTPS://PLDS.AVAYA.COM
3. Enter your LAC to get the list of all related entitlements.
4. Enter the required information.
The web form returns a license key that enables the entitlements on your XT endpoint.
Step 4. Graphics and Image Setup
After startup, if the Endpoint Image is cropped or not correctly centered on its HDMI
Monitor, you can access the Manual Setup at any time selecting Configure > Quick Setup
from the Main Menu to manually refresh your configuration settings.
Joining an Avaya Spaces Cloud Meeting
You can use the Avaya Spaces mobile application or the Avaya Spaces Web PC/MAC
Client to invite your XT Series Endpoint to an Avaya Spaces Meeting. If your XT Endpoint
can connect to the remote Avaya Spaces Cloud Service, a QR Barcode and also a string
Verification Code appears on the home page of the XT Series Endpoint.
Step 3.1 - Easy to Start (Avaya Meetings and Avaya Workplace
On-Premises deployments)
Configure the system in a few quick steps for Avaya deployments (Cloud or On-Premises)
by entering your Avaya Workplace user credentials:
• email address.
• username and password.
Select Done when complete.
The system is automatically configured and your scheduled meetings are displayed in the
calendar menu. Refer to the Deployment Guide on the Avaya Support Site
(https://support.avaya.com) for more details.
Step 3.3 – Manual Setup
By choosing this option you can manually define basic settings such as:
• System’s name,
• Language,
• Manual image calibration,
• Manual network settings, and
• H.323 or SIP Registration.
This setup mode is relevant for Avaya Workplace deployments. It is not configured to
support the Easy to Start or the Auto-Provisioning wizard or any other Avaya or Third
Party Vendor deployments where the Endpoint needs to be manually configured.
Refer to the Deployment Guide on the Avaya Support Site (https://support.avaya.com) for
more details.
Step 3. Startup Configurations
When the device is switched on, start the wizard,
1. Select the desired language.
2. Choose from the three possible startup configurations
• “Easy to start”
• “Auto Provisioning”
• “Manual Setup”
Step 3.2 - Auto-provisioning
1. Enter the Avaya Workplace Management Service Code provided by your local IT
Admin. Your XT endpoint is automatically configured for your local deployment.
• If the service code is entered, the procedure is completed.
• If the service code is left blank, the setup will continue using the Manual Setup mode.
Note: If you are configuring your Avaya Equinox Meeting Online account, at the end of
the wizard your Personal Virtual Room appears as one of your Favorite Contacts.
Note:
The Avaya Workplace On-Premises deployment brand replaces the previous Equinox On-
Premises one.
Note: The Avaya Workplace Management brand replaces the previous Equinox
Management one.
1. Continue to click Next until the Configure Monitor page appears.
2. Press 1to adjust the position of the top left corner.
3. Use the arrow keys to move the selected triangle until it is fully visible on your
monitor. Press OK when done.
4. Press 2to adjust the position of the bottom right corner.
5. Repeat the procedure using the arrows.
6. Click OK. Click Next multiple time until the end of the wizard.
To invite the XT Series Endpoint in Avaya Spaces using the Avaya Spaces Mobile App:
1. Connect your Avaya Spaces Mobile App to the desired Spaces Meeting.
2. Scan the QR Barcode with your Mobile App.
To invite the XT Series Endpoint in Avaya Spaces using the Avaya Spaces PC/MAC Web
Client:
1. Connect your Avaya Spaces PC/MAC Web Client to the desired Spaces Meeting.
2. Insert the Verification Code into the Meeting Web Page.
Please refer to the Deployment Guide on the Avaya Support Site
(https://support.avaya.com) for more details.
CAUTION: the mains
cable is used as a
disconnecting device,
use therefore an easily
accessible outlet
located near the
device for the power
supply connection.
Never remove the
mains plug while the
device is connected.
Package Content:
1. Codec Unit, including display camera and microphone
2. Remote Control Unit and Batteries
3. Ethernet Cable for LAN
4. Codec Power Supply
5. Power Cables
6. Video input adapters: DVI-I to VGA, DVI-I to DVI-D
7. DVI-I to DVI-I cable
8. Audio cable for PC line out
9. HDMI cable
10. Avaya XT Executive Camera connection
About Avaya
Businesses are built on the experiences they provide and every day millions of those experiences
are built by Avaya (NYSE:AVYA). For over one hundred years, we’ve enabled organizations around
the globe to win—by creating intelligent communications experiences for customers and employees.
Avaya builds open, converged and innovative solutions to enhance and simplify communications
and collaboration—in the cloud, on premise, or a hybrid of both. To grow your business, we’re
committed to innovation, partnership, and a relentless focus on what’s next. We’re the technology
company you trust to help you deliver Experiences that Matter.
Visit us at www.avaya.com.
© 2020 Avaya Inc. All Rights Reserved. Avaya and the Avaya logo are trademarks of Avaya Inc. and are registered in the United States and other countries. All other
trademarks identified by ®, TM, or SM are registered marks, trademarks, and service marks, respectively, of Avaya Inc.
07/20 • 700513567 Avaya XT Executive 240 - Quick Setup Guide.
Adjust the height of the
XTE240 using the back
locking knob
Fasten the cables to the
device with the cable hooks
located behind the display
Plug the power cable in the
power socket of the display
1. Verify these cables are properly connected 2. Connect the cables
P/N B02700513567
Quick Hardware Setup
Avaya XT Executive 240
1
109
1
2
5
6
4 8 7 3
CAUTION:
Ensure all units are switched off whenever you
connect or disconnect devices.

Other manuals for Scopia XT Executive 240

1

Other Avaya Conference System manuals

Avaya PARTNER Phone Guide

Avaya

Avaya PARTNER Phone Guide

Avaya H175 User manual

Avaya

Avaya H175 User manual

Avaya CU-360 User manual

Avaya

Avaya CU-360 User manual

Avaya Scopia XT5000 User manual

Avaya

Avaya Scopia XT5000 User manual

Avaya IX CU360 User manual

Avaya

Avaya IX CU360 User manual

Avaya PARTNER Advanced Communications System User guide

Avaya

Avaya PARTNER Advanced Communications System User guide

Avaya Scopia XT5000 User manual

Avaya

Avaya Scopia XT5000 User manual

Avaya 16-300310 Specification sheet

Avaya

Avaya 16-300310 Specification sheet

Avaya scopia elite 6000 series Service manual

Avaya

Avaya scopia elite 6000 series Service manual

Avaya scopia elite 6000 series Service manual

Avaya

Avaya scopia elite 6000 series Service manual

Avaya Scopia XT Series How to use

Avaya

Avaya Scopia XT Series How to use

Avaya CU-360 How to use

Avaya

Avaya CU-360 How to use

Avaya PARTNER Advanced Communications System User manual

Avaya

Avaya PARTNER Advanced Communications System User manual

Avaya Definity Enterprise Communications Server Quick start guide

Avaya

Avaya Definity Enterprise Communications Server Quick start guide

Avaya Scopia XT7100 Quick reference guide

Avaya

Avaya Scopia XT7100 Quick reference guide

Avaya CU-360 User manual

Avaya

Avaya CU-360 User manual

Avaya CU-360 Assembly instructions

Avaya

Avaya CU-360 Assembly instructions

Avaya CU-360 Instruction Manual

Avaya

Avaya CU-360 Instruction Manual

Avaya CS700 Instruction Manual

Avaya

Avaya CS700 Instruction Manual

Avaya XT5000 720 User manual

Avaya

Avaya XT5000 720 User manual

Avaya B189 User manual

Avaya

Avaya B189 User manual

Avaya Virtual Services Platform 9000 User manual

Avaya

Avaya Virtual Services Platform 9000 User manual

Avaya Scopia Elite 6000 MCU Series Installation instructions manual

Avaya

Avaya Scopia Elite 6000 MCU Series Installation instructions manual

Avaya XT Series XT5000 Series XT4000 Series User manual

Avaya

Avaya XT Series XT5000 Series XT4000 Series User manual

Popular Conference System manuals by other brands

Paso PM2040-B Instructions for use

Paso

Paso PM2040-B Instructions for use

Adaptivation VOICEPAL LEVELS instructions

Adaptivation

Adaptivation VOICEPAL LEVELS instructions

Cisco TelePresence SX20 Administrator's guide

Cisco

Cisco TelePresence SX20 Administrator's guide

StarLeaf Touch 2035 installation guide

StarLeaf

StarLeaf Touch 2035 installation guide

LG RVF1000 owner's manual

LG

LG RVF1000 owner's manual

Gentner XAP 800 White paper

Gentner

Gentner XAP 800 White paper

Cisco TelePresence installation guide

Cisco

Cisco TelePresence installation guide

Cisco TelePresence SX10 user guide

Cisco

Cisco TelePresence SX10 user guide

Polycom RMX 1000 user guide

Polycom

Polycom RMX 1000 user guide

Rath Command Center Installation & operation manual

Rath

Rath Command Center Installation & operation manual

Ericsson BUSINESSPHONE 50 user guide

Ericsson

Ericsson BUSINESSPHONE 50 user guide

AT&T Merlin Legend MLX-20L Supervisor guide

AT&T

AT&T Merlin Legend MLX-20L Supervisor guide

Flightcell SVS installation manual

Flightcell

Flightcell SVS installation manual

DETEWE OpenCom 130 user guide

DETEWE

DETEWE OpenCom 130 user guide

Polycom Poly VVX 450 manual

Polycom

Polycom Poly VVX 450 manual

SCHUBERTH SC1M quick start guide

SCHUBERTH

SCHUBERTH SC1M quick start guide

oddWires IoT-Bus Documentation

oddWires

oddWires IoT-Bus Documentation

CAME MTMA/01 Programming manual

CAME

CAME MTMA/01 Programming manual

manuals.online logo
manuals.online logoBrands
  • About & Mission
  • Contact us
  • Privacy Policy
  • Terms and Conditions

Copyright 2025 Manuals.Online. All Rights Reserved.