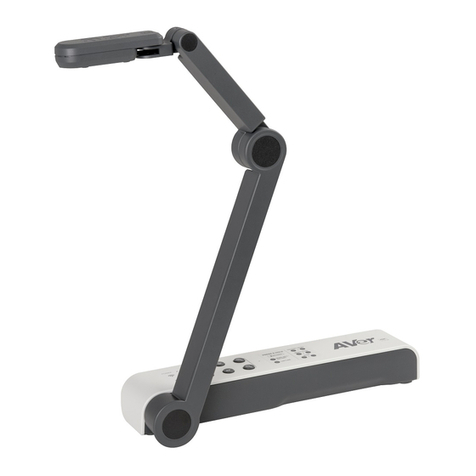
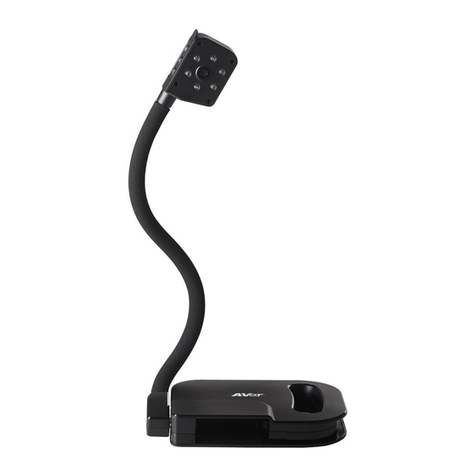
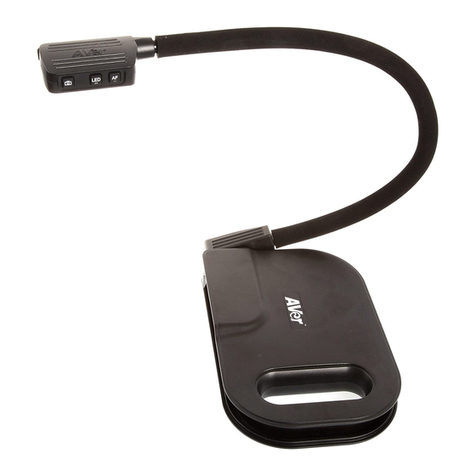
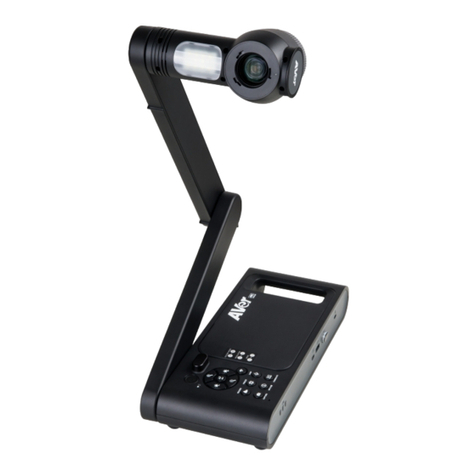
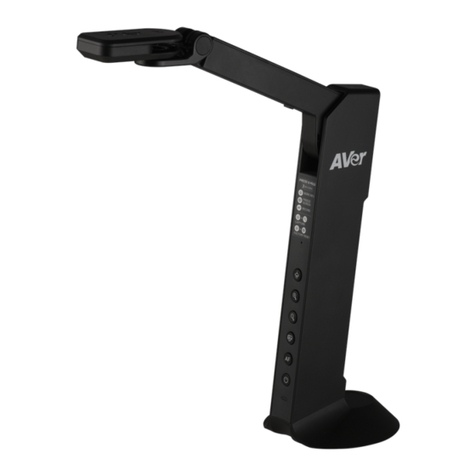
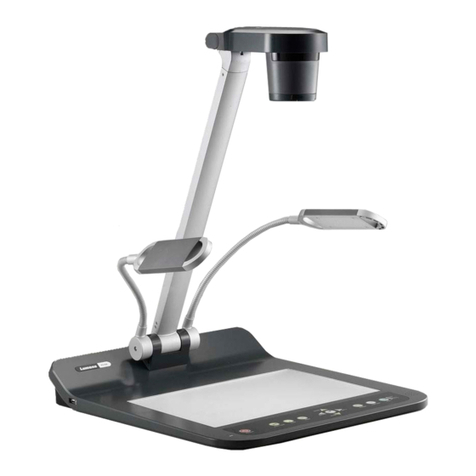
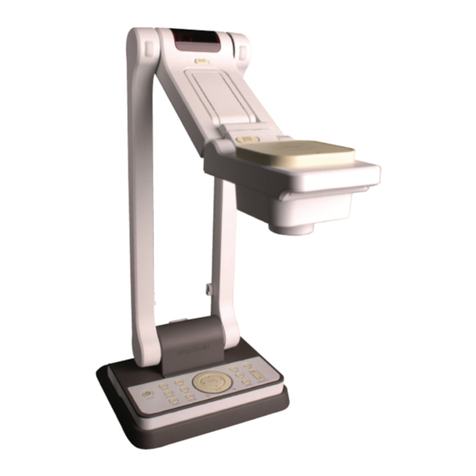
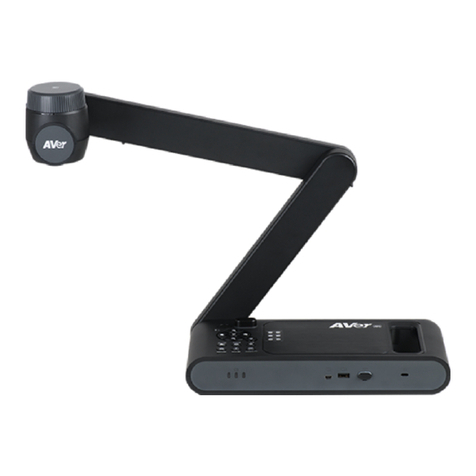
AVer M5 User manual

M5 Document Camera
Quick Start Guide│快速安裝指南
クイック・ガイド│Schnellanleitung
Guide Rapide│Guía rápida
Guida rapida

English .......................................................................................................... 1
繁體中文 .......................................................................................... 8
日本語........................................................................................................ 15
Deutsch ...................................................................................................... 22
Français ...................................................................................................... 29
Español ....................................................................................................... 36
Italiano ....................................................................................................... 43

English-1
Package Contents
M5 Unit Warranty Card
Optional Accessories
Carrying Bag Anti-glare Sheet
Connecting the M5 to a PC/Laptop
Software, FAQ, Training Videos
To download AVerTouch software, and check out frequently asked questions and training videos,
please go to: https://www.aver.com/download-center

English-2
Overview
(1) USB 2.0 Cable
(2) Stand Base
(3) Mechanical Arm
(4) Capture/AF/LED Lamp Buttons
Press for 1 second to capture a still image via AVerTouch.
Press and hold 3 seconds to start recording via AVerTouch. To s top
recording, press and hold 3 seconds again via AVerTouch.
Press for 1 second to automatically adjust the focus.
Press for 1 second to adjust the LED lamp brightness.
1st press: lamp on (level 1). 2nd press: lamp on (level 2).
3rd press: lamp on (level 3). 4th press: lamp off.
Press and hold 3 seconds to rotate 180°.
+ Press together for 1 second to freeze via AVerTouch.
(5) Camera Lens
(6) LED Lamp
(7) Camera Head
(8) LED Status Indicator – solid green indicates power on.
(9) Built-in Mic

English-3
Camera Head Angle
Move the camera head as figure shown.
[CAUTION] To avoid damage the camera head, hold the edge of the camera head to rotate the camera
head.
90°
90°
90°
40°
40°
40°
180°
180°
Camera Body Angle
[CAUTION] To avoid damage the camera unit, DO NOT pull the arm angle over 91.5°.
91.5°

English-4
Shooting Area
When camera position is 350mm (13.78”) high, the shooting area will be A3 size.
420mm (16.54”)
315mm (12.4”)
A3
350mm (13.78”)
Unfold the Camera
[CAUTION] To avoid damage the camera head,DO NOT grab the camera head to unfold the camera.

English-5
Specification*
Image Sensor 1/3.2” CMOS
Pixel Count 8 megapixels
Frame Rate
Max. 60fps @1920x1080
Max. 15fps @3264x2448
Output Resolution 3264x2448, 1920x1080, 1280x1024, 1280x720, 1024x768,
800x600, 640x480, 640x360, 320x240, 320x184, 320x180
Focus Auto (button)/Manual (via software)
Shooting Area Larger than A3 420mm x 315mm (16.53” x 12.4”)
Zoom 16X Digital Zoom (via software)
Power Source USB 2.0, 5V/0.5A
Consumption
1.7Watts (lamp on)
1.3Watts (lamp off)
Operating Conditions Temperature: 0°C to +40°C (+32°F to +104°F)**
Humidity: 10% to 90%
Storage Conditions
Temperature: -30°C to +60°C (-22°F to +140°F)
Humidity: 10% to 90%
Lamp Type LED
USB
USB 2.0 (for power and computer connectivity)
Mic Built-in
Operating
(L x W x H) 313.4mm x 108.6mm x 370.0mm (12.34” x 4.28” x 14.57”)
Folded (L x W x H) 115.9mm x 108.6mm x 323.6mm (4.56” x 4.28” x 12.74”)
Net Weight 0.78kg (1.72lbs)
Gross Weight 1.1kg (2.42lbs)
Software AVerTouch
* Specifications are subject to change without prior notice.
** It is suggested that the operating temperature should between 0°C and +35°C (32°F and +95°F)
when LED lamp is on.

English-6
WARNING
To reduce the risk of fire or electric shock, do not expose this appliance to rain or moisture.
Warranty will be void if any unauthorized modifications are done to the product.
Do not drop the camera or subject it to physical shock.
Use the correct power supply voltage to avoid the damaging camera.
Do not place the camera where the cord can be stepped on as this may result in fraying or
damage to the lead or the plug.
Hold the bottom of the camera with both hands to move the camera. Do not grab the lens or arm
to move the camera.
Do not pull the camera arm and camera part in the opposite direction.

English-7
FEDERAL COMMUNICATIONS COMMISSION
This device complies with Part 15 of the FCC Rules. Operation is subject to the following two conditions:
(1) This device may not cause harmful interference, and (2) this device must accept any interference
received, including interference that may cause undesired operation.
This equipment has been tested and found to comply with the limits for a Class B digital device, pursuant
to Part 15 of the FCC Rules. These limits are designed to provide reasonable protection against harmful
interference in a residential installation. This equipment generates, uses and can radiate radio
frequency energy and, if not installed and used in accordance with the instructions, may cause harmful
interference to radio communications. However, there is no guarantee that interference will not occur in
a particular installation. If this equipment does cause harmful interference to radio or television reception,
which can be determined by turning the equipment off and on, the user is encouraged to try to correct
the interference by one of the following measures:
- Reorient or relocate the receiving antenna.
- Increase the separation between the equipment and receiver.
- Connect the equipment into an outlet on a circuit different from that to which the receiver is connected.
- Consult the dealer or an experienced radio/TV technician for help.
FCC Caution: Any changes or modifications not expressly approved by the party responsible for
compliance could void the user's authority to operate this equipment.
COPYRIGHT
©2021 AVer Information Inc. All rights reserved.
Contact Information
Global
AVer Information Inc.
https://www.aver.com
8F, No.157, Da-An Rd., Tucheng Dist.,
New Taipei City 23673,
Taiwan
Tel: +886 (2) 2269 8535
European Headquarters
AVer Information Europe B.V.
https://www.avereurope.com
Westblaak 140, 3012KM,
Rotterdam, Netherlands
Tel: +31 (0) 10 7600 550
Technical support: eu.rma@aver.com
繁體中文-9
硬體介紹
(1) USB 2.0 連接線
(2) 底座
(3) 機械臂
(4) 拍照/自動對焦/LED 燈按鍵
搭配 AVerTouch 按1秒擷取影像。
搭配 AVerTouch 長按 3秒開始錄影。停止錄影,搭配 AverTouch 再
次長按 3秒。
按1秒自動對焦。
按1秒調整 LED 燈亮度。
按第一次 : 亮燈(亮度 1)。按第二次 : 亮燈(亮度 2)。
按第三次 : 亮燈(亮度 3)。按第四次 : 關燈。
長按 3秒旋轉 180°。
+ 搭配 AVerTouch 同時按下按鍵 1秒可凍結。
(5) 攝影機鏡頭
(6) LED 燈
(7) 攝影機頭
(8) 狀態燈號 – 綠燈恆亮代表已啟動
(9) 內建麥克風

繁體中文-10
鏡頭角度
請照圖中所示旋轉鏡頭。
[注意]為免損傷鏡頭,請將手抓在鏡頭的兩側來旋轉。
90°
90°
90°
40°
40°
40°
180°
180°
機身使用角度
[注意]為免損傷攝影機,請勿將手臂角度展開超過 91.5°。
91.5°

繁體中文-11
拍攝範圍
當鏡頭高度位於 350mm(13.78”)時,此拍攝區域最大範圍可達 A3。
420mm (16.54”)
315mm (12.4”)
A3
350mm (13.78”)
展開攝影機
[注意] 為免損傷攝影機頭,展開攝影機時請勿用手抓鏡頭。

繁體中文-12
規格*
鏡頭 1/3.2”CMOS
總畫素 800 萬畫素
顯示速率 最高 60fps @1920x1080
最高 15fps @3264x2448
解析度
3264x2448
、
1920x1080
、
1280x1024
、
1280x720
、
1024x768、800x600、640x480、640x360、320x240、
320x184、320x180
對焦功能 自動(按鍵)/手動(搭配軟體)
文件照射範圍 大於 A3 尺寸 420mm x 315mm (16.53” x 12.4”)
放大倍率 16 倍數位變焦(搭配軟體)
電源供應 USB 2.0, 5V/0.5A
耗電量 1.7Watts (開燈)
1.3Watts (關燈)
操作環境 溫度 : 0°C ~ +40°C (+32°F ~ +104°F)**
濕度 : 10% ~ 90%
儲存環境 溫度 : -30°C ~ +60°C (-22°F ~ +140°F)
濕度 : 10% ~ 90%
光源 LED
USB 連接埠 USB 2.0 (供電及連接電腦用)
麥克風 內建
操作產品尺寸(長x寬x高) 313.4mm x 108.6mm x 370.0mm (12.34”x 4.28”x 14.57”)
摺疊產品尺寸(長x寬x高) 115.9mm x 108.6mm x 323.6mm (4.56”x 4.28”x 12.74”)
淨重 0.78kg (1.72lbs)
重量 1.1kg (2.42lbs)
搭配軟體 AVerTouch
* 產品規格若有變更,恕不另行通知。
** LED 燈開啟時,操作溫度建議為 0°C ~ +35°C (32°F ~ +95°F)。

繁體中文-13
警告
為降低火災或觸電風險,請勿將本產品暴露在雨中或潮濕環境中。如果對產品進行任何未經授
權的修改,保固將無效。
請勿使機器掉落或受到撞擊。
請使用正確的電源電壓以避免損壞機器。
請勿將機器放在容易被踩到電源線的地方,否則可能會導致電源線或插頭磨損或損壞。
請用雙手握住機器底部以移動機器。請勿抓住鏡頭或機械臂來移動機器。
請勿往左右相反方向拉扯機械臂和機器本體。

繁體中文-14
著作權
©2021圓展科技 版權所有
連絡資訊
圓展科技股份有限公司
新北市 236 土城區大安路 157 號8樓
電話:(02) 2269-8535
https://www.aver.com
單元Unit
限用物質及其化學符號
鉛Lead
(Pb)
汞Mercury
(Hg)
鎘
Cadmium
(Cd)
六價鉻
Hexavalent
chromium
(Cr+6)
多溴聯苯
Polybrominated
biphenyls
(PBB)
多溴二苯醚
Polybrominated
diphenyl ethers
(PBDE)
電路板及零組件(電子料或電機
料…等) -○○○○○
塑膠組件(外殼或導電泡棉…等)
○○○○○○
金屬組件(鐵殼或鐵條或螺柱…
等) -○○○○○
配件(電源供應器或遙控器或電
纜線…等) -○○○○○
紙製品及包裝件(紙盒或手冊或
泡殼…等) ○○○○○○
備考 1.〝超出 0.1 wt %〞及〝超出 0.01 wt %〞係指限用物質之百分比含量超出百分比含量基準值。
Note 1:“Exceeding 0.1 wt %” and “exceeding 0.01 wt %” indicate that the percentage content of the restricted
substance exceeds the reference percentage value of presence condition.
備考 2.〝○〞係指該項限用物質之百分比含量未超出百分比含量基準值。
Note 2:“○” indicates that the percentage content of the restricted substance does not exceed the percentage of
reference value of presence.
備考 3.〝-〞係指該項限用物質為排除項目。
Note 3:The “−” indicates that the restricted substance corresponds to the exemption.

日本語-16
製品概要
(1) USB 2.0 ケーブル
(2) ベーススタンド
(3) メカニカル式アーム
(4) 操作ボタン(キャプチャー/フォーカス/照明明度)
1秒間押すと、静止画を撮影します。(AverTouch ソフト使用)
3秒間押し続けると、録画が開始されます。 録画を停止するには、もう
一度 3秒間押し続けます。(AverTouch ソフト使用)
1秒間押すと、カメラのフォーカスが自動的に調整されます。
1秒間押すと、LED 照明ランプの明るさを調整します。
1回目:ランプ点灯(明るさレベル 1)。
2回目:ランプ点灯(明るさレベル 2)。
3回目:ランプ点灯(明るさレベル 3)。
4回目:ランプ消灯
3秒間押し続けると、ビデオ映像が 180°回転します。
+ 1秒間同時押しで、ビデオ映像を一時停止します。(AverTouch ソフト使用)
(5) カメラレンズ
(6) LED 照明ランプ
(7) カメラヘッド
(8) 状態表示 LED –電源オン時、緑色に点灯
(9)
内蔵マイク

日本語-17
91.5°
カメラヘッドの調整
下図に記載された範囲内で、カメラヘッドを動かすことができます。
[注意]カメラヘッドの破損を防ぐためカメラヘッドの端を持ち、カメラヘッドを回転させてください。
90°
90°
90°
40°
40°
40°
180°
180°
アーム部の調整
【注意】アームヒンジ破損防止のため、アームの角度を 91.5°以上の角度で開かないでください。

日本語-18
撮影範囲
カメラ位置の高さが 350mm の場合、A3 サイズの範囲を撮影可能です。
420mm (16.54”)
315mm (12.4”)
A3
350mm (13.78”)
カメラアーム部の収納・展開
【注意】破損防止のためカメラヘッドを掴まず、アーム部を持ち、収納・展開してください。
Other manuals for M5
1
Table of contents
Languages:
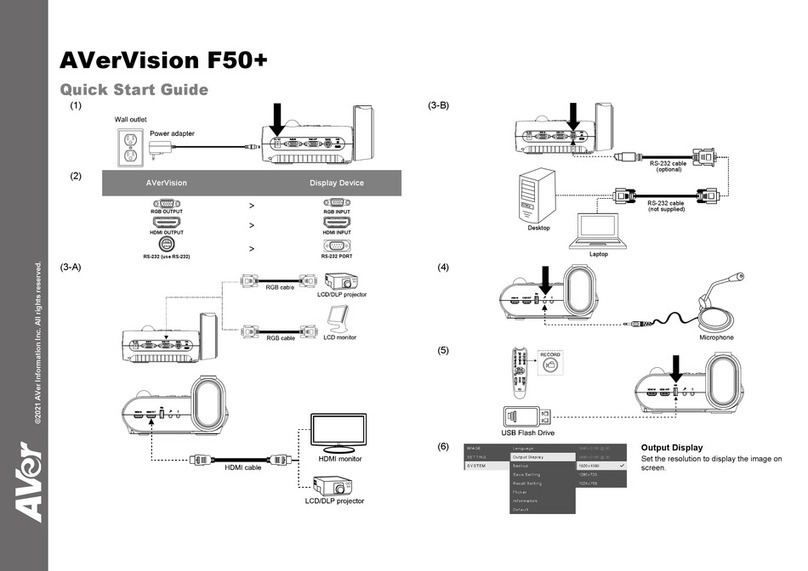
Other AVer Document Camera manuals

AVer
AVer AVerVision SPB350+ User manual

AVer
AVer W30 User manual

AVer
AVer AVerVision U50 User manual

AVer
AVer U70 Quick start guide

AVer
AVer AVerVision U70i User manual

AVer
AVer AVerVision VP-1HD User manual

AVer
AVer M70Wv2 User manual

AVer
AVer M70W User manual

AVer
AVer AVerVision U15 User manual

AVer
AVer AVerVision F17-8M User manual

AVer
AVer M90UHD User manual

AVer
AVer M70W User manual

AVer
AVer M15-13M User manual

AVer
AVer AVerVision F70W User manual

AVer
AVer AVerVision U70+ User manual

AVer
AVer AVerVision F50+ User manual

AVer
AVer M90UHD User manual

AVer
AVer AVerVision300AF+ User manual

AVer
AVer M11-8MV User manual

AVer
AVer AVerVision F50+ User manual